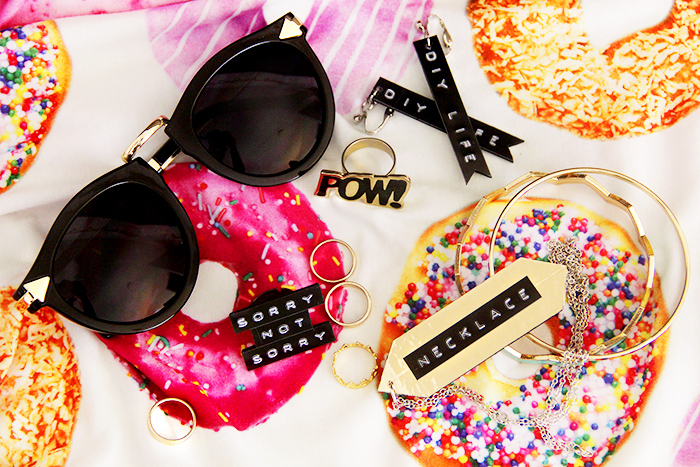
After the HGTV Handmade Tiki Week and our Dollar Store Challenge last week, we’re back to normal DIYs, and today I’m showing you how to make jewelry from your labelmaker! I just bought a labelmaker and I’m already obsessed with it – I’m basically labeling everything I own. Keep reading to see more photos and the DIY for everything I made!
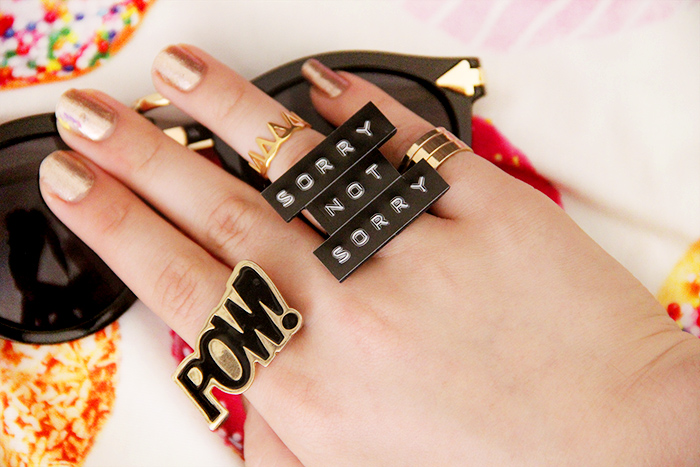
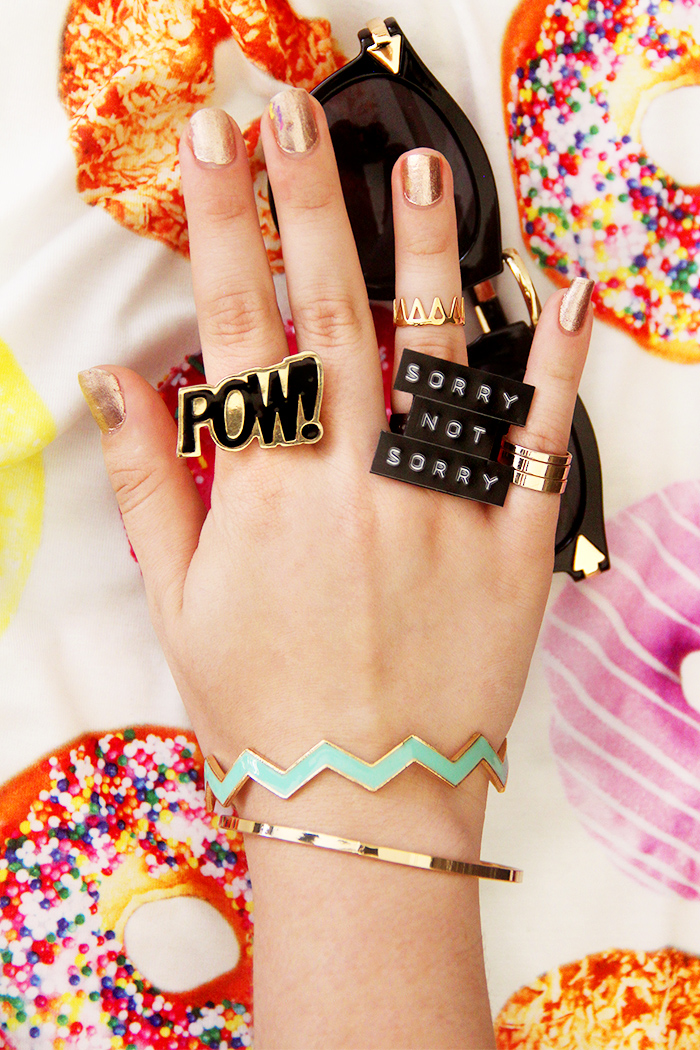
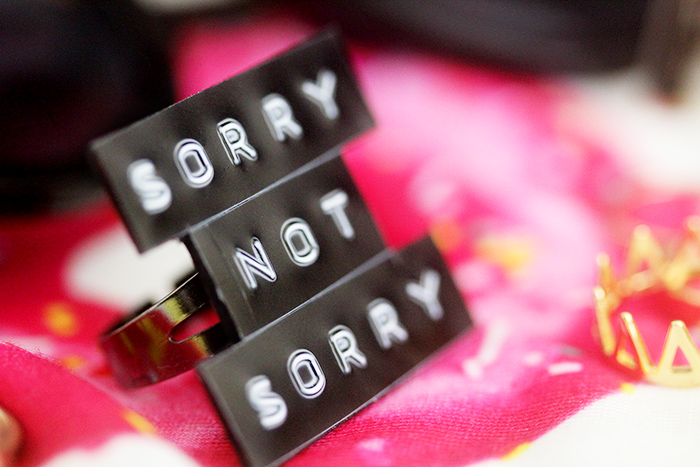
I think my favorite piece of jewelry I made is this ring, inspired by the Watsky song and the Jeffrey Campbell shoes. It’s so easy to make – just print out the labels for what you want to say, press them onto museum board, cut it out, and glue it to a ring base!

I also made these earrings, which are clip-on since I don’t have pierced ears. I love the little cut out detail on the bottom of them!
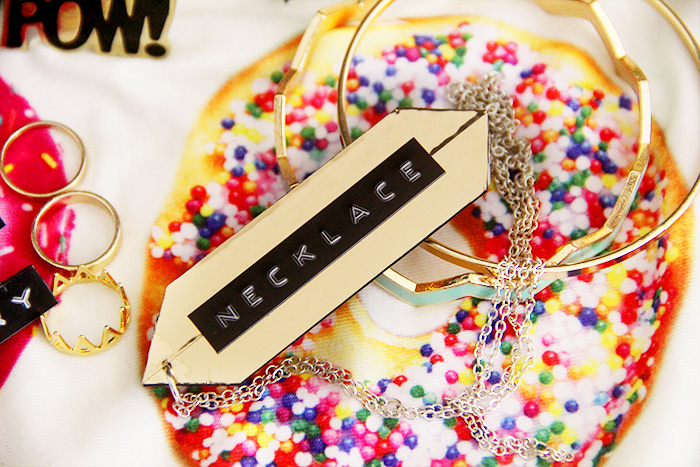
And then finally I made this necklace by first covering the museum board with shiny gold tape. The label might not be all that creative, but hopefully it inspires you to make one for yourself!
I prefer using museum board for this project because the edges are black so you don’t have to worry about painting them. But if you don’t have any, you can use any thick chipboard and paint it black or whatever color you want!
I’d also recommend using a punch-style labelmaker so it gives that great vintage 3D look, rather than the modern ones that just print the label. You can get the same labelmaker I have right here.
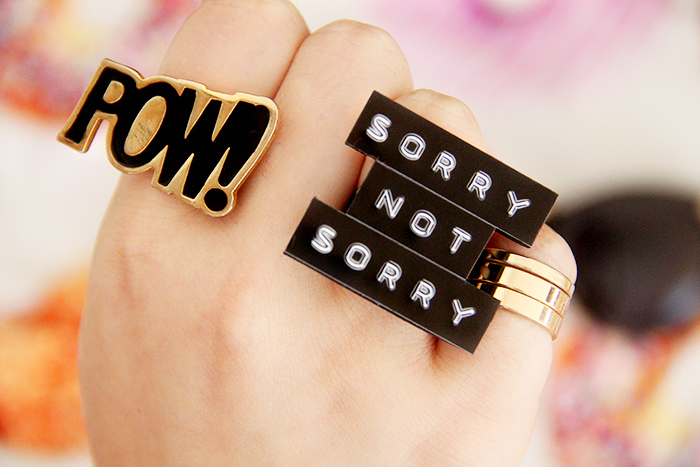
I thought the POW! ring went with it so well. I got it on sale at Forever21 ages ago so it’s not still for sale, but I did find one on Ebay. And the donut background is actually also from Forever21, it’s a shirt that’s also sold out but you can see it on Pinterest here.
I hope you guys liked this DIY, and let me know what you would write on your labelmaker jewelry! Next I need to get more tapes for the labelmaker in tons of colors so I can make even more fun DIYs with it!