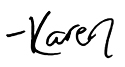
Today I’ll be showing you guys my Christmas card designs for this year. I almost didn’t think I would get them done because it was getting a bit late to order custom cards online and still be able to send them out before I fly home to New Jersey for Christmas. So this year I decided to make my cards at home and theme them around my Ampersand Coloring Book. Keep reading to learn more about how I made them!
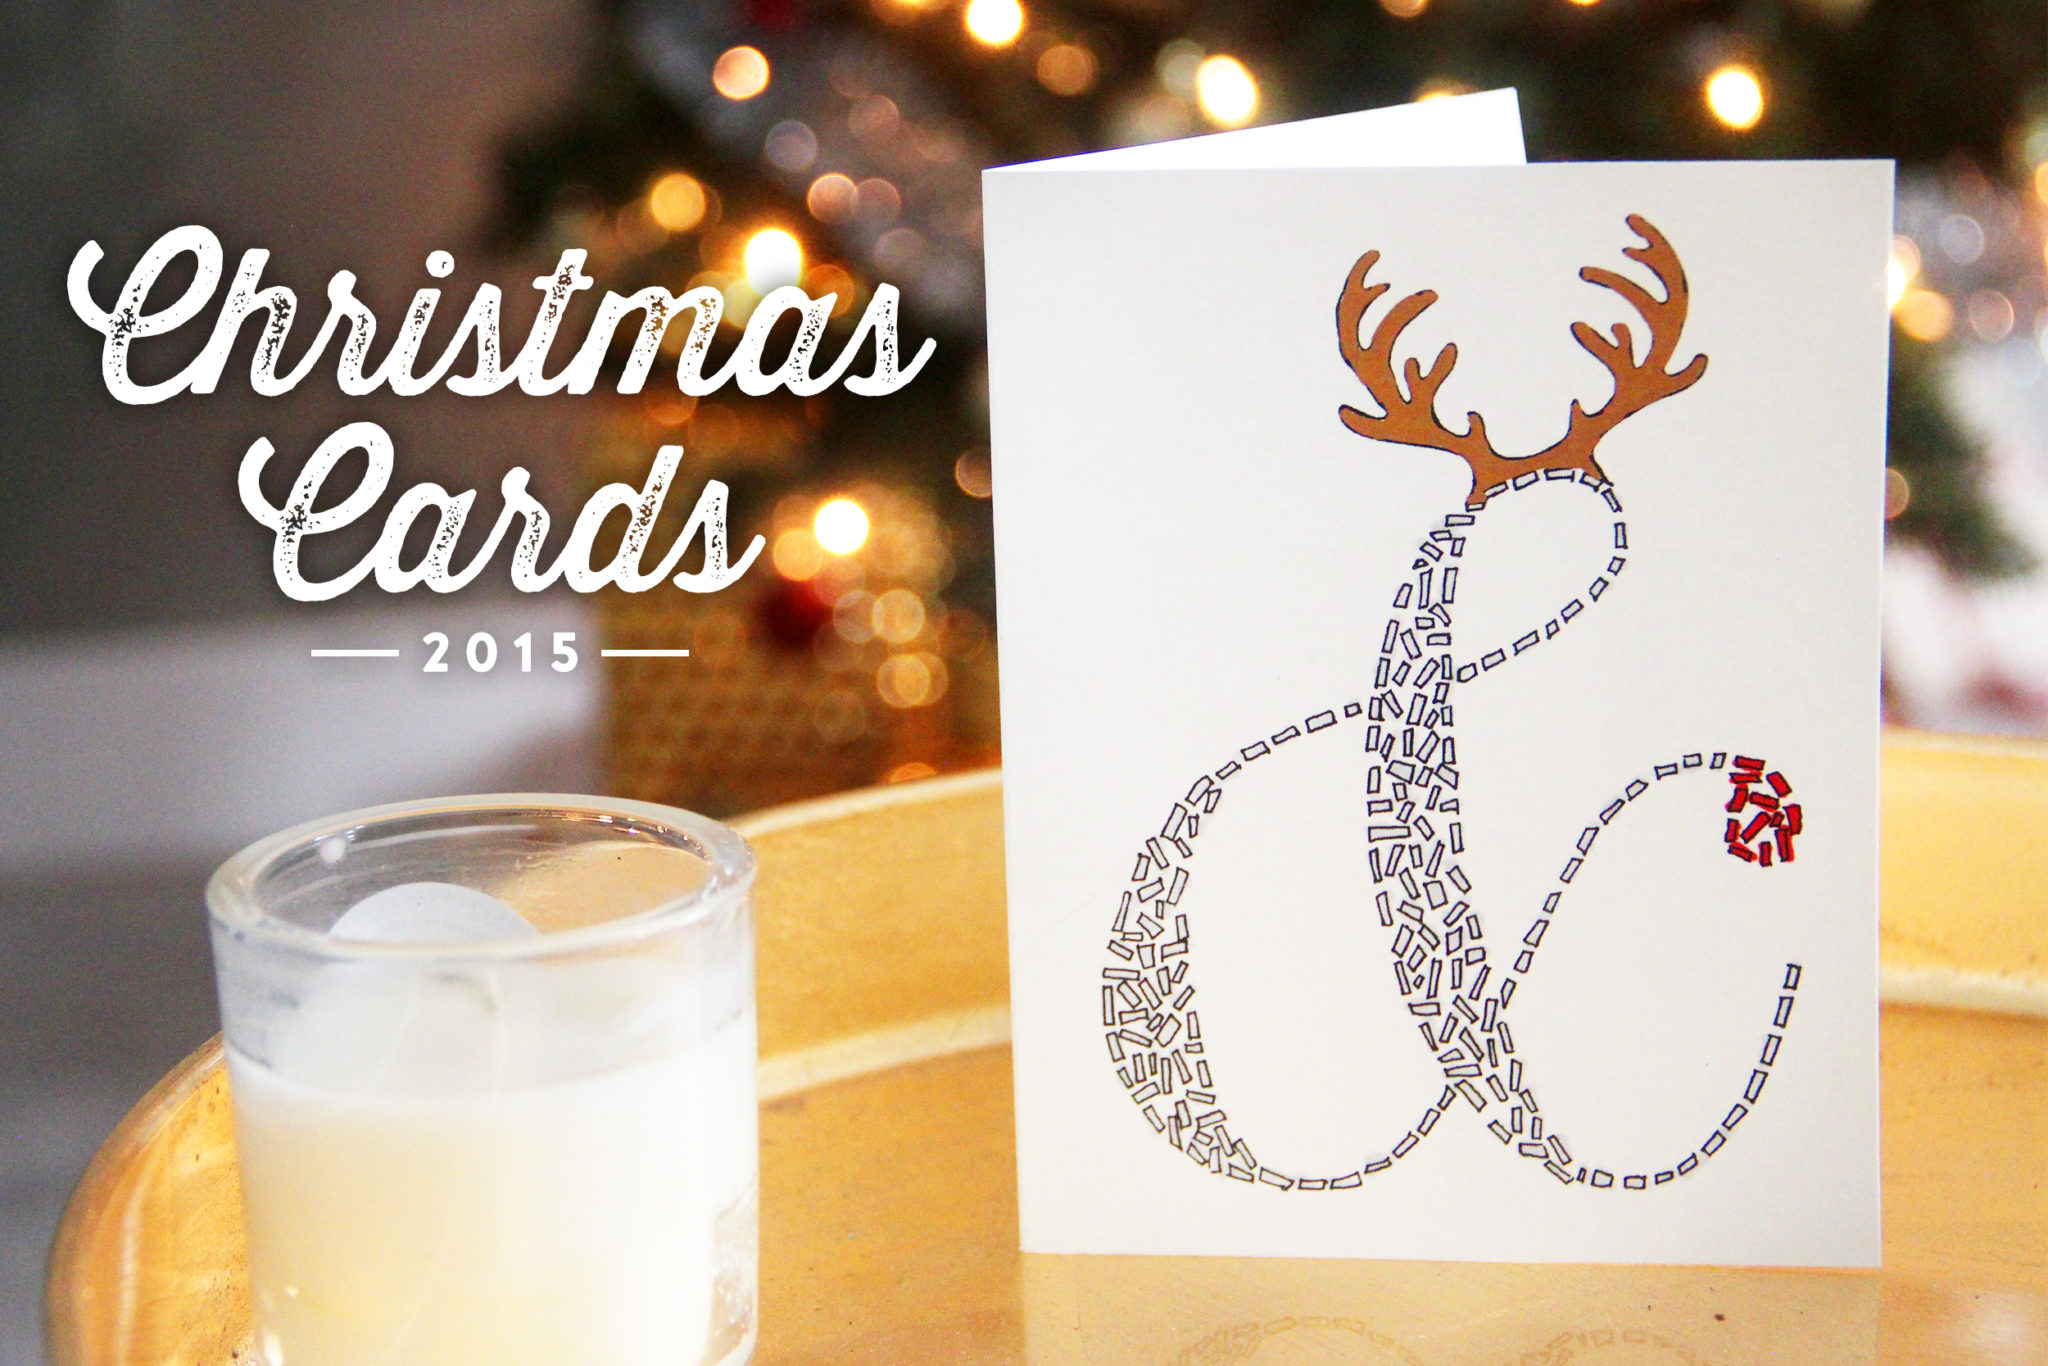
I made two designs, the Rudolph Ampersand and the Santa Ampersand. Both ampersands are borrowed from my Ampersand Coloring Book, and then I added the santa hat and antlers from clip-art that I found online, printed, traced, and scanned back into the computer. (I would never use someone else’s illustrations if I was making money off the designs, but since this is for personal use only, I think it’s ok.)
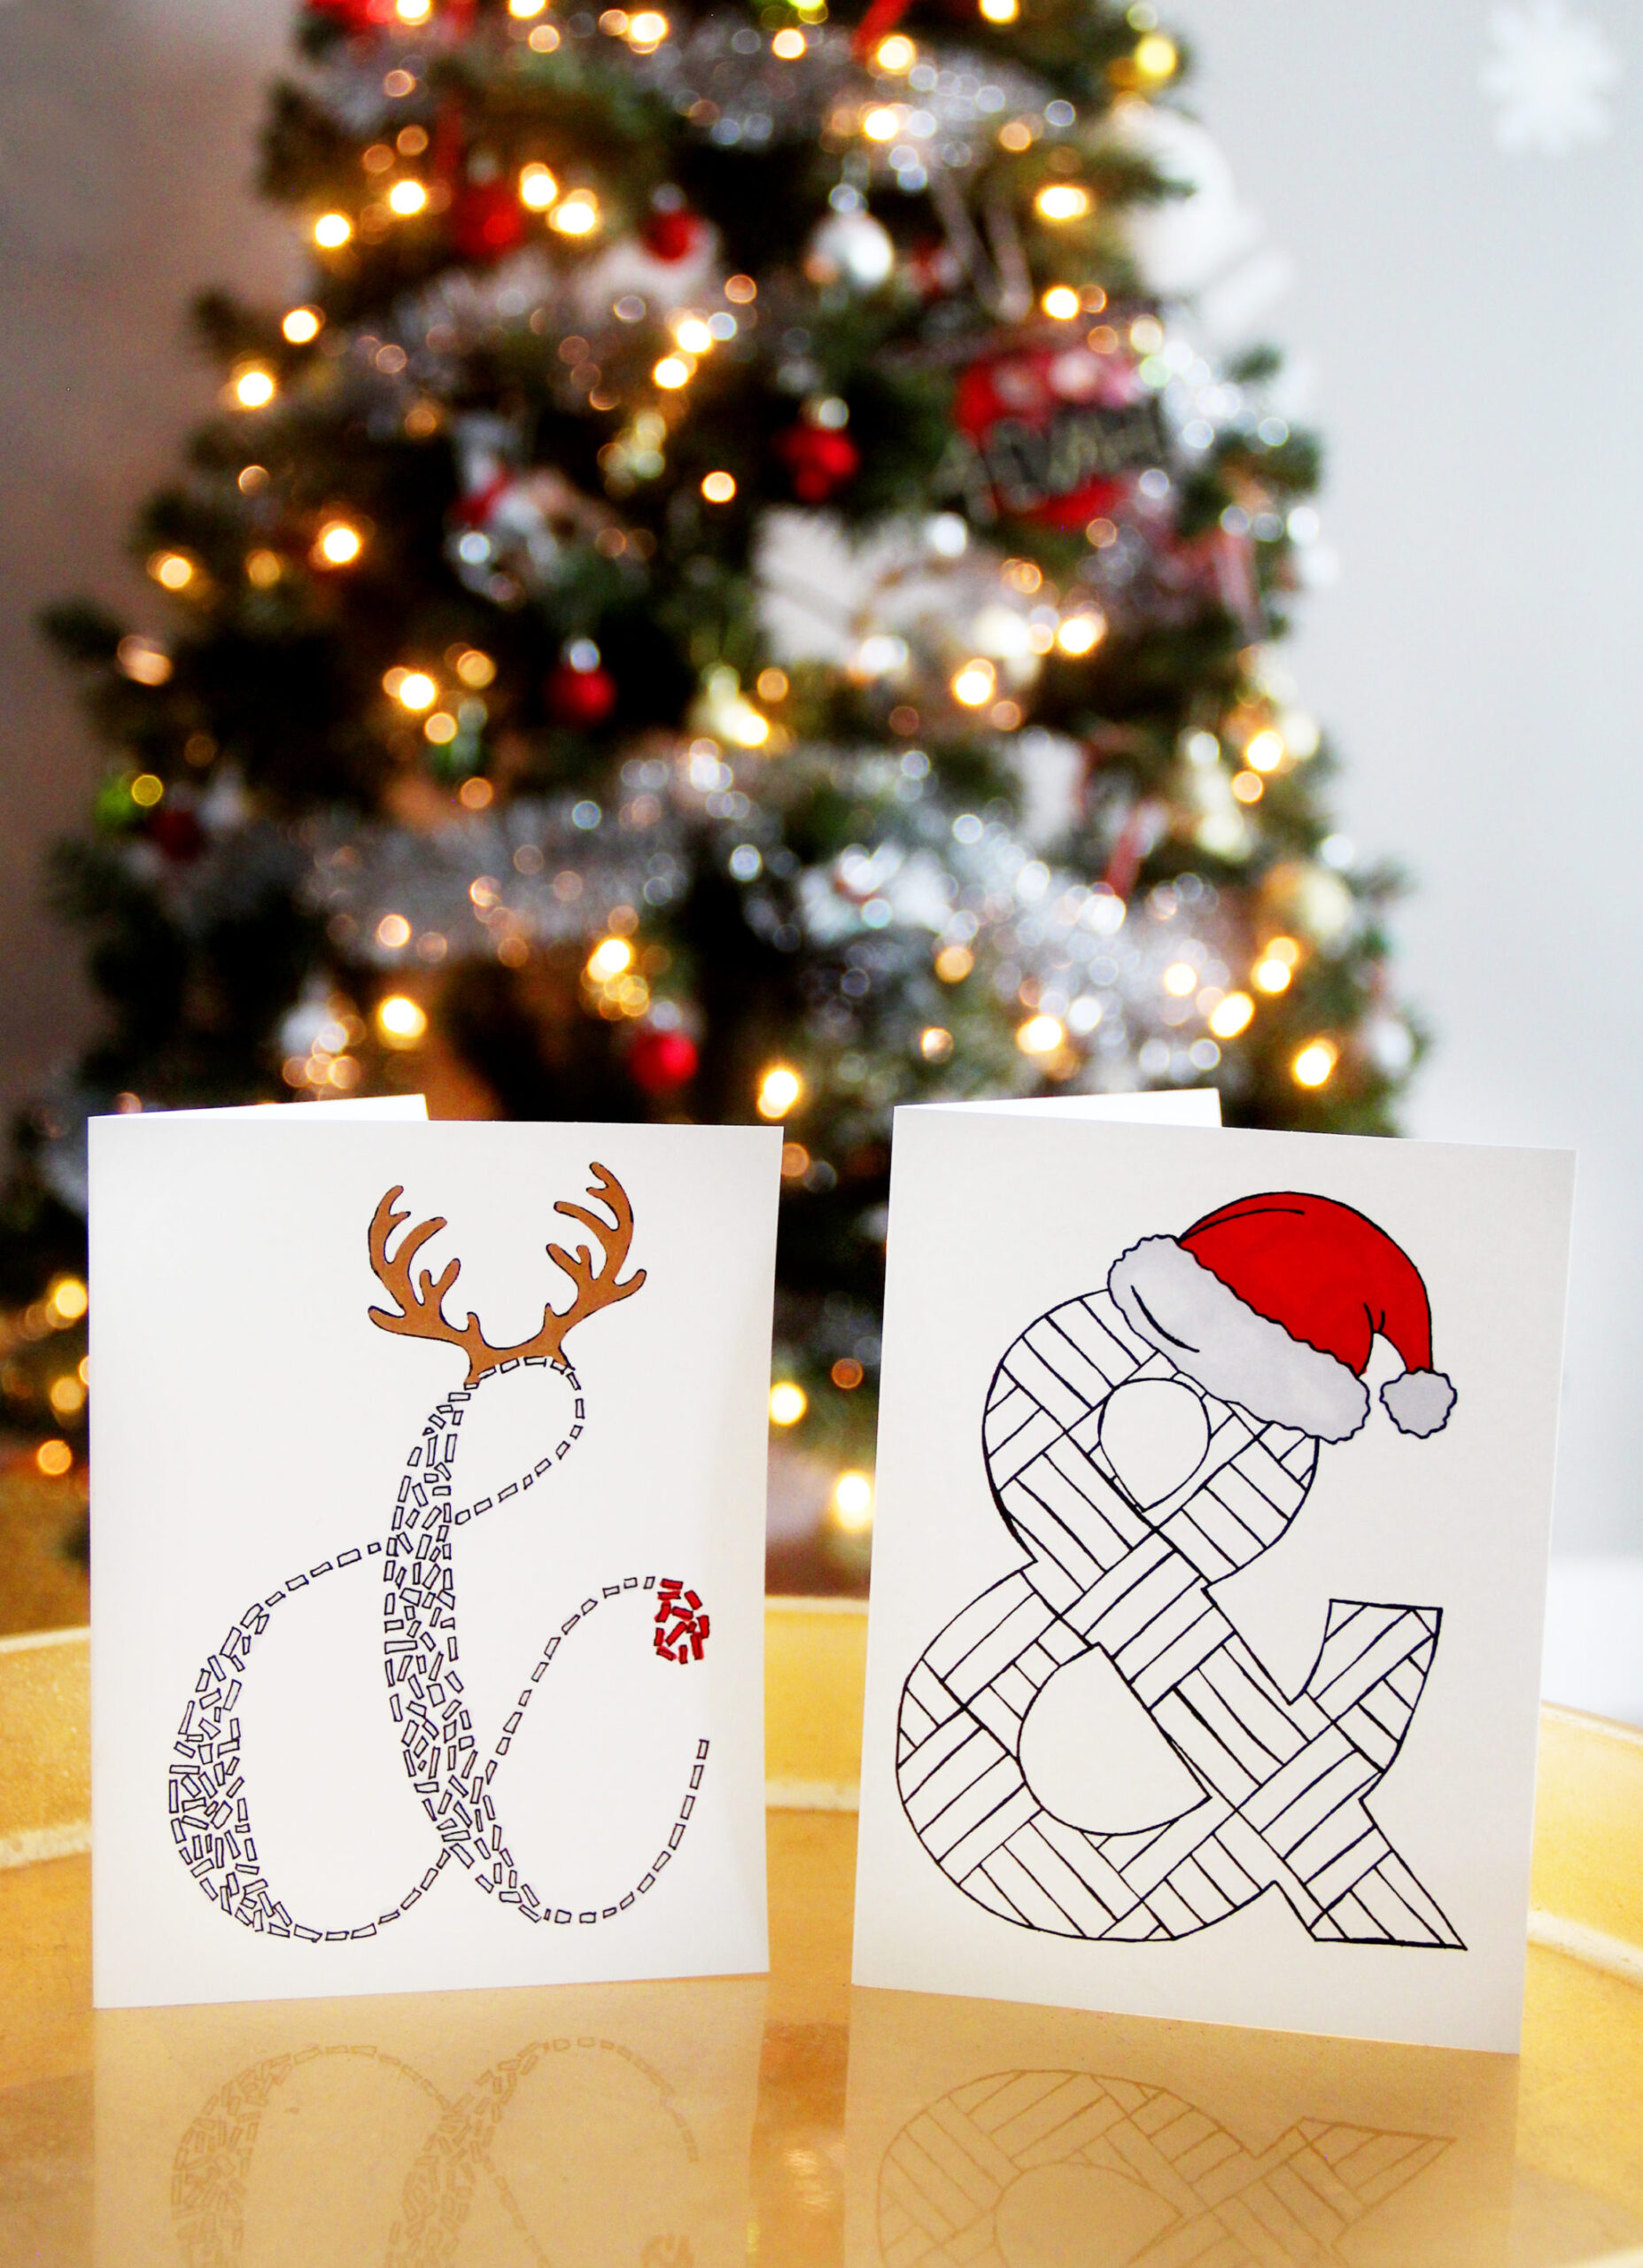
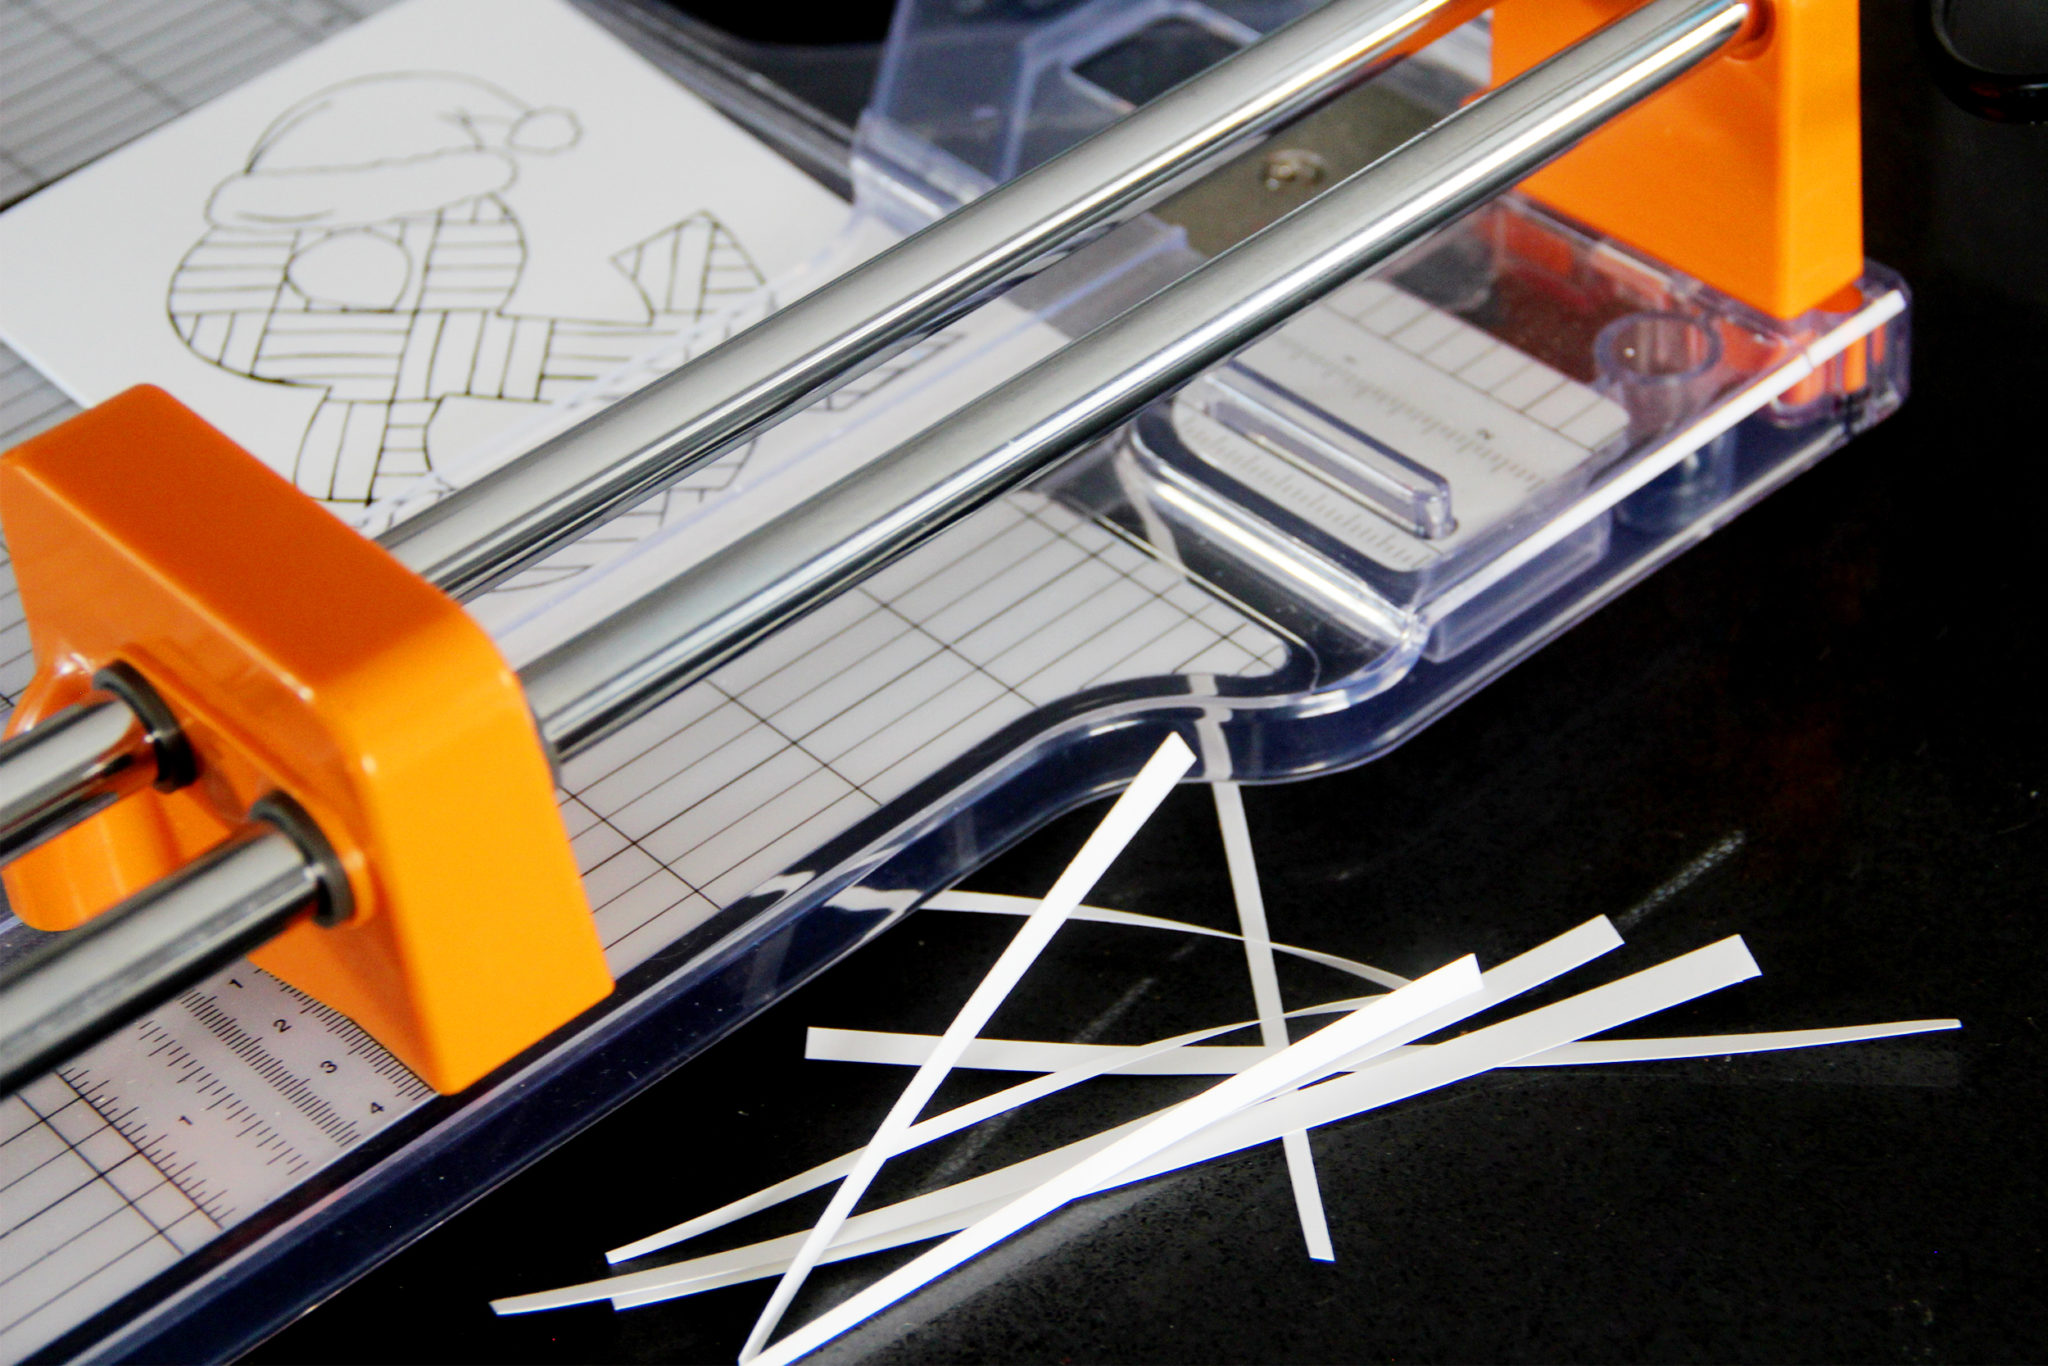
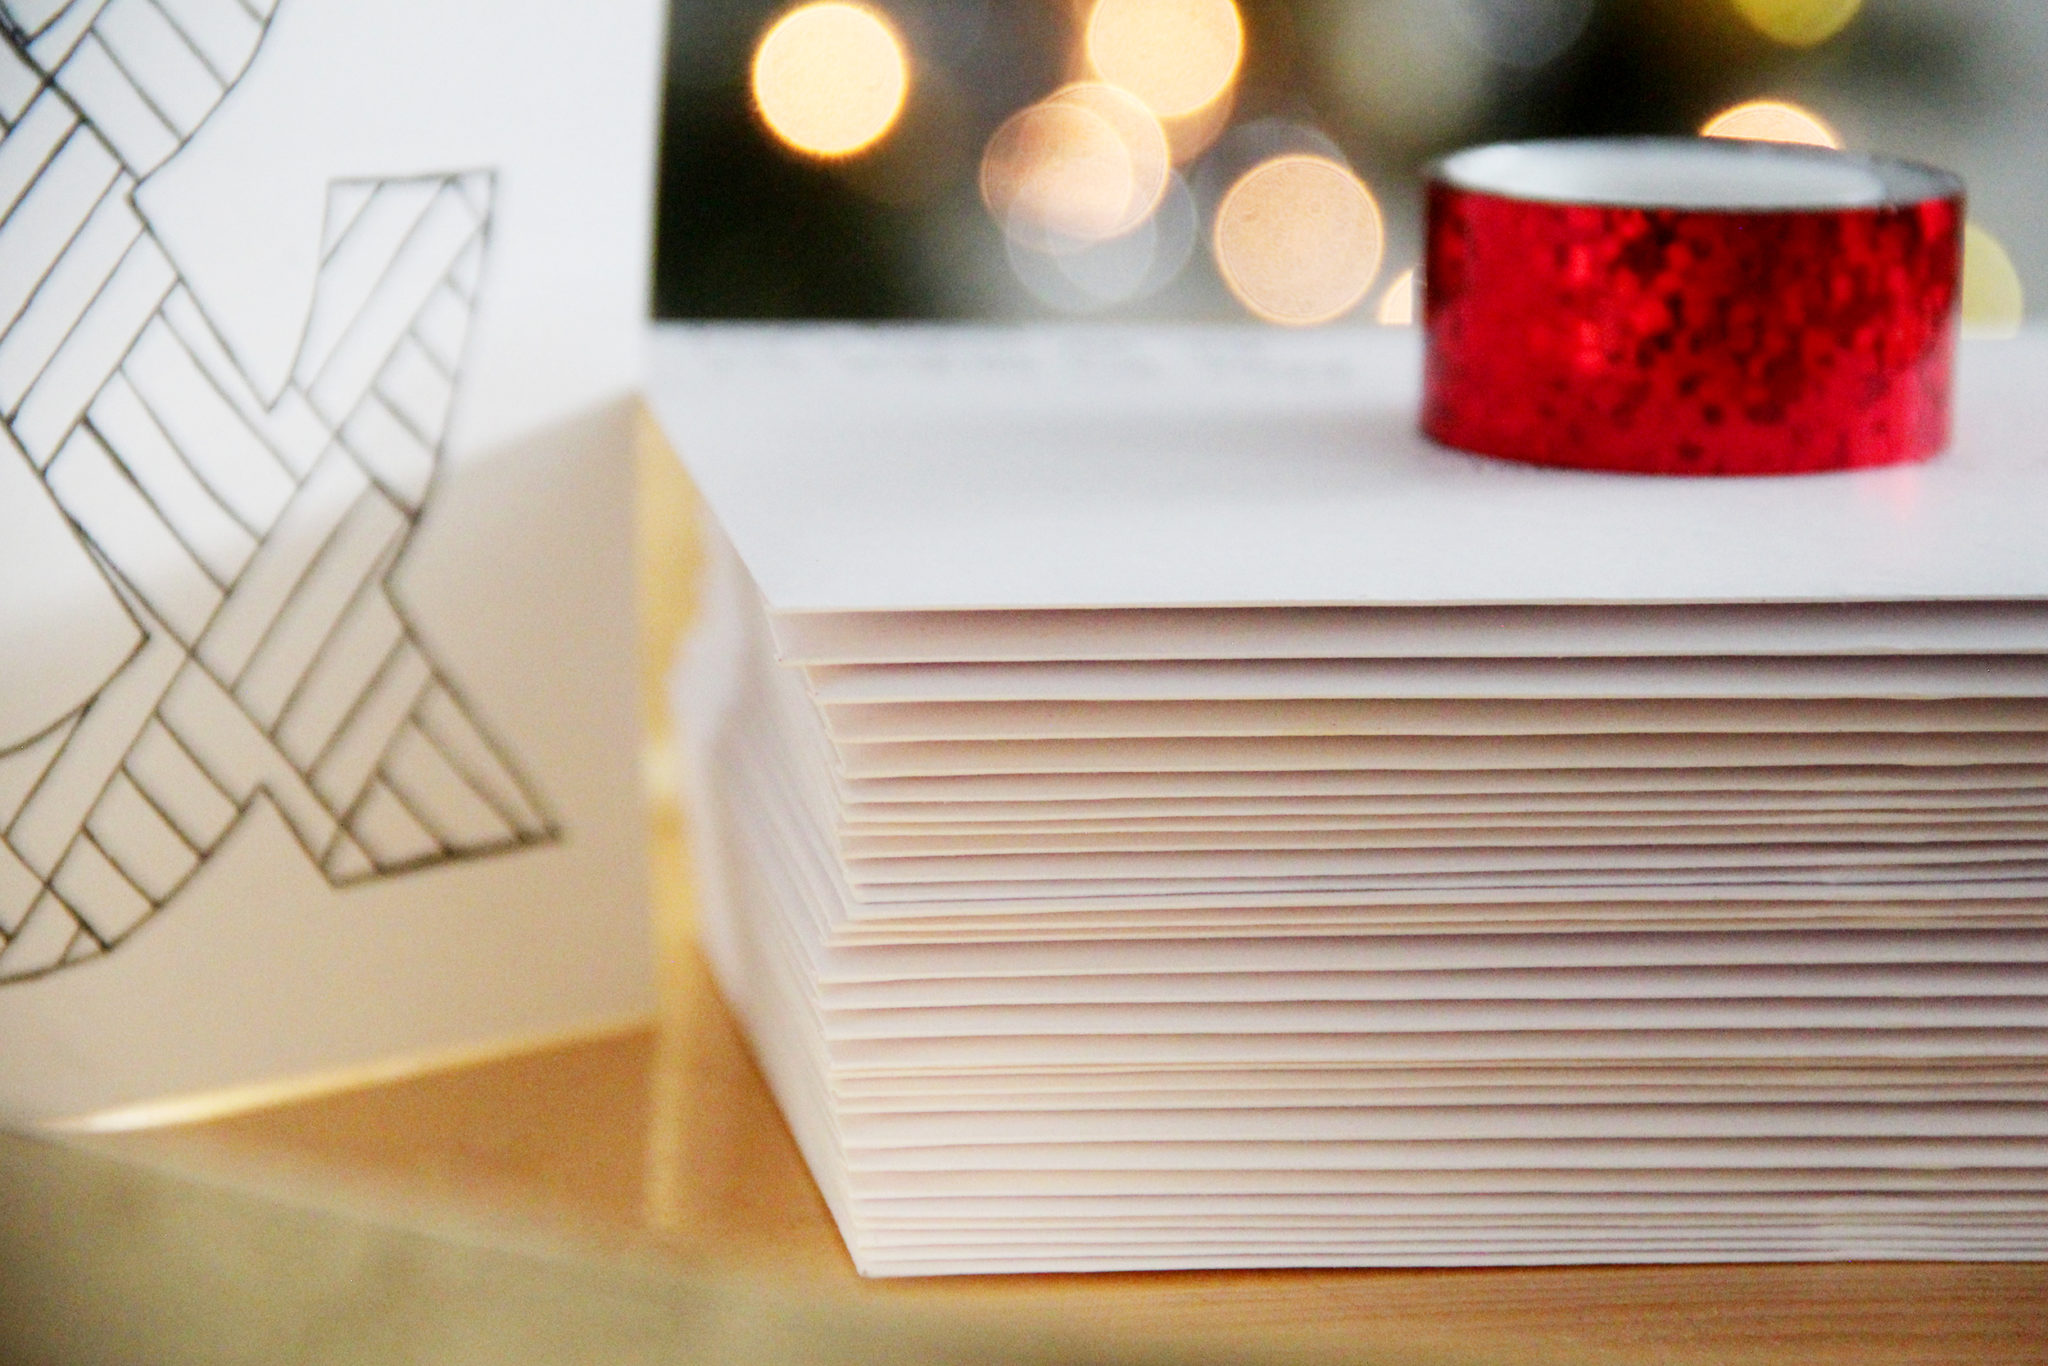
I began by printing the cards with my laser printer onto cardstock, and then I used my Fiskars paper cutter to cut each sheet in half. You can’t really see it in the photo, but I printed a very thin gray line between the cards so I could easily tell exactly where to cut each one.
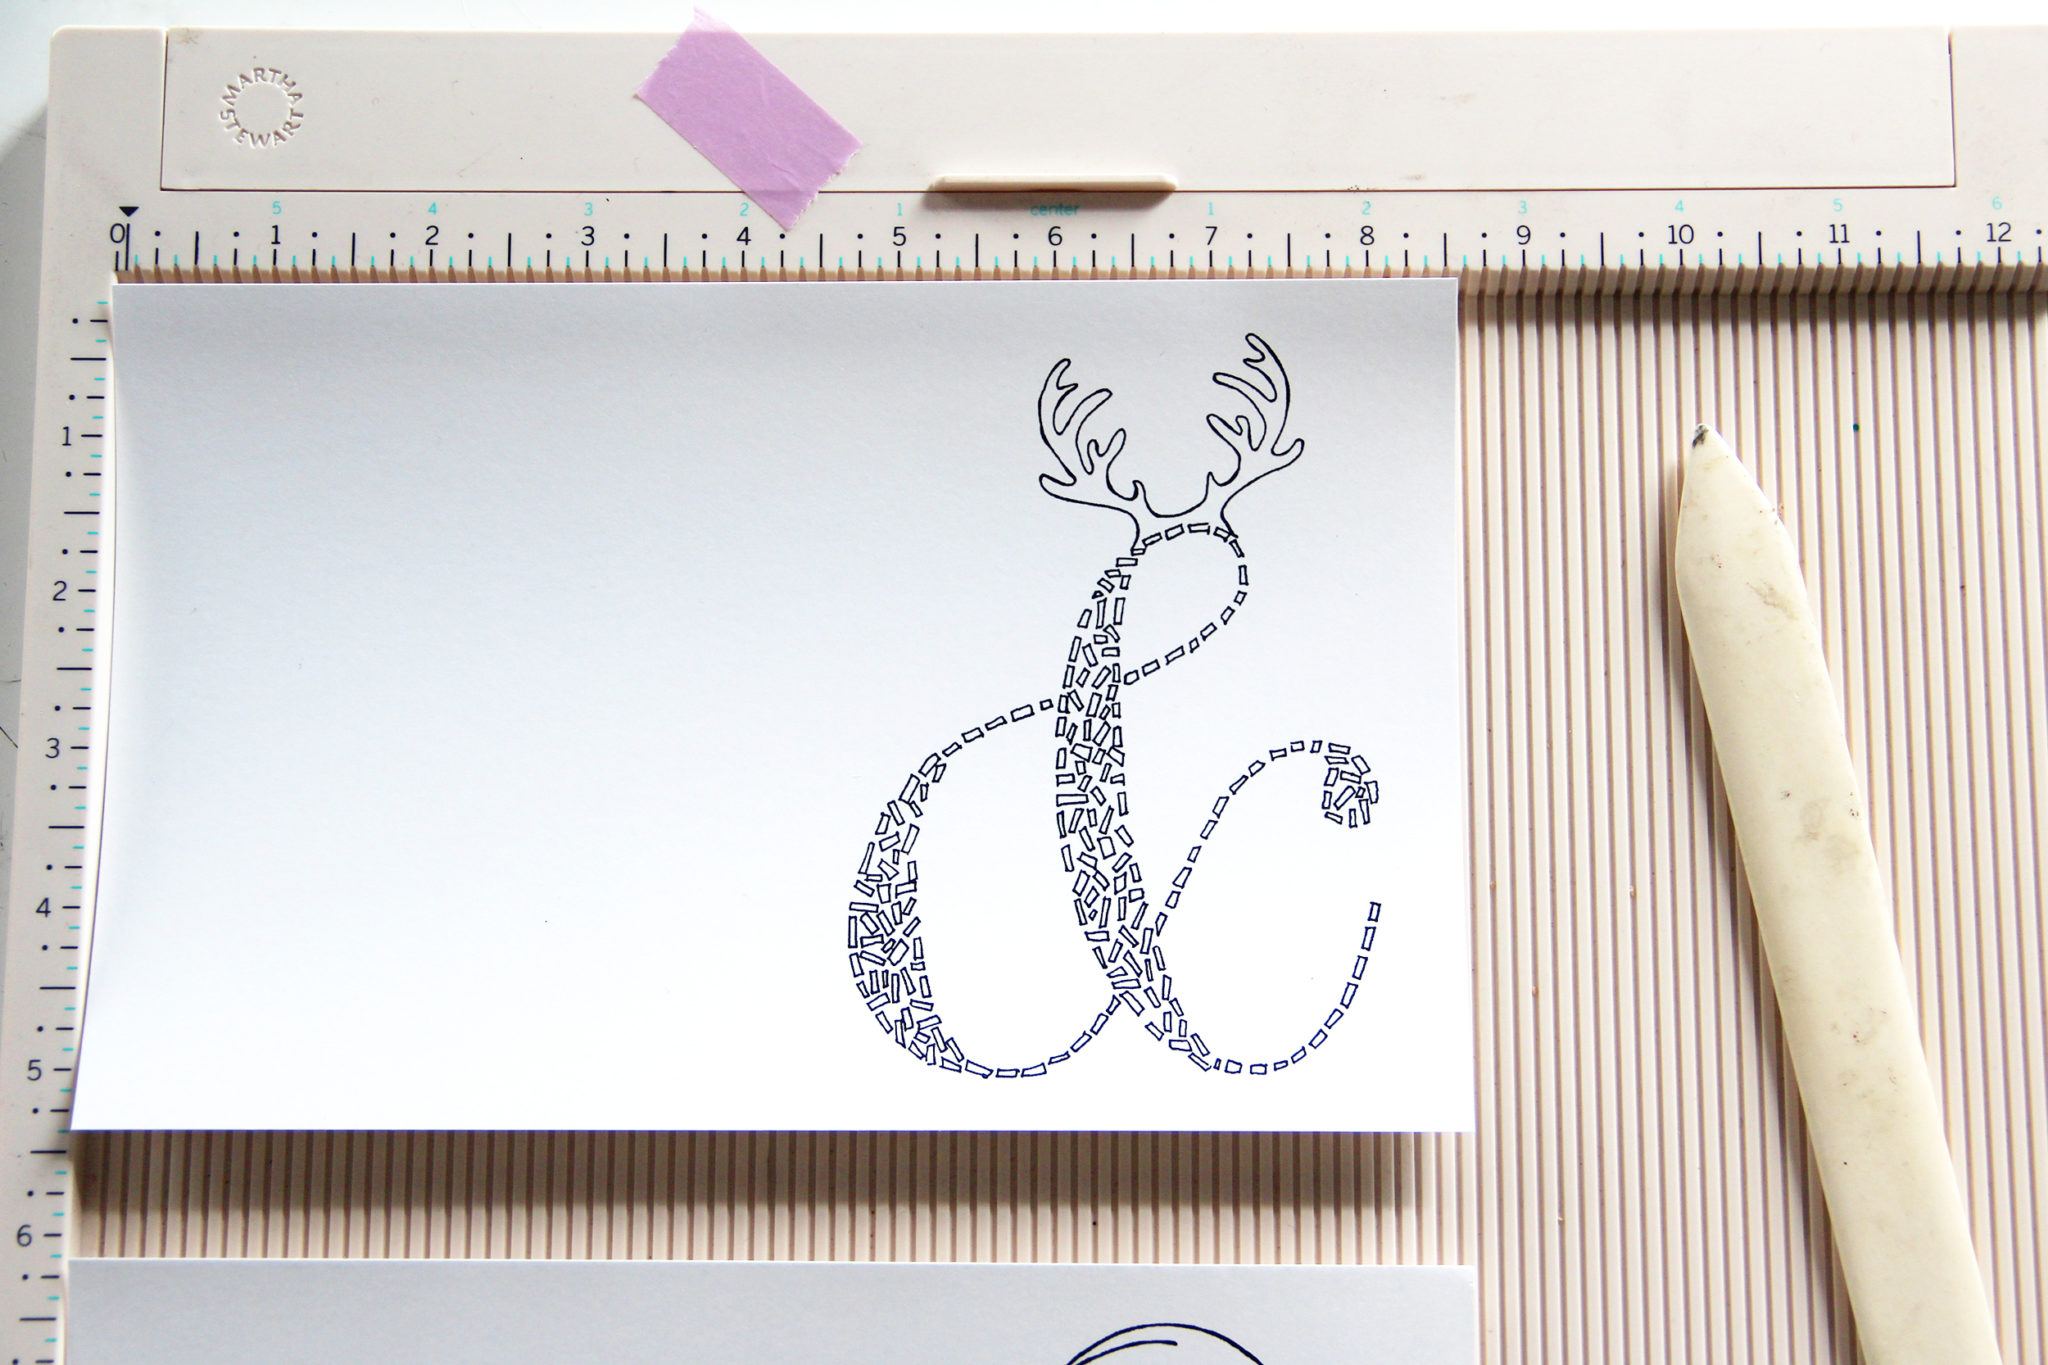
Next I broke out my Martha Stewart scoring board to add a score line in order to fold the cards in half quickly and perfectly. A little pro-tip – if you’re scoring a bunch of paper all in the same place, put a piece of colorful tape on the measurement you need so it’s easy to quickly get it right every time. To be honest, I haven’t used this scoring board much in the past, but I’ll definitely be using it more now, because it was so easy and quick to get all of the cards folded.
Next, because I’m a perfectionist, I went back to the paper cutter to trim the edges, because the ampersands didn’t end up perfectly centered. I didn’t need to be exact here, just trimming off a quarter inch or so from the side and bottom of each card.
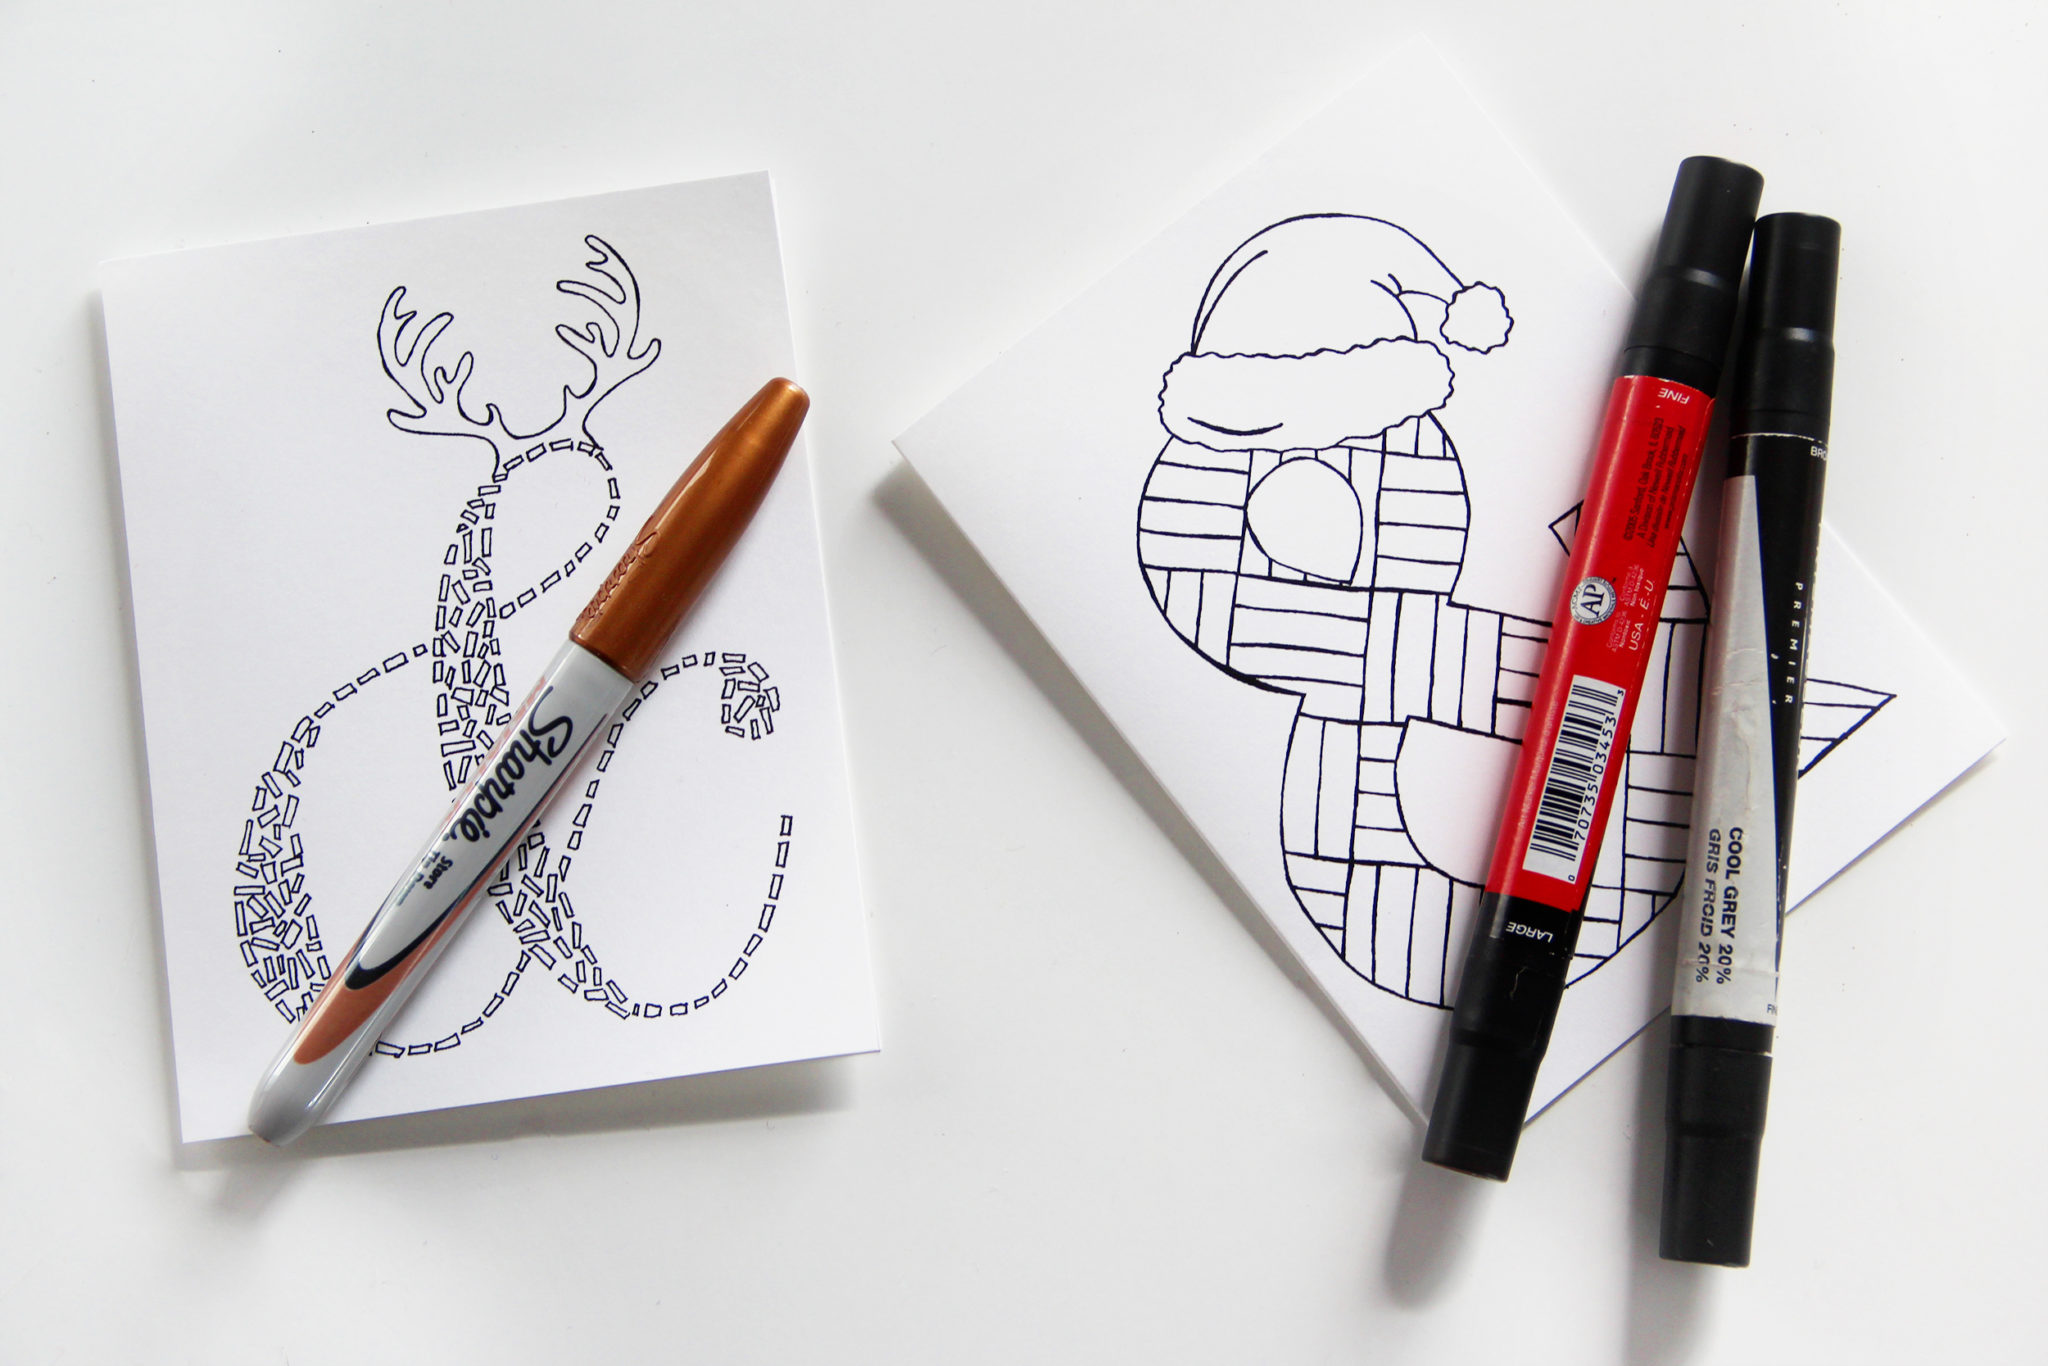
And finally, now it’s time to color them. I used my red and gray Prisamcolor markers and a bronze metallic Sharpie, and just got to work on them while watching House Hunters and drinking herbal tea.
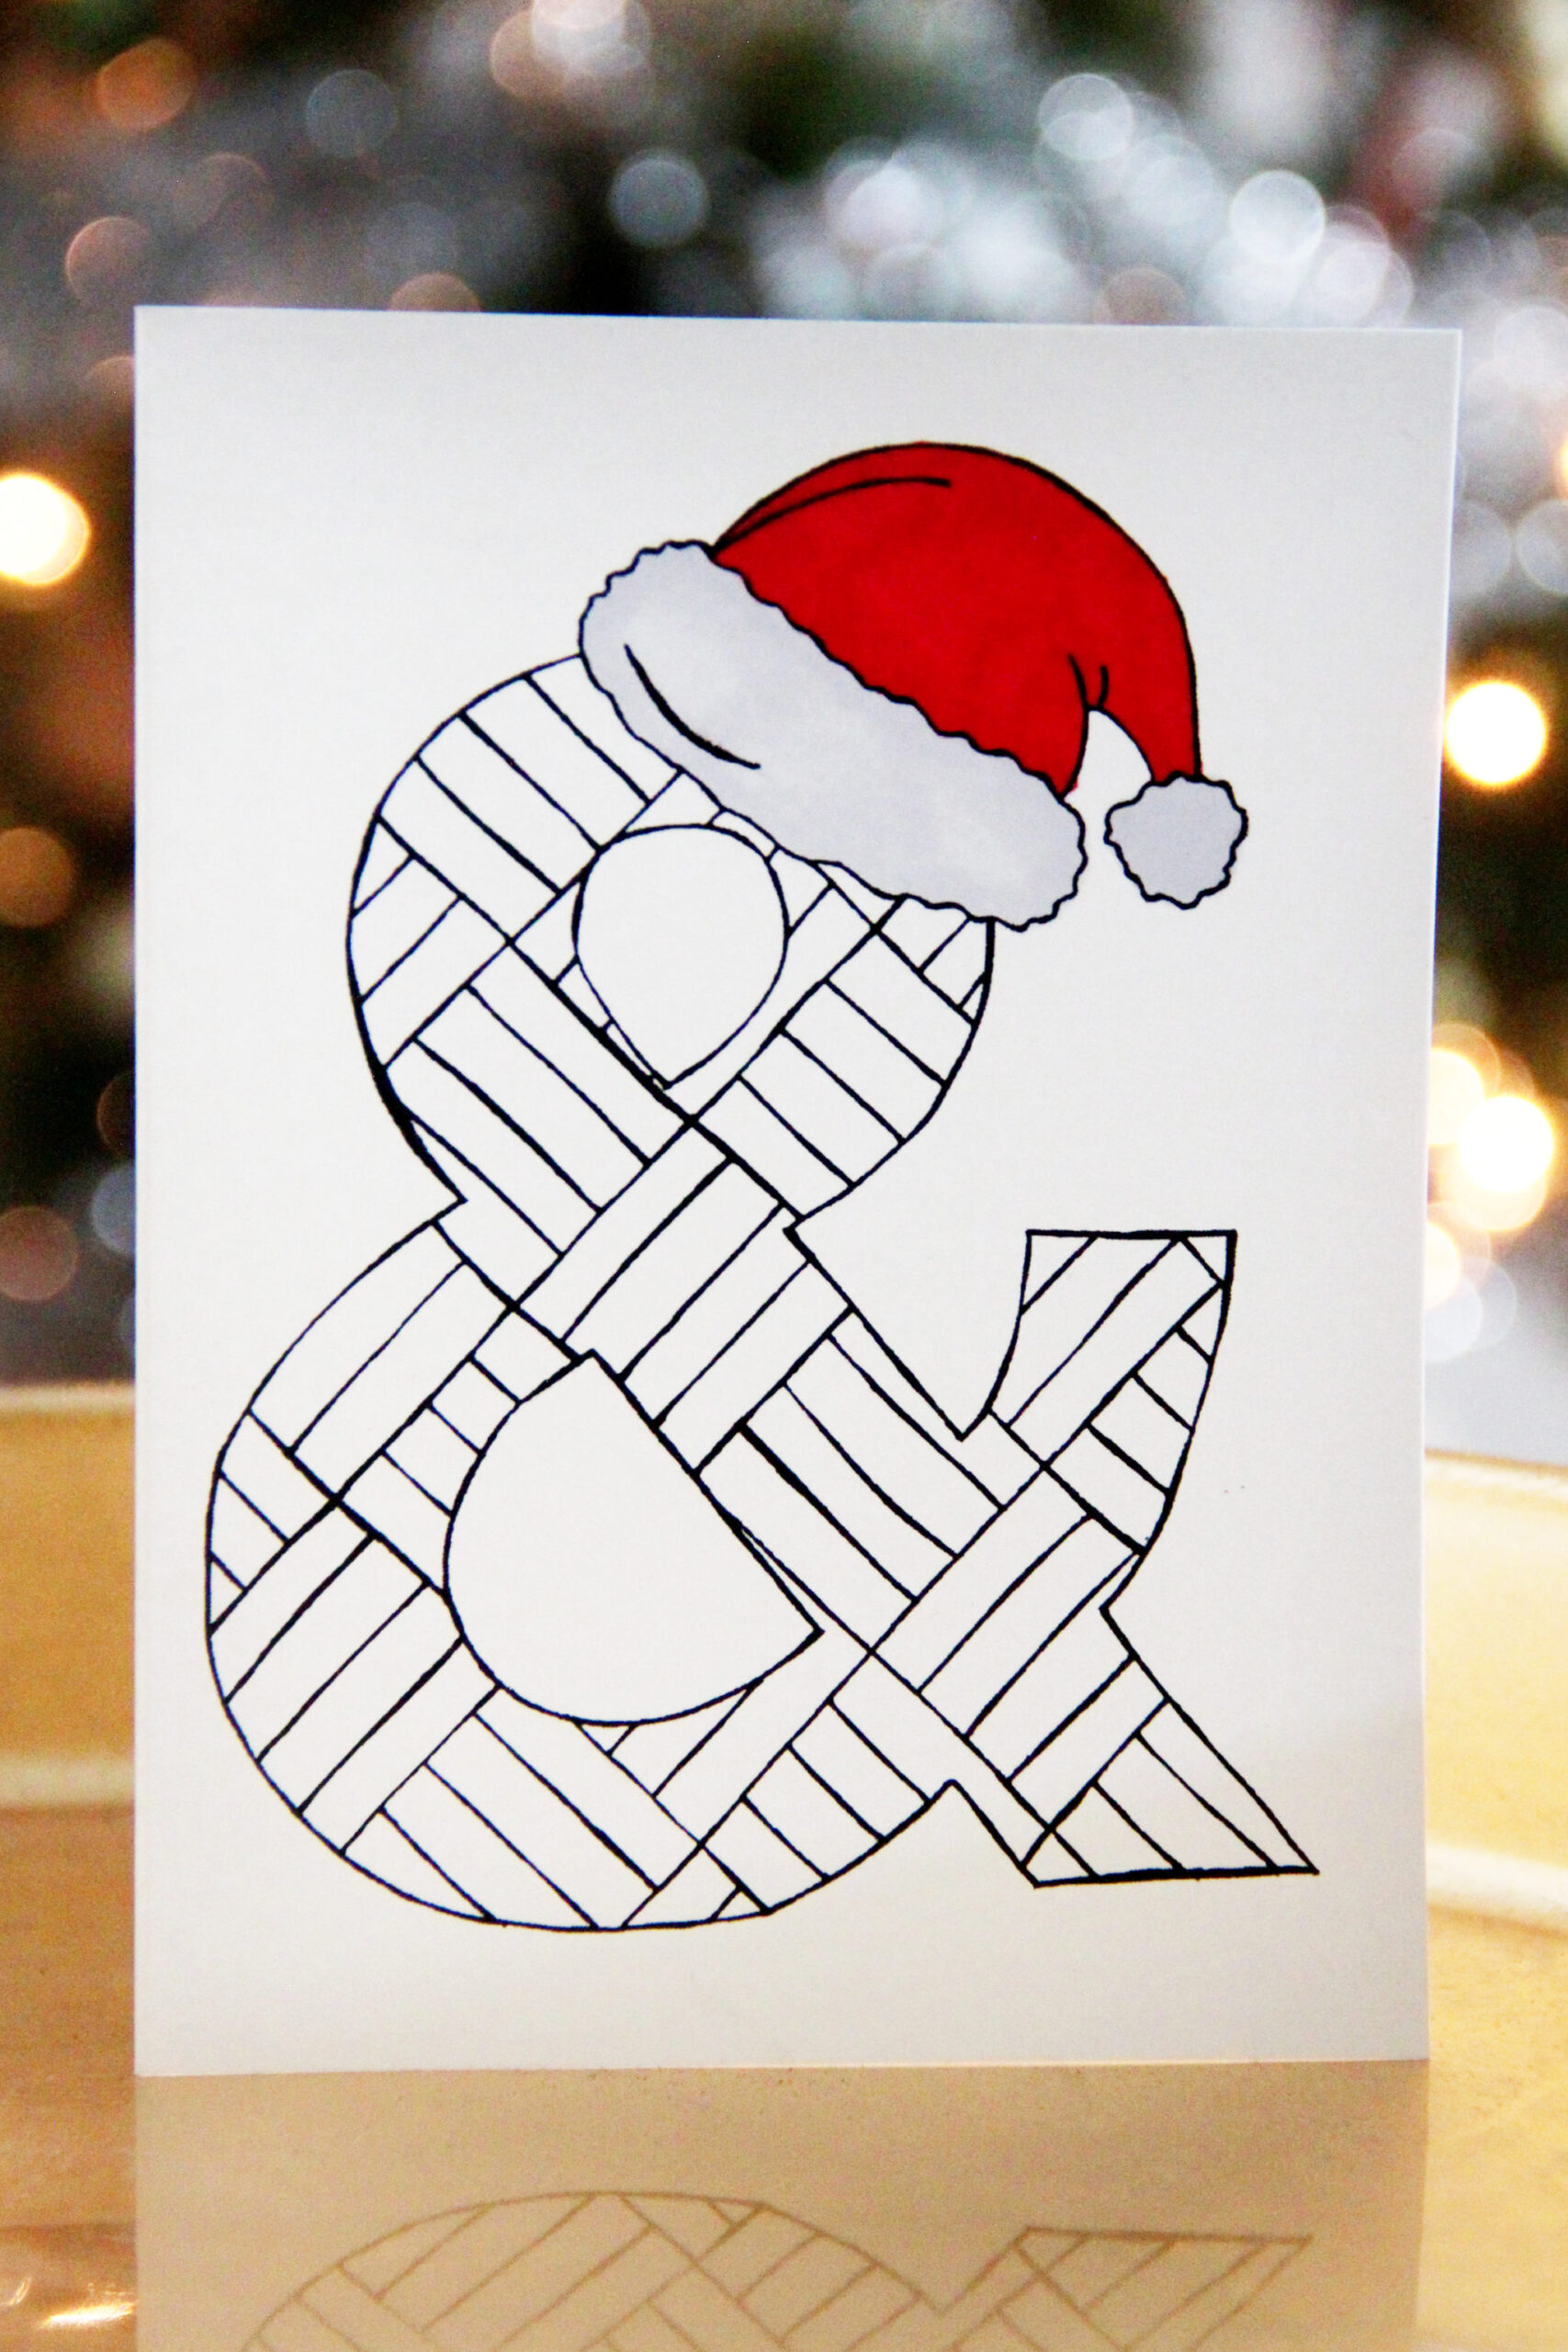
This is how the Santa card came out and I think it is adorable! I tried one version where I colored in the entire ampersand too, but that took way too long, so I think just doing the hat is plenty and it still looks very festive.
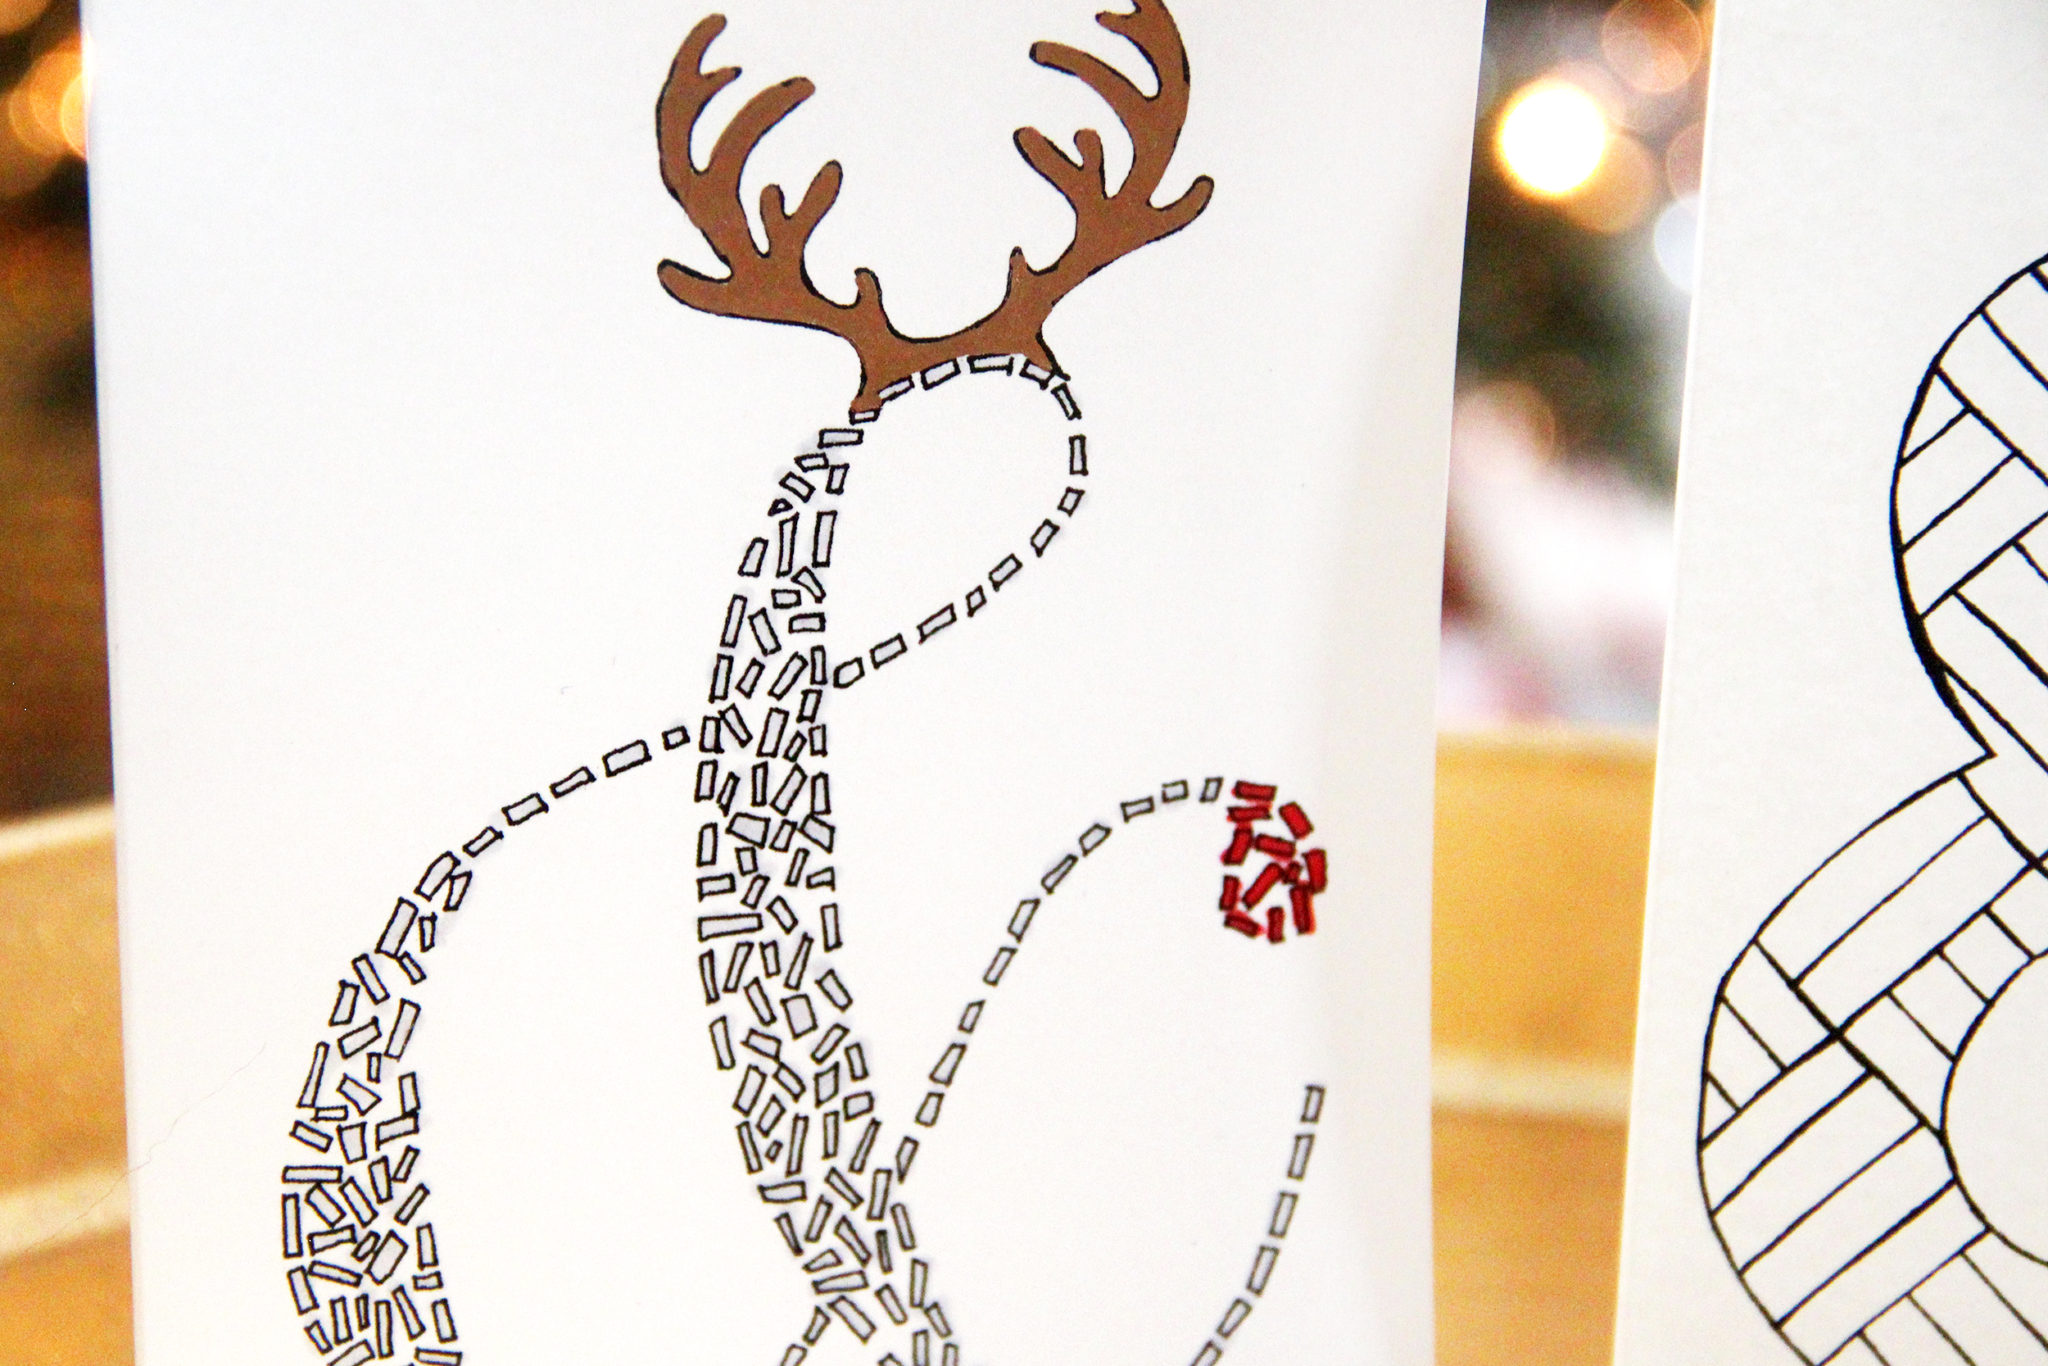
And, here is the Rudolph card. It’s hard to see in the photos, but the antlers are actually shiny because of the metallic Sharpie. Coloring them in was tough though, because the Sharpie ink would cover the black lines, so I had to be extra careful to stay in the lines. It also took quite a bit longer than the other one to color in all of the little rectangles that make up the ampersand, but I wasn’t worried about being perfect, and I think the end result came out so cute.
I ended up making 34 cards in total, and they’re all accounted for, so unfortunately I won’t be sending them out to any fans. However, I still have plenty of last year’s holiday postcard left over, so that’s what I’m still sending back to anyone who sends me mail to my PO Box! (Karen Kavett, PO Box 741405, Los Angeles, CA 90004)
I’m so glad I managed to get these all done in plenty of time to send them out to all of my friends and family. And, I managed to save money by making them at home instead of getting them printed by an online company. I hope you enjoyed learning about this year’s card design, and be sure to check out the Ampersand Coloring Book if you like these designs and want to try coloring them for yourself. Happy Holidays!