

Today’s DIY is this AMAZING Christmas ornament that I recreated from the one seen in Girl Meets World! As soon as I saw it on TV, I knew I had to make one for myself, and after I posted a picture last year, you guys wanted a full DIY, so here it is. Keep reading to learn more and see more photos of the project!
Here is the full DIY where you can see each step in action. Don’t worry – once you gather the supplies, it’s a very easy project!
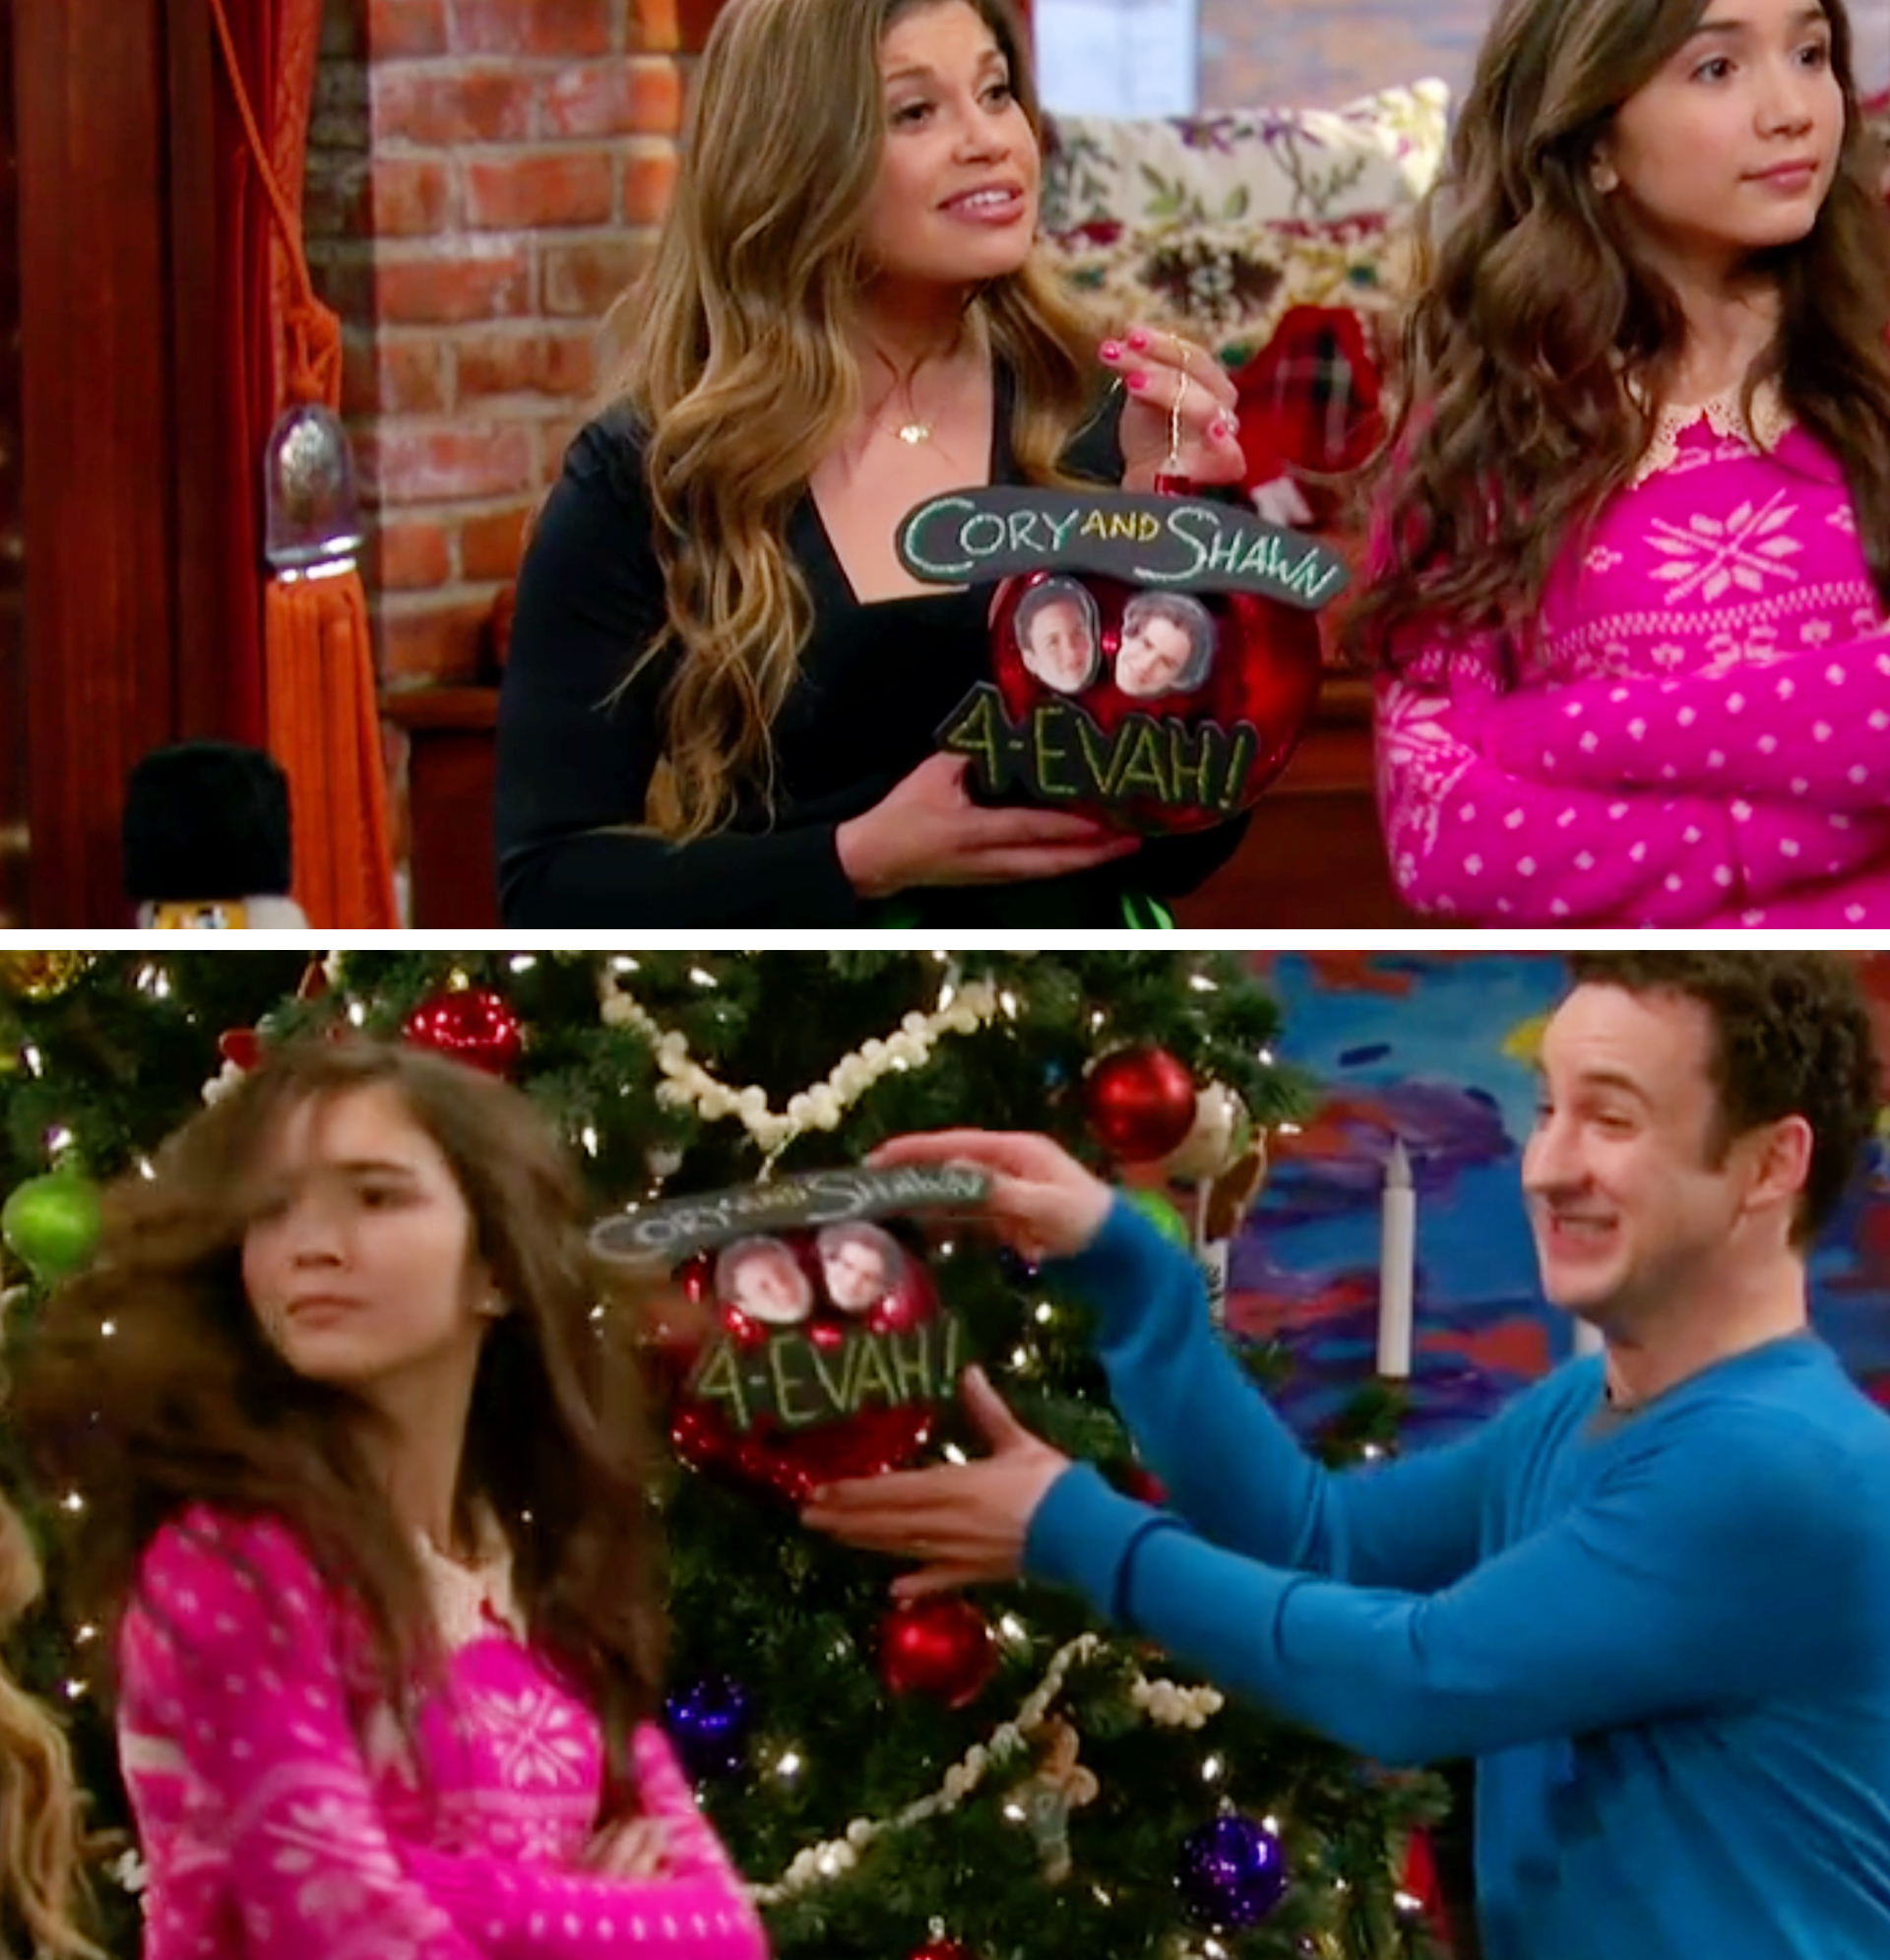
If you haven’t seen Girl Meets World, this is the original ornament as seen in the episode Girl Meets Home For the Holidays. As you can see, it’s about as big as Topanga’s head. I decided to make mine a bit smaller, partially because giant ornaments are pretty expensive, and also because my tree is much smaller than theirs, so I didn’t want it dominating the entire tree design.
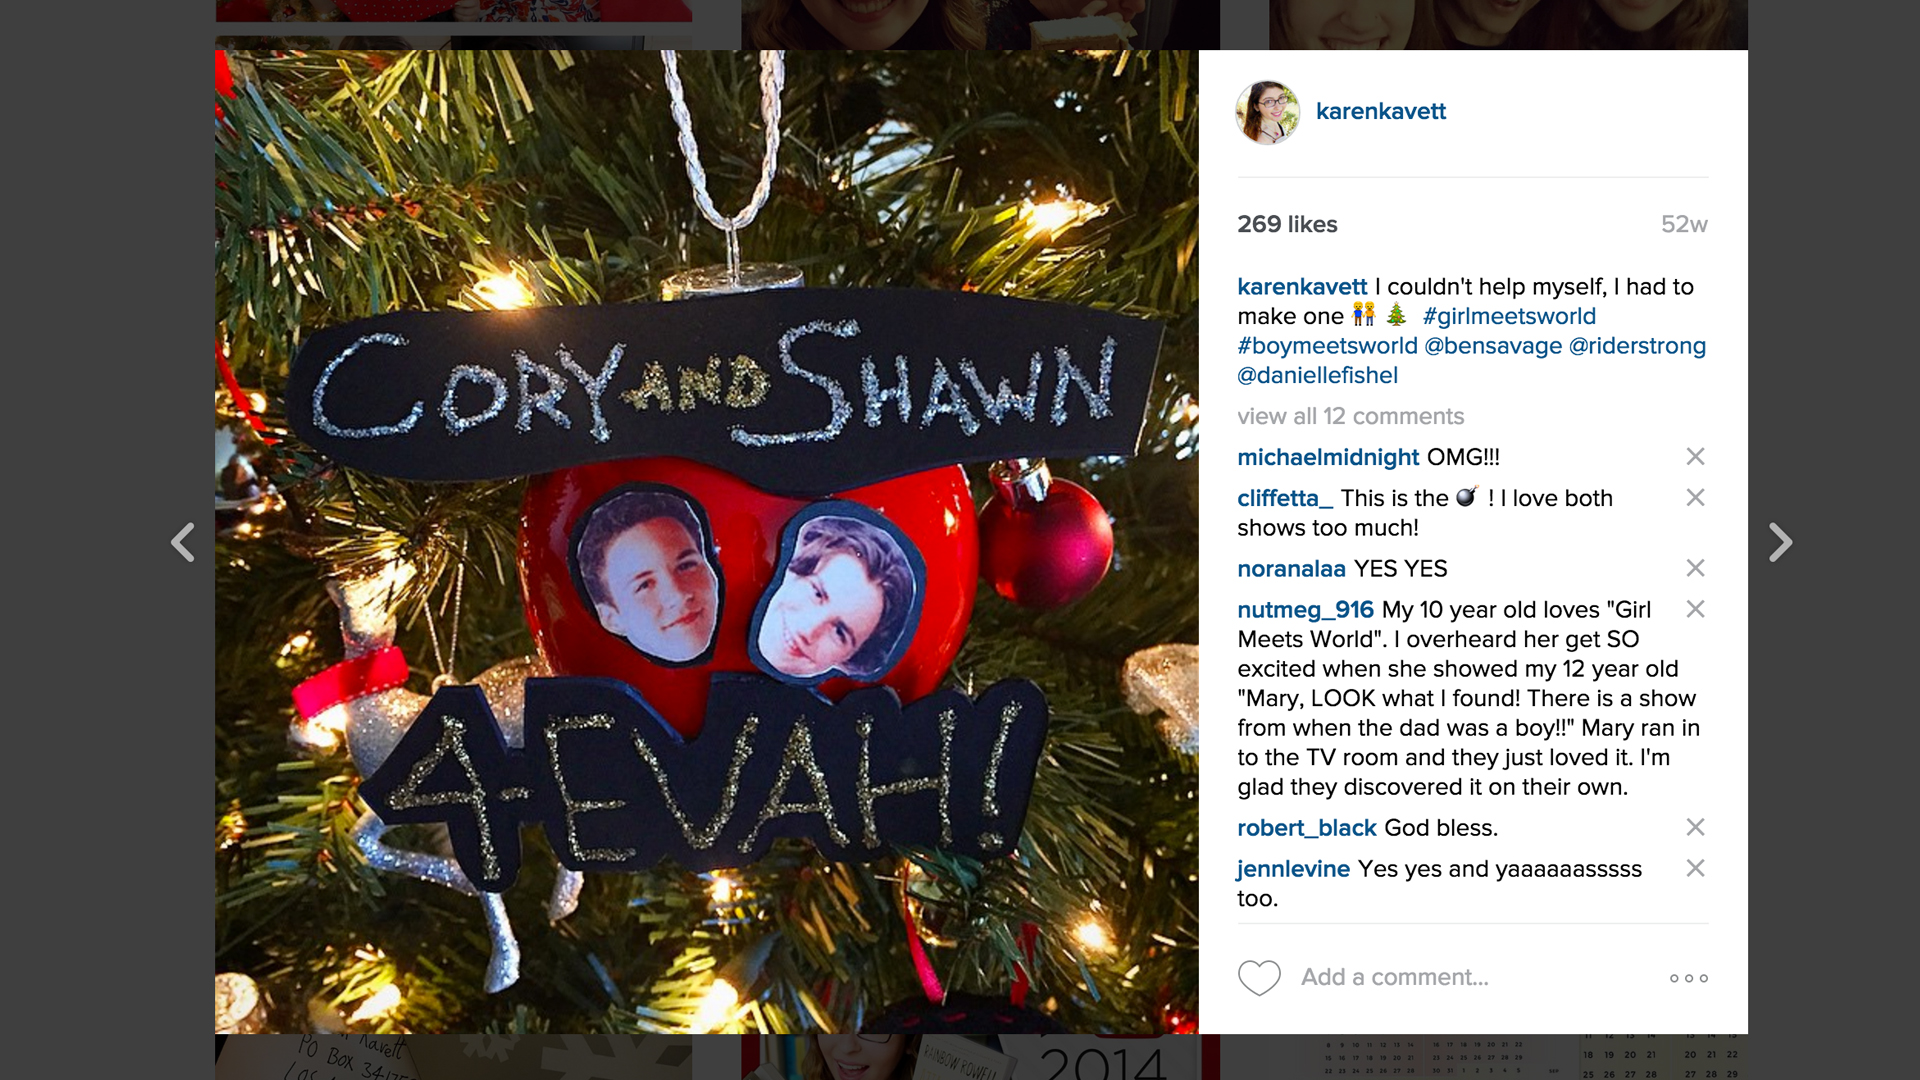
This is the ornament I made last year, and I posted a photo on Instagram which a ton of you guys liked. It was so much fun making it last year without worrying about filming it, but since you guys asked for the DIY and it’s a relatively simple project, I’m happy to show you the step by step today.
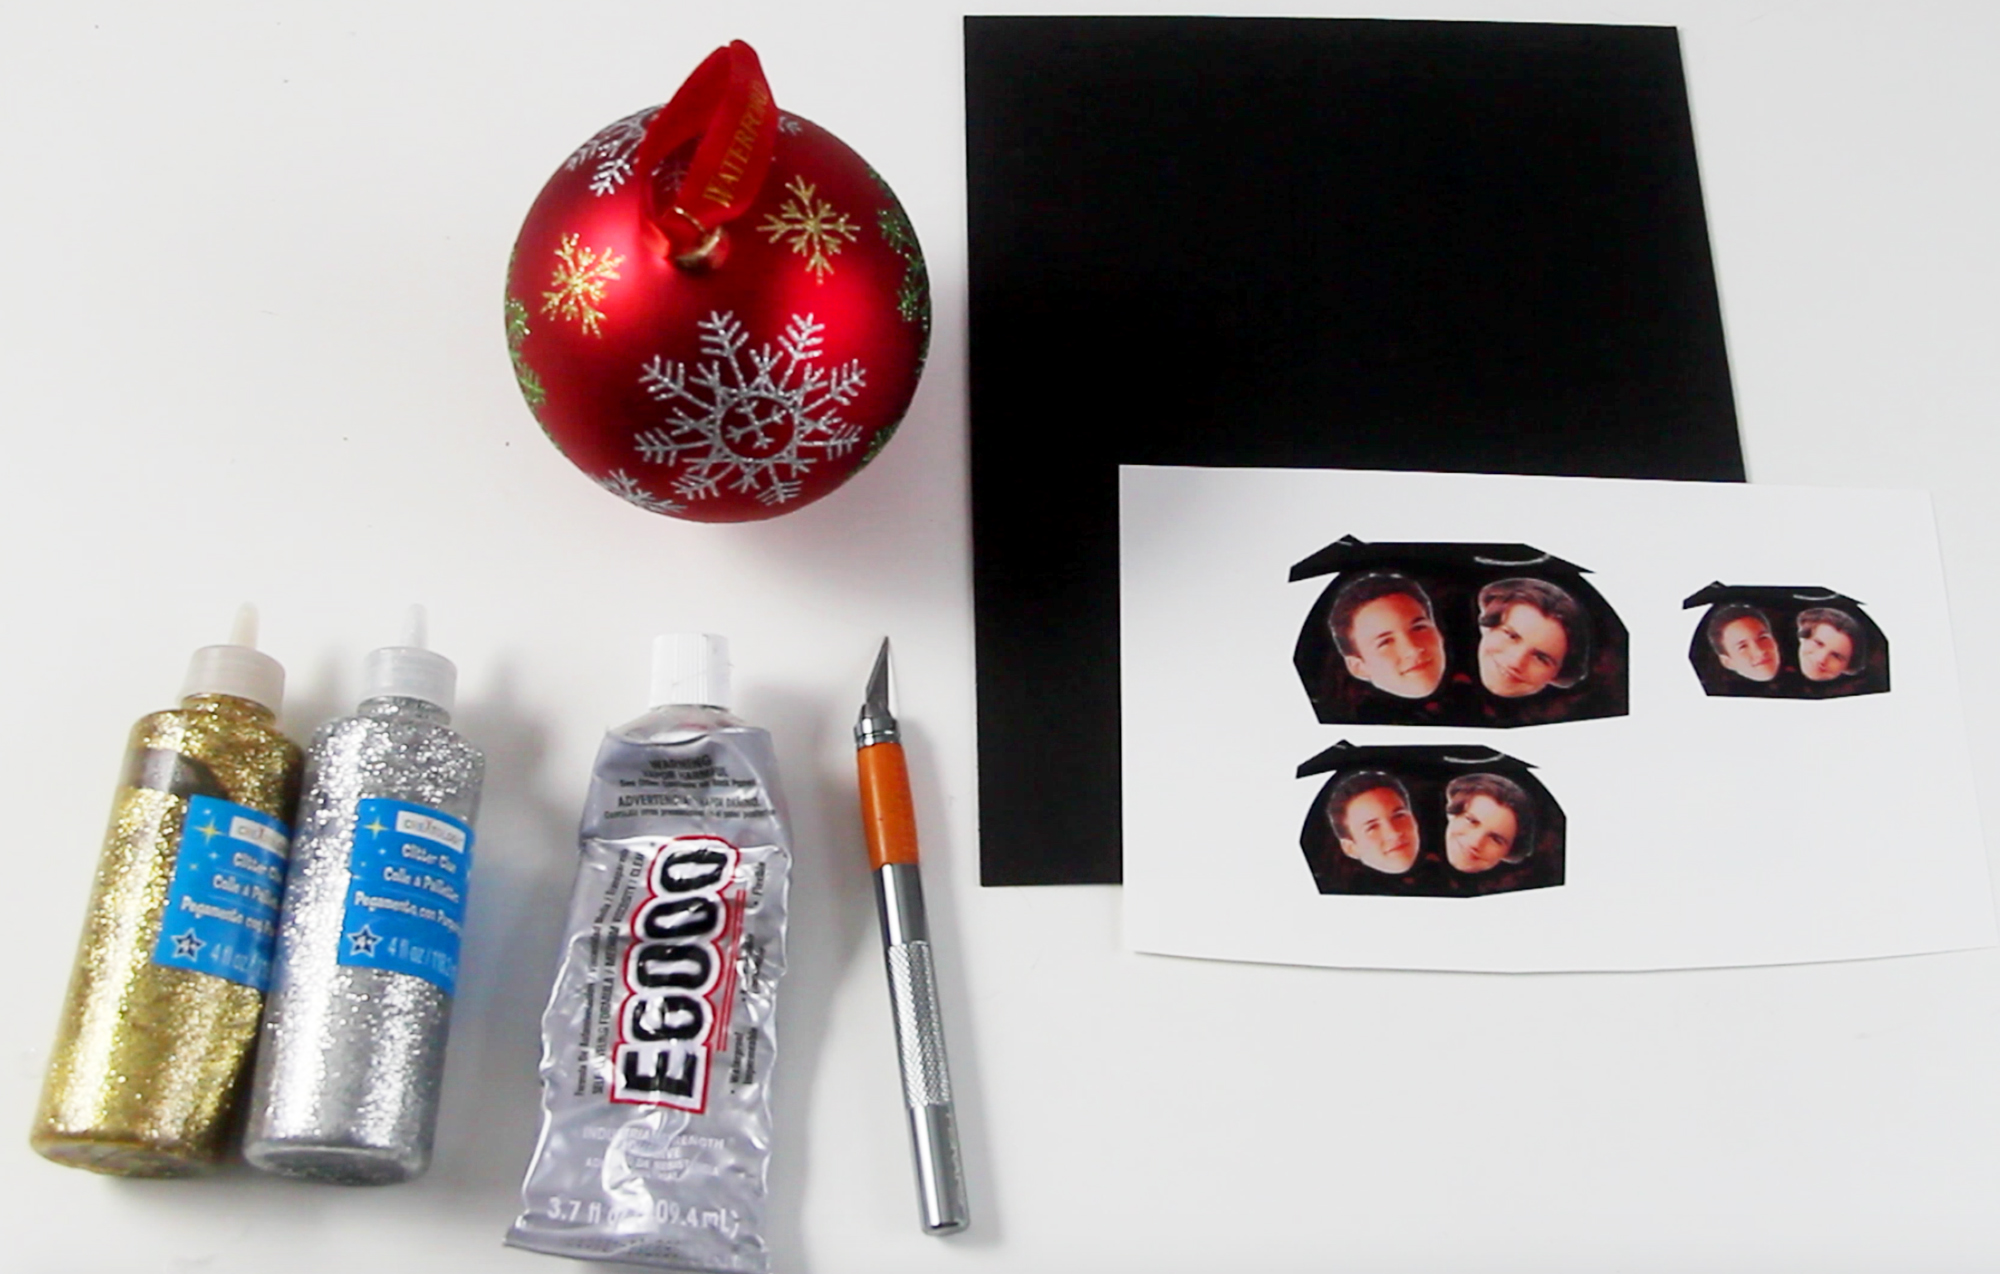
These are the supplies you’ll need:
Oversized Red Ornament – As I said, the ones I ordered didn’t arrive in time for the video, so I had to get a slightly smaller one from the store and scrape off the decorations. You can get any size ornament you like depending on the size of your tree though. And if you can’t find a red ornament, you can always get any other color and paint it.
Black Museum Board – If you don’t have museum board, you can always paint plain cardboard black, but I do recommend getting the museum board, because it looks a lot cleaner and you can use it in a ton of different projects!
Printout of Cory and Shawn’s faces – This is the image I printed out to use the same photos of Cory and Shawn as in the original ornament. You can print them at any size that will fit the ornament you end up getting.
X-acto Knife & Cutting Mat – This one is pretty self-explanatory. Just make sure to be using a sharp blade to cut the museum board!
E6000 – To be honest, you can use any kind of glue to attach the photos to the museum board, even the hot glue that you use to attach everything to the ornament. Just use whatever you have on hand!
Silver and Gold Glitter Glue – Make sure you get a glitter glue bottle with a tip to make it easy to write out words with it. If you want to make an exact copy of the show’s ornament, you can also get green glitter glue, but I didn’t have any, and it still looks fine without it.
Hot Glue Gun – I forgot to put this in the supplies photo, but I found hot glue worked the best to attach the different pieces to the ornament, since it dries quickly so you don’t have to worry about them sliding off the round ornament.
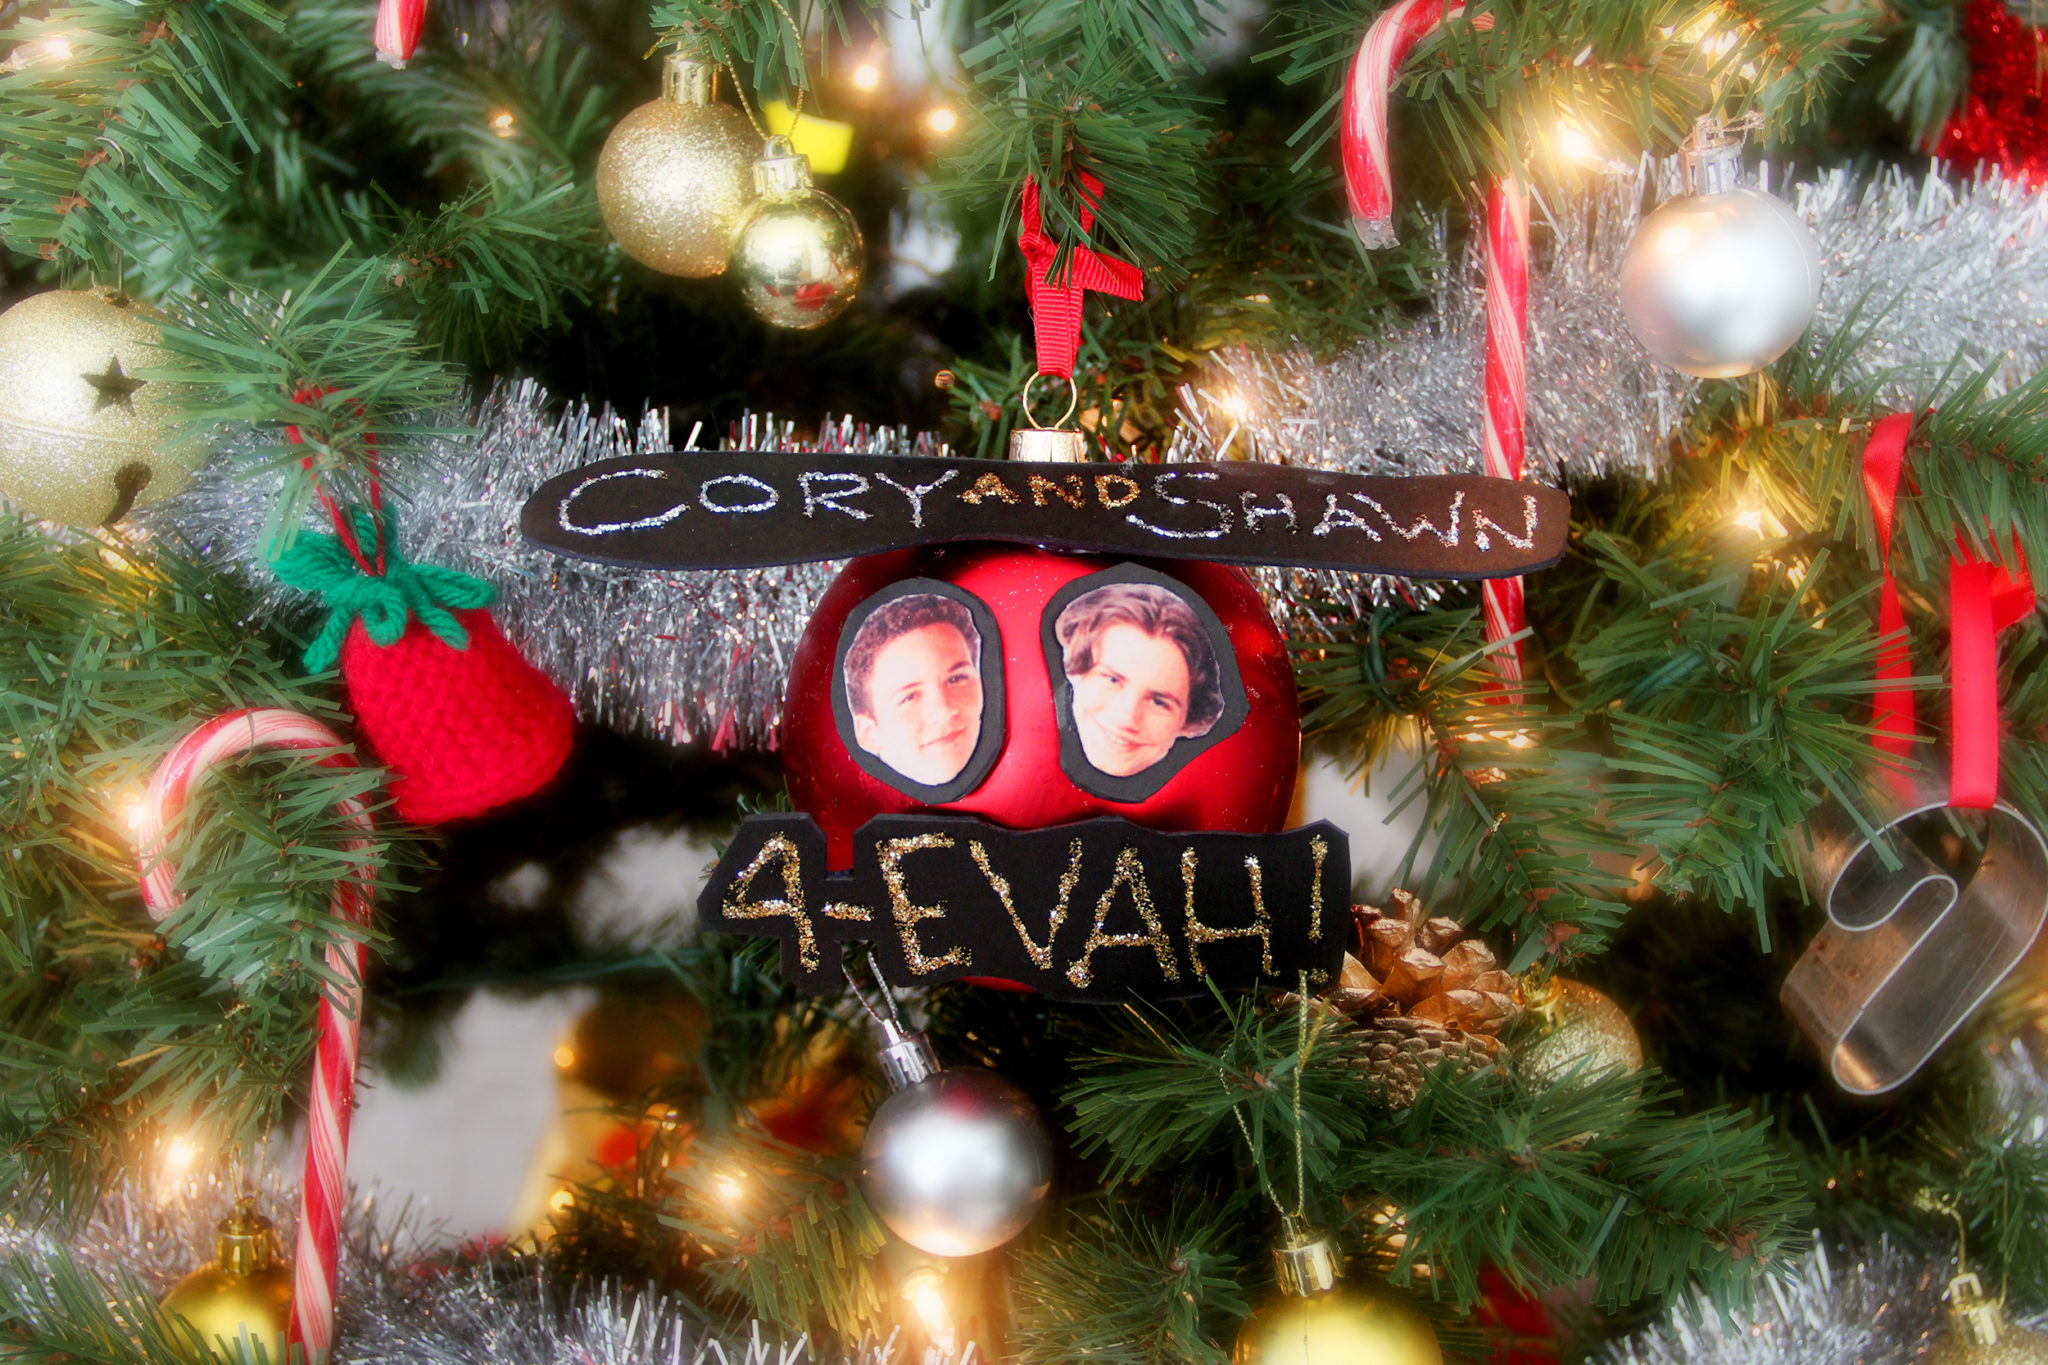
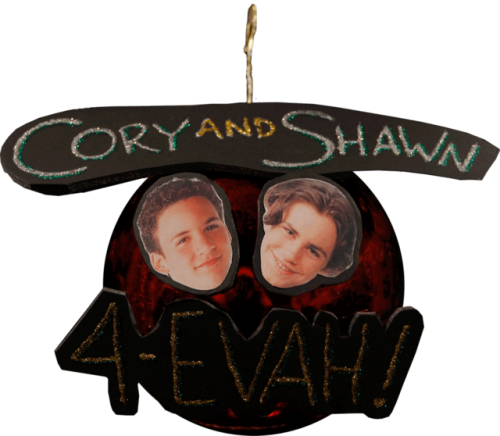
Basically, you’re just going to glue Cory and Shawn’s faces to the museum board, write out your text in glitter glue, and cut out the pieces. Then hot glue them to the ornament, and you’re done! You can watch the video for the full step-by-step, but it’s actually a very easy project.

Once I finished the Cory and Shawn ornament, I also had the idea to make one of my roommate and I, since I consider him one of my best friends. For this one, I used a white ornament I got at Target, and printed out photos of Rob and I. Then for the text, I covered white museum board with a gold Sharpie and wrote the text with a white chalk pen. I think it’s so funny and so much better than a boring old framed photo ornament!

I hope you guys liked this DIY, and be sure to send me a photo on Twitter or Instagram if you make one too! I’m so glad so many of you guys are Boy Meets World/Girl Meets World fans along with me. If you want to give me a Christmas present, I’d love it if you could also help me tweet the video to Ben Savage, Rider Strong, and Danielle Fishel so they can see it. I hope you’re all having a great holiday season, and I’ll see you again later this week with another Christmas DIY project!