

To close out my week on HGTV Handmade, I’ve decided to show you three ways to revamp your clothing. These are some easy DIYs to bring a little more life into plain, boring clothes, and they’re all super easy to do. Keep reading to check out the video and see more photos of the projects!

For the first project, I decided to show you how to add rips in the knees of jeans, which is super in style right now, and very easy to do yourself. For this project you’ll need jeans, sandpaper, scissors, chalk, tweezers, and cardstock.
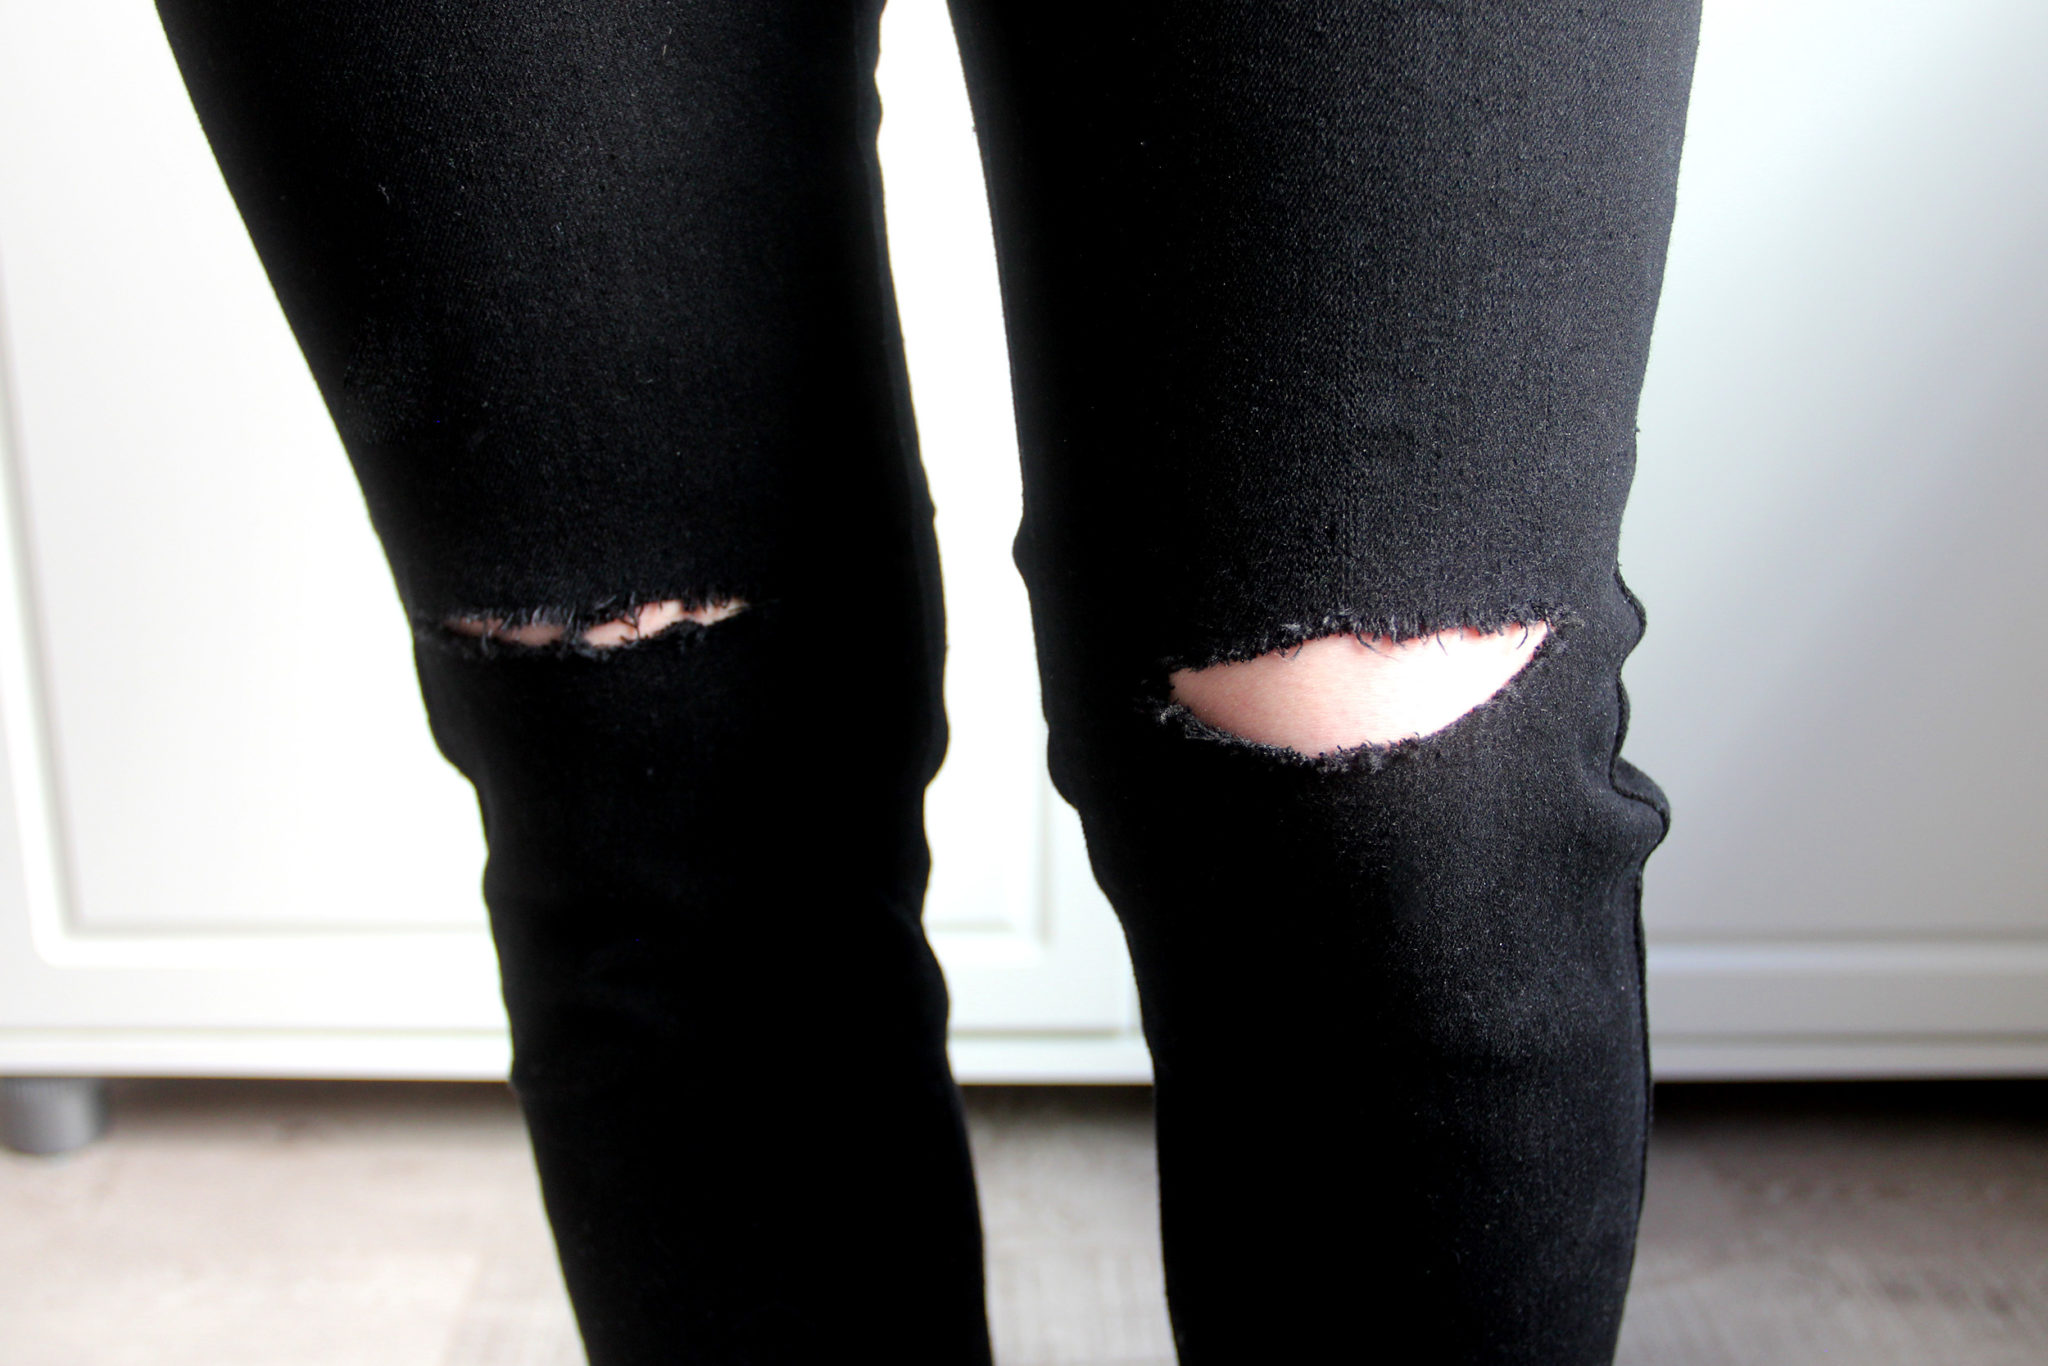
Basically, just put on the pants and use the chalk to mark where you want the rips to go. Then put the cardstock in one leg of the jeans so you don’t cut through to the back, and use your scissors to rip open where you put your chalk mark. Use the sandpaper and tweezers to roughen up the rip, and that’s all there is to it!
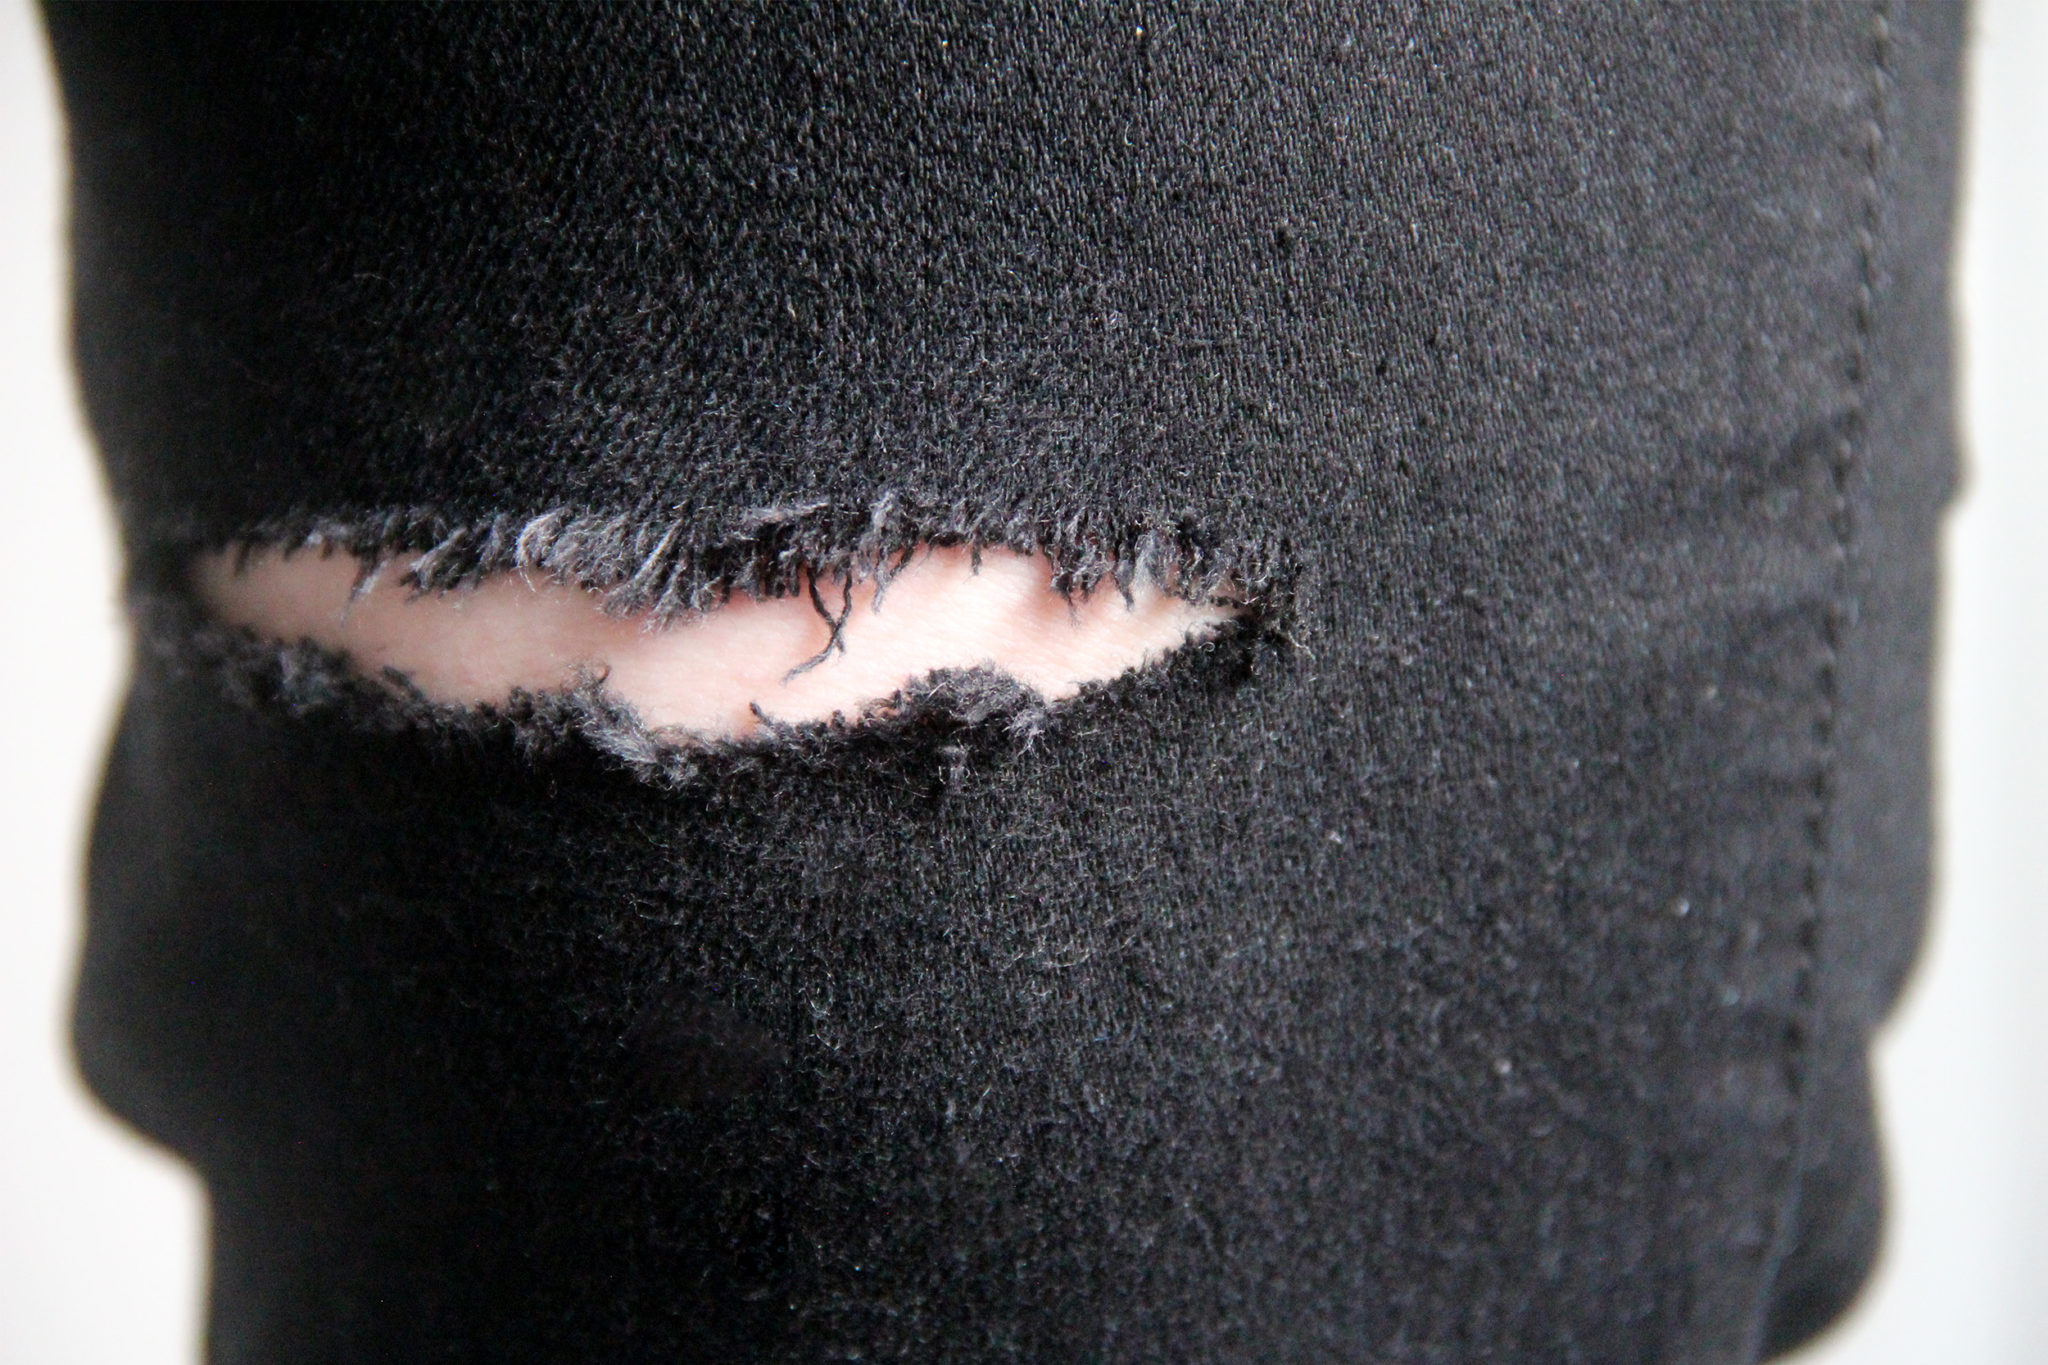
I think the rips look so cool, and like you bought them that way from the store. You can add as much or as little distressing as you want.
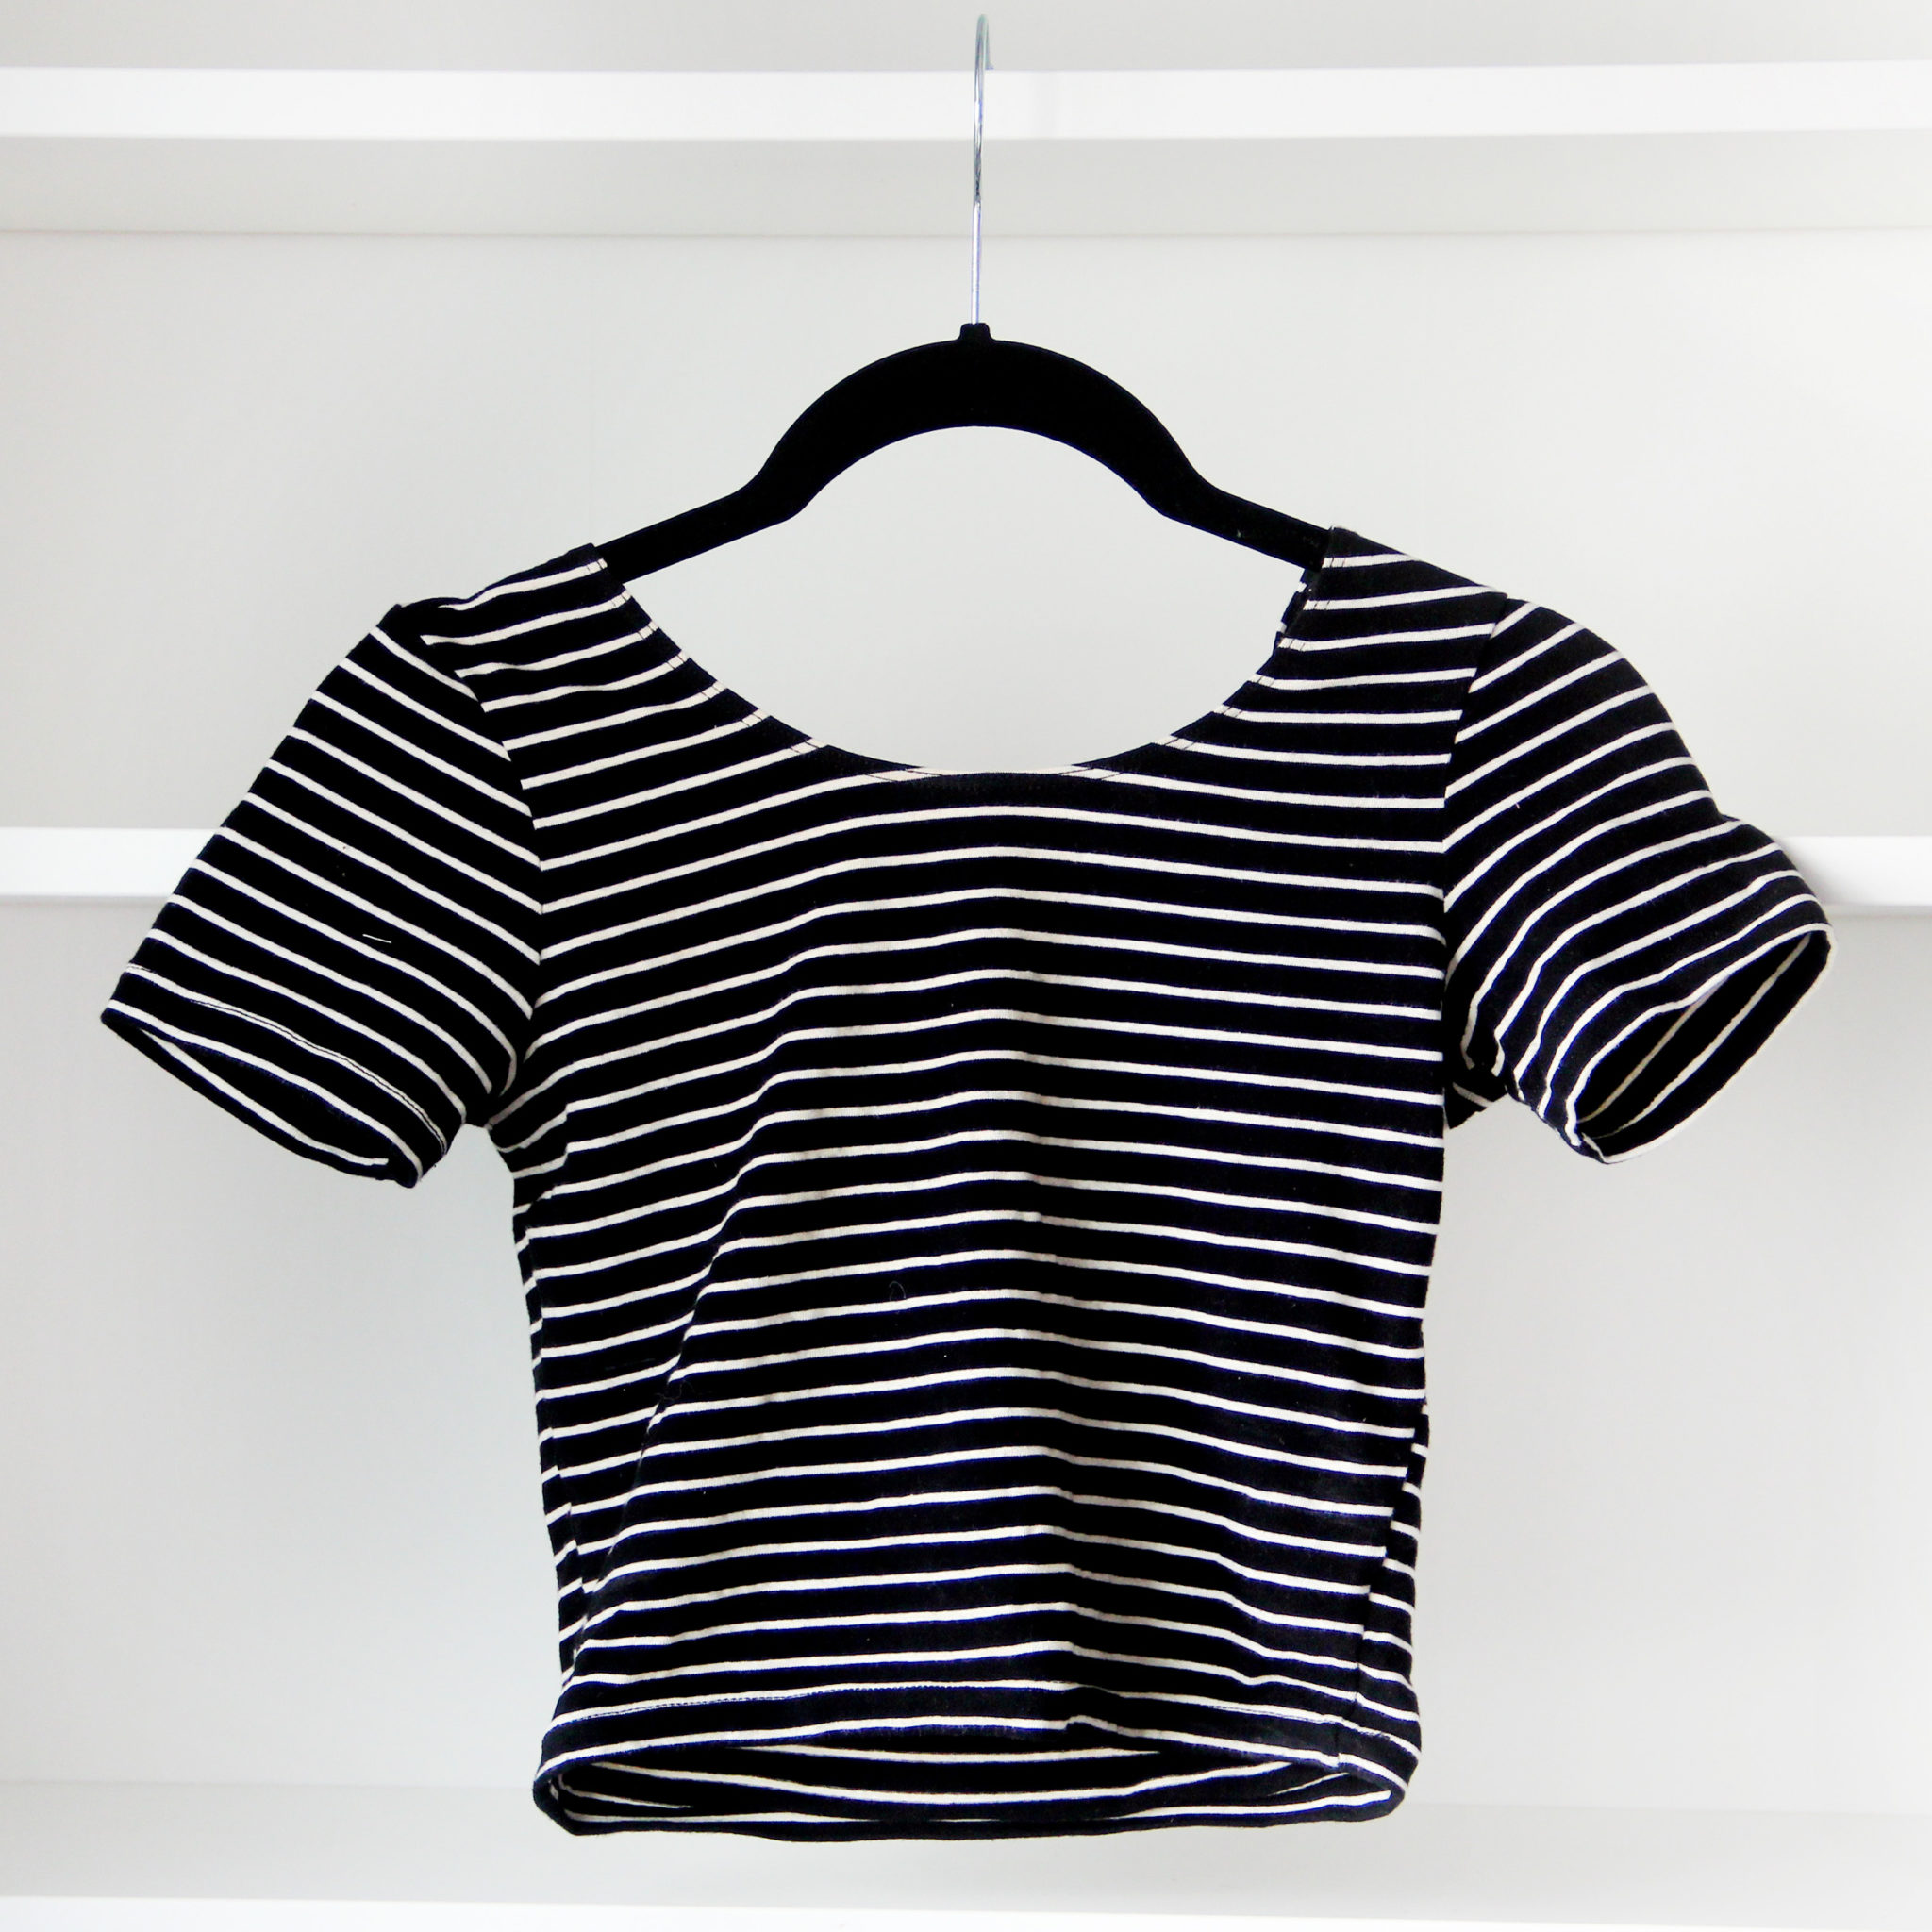
Next I decided to take this black and white shirt that I got at the thrift store and add an exposed zipper to it, so I could wear it a few different ways.
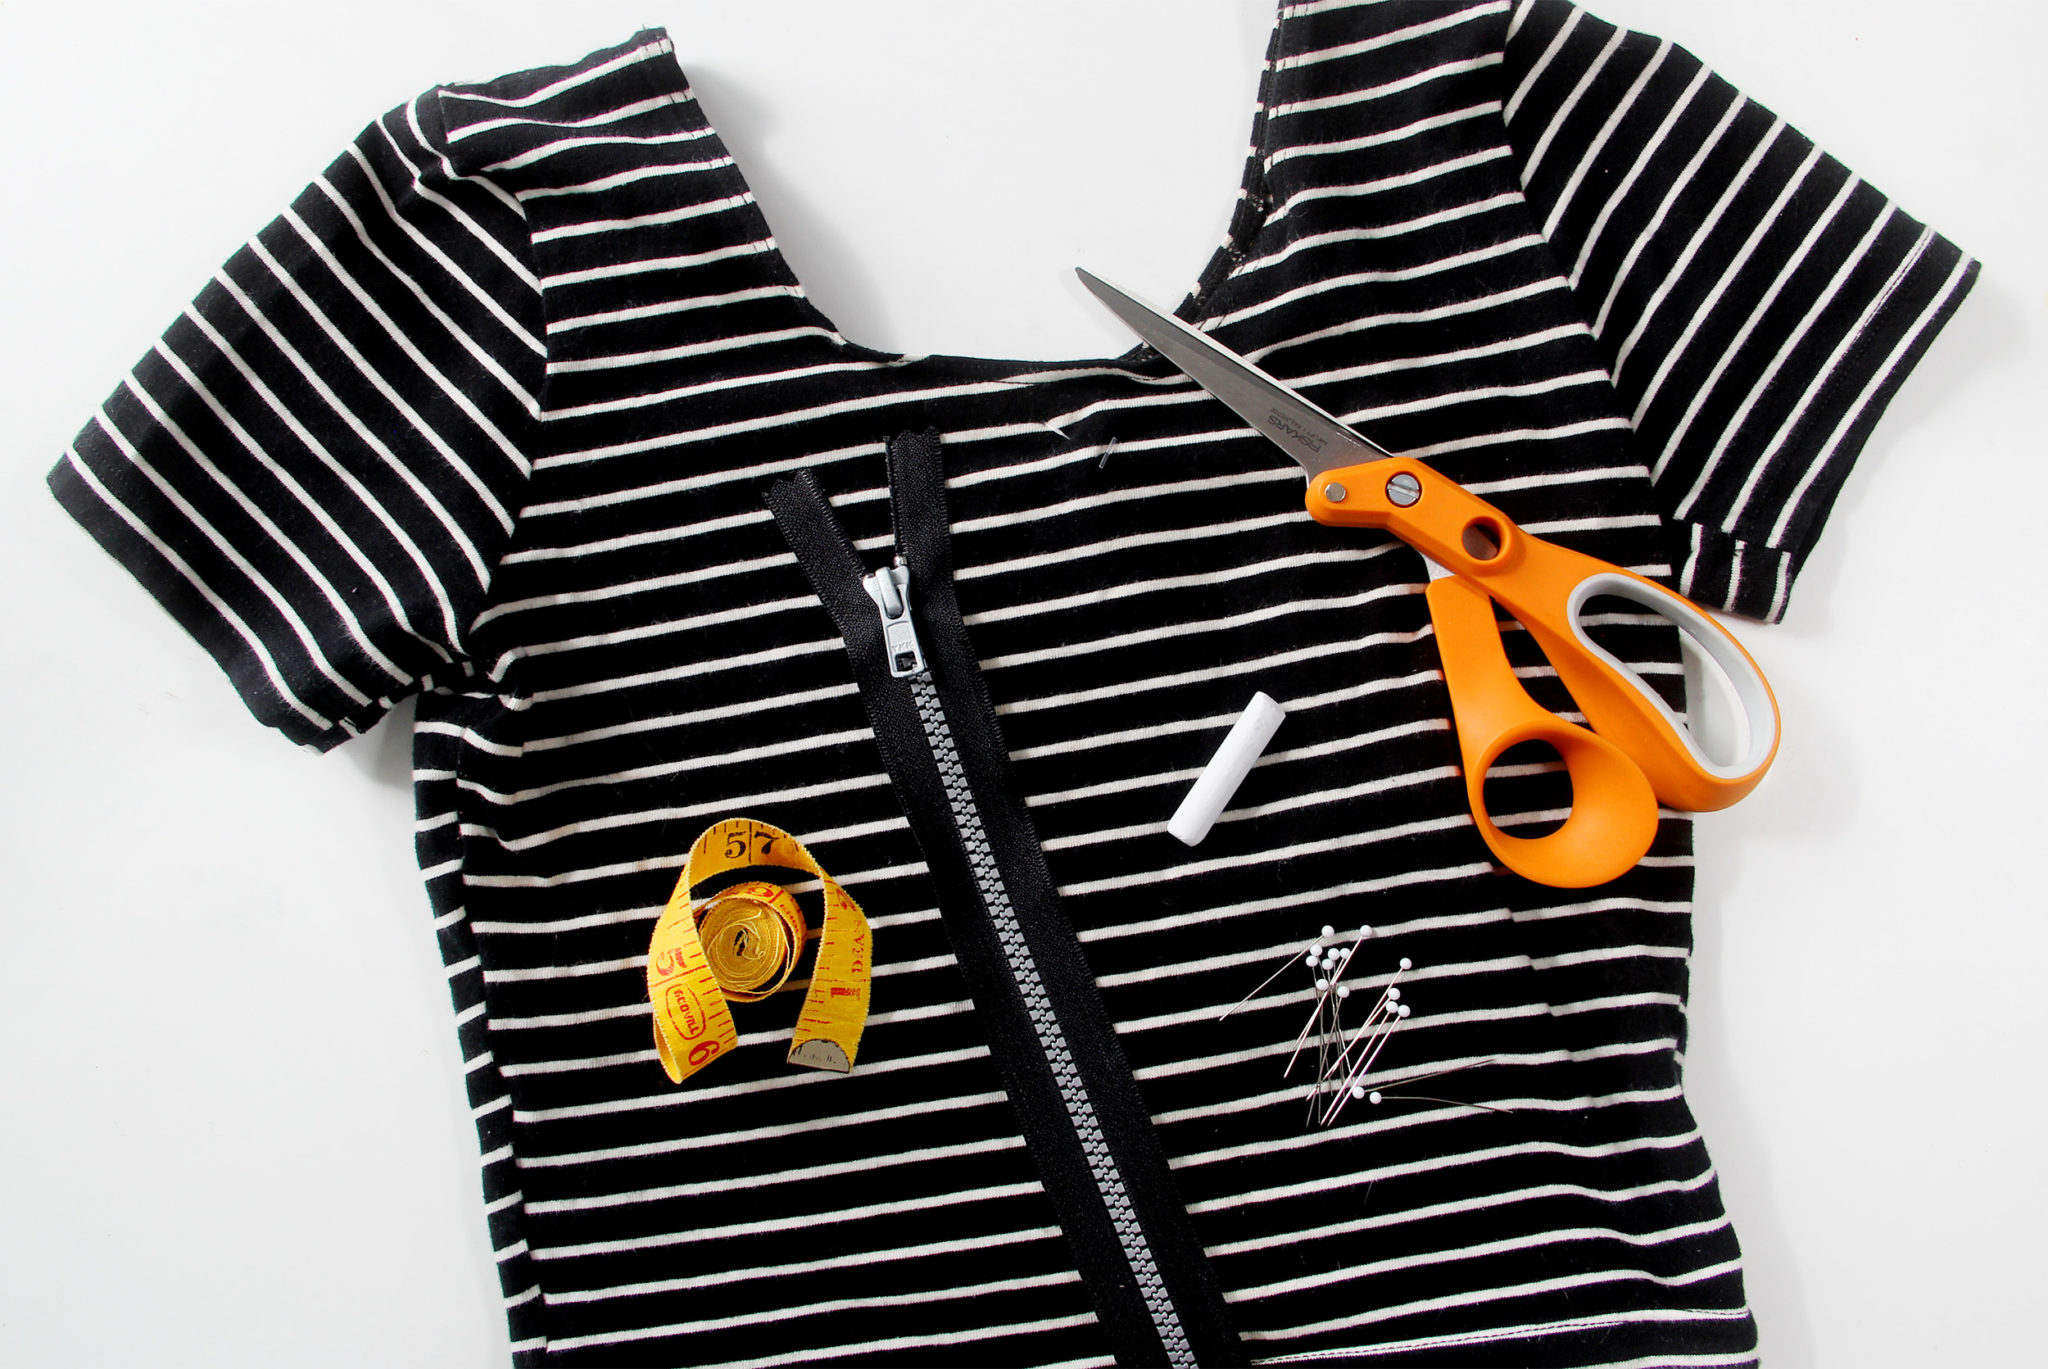
For this project you’ll need a shirt, scissors, chalk, straight pins, a zipper, a measuring tape, and a sewing machine or needle and thread. Basically, just measure the shirt’s height and buy a zipper that’s the same length. Cut a line up the center of the shirt, pin the zipper in place, and sew down each side.
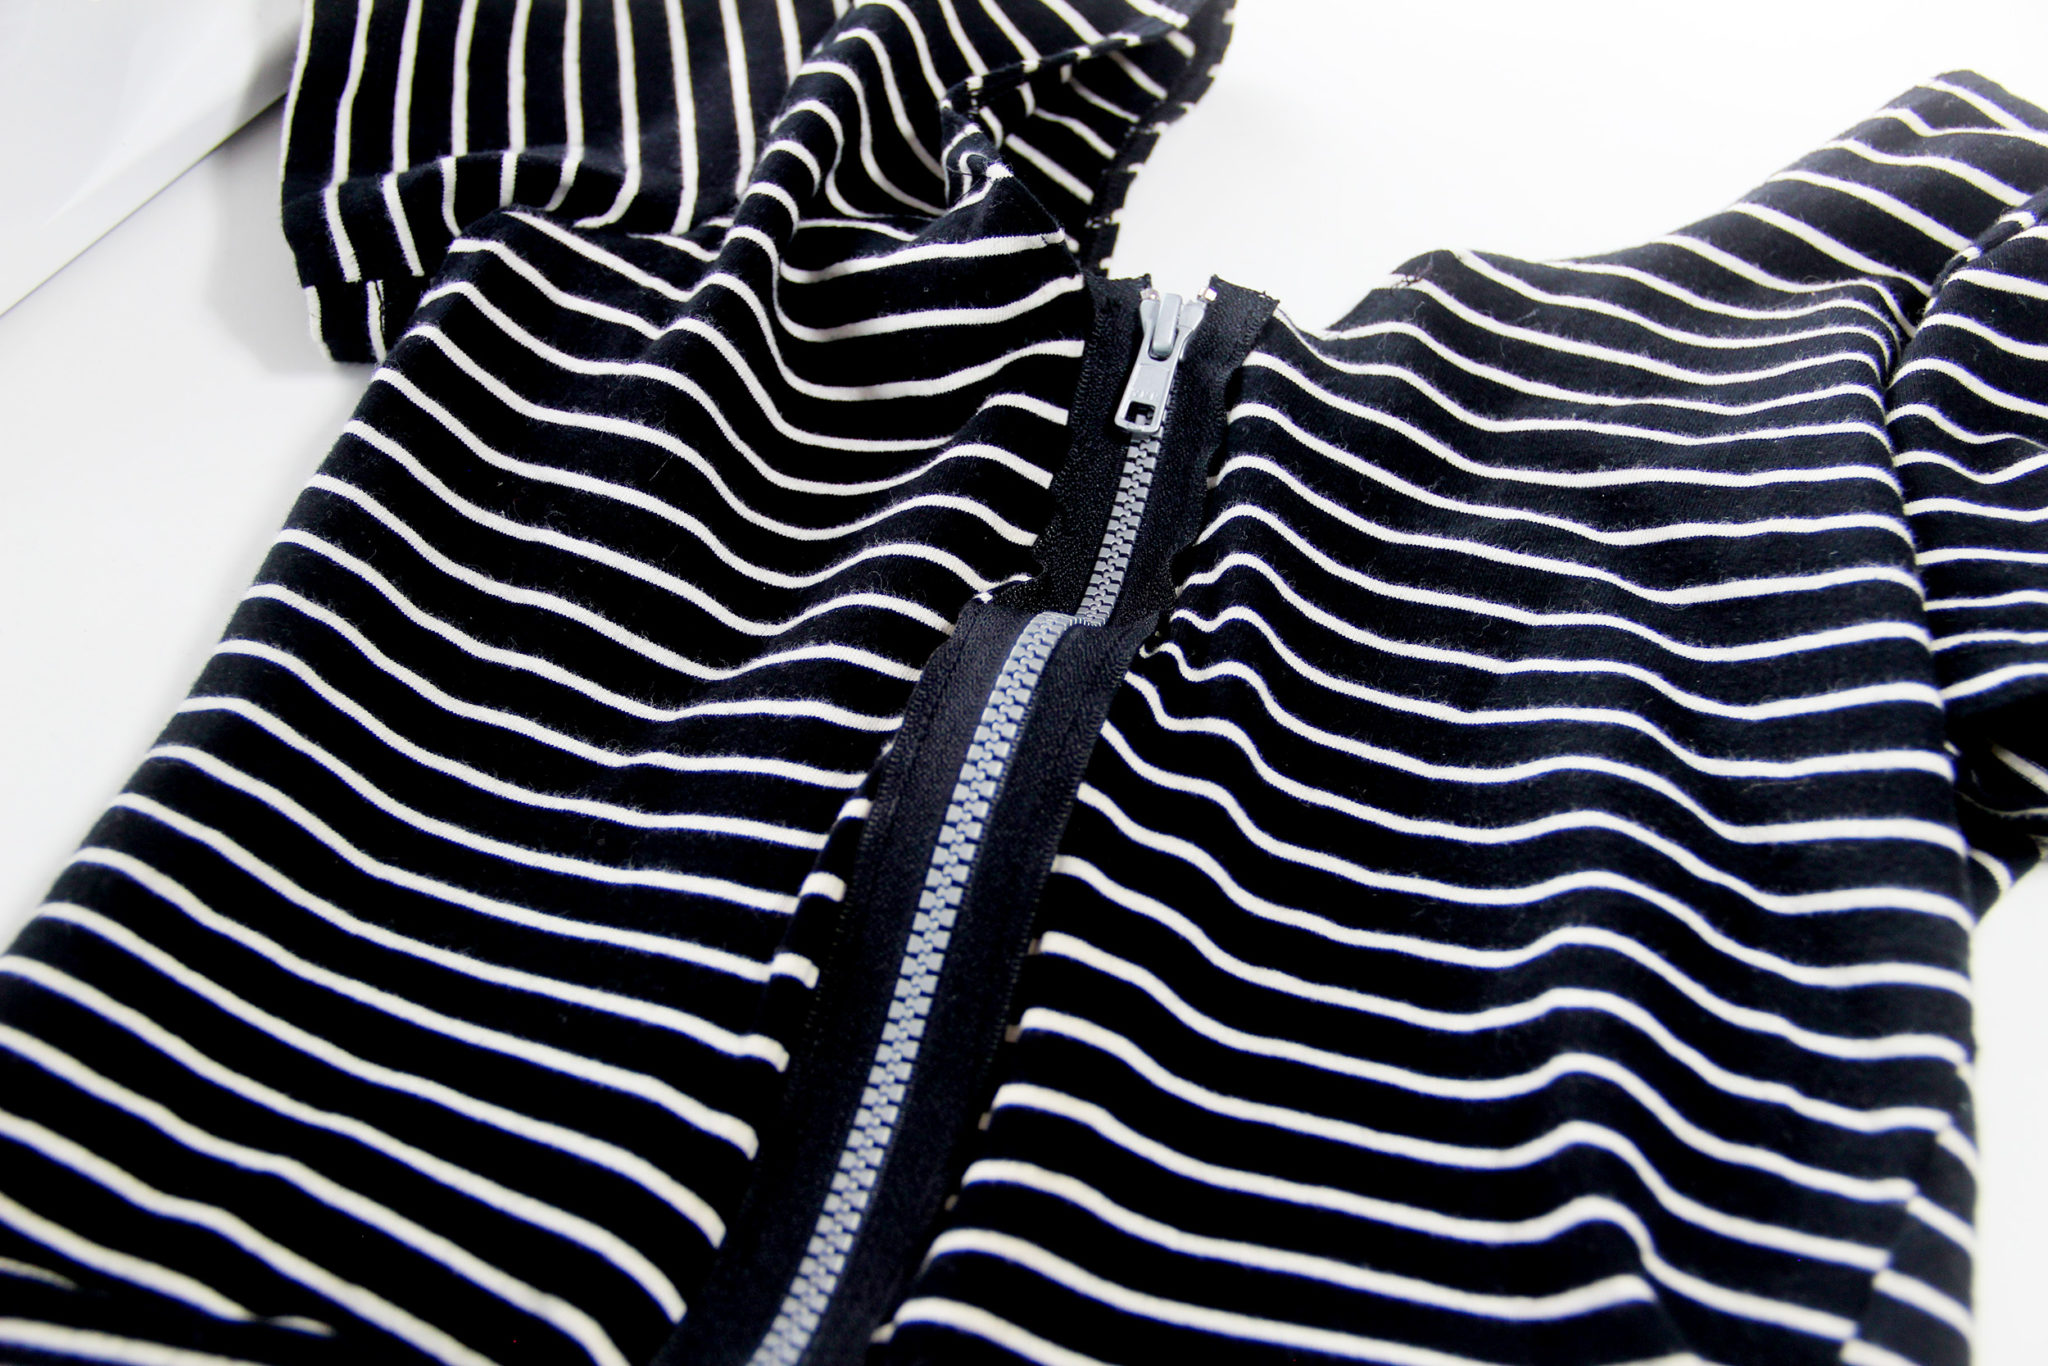
And that’s all there is to it! I think this adds a lot of visual interest to an otherwise plain striped top.

I like how it looks with the zipper partially open in the front, but you could also turn it around and wear the zipper in the back, or use a colored zipper, or sew it on asymmetrically, or whatever you can think of!
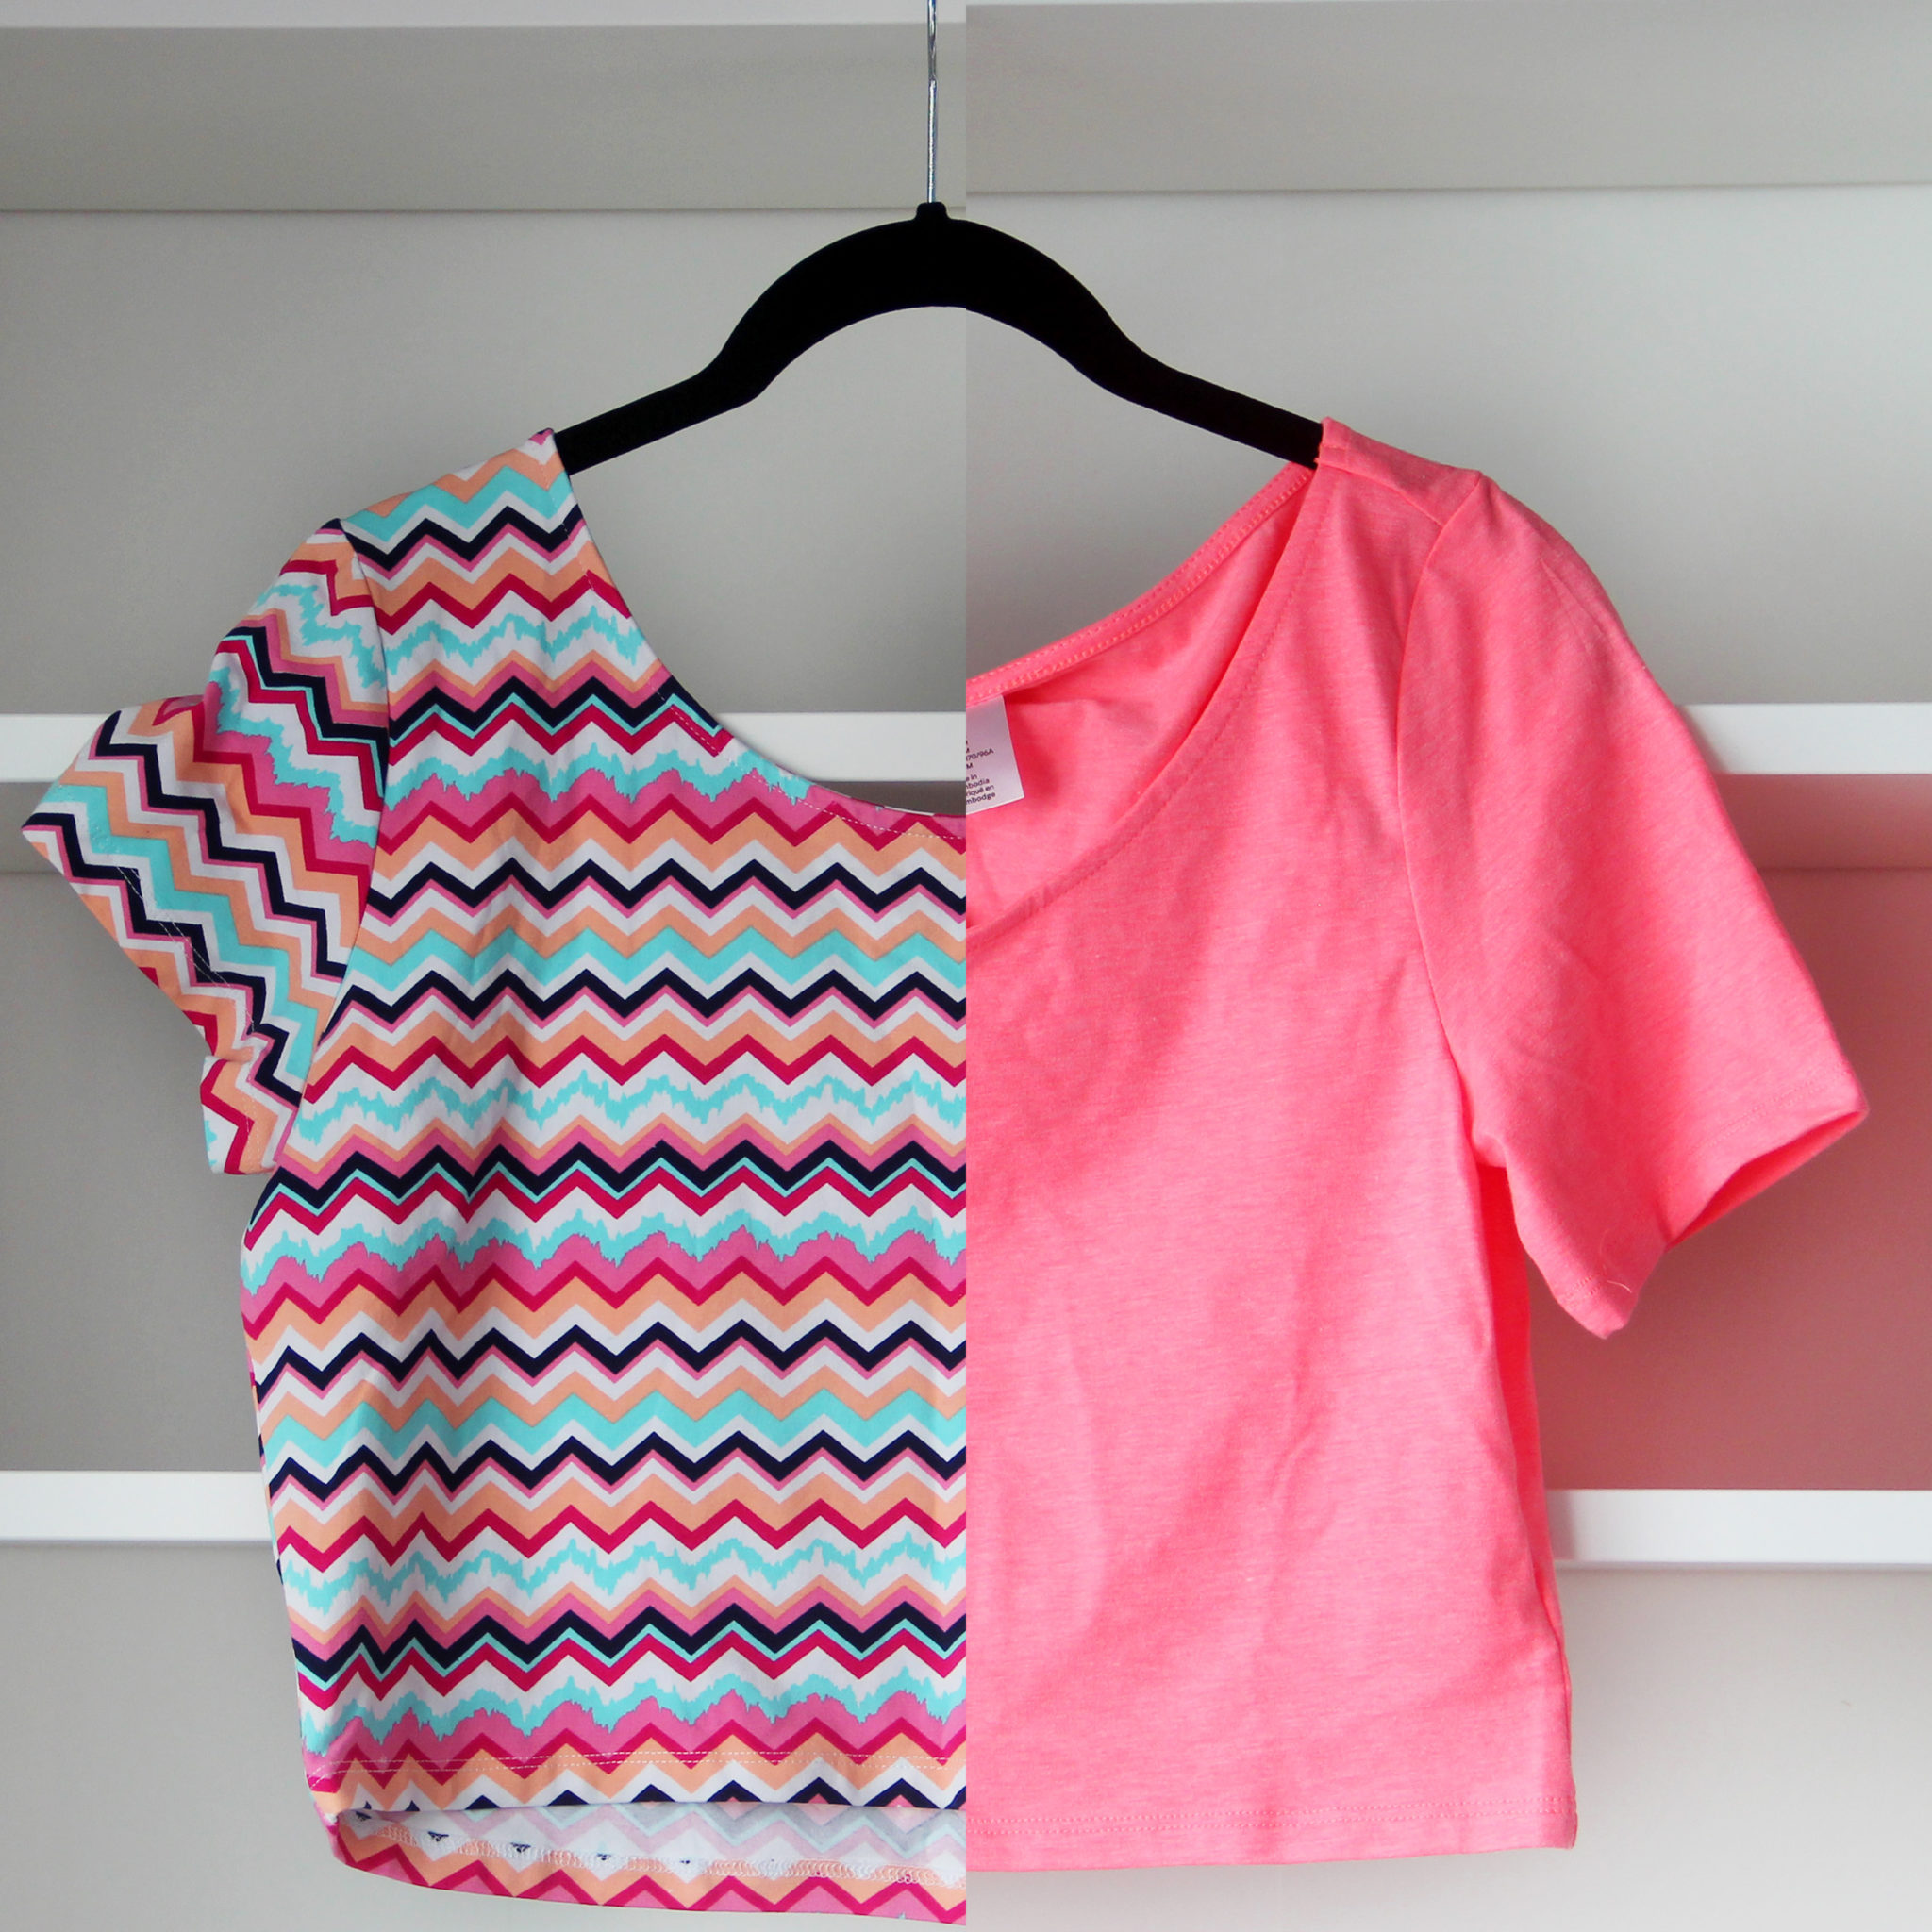
And finally, an easy DIY to get two new t-shirts for your wardrobe is to cut off the sleeves and switch them!
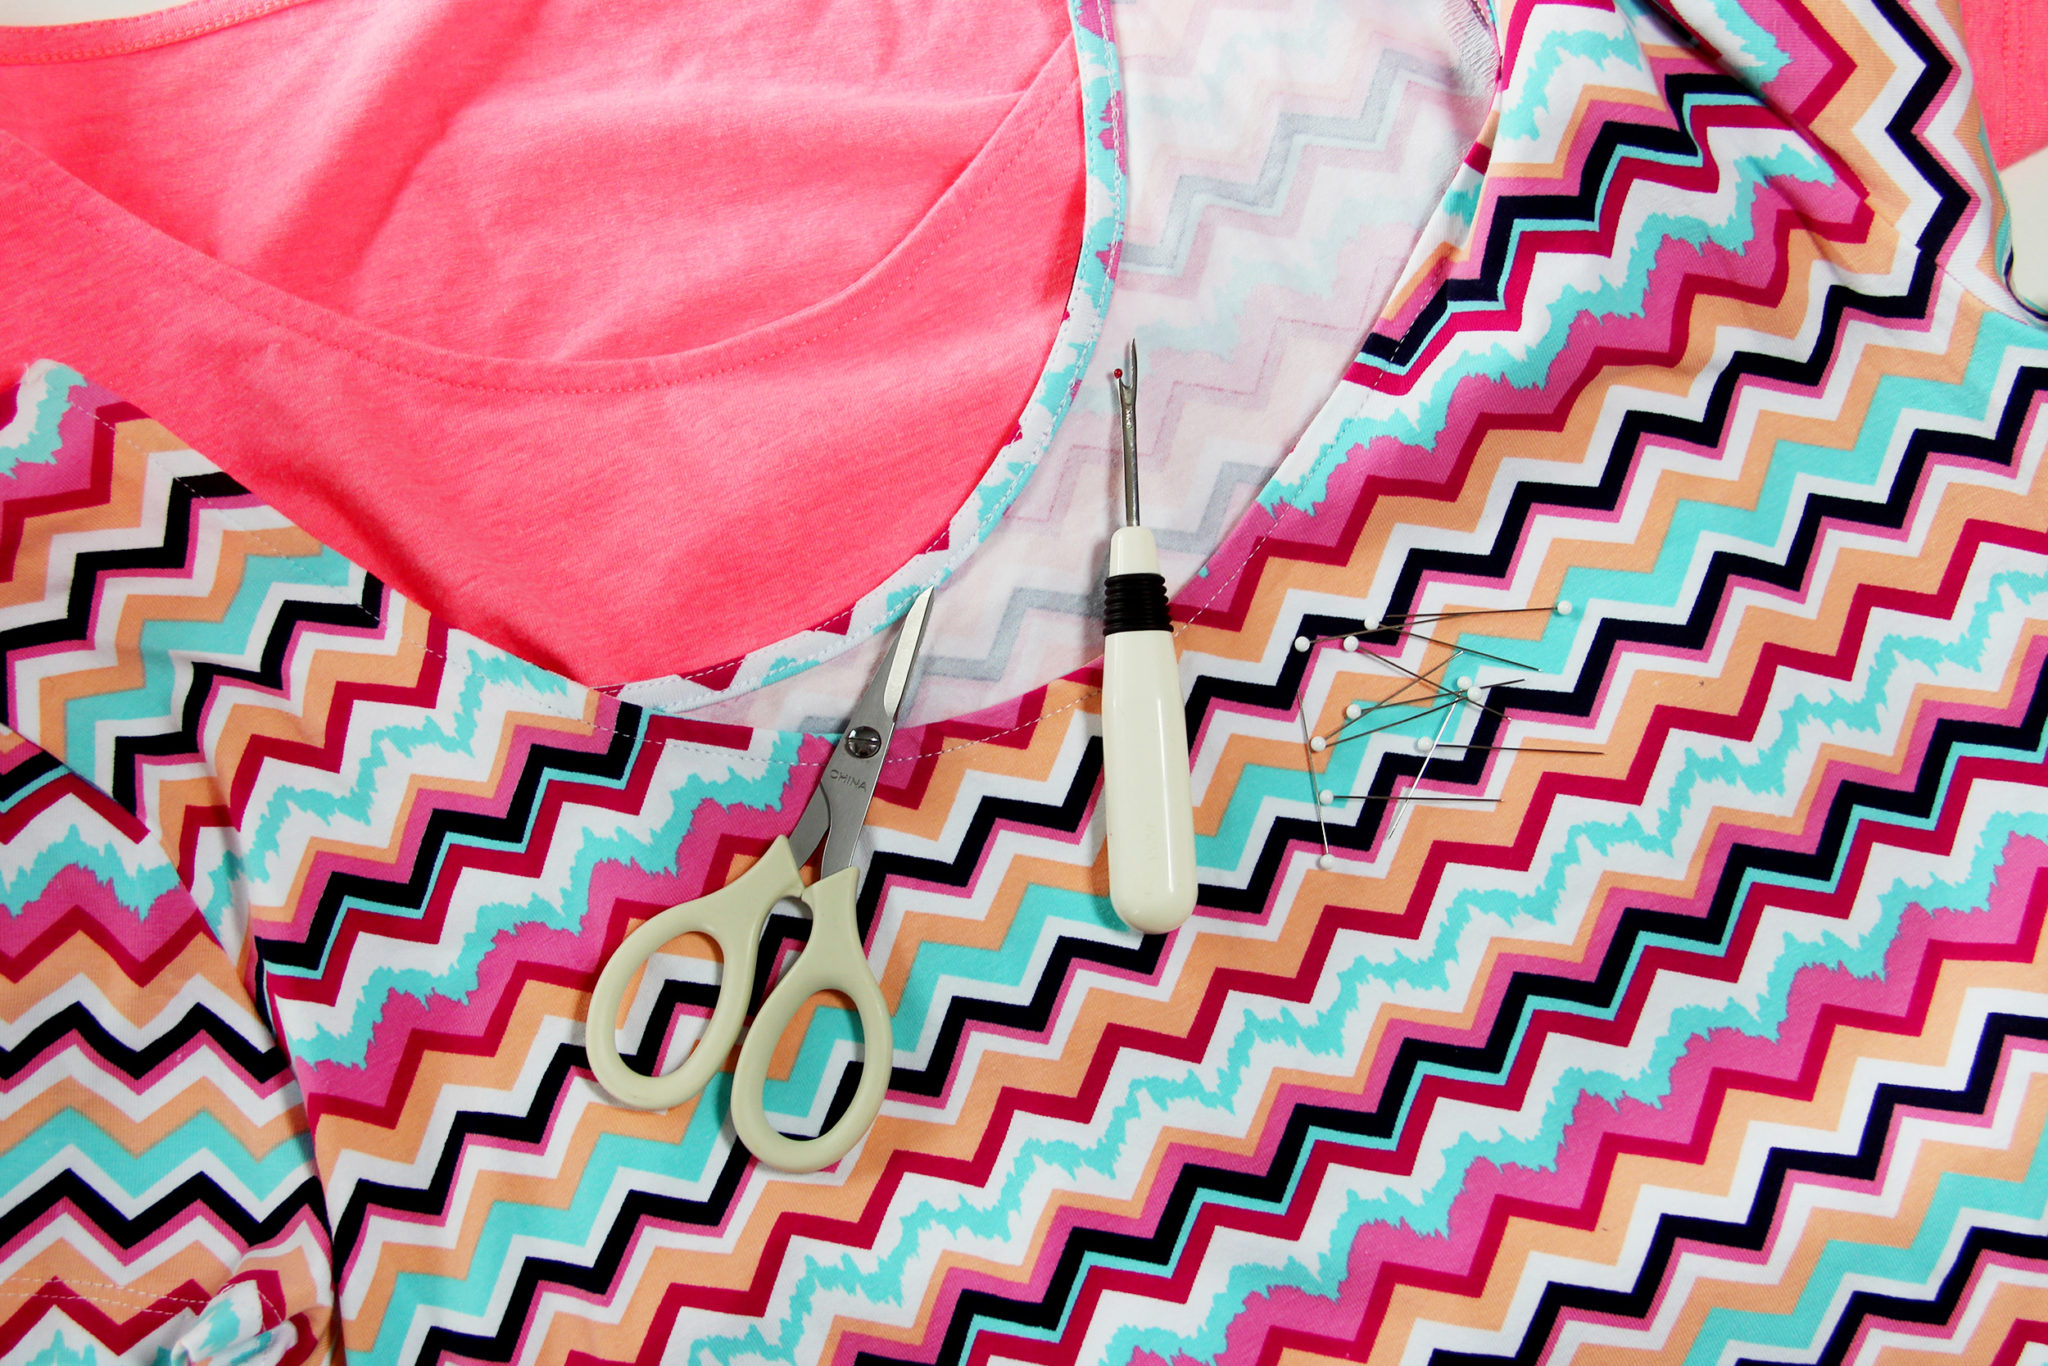
For this project you’ll need two t-shirts of the same size, but different colors or patterns. You’ll also need small scissors, a seam ripper, straight pins, and a sewing machine or needle and thread.
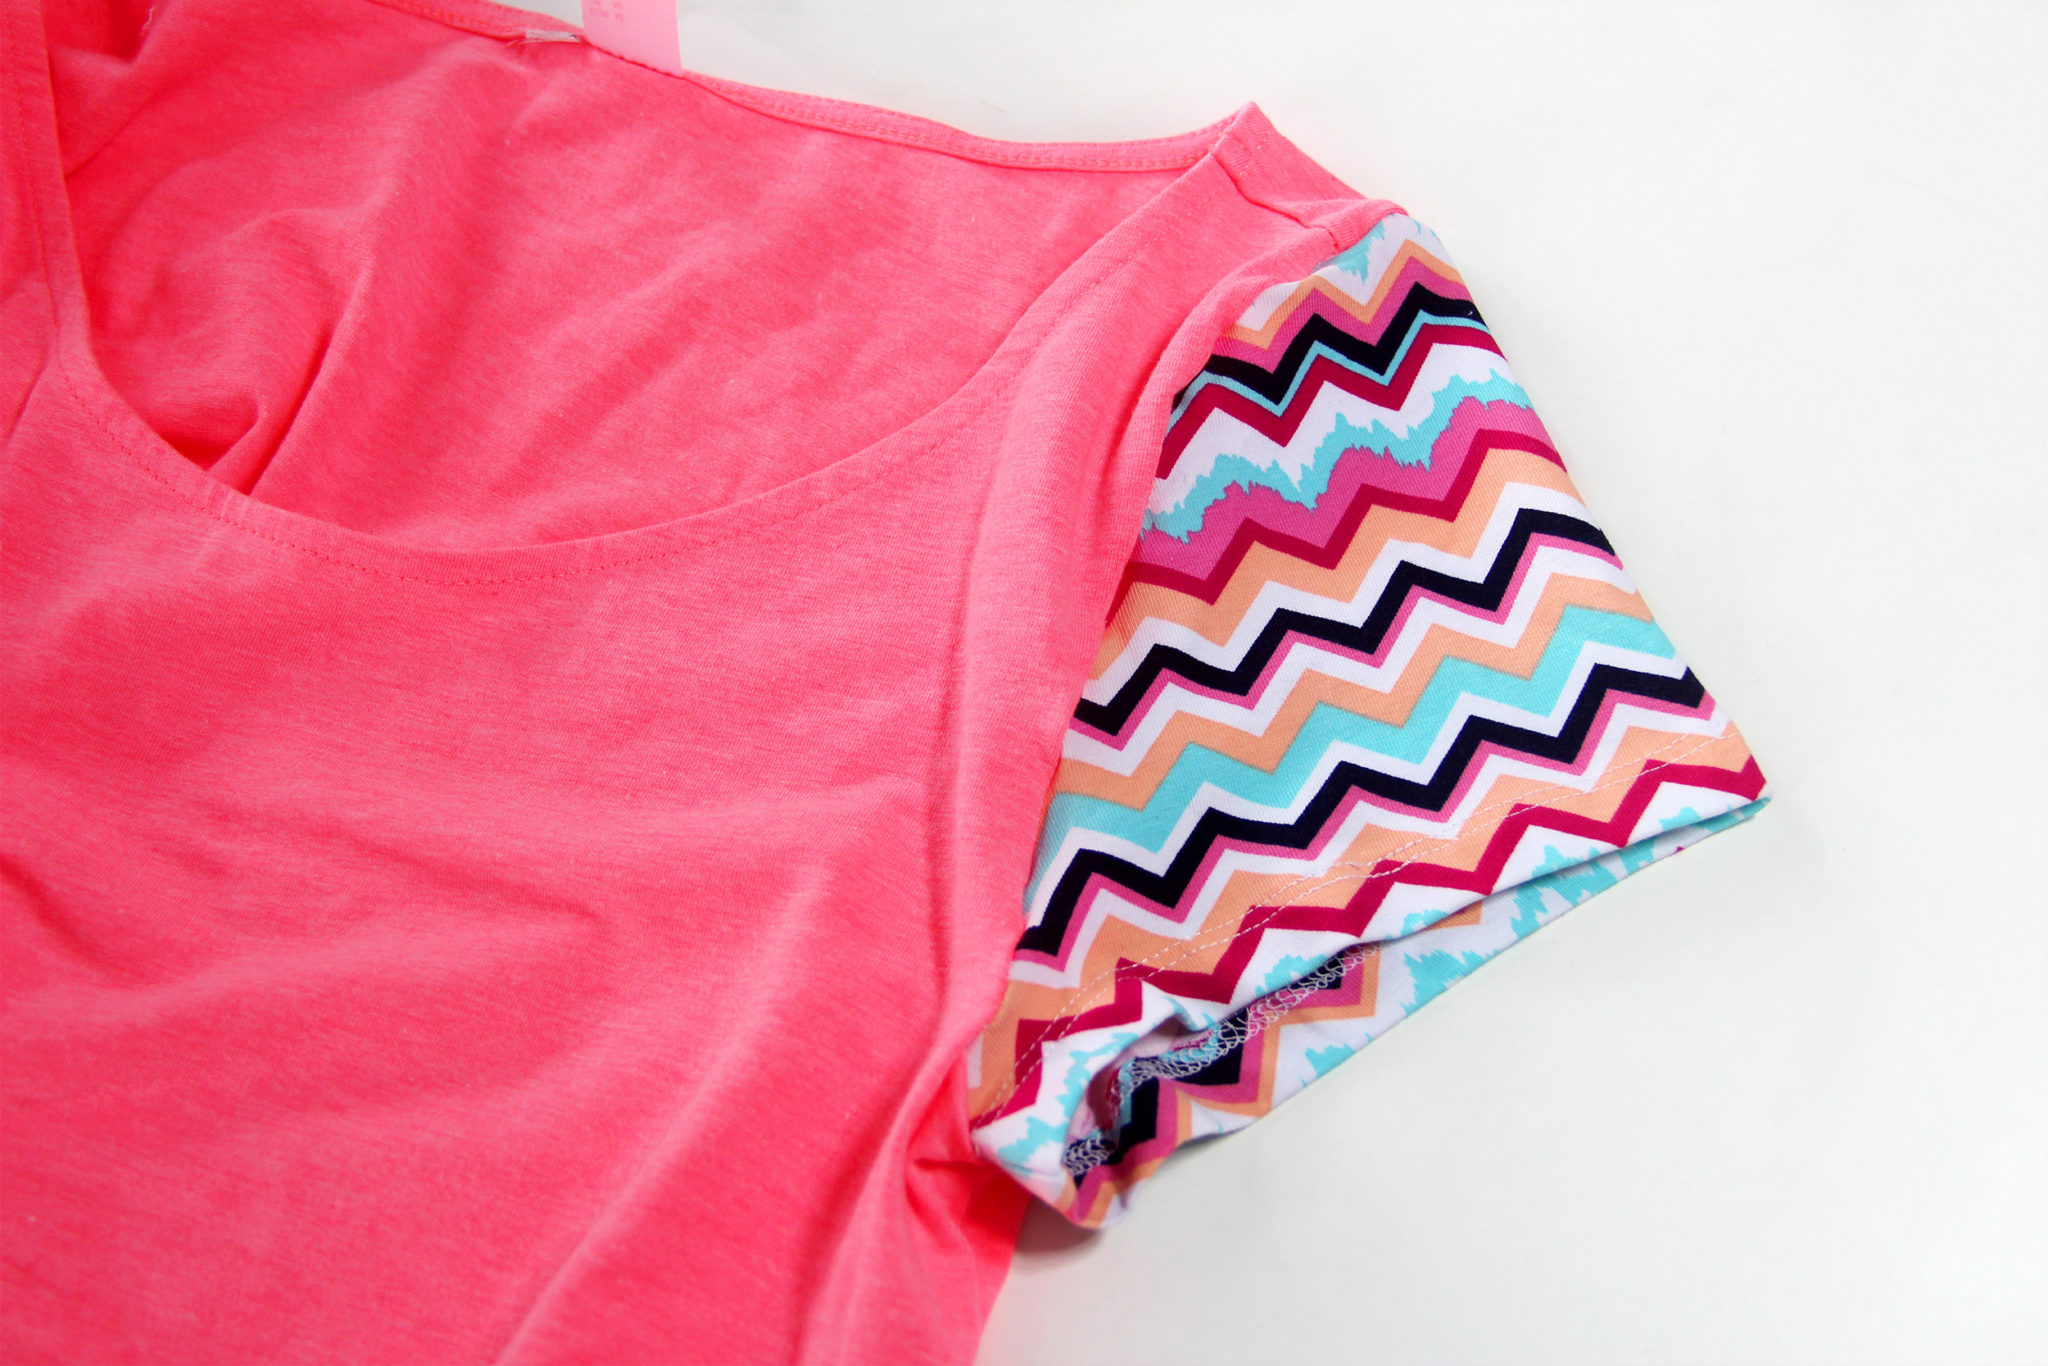
Just use your small scissors and seam ripper to detach all four sleeves from the shirts, making sure to only cut the thread and not the fabric. Switch them between the shirts, pin them with the right sides of the fabric facing each other all the way around, and sew them in place. And you’re done!
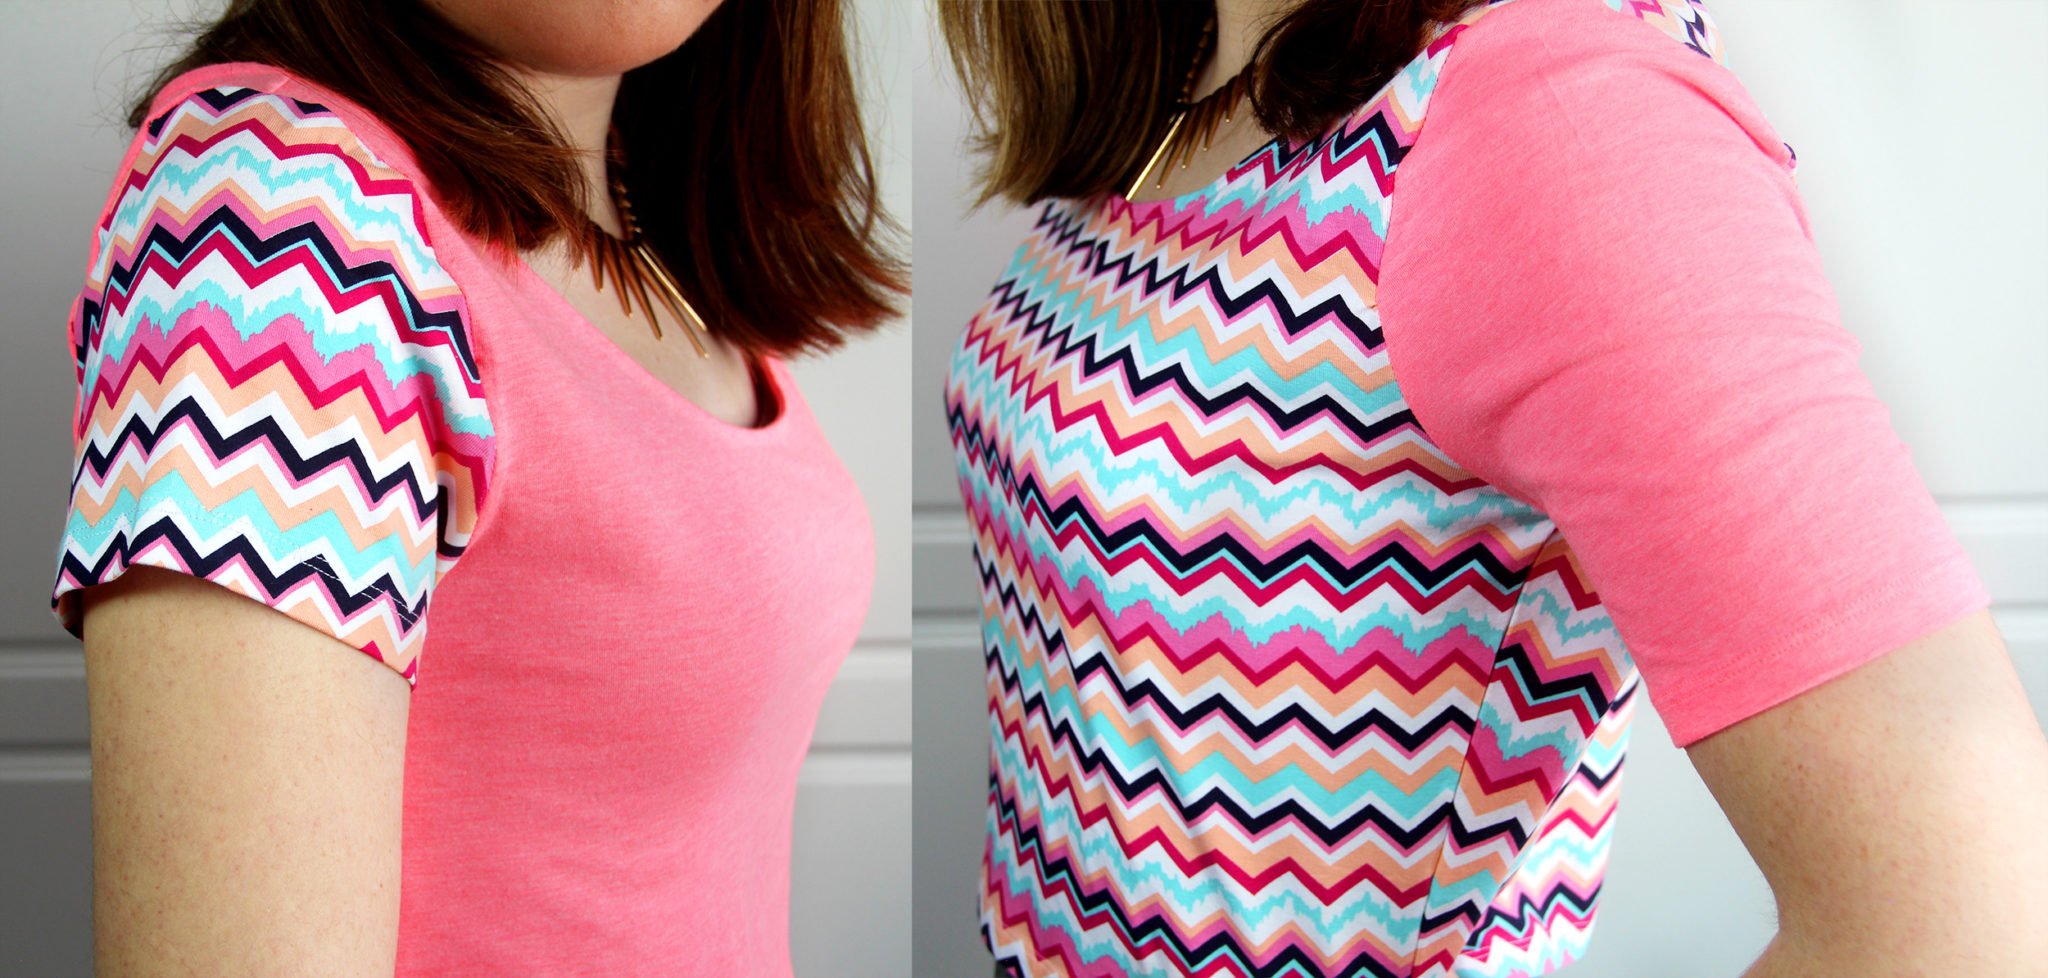
This brings some new life to otherwise boring t-shirts, and you could give one to a friend to match, or keep both for yourself.
I would love to know which project was your favorite! If you missed them earlier, make sure to check out the two other videos I posted on HGTV Handmade this week – 3 Valentine’s Day Crafts Inspired by Conversation Hearts and 3 DIY Birthday Crowns. Thanks for watching, and I’ll see you guys soon!