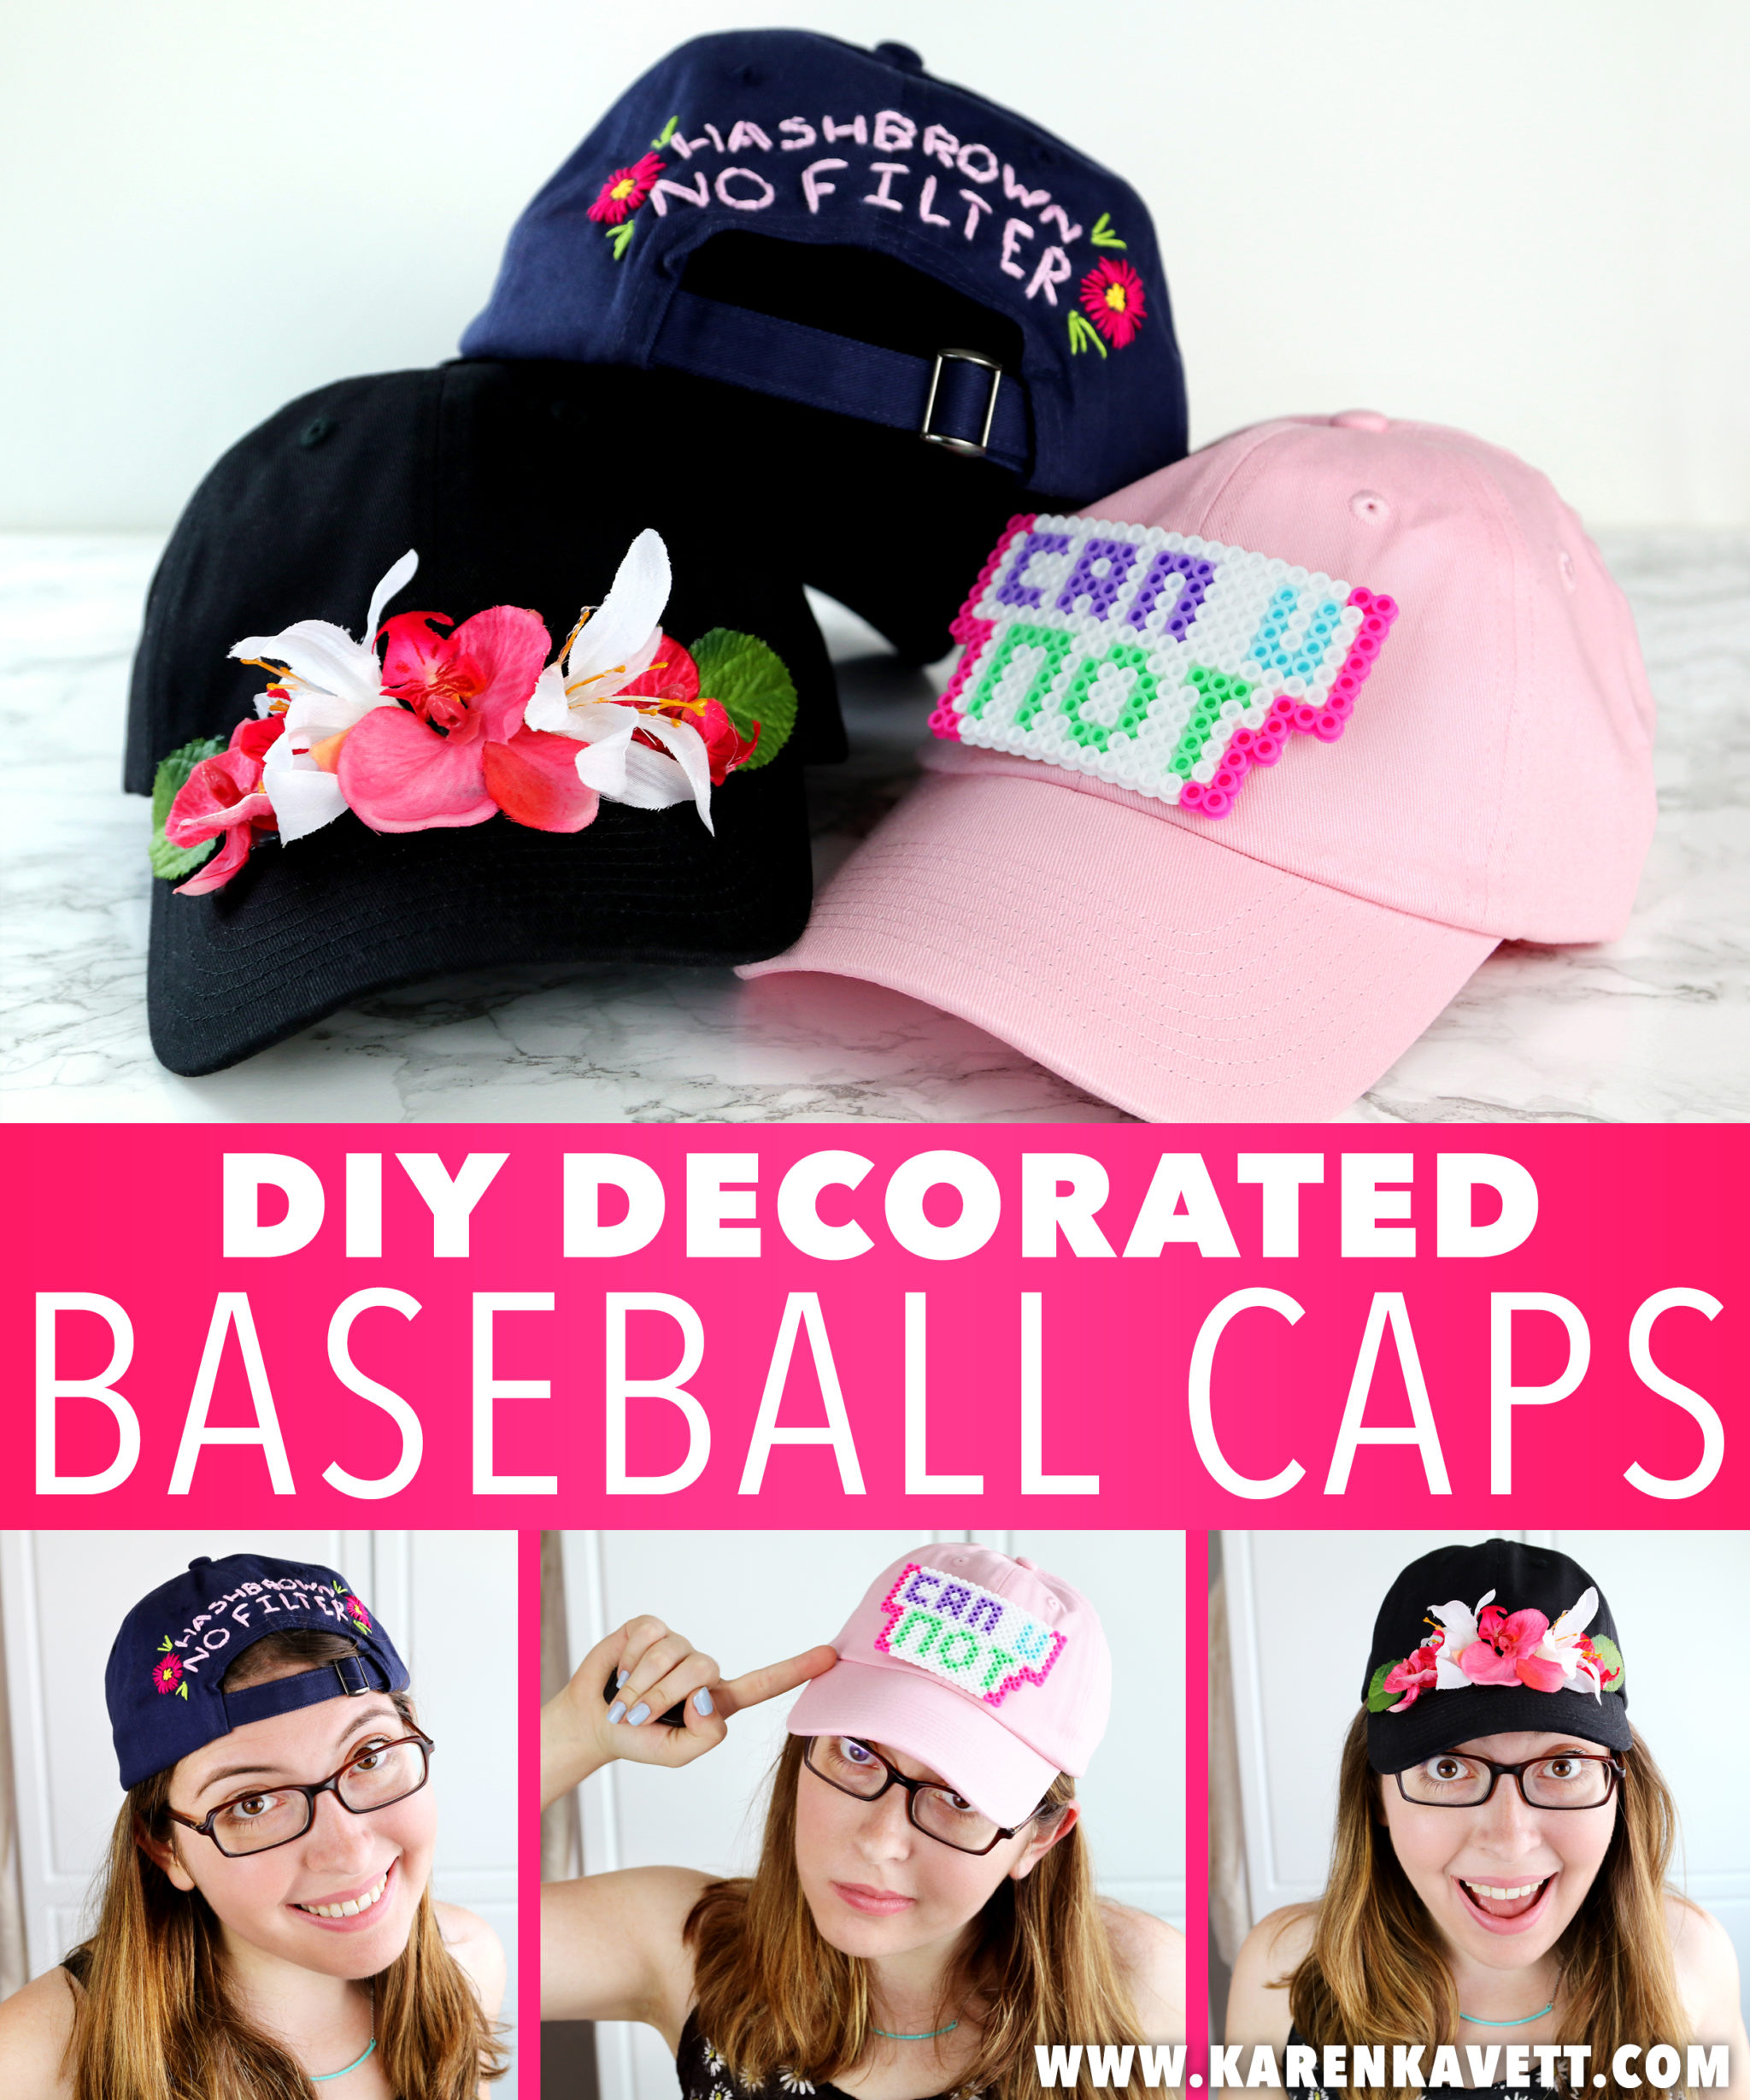
Hi guys, today’s DIY is 3 ways to decorate plain baseball caps! You guys know how much I love DIYing my clothing, and I think all three of these ideas are adorable. Keep reading to watch the full DIY video and learn how to make them!
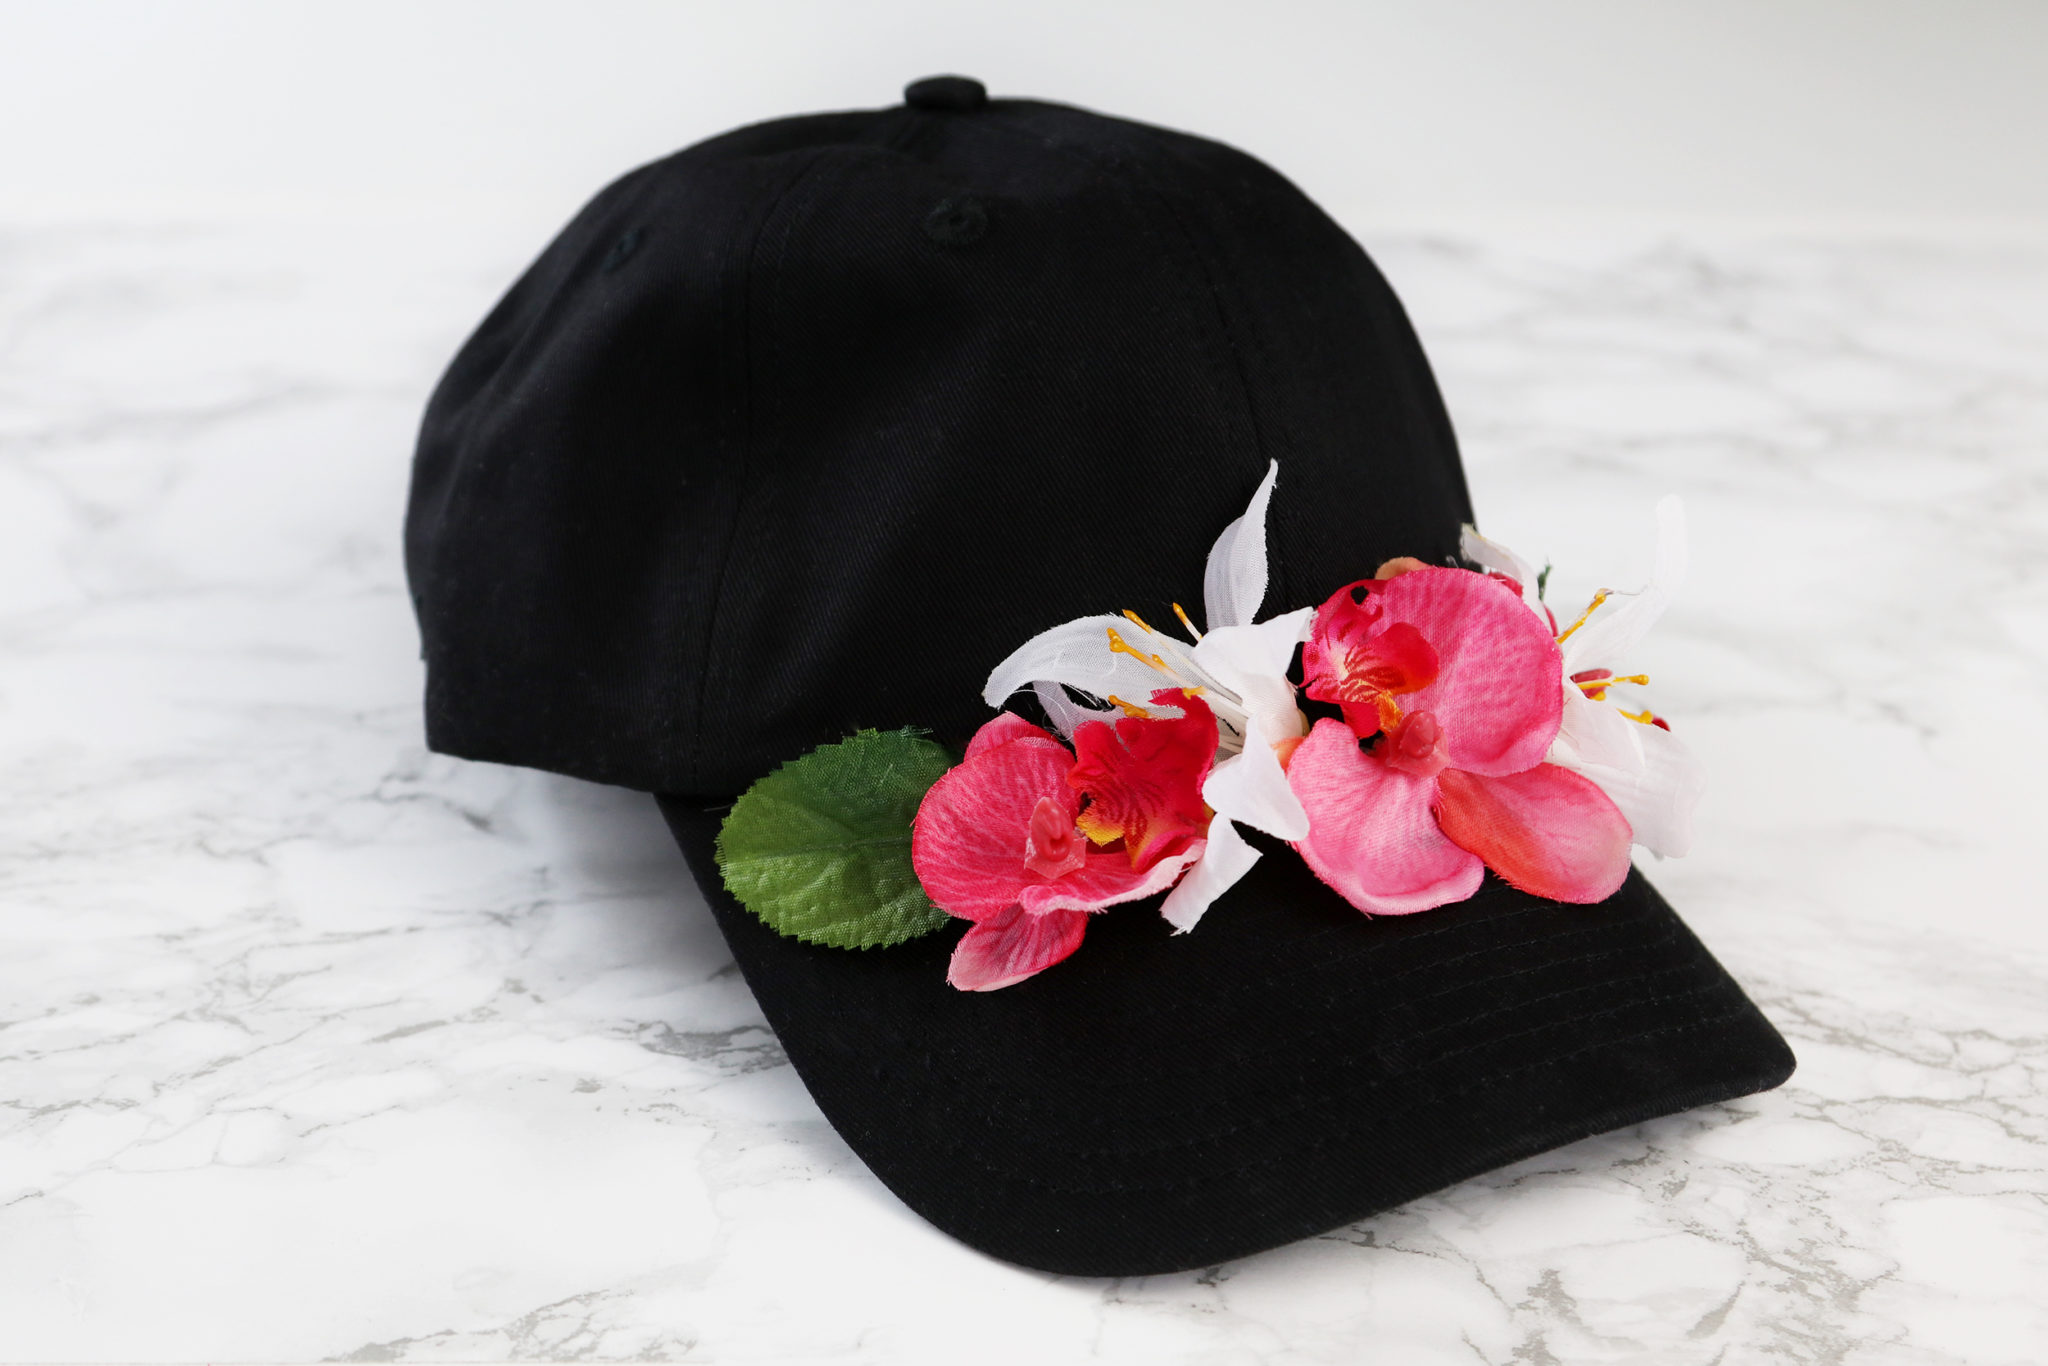
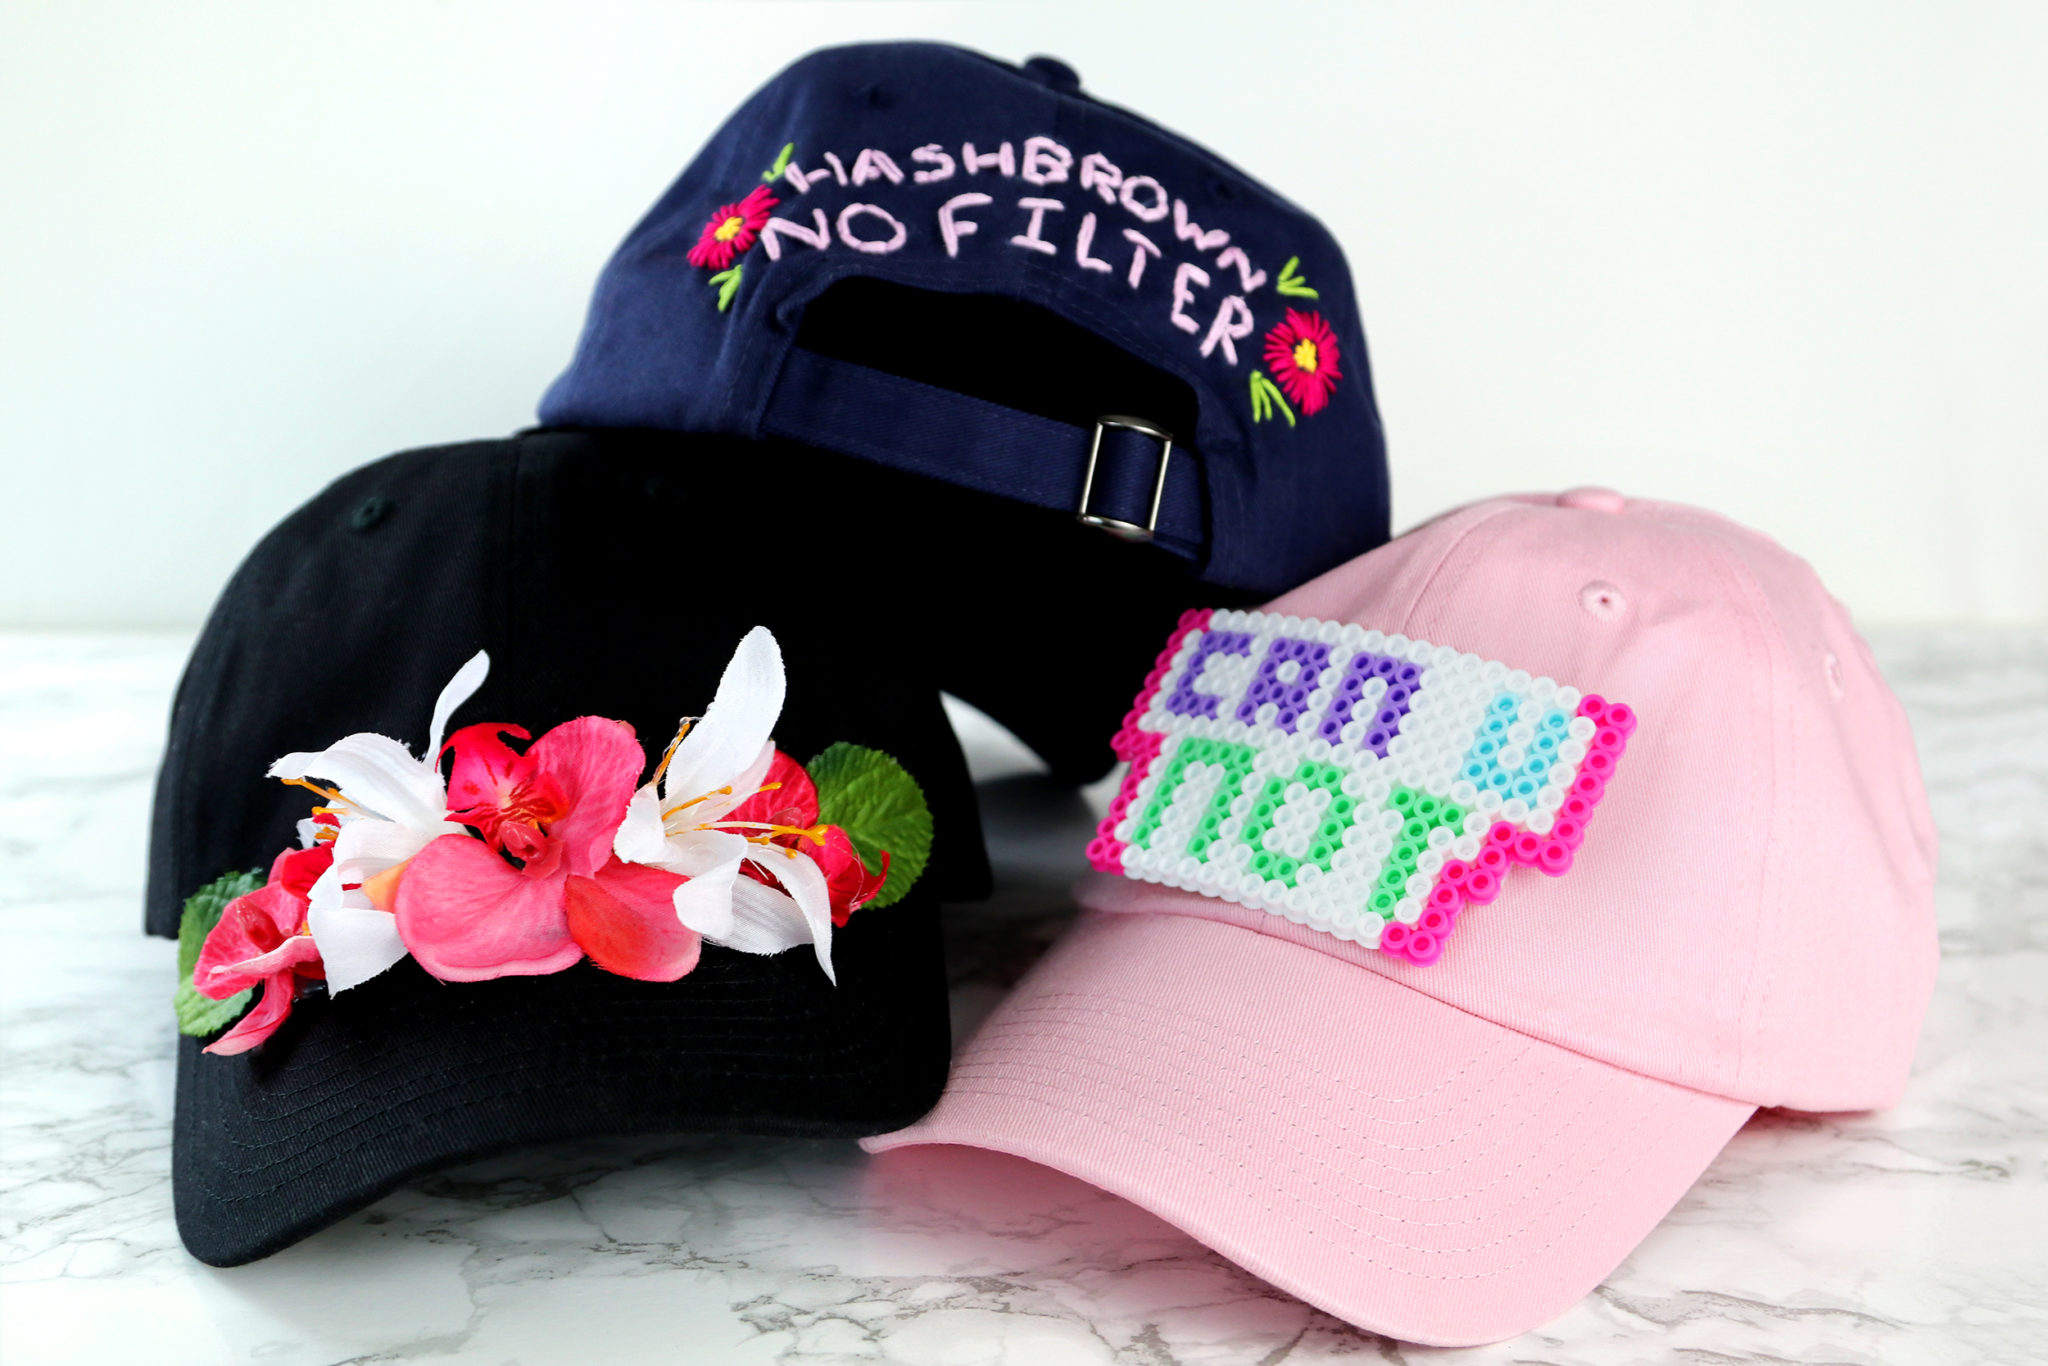
The first project is a flower hat, which I think is a nice everyday alternate to a flower crown. It’s so easy – literally just remove fake flowers from their stems and glue them onto the hat.
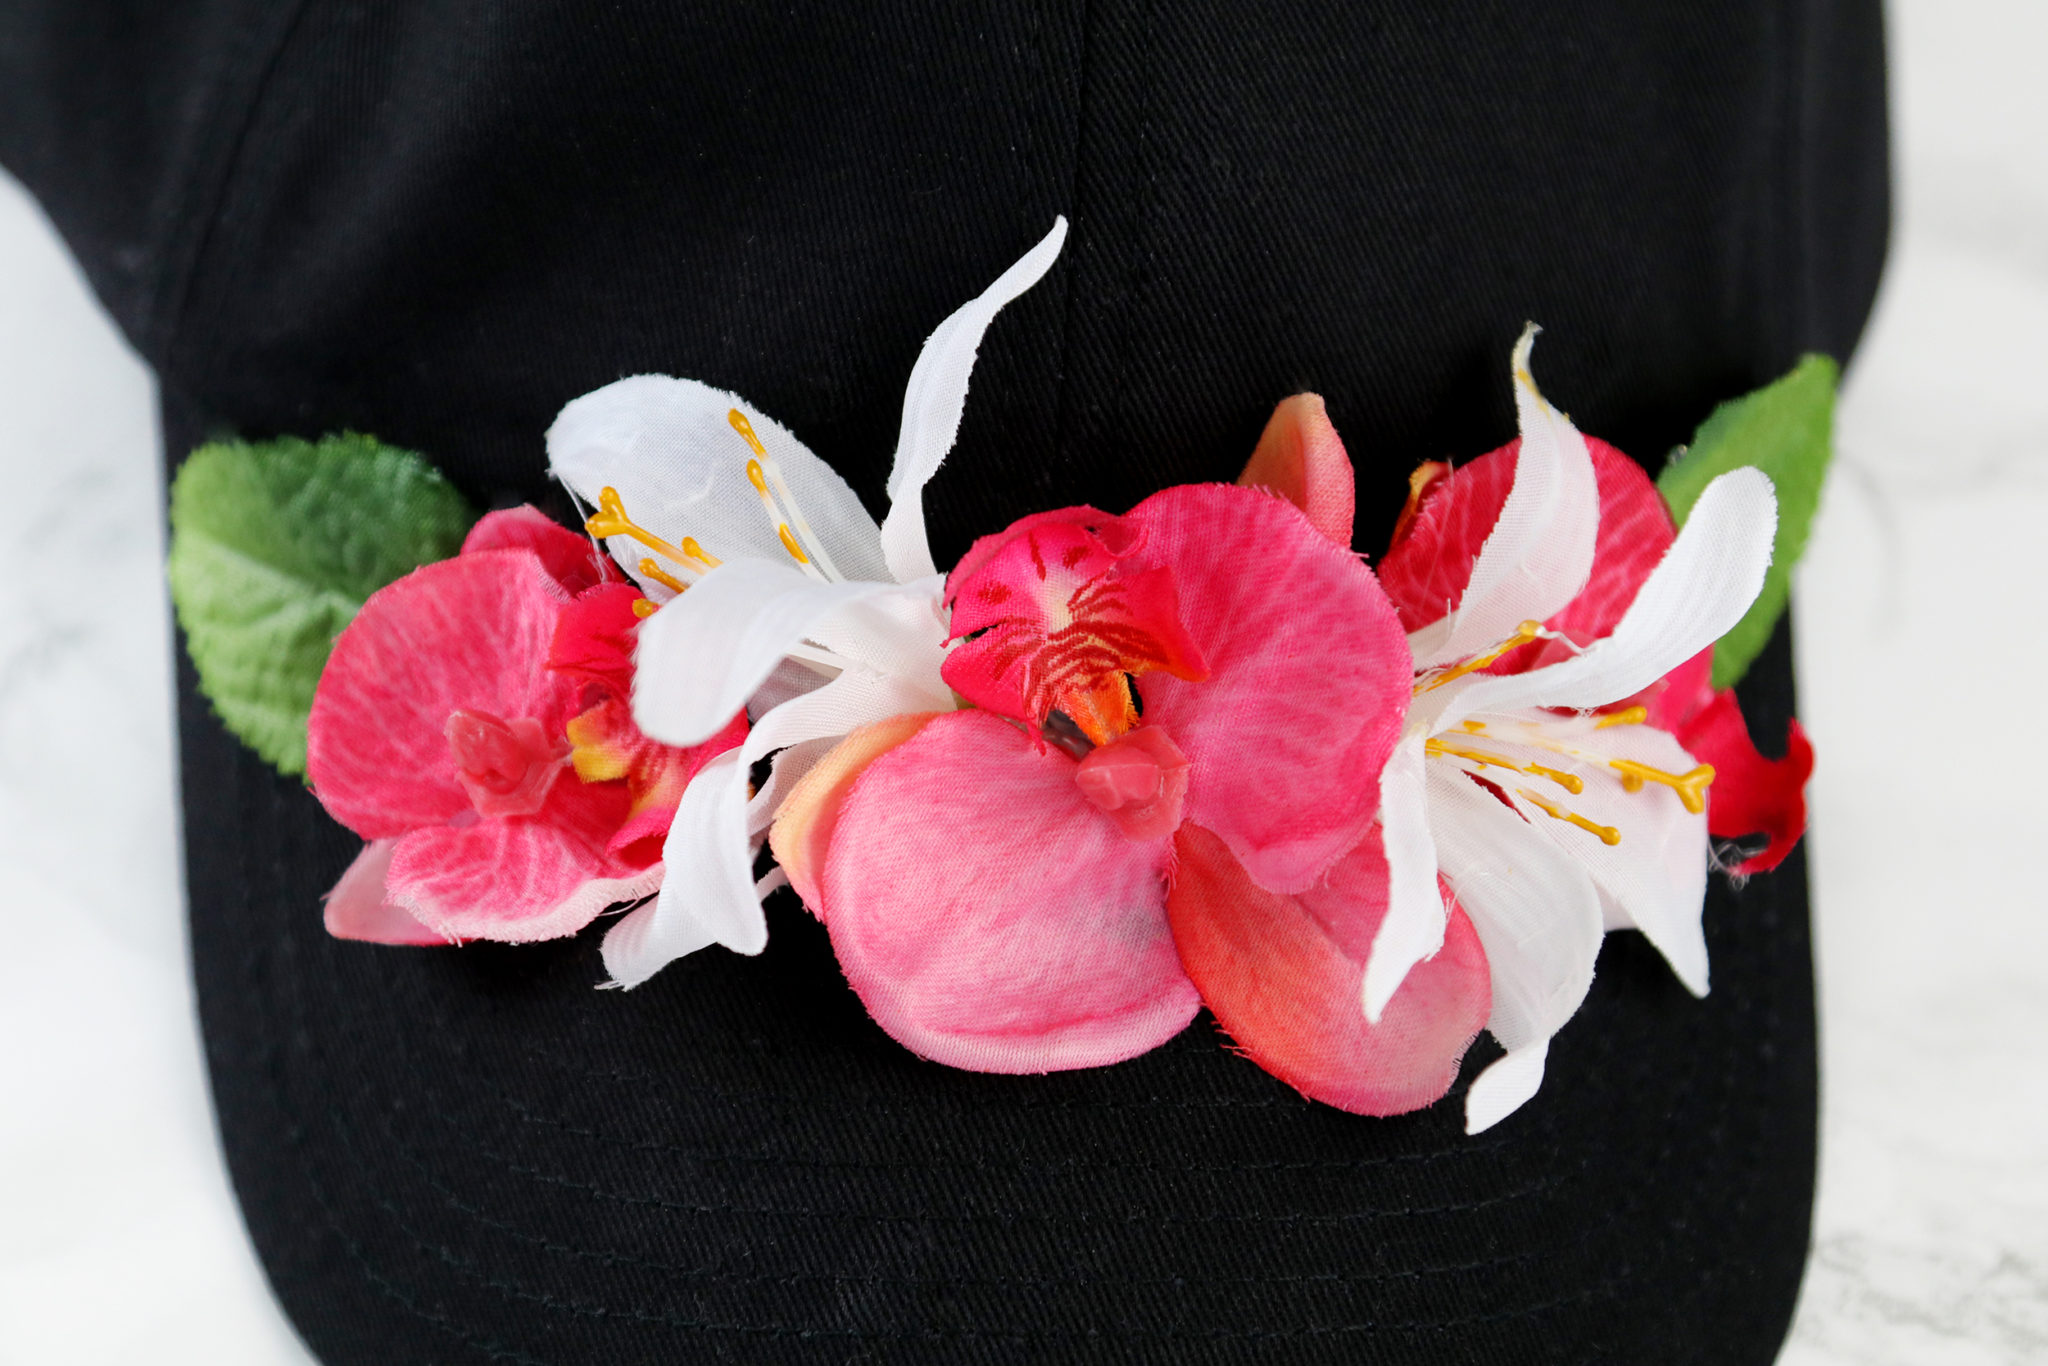
I decided to make my design symmetrical and stick to a color palette of white and pink, but I think this would also look great with tons of colorful flowers.

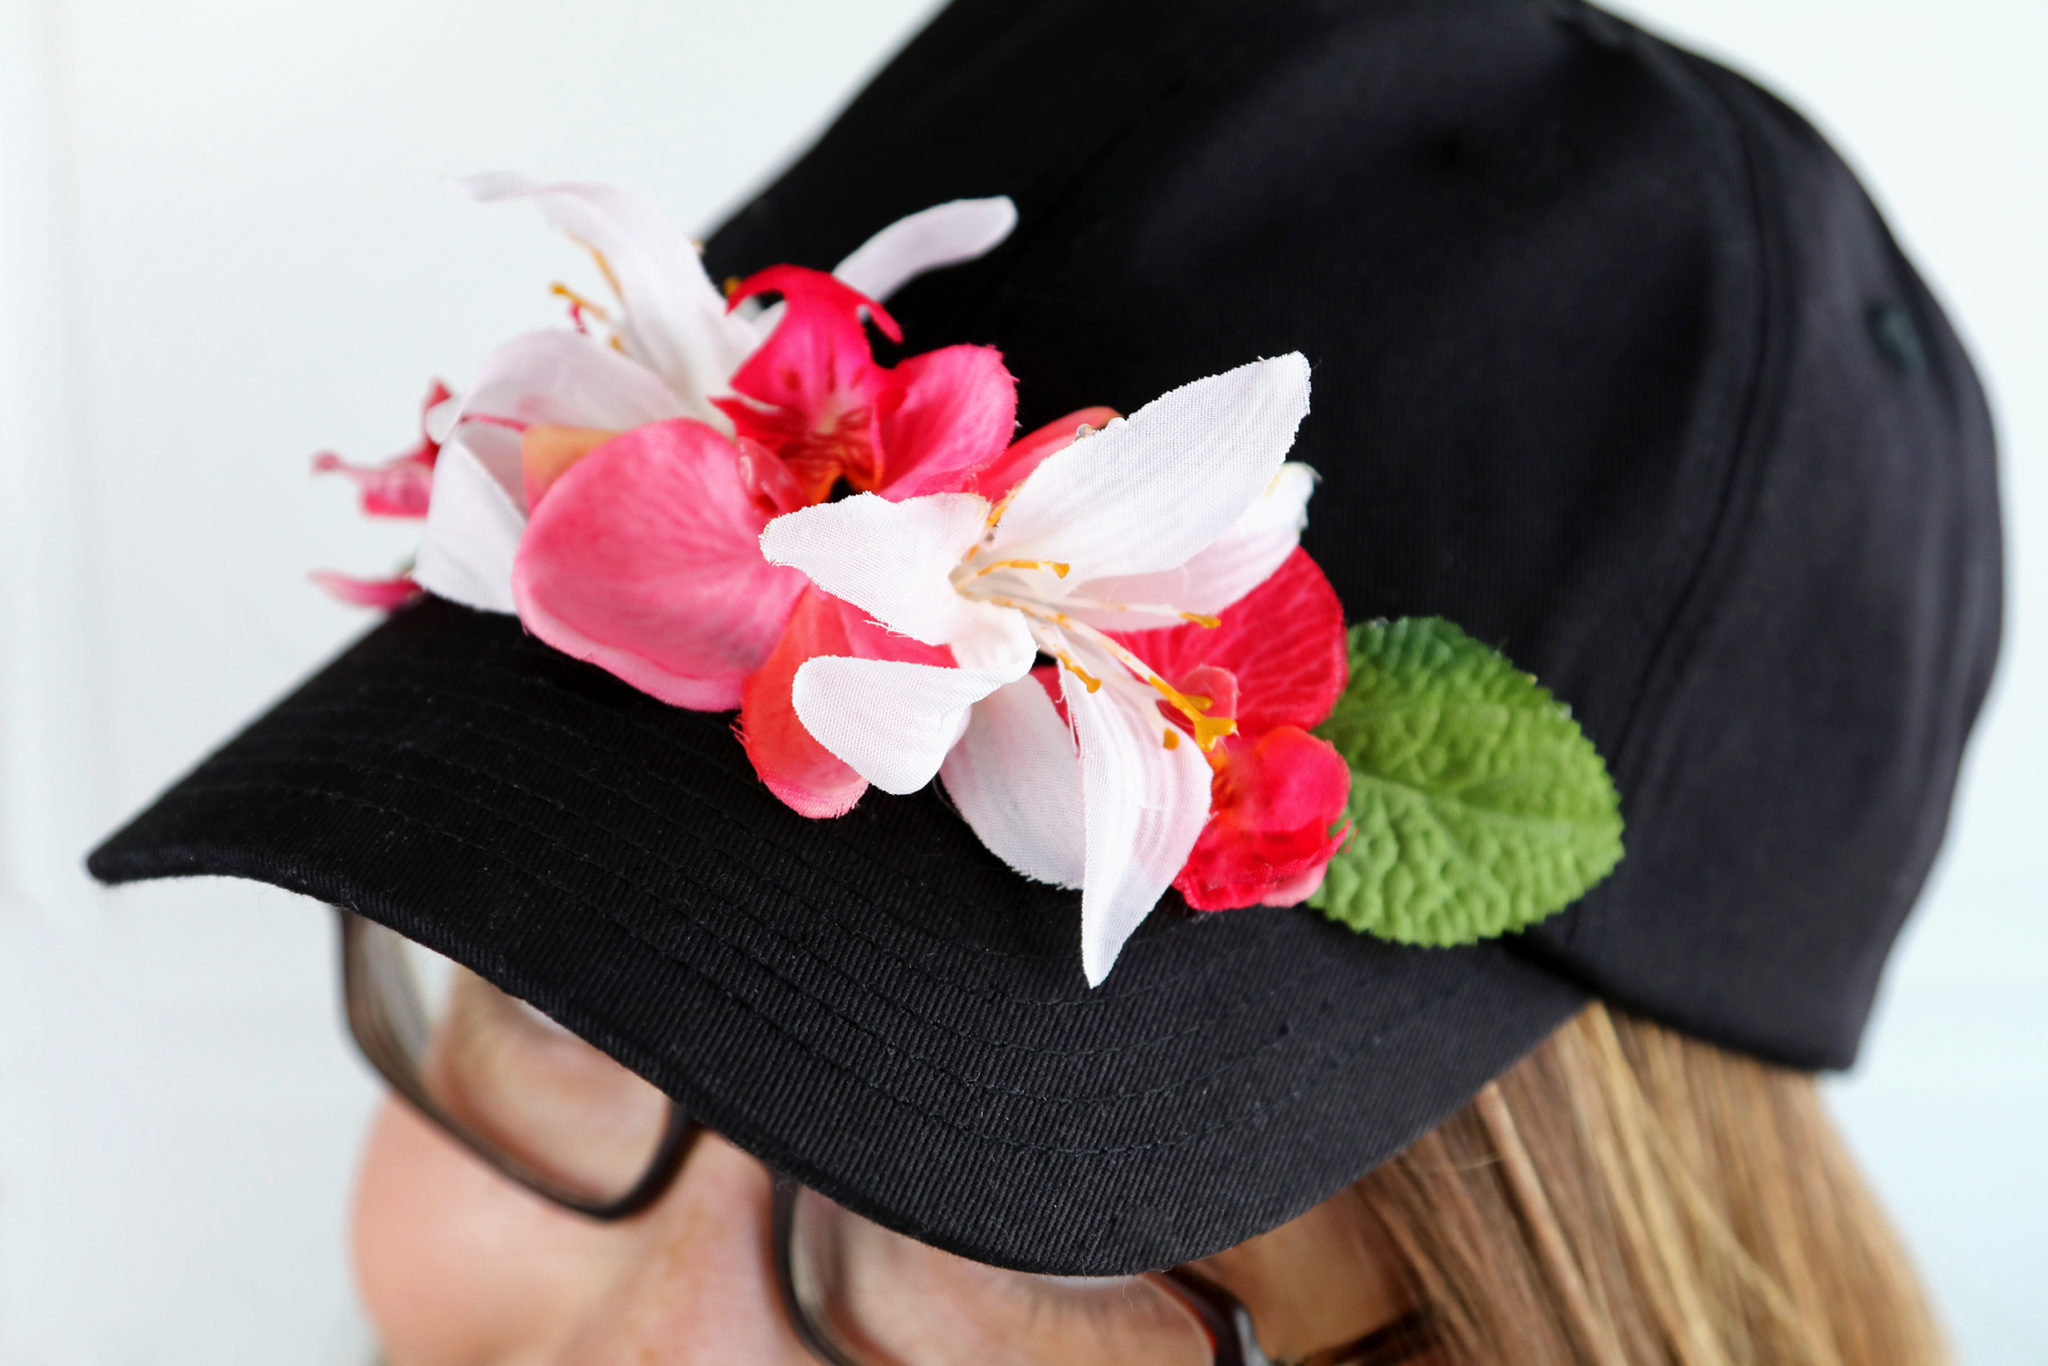
I think this is a little more wearable than a flower crown, and I love how it came out!
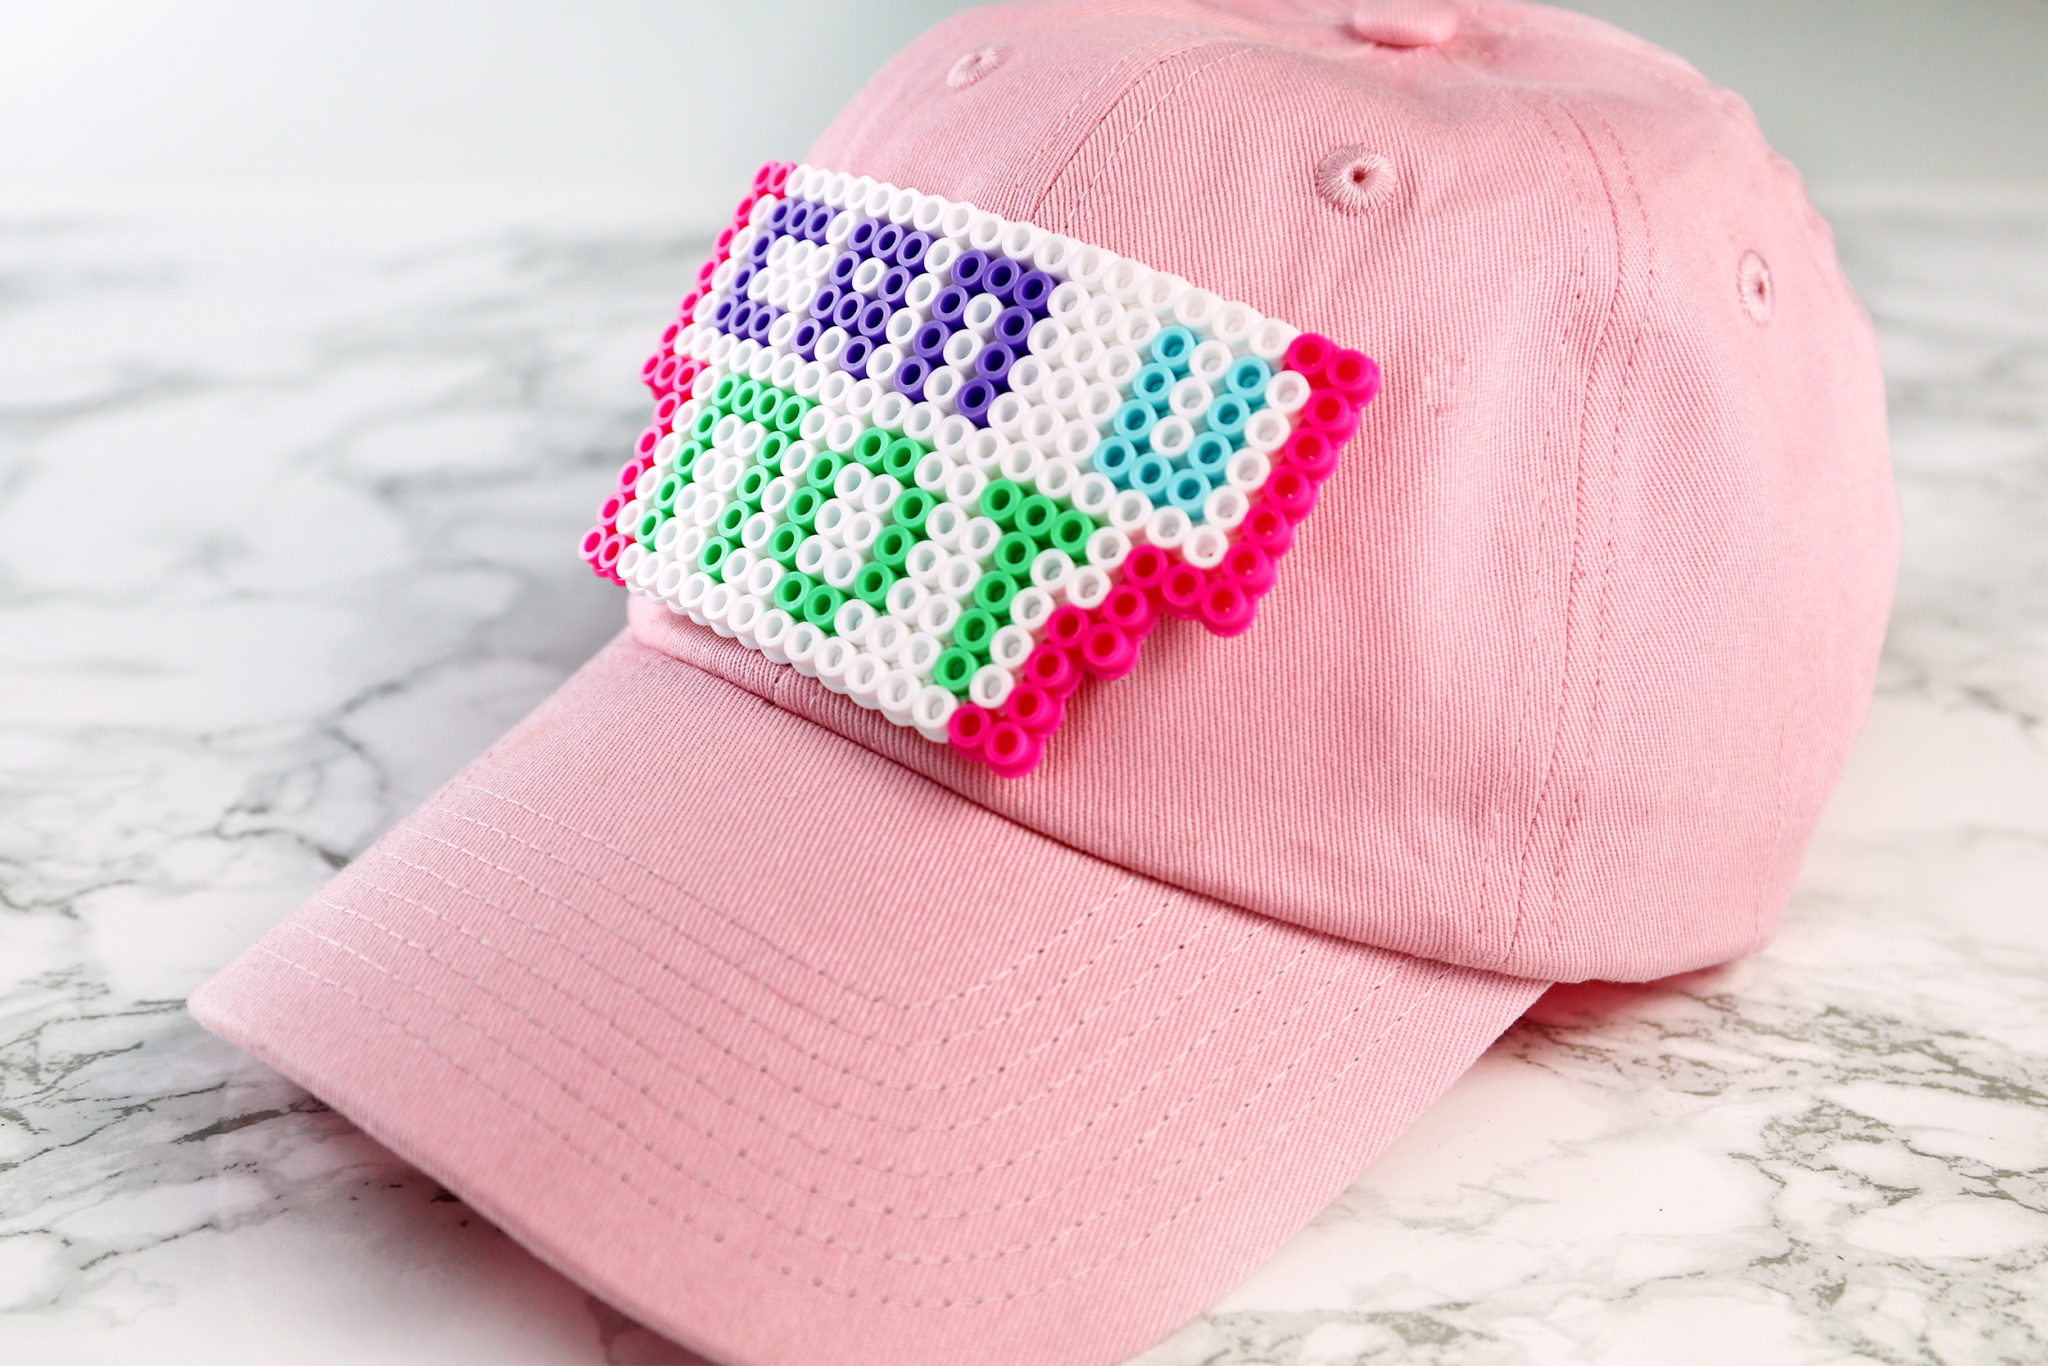
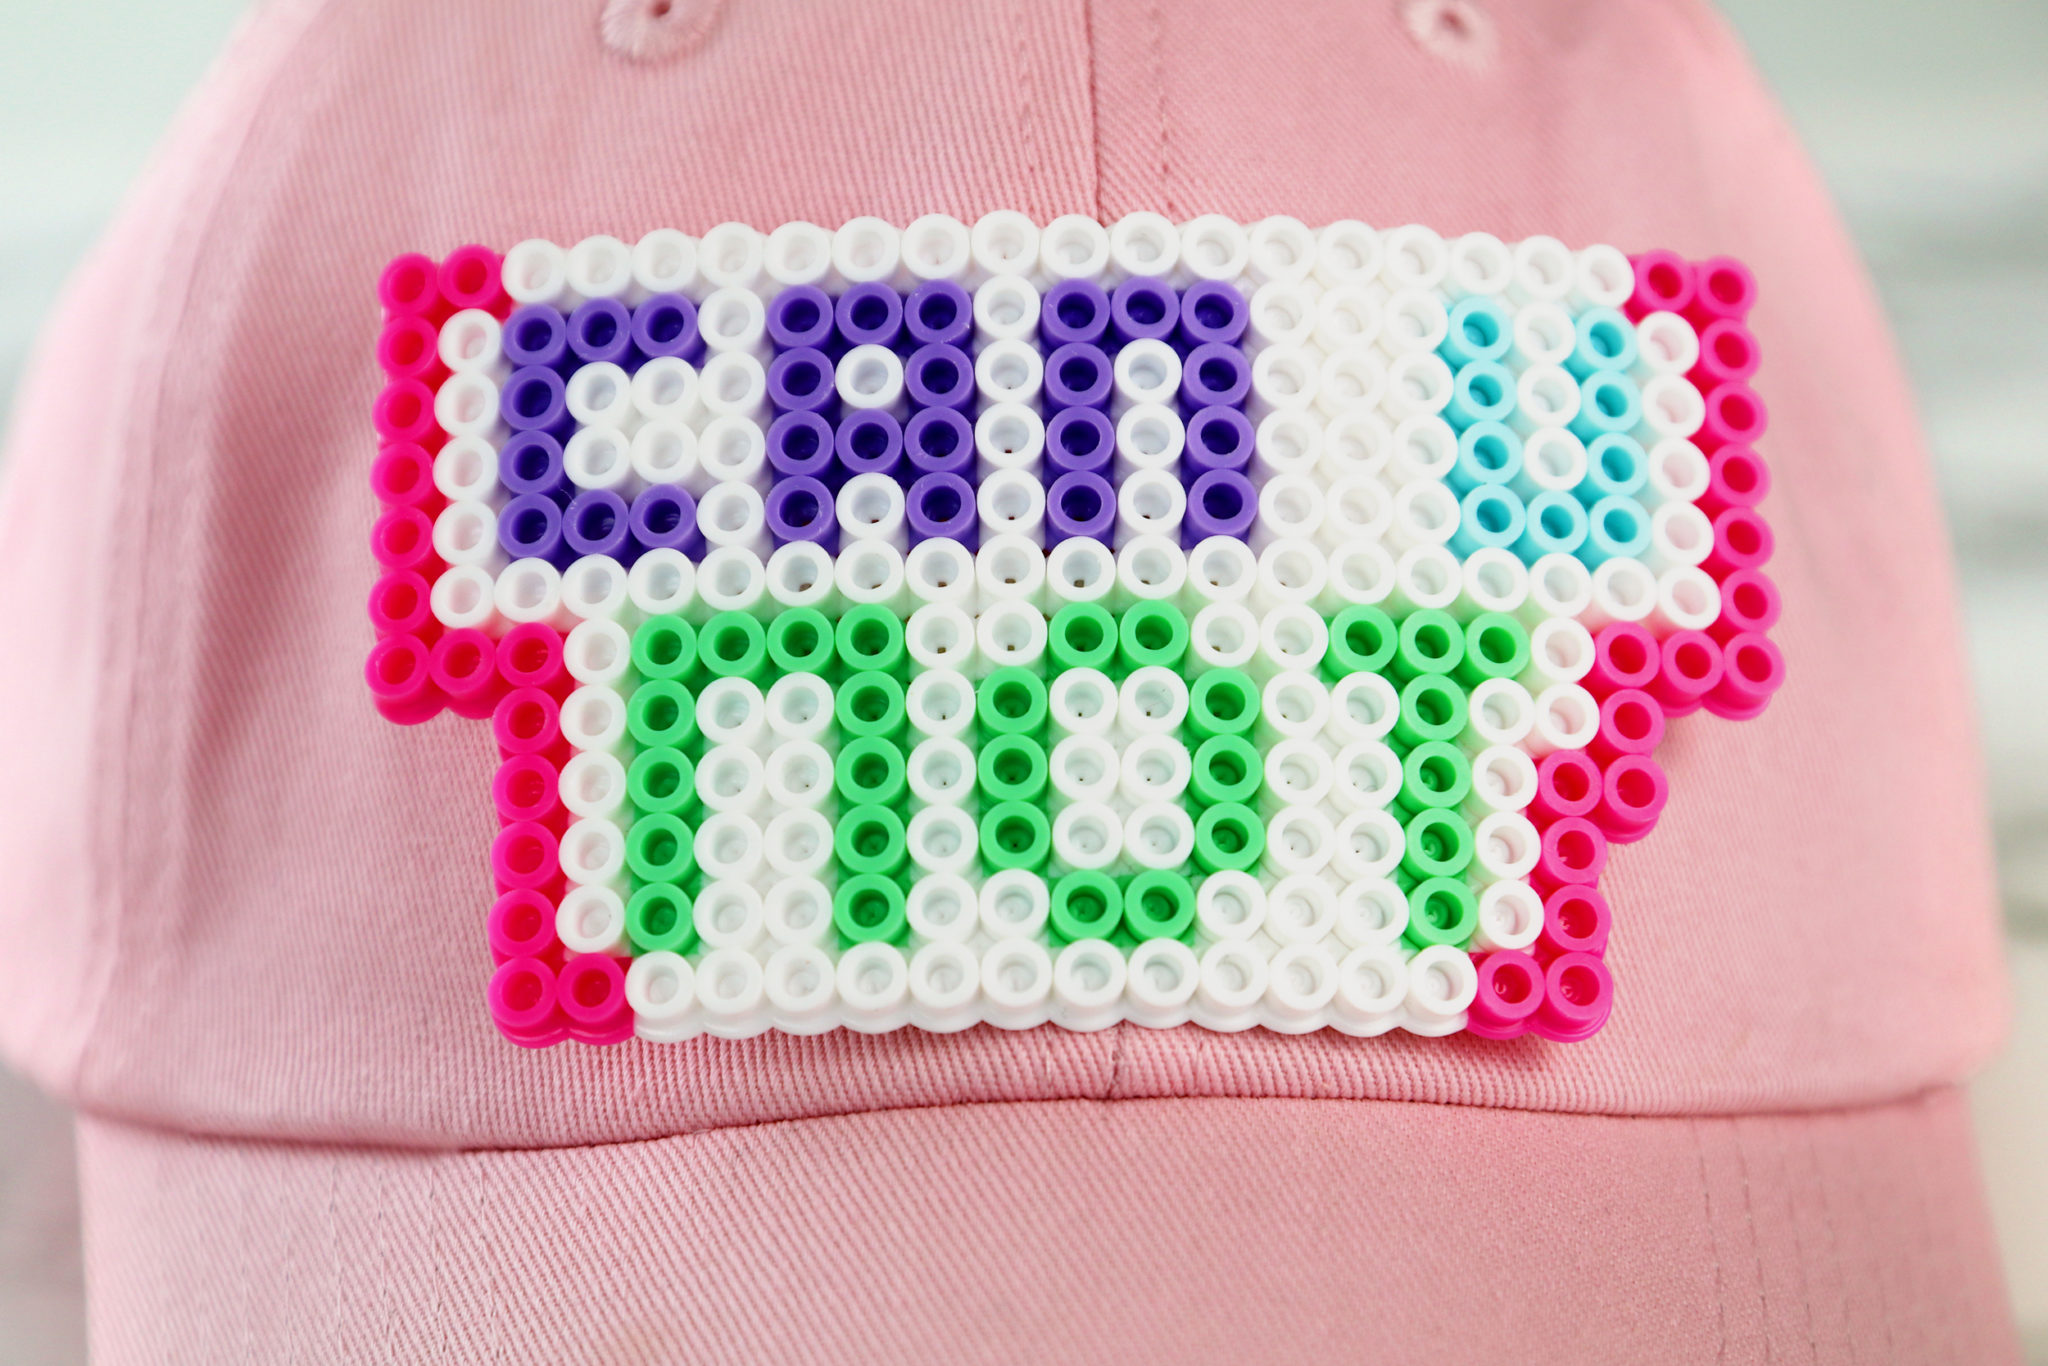
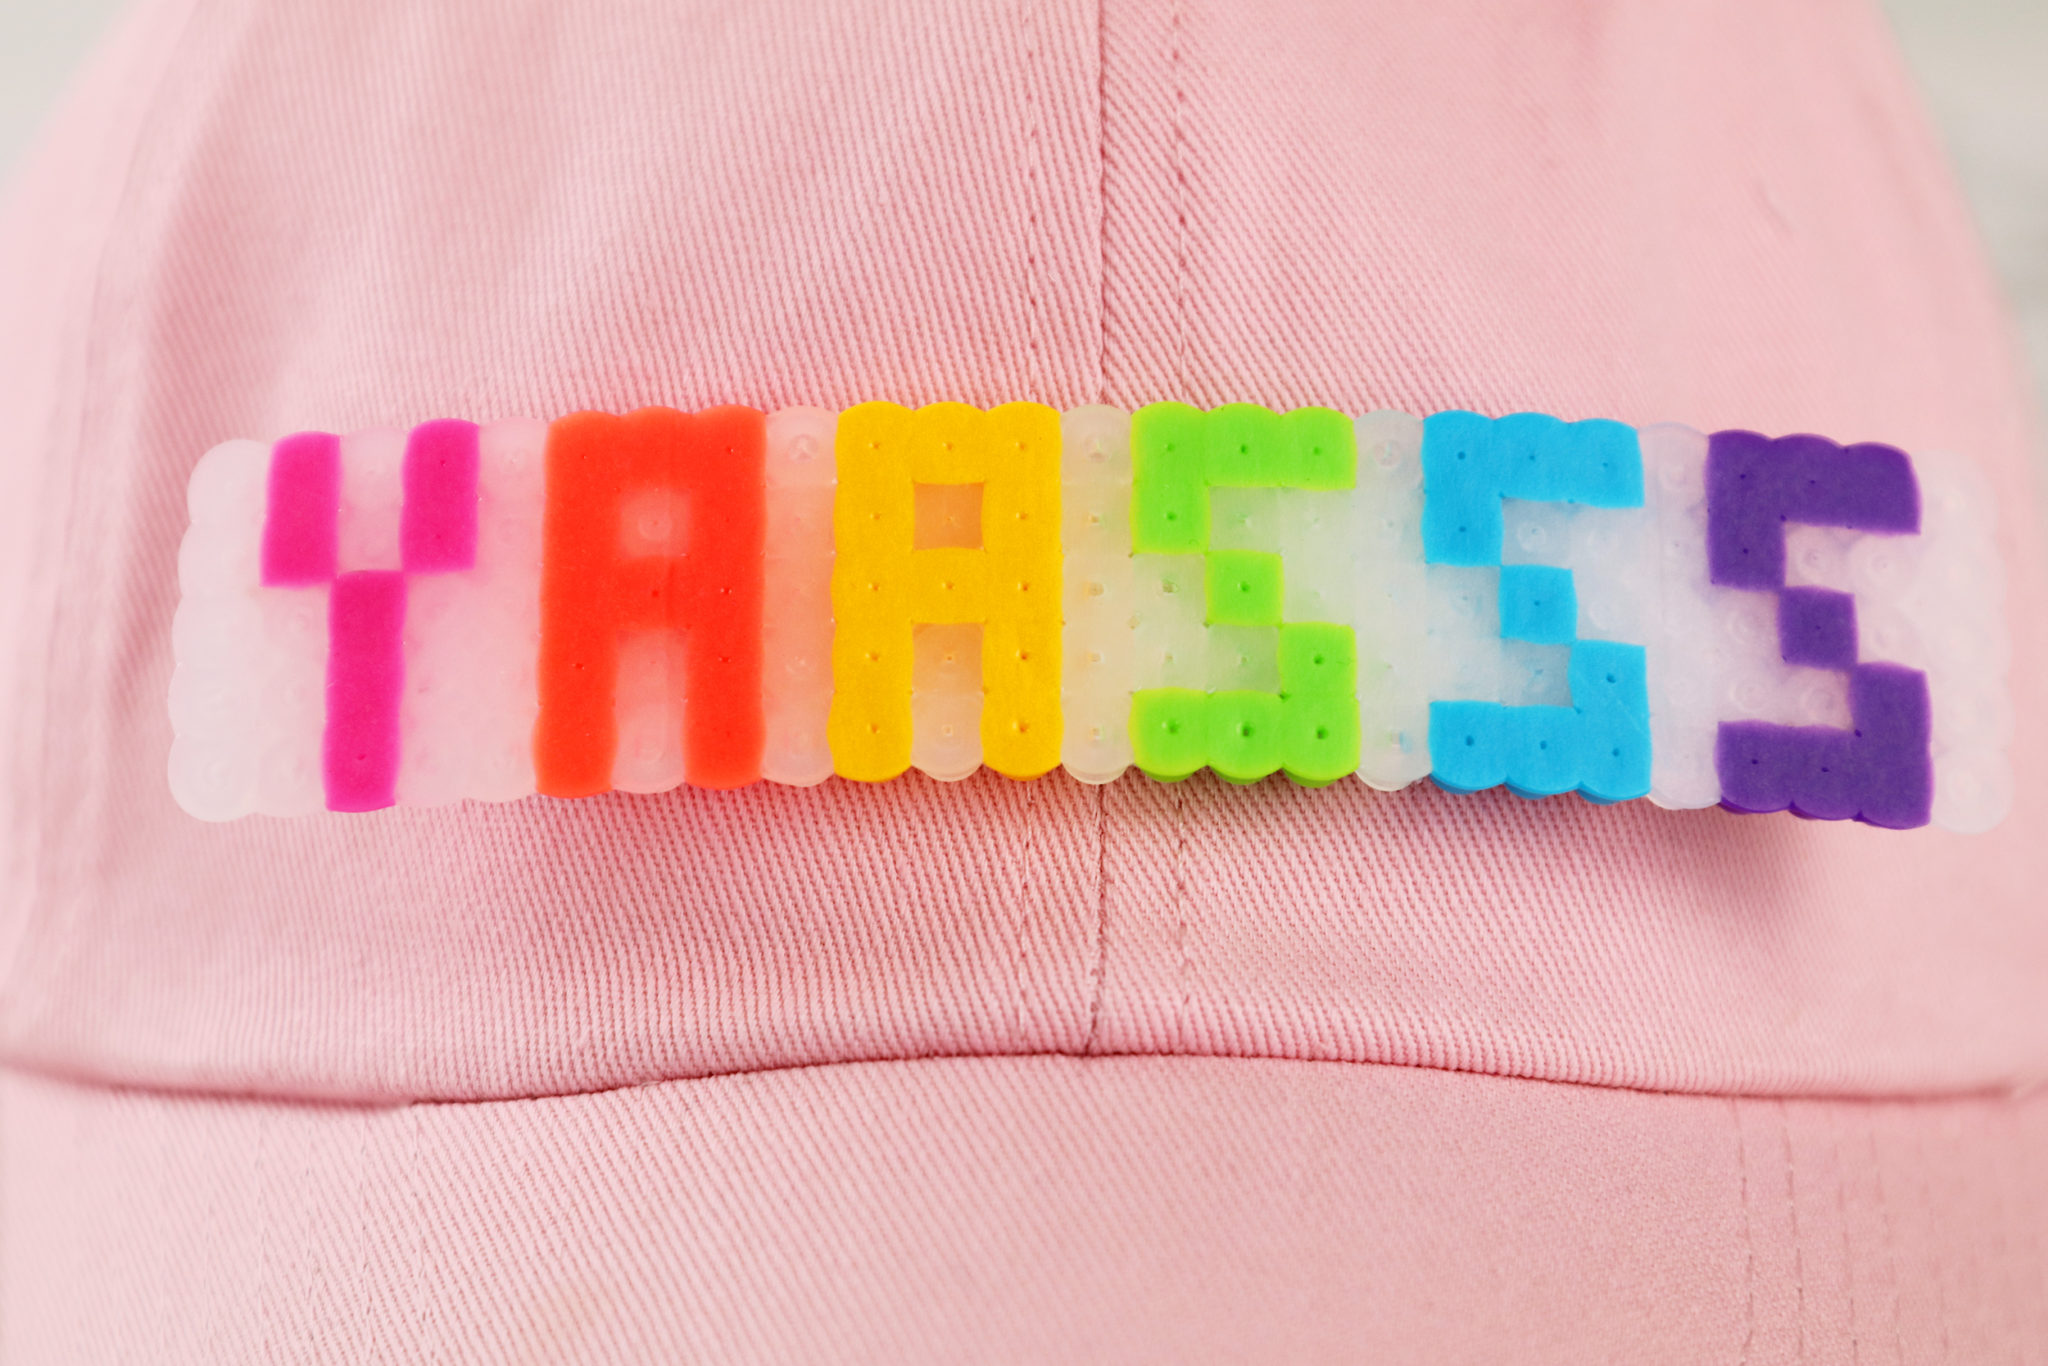
The next hat uses a craft supply I literally haven’t used since I was about 8 years old – Perler Beads.
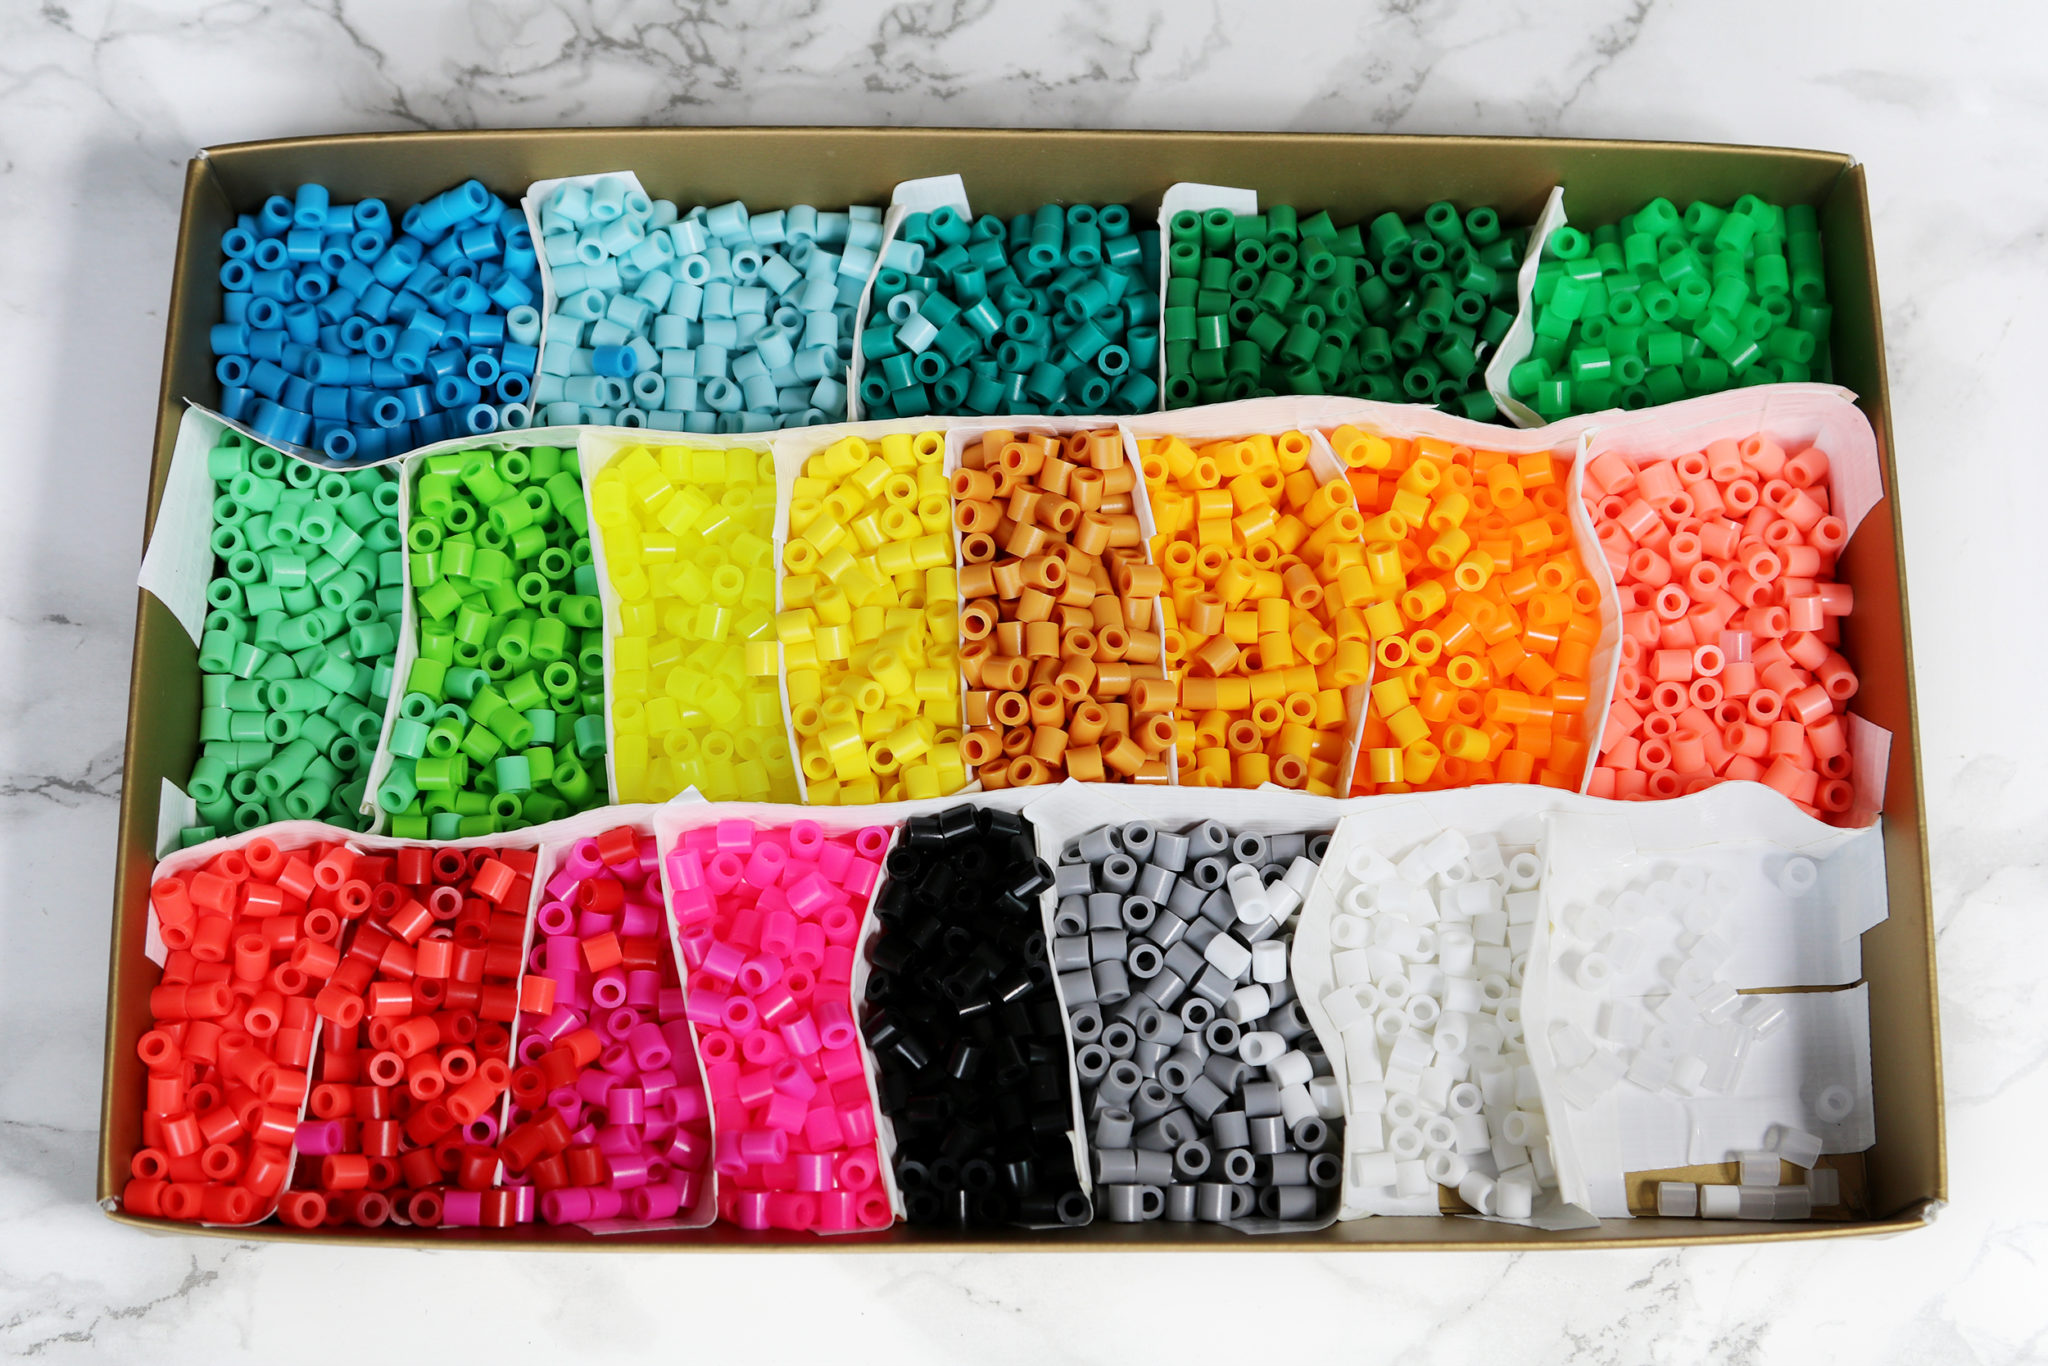
If you’re not familar with them, Perler Beads, also known as Hama Beads, are small colorful beads that you can place onto a pegboard and then iron to melt them into a solid shape.
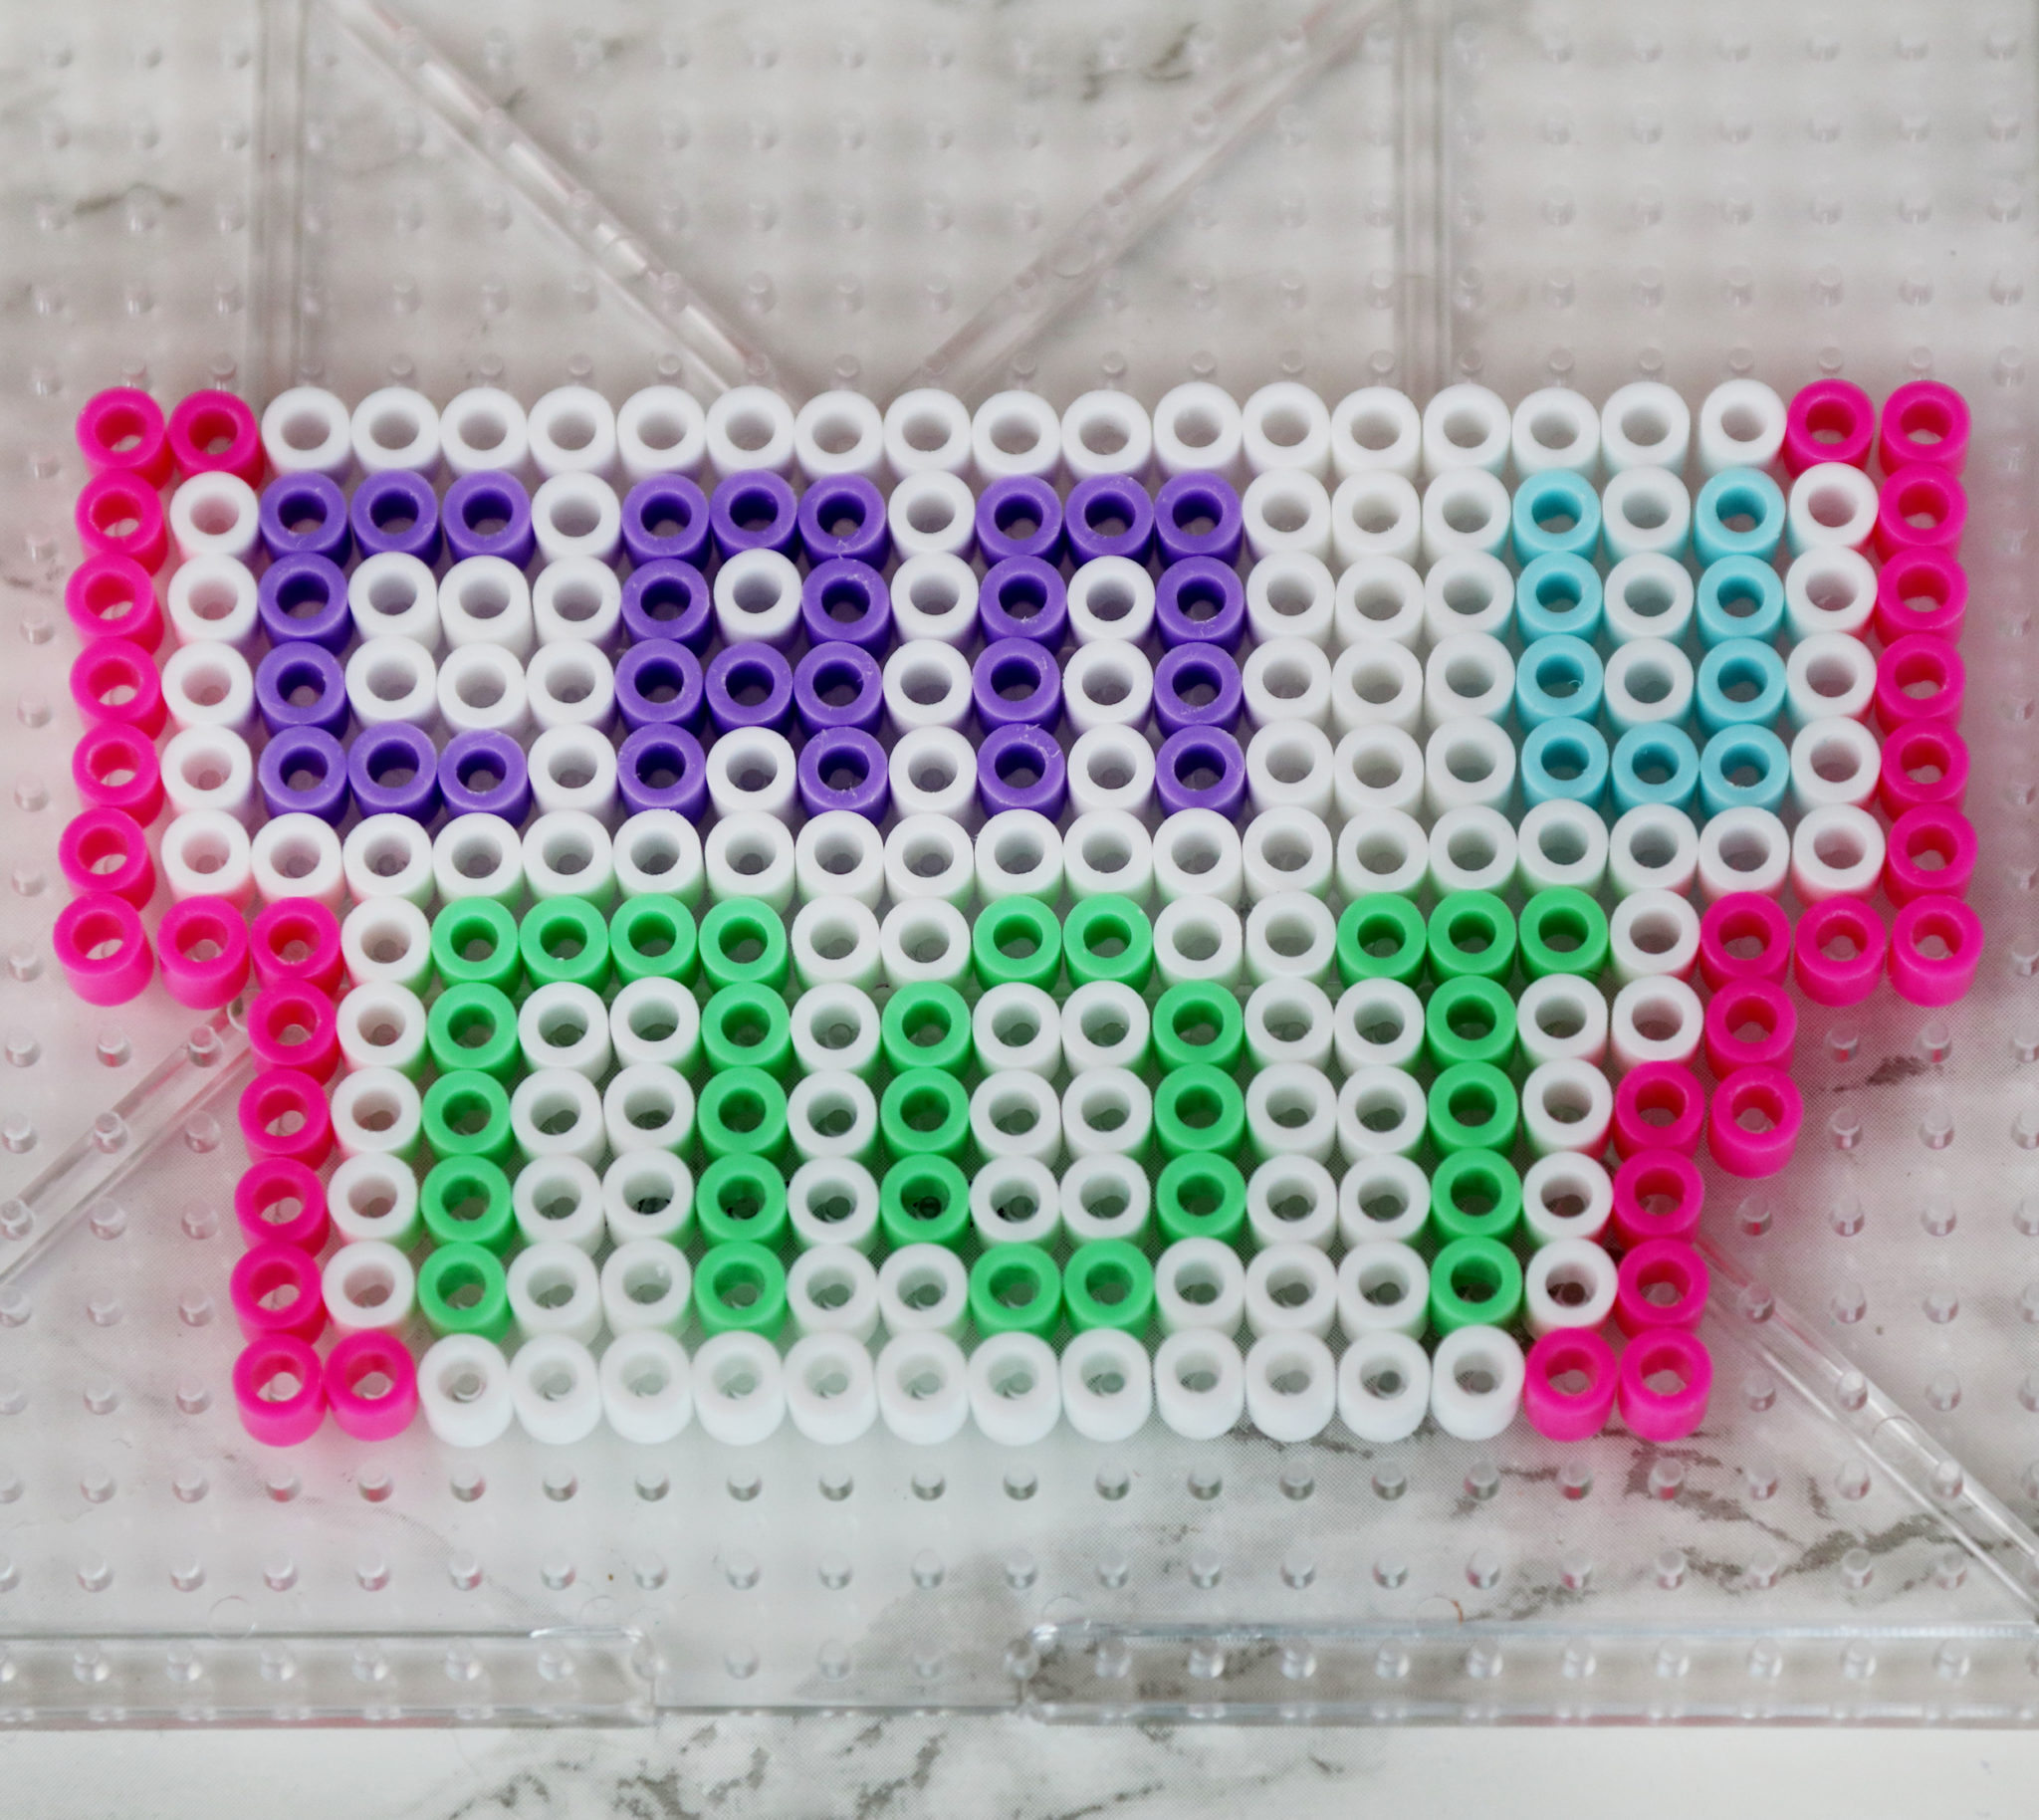
I definitely recommend planning your design on the computer or on graph paper first, to save yourself a lot of headache when arranging the beads on the board. (FYI, I flipped this photo on the computer so it would be easier for you guys to read – I originally arranged the beads backwards because…)
To get the look of separated beads like this, arrange your design on the board backwards, so that when you iron them, you’re melting the back of the design.
Or, to get a solid look like this, arrange your design frontwards. Just be extra careful when ironing it to make sure you have an even layer of melted-ness across the entire design.
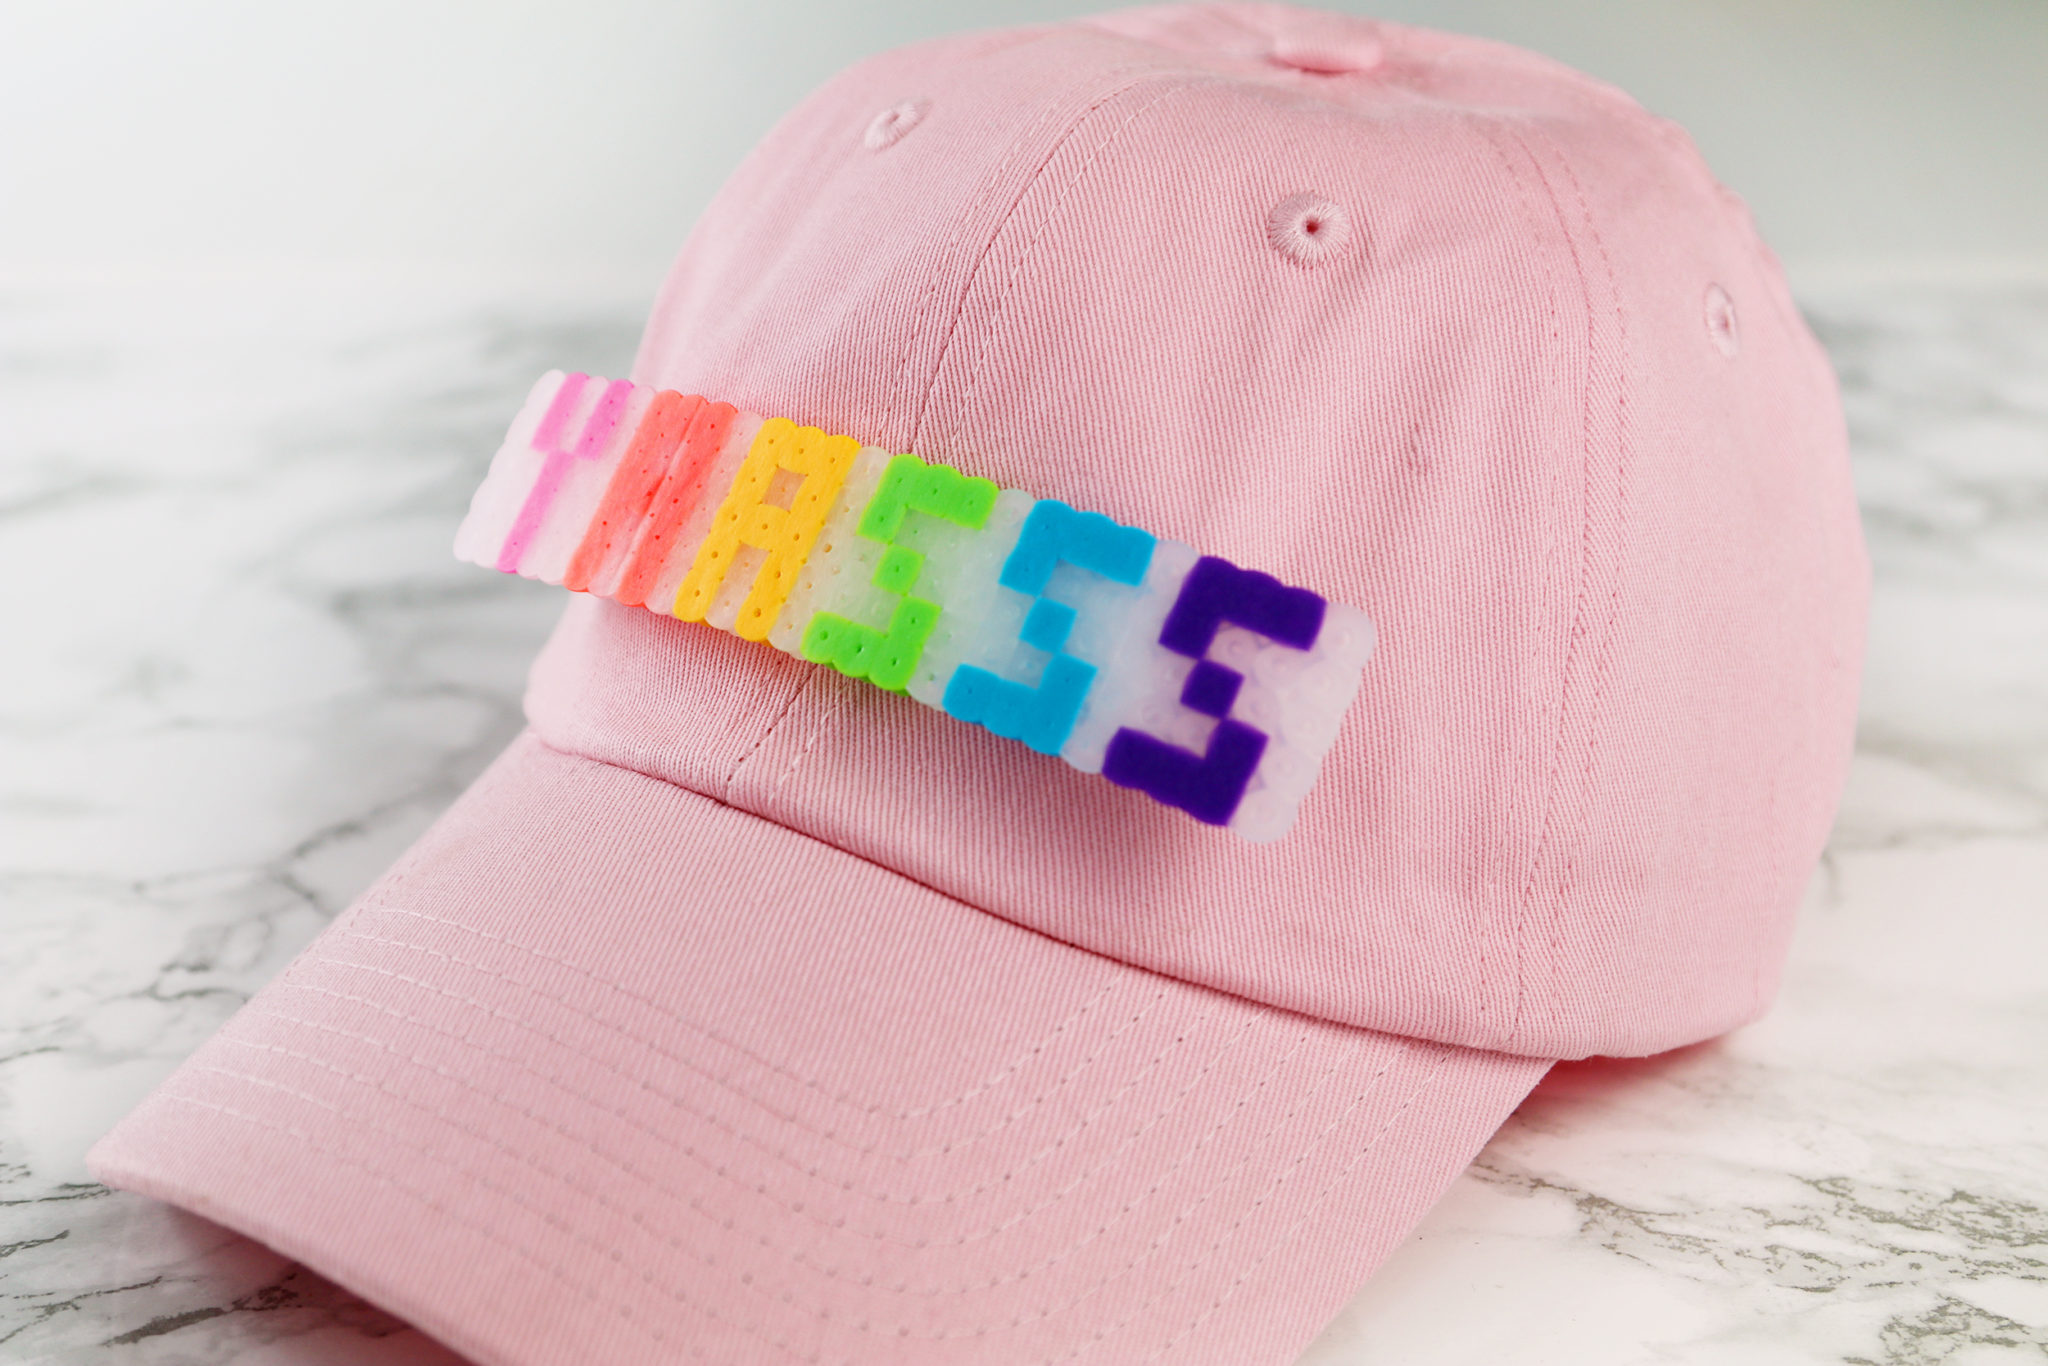
The great thing about this project is that you can make as many designs as you want and switch them out with Velcro!

I love how this project came out, and it definitely says when I’m thinking pretty much 24/7.
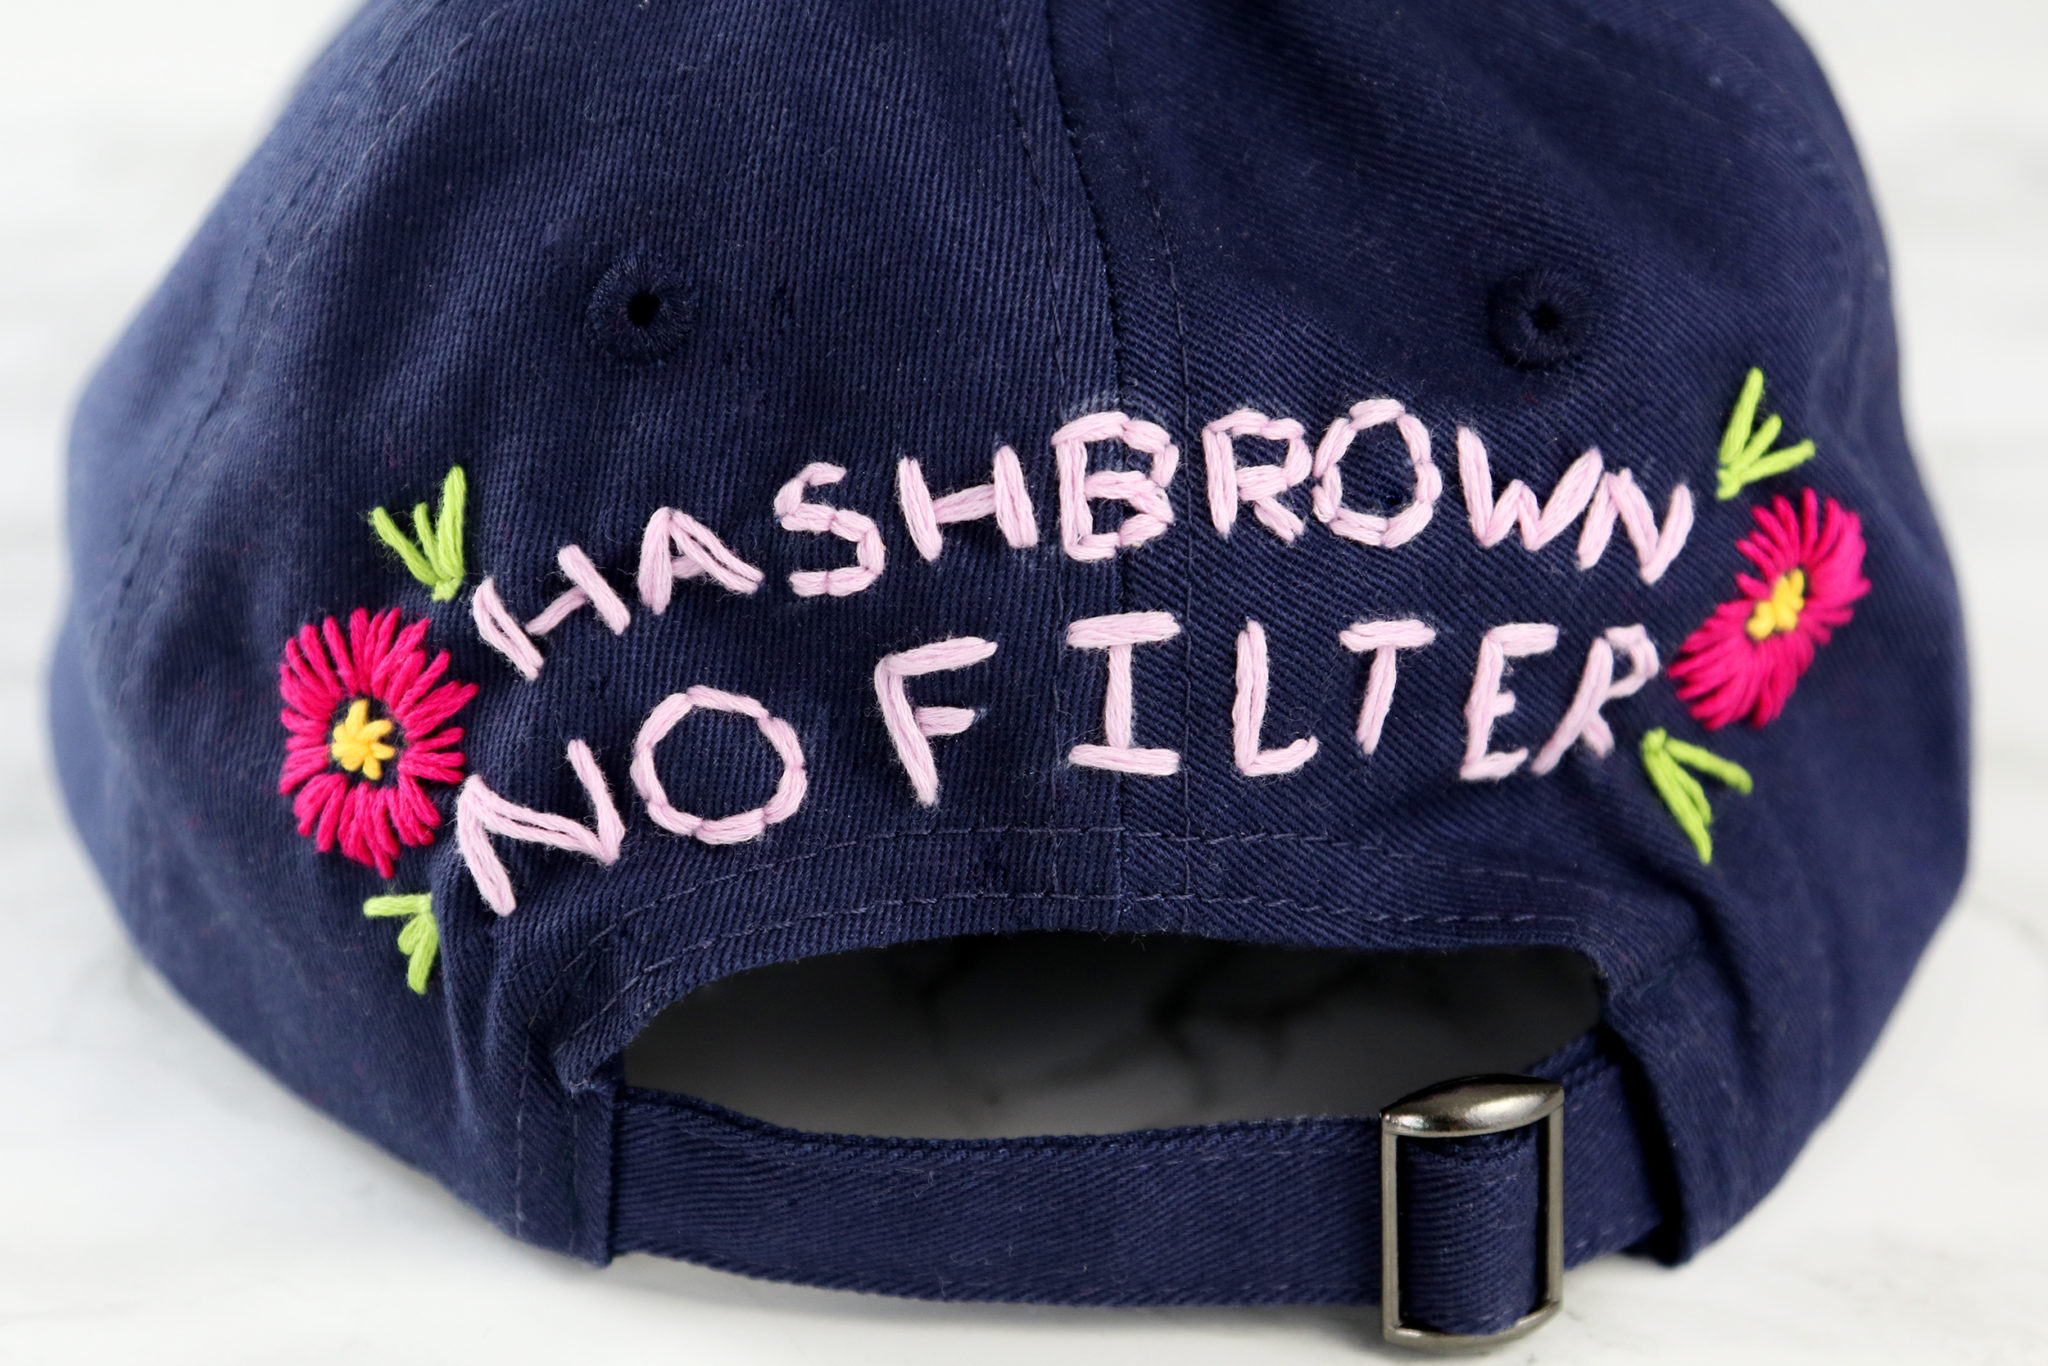
And finally, you guys know how much I love embroidery. For the final project, we’re embroidering a design on the back of the hat, and I went with “Hashbrown No Filter” from the hilarious Kimmy Schmidt.
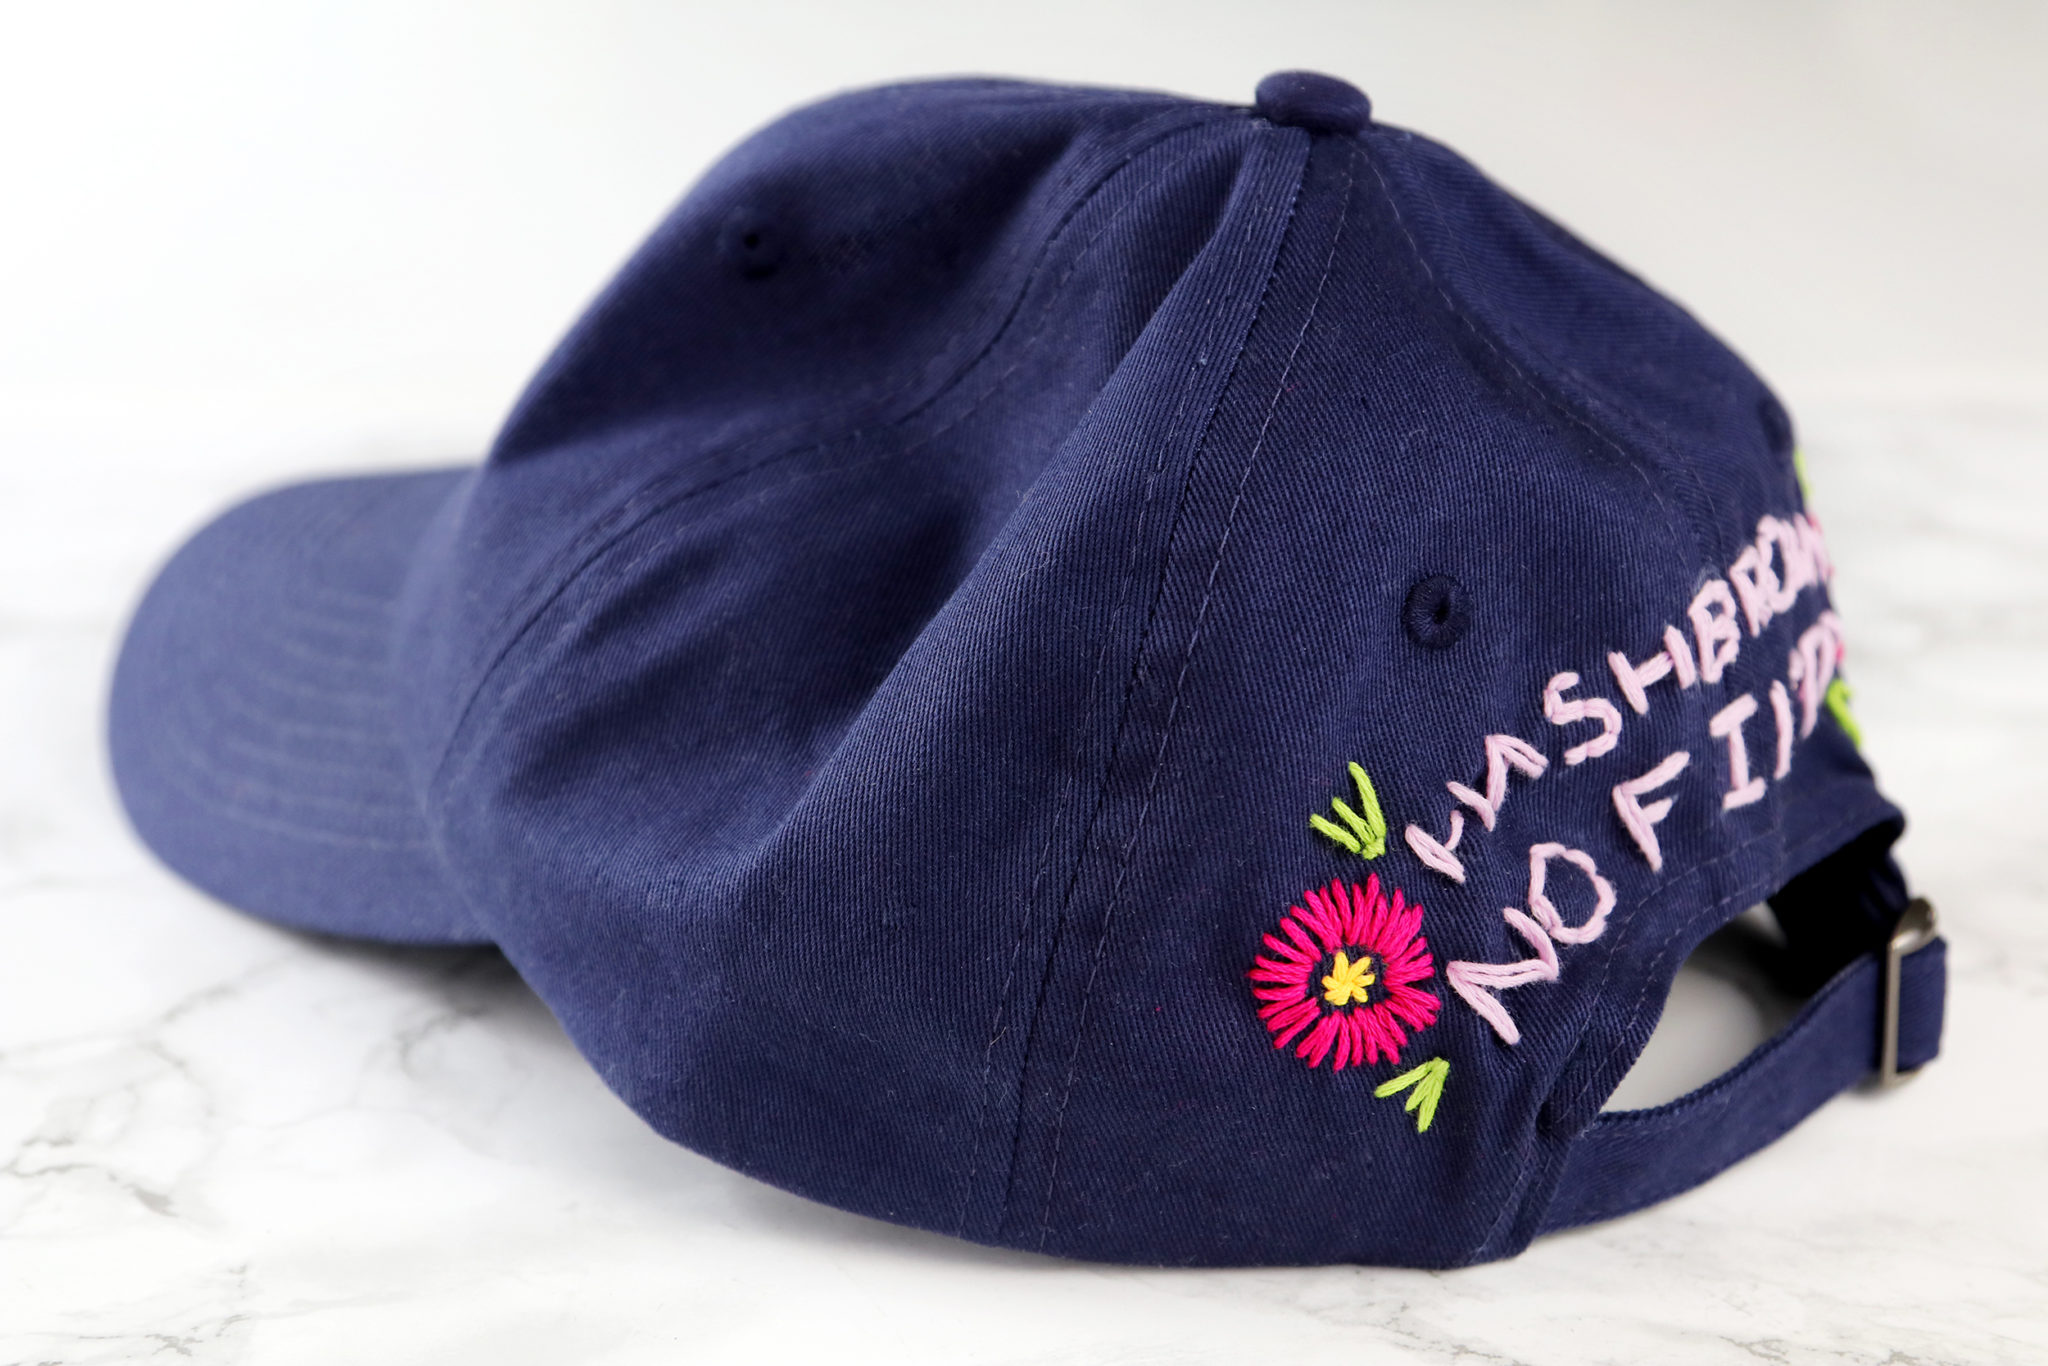
I also added some flowers on either side as decorations, and I think it came out so cute.


I hope you guys liked all three of these projects! Be sure to leave a comment on the video if you enjoyed it and subscribe to HGTV Handmade on YouTube for three new DIY projects every week. I hope you’re all having a great summer, and I’ll see you guys again very soon!