
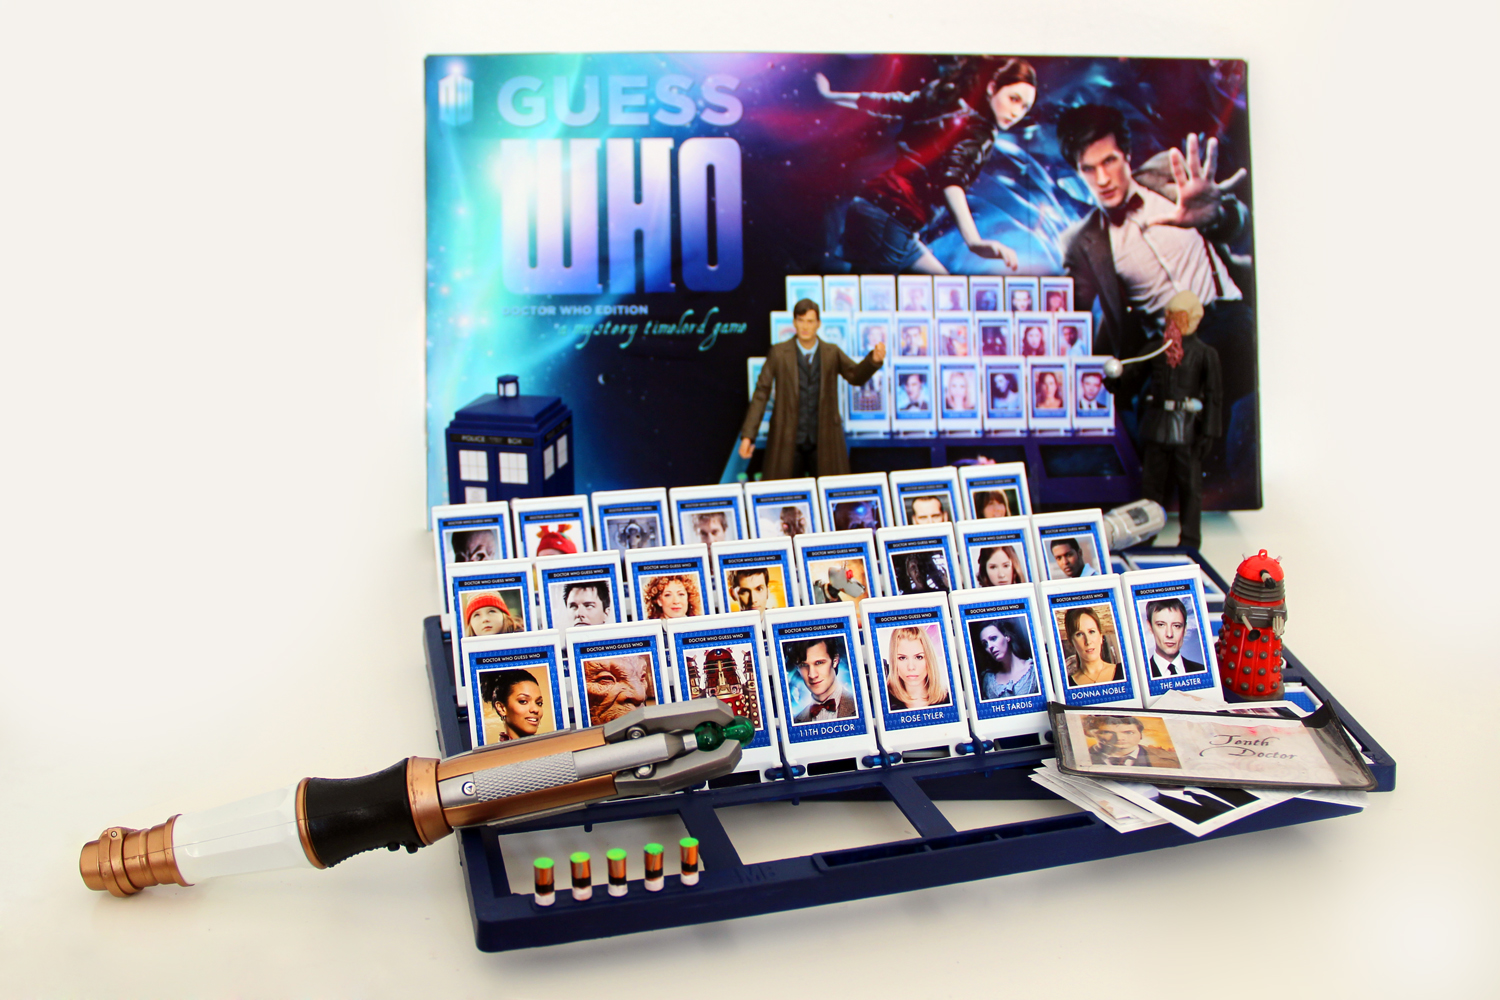
Earlier this week I posted about the custom Doctor Who edition of a Guess Who set that I put together. But, how did I go about making it? To find out, check out the video above and the many photos below, and be sure to scroll through the whole post for links to download the card designs!


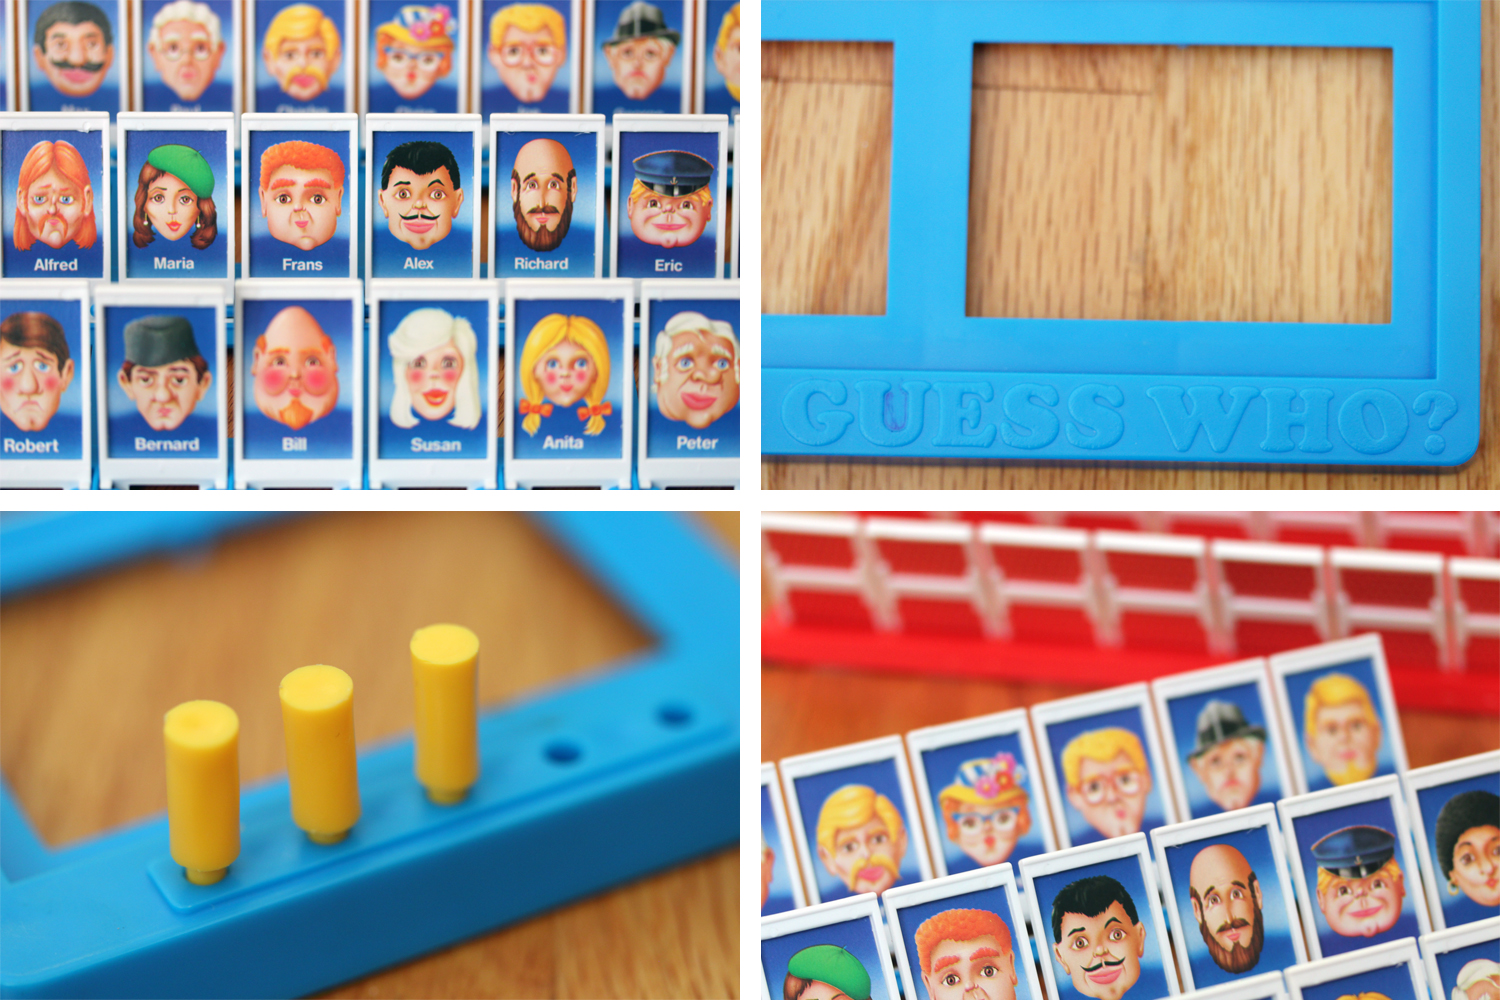
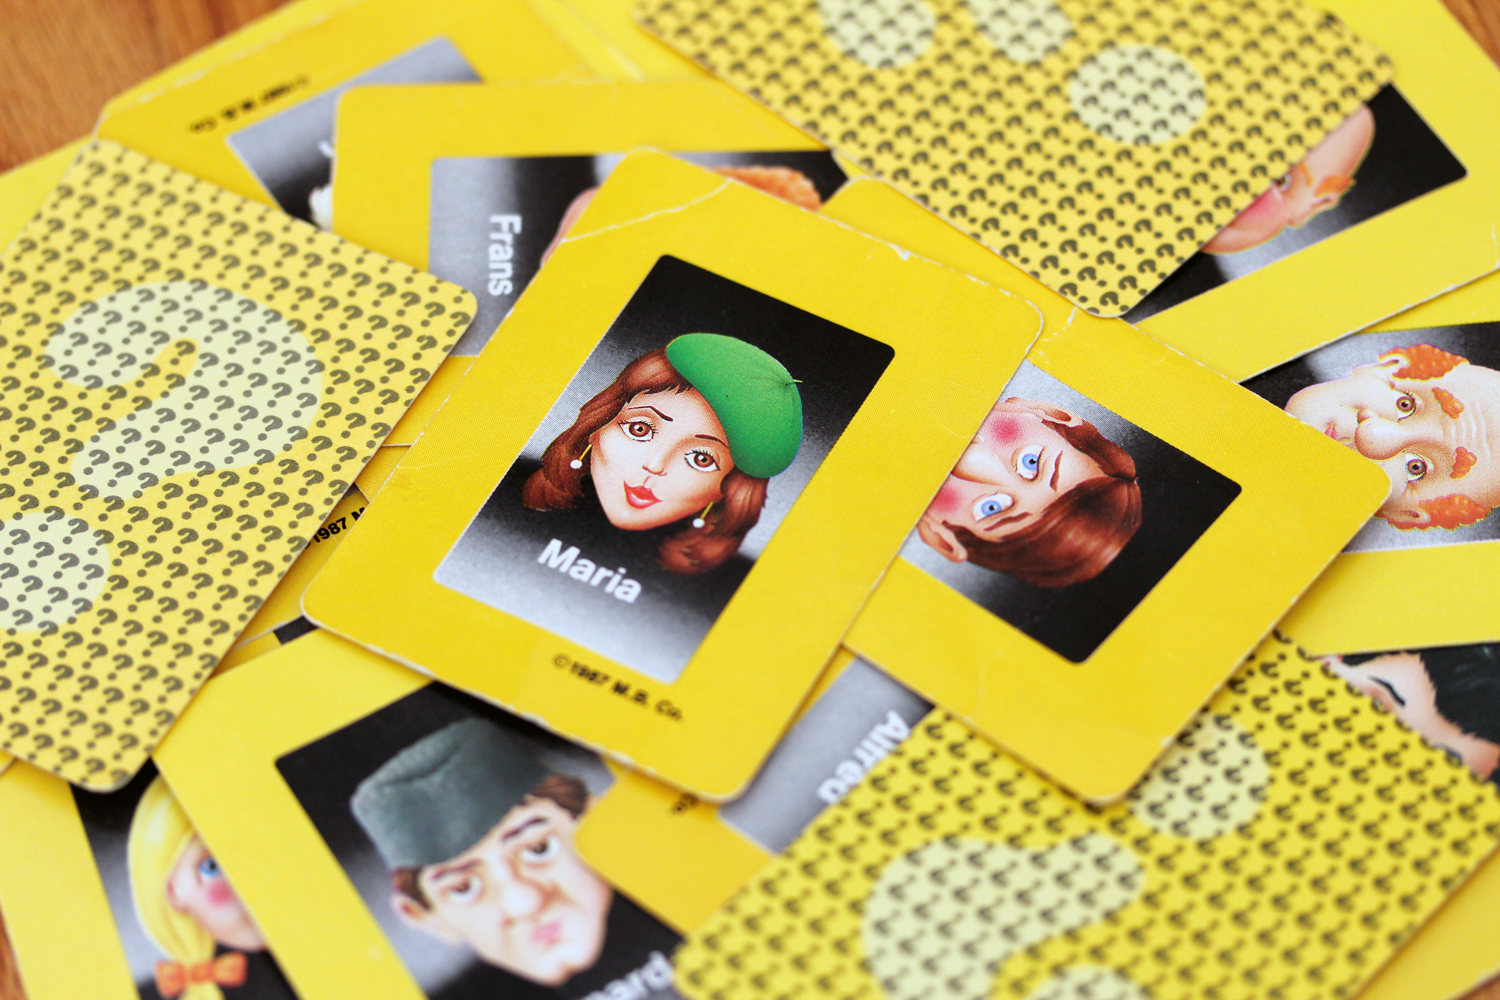
I began with a Guess Who set that I bought off of Ebay, since I wanted the older version from the 90s that I grew up with, and not the newer version that they sell now.

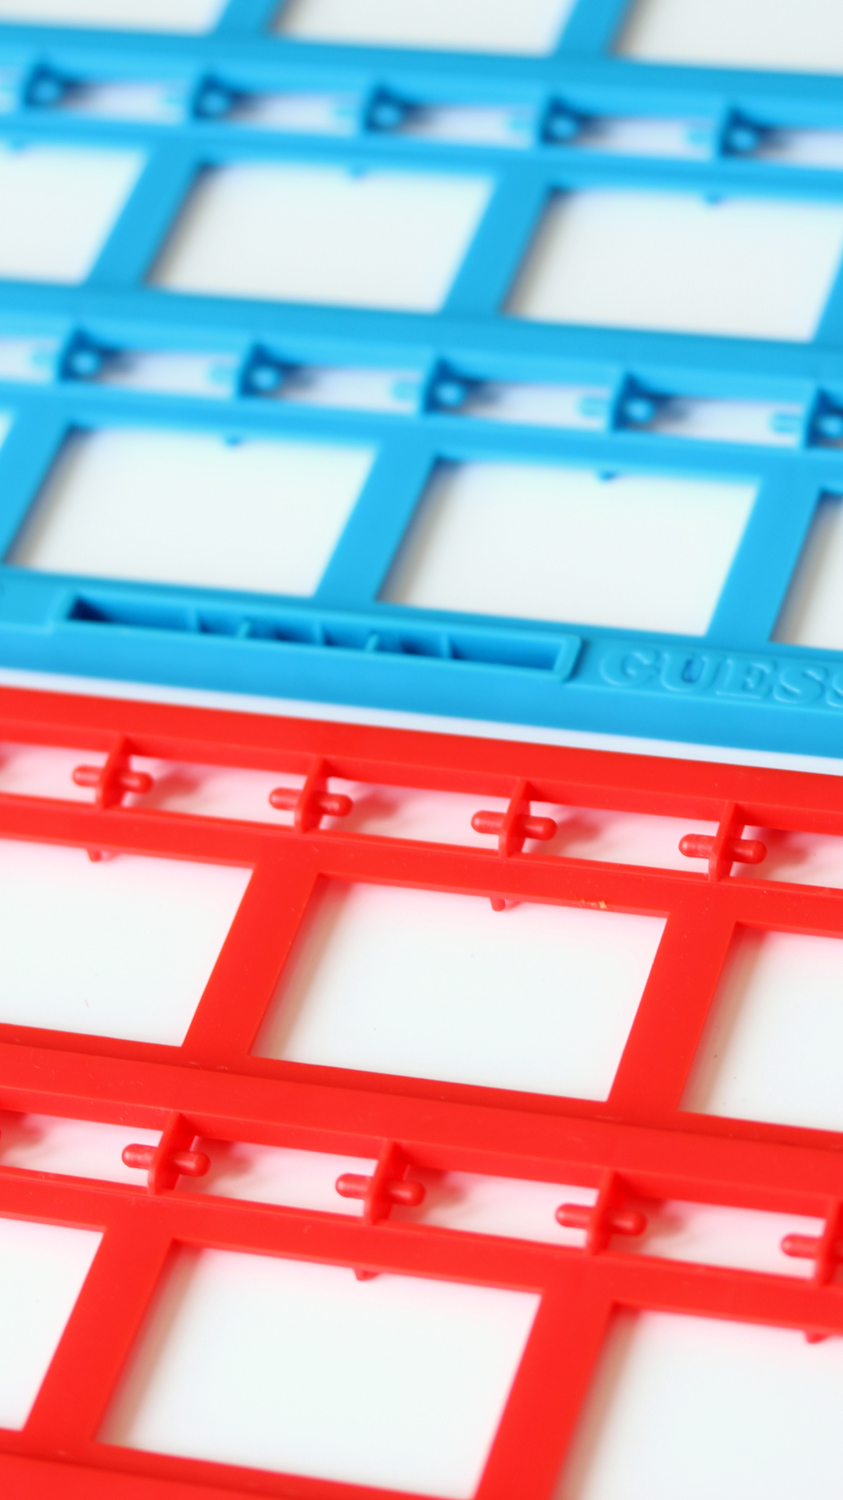
The first step was to separate out all of the pieces and then get to painting.
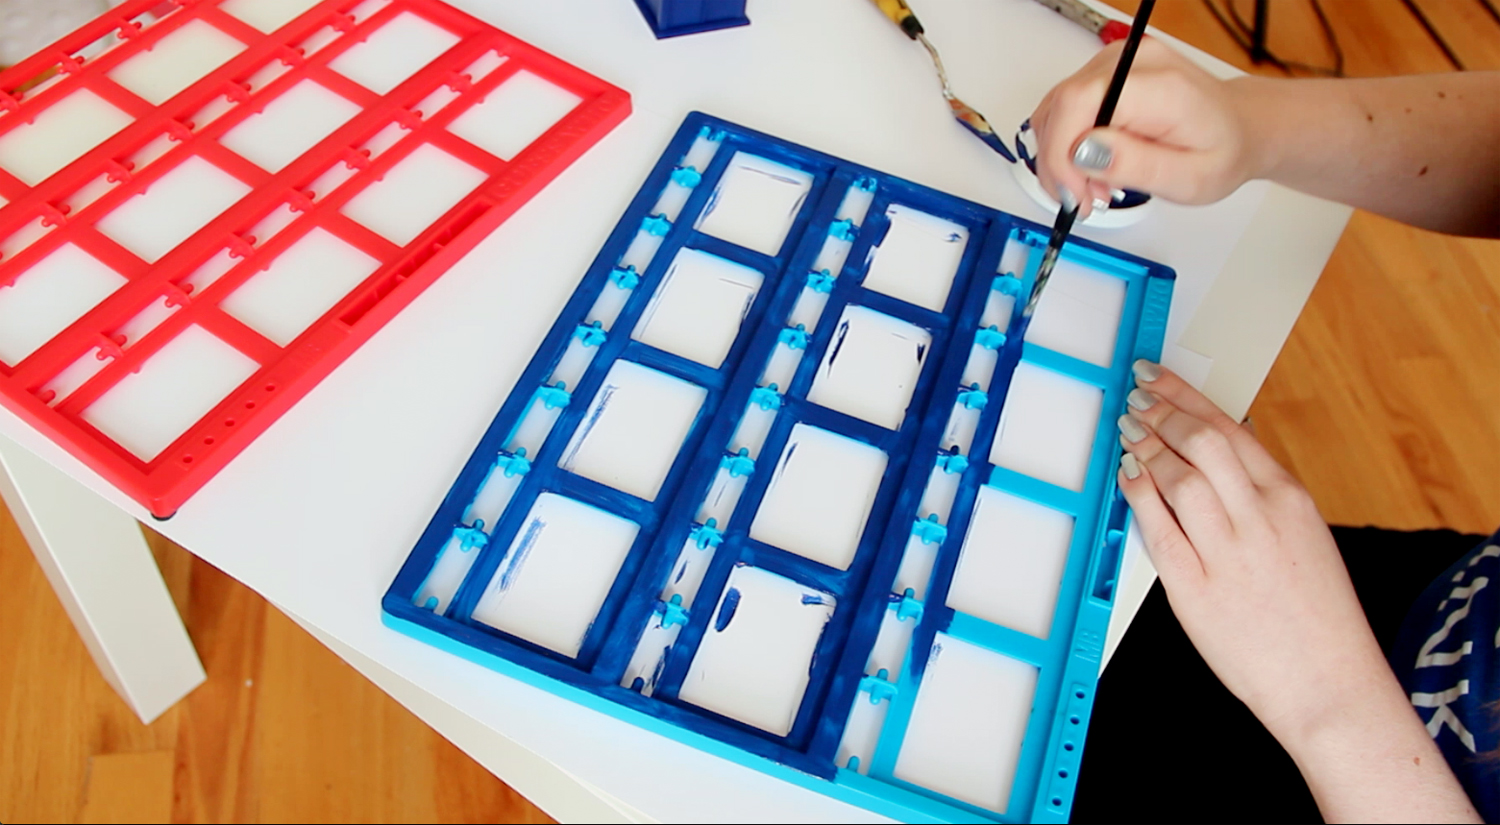
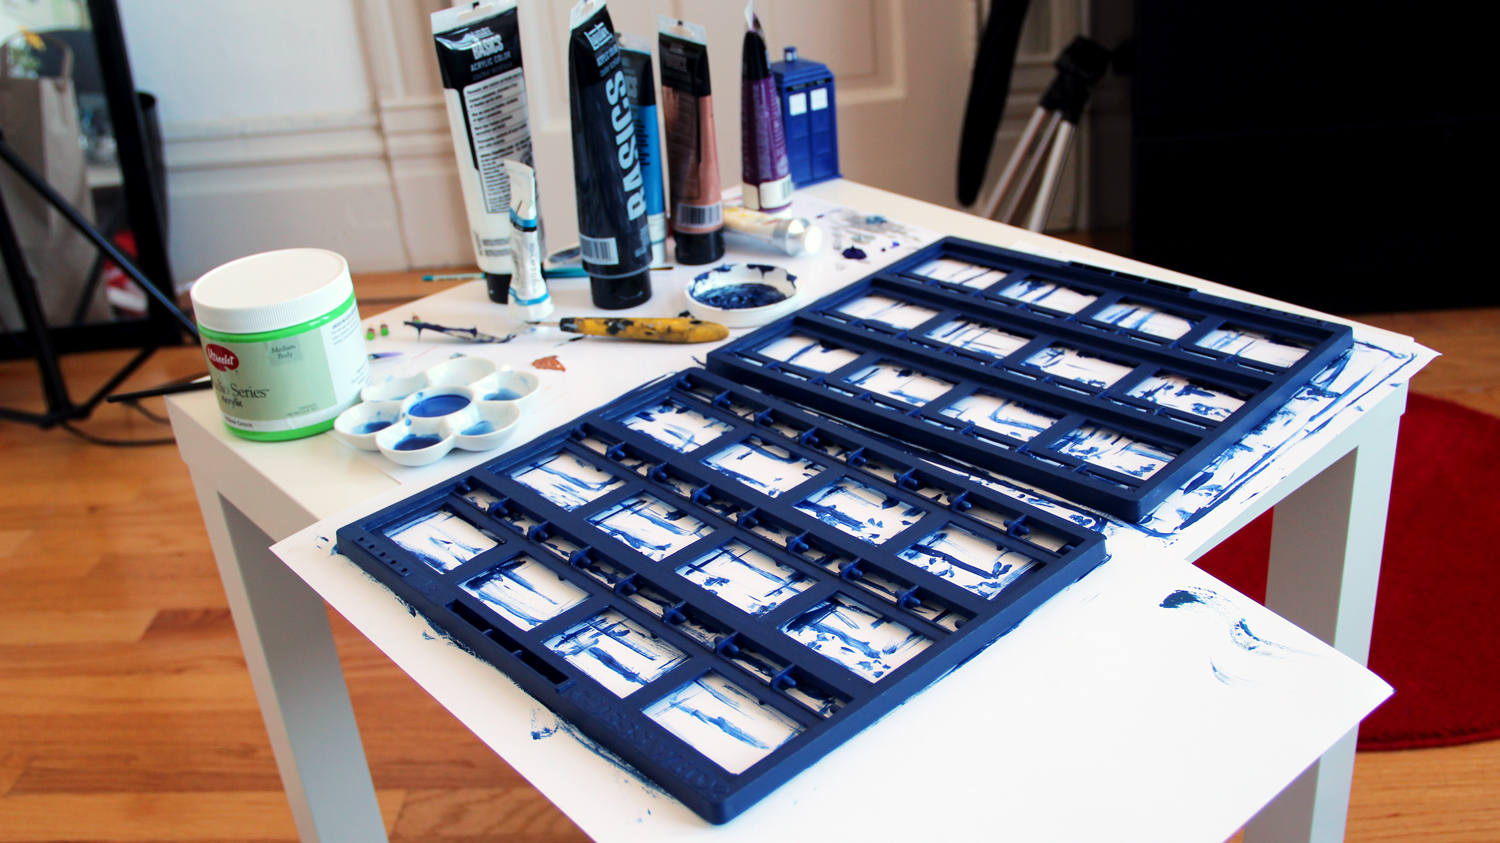
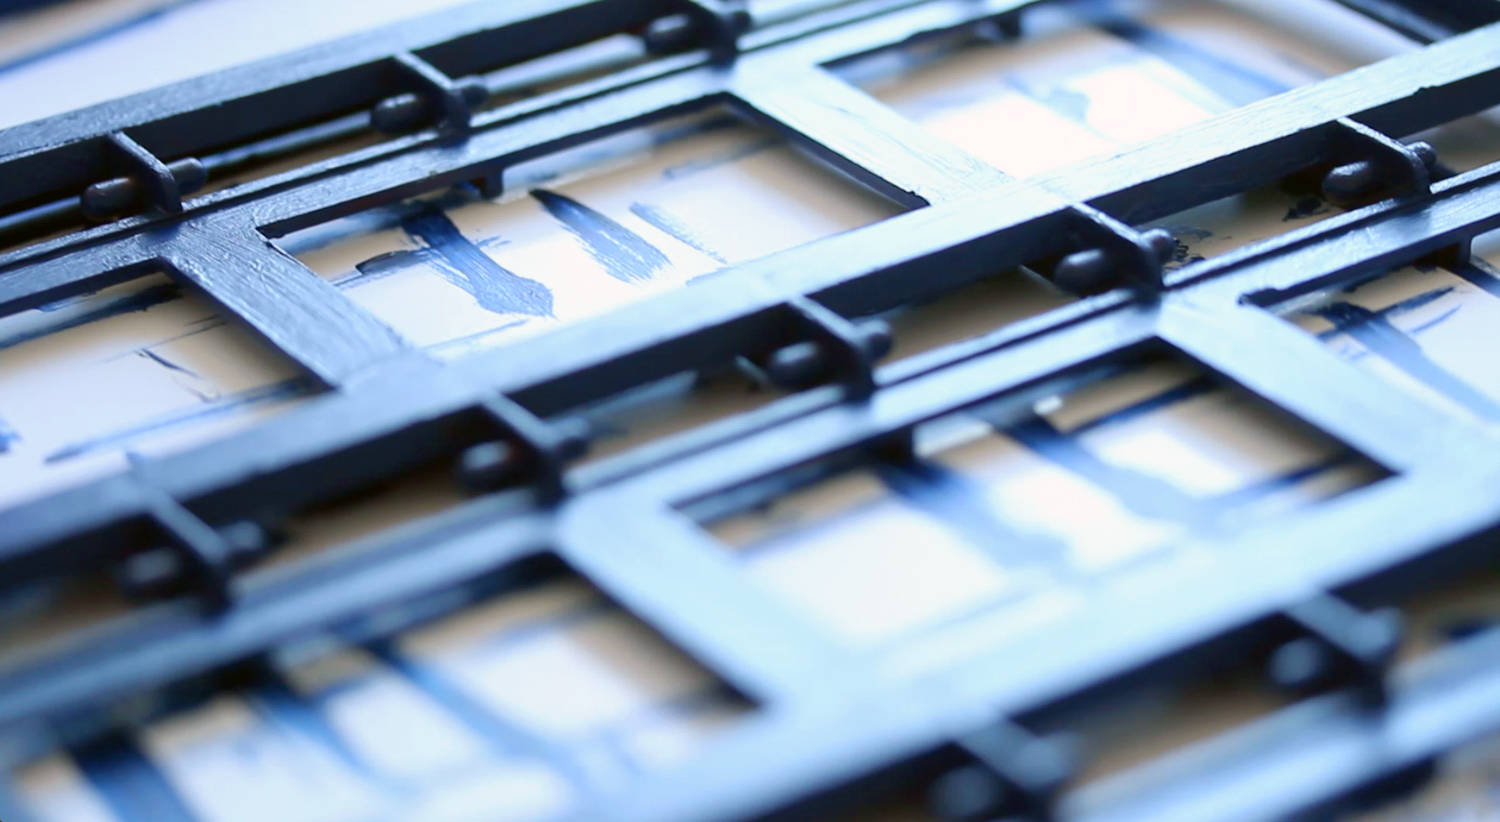
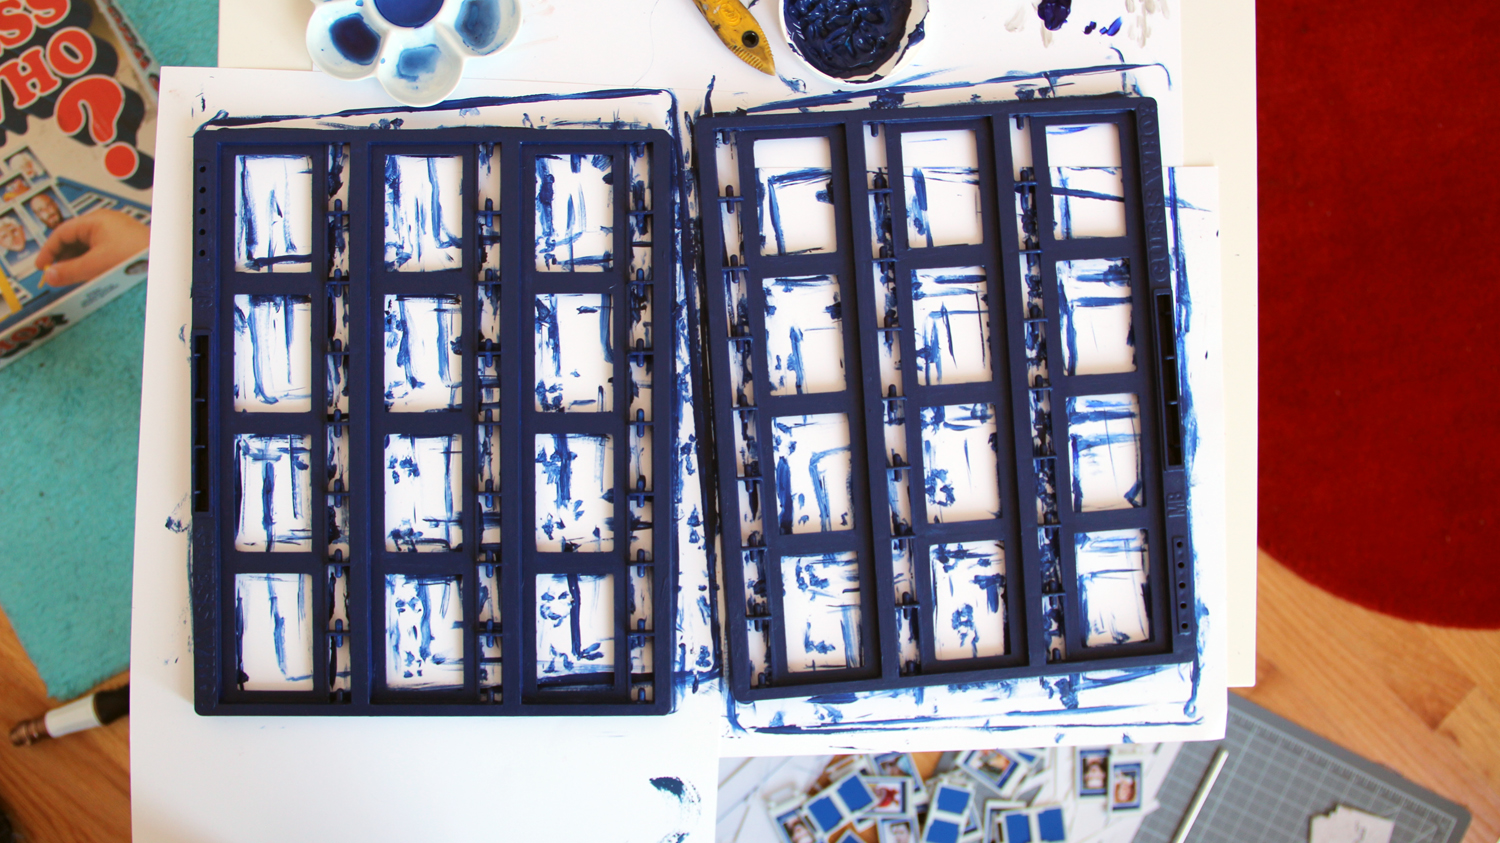
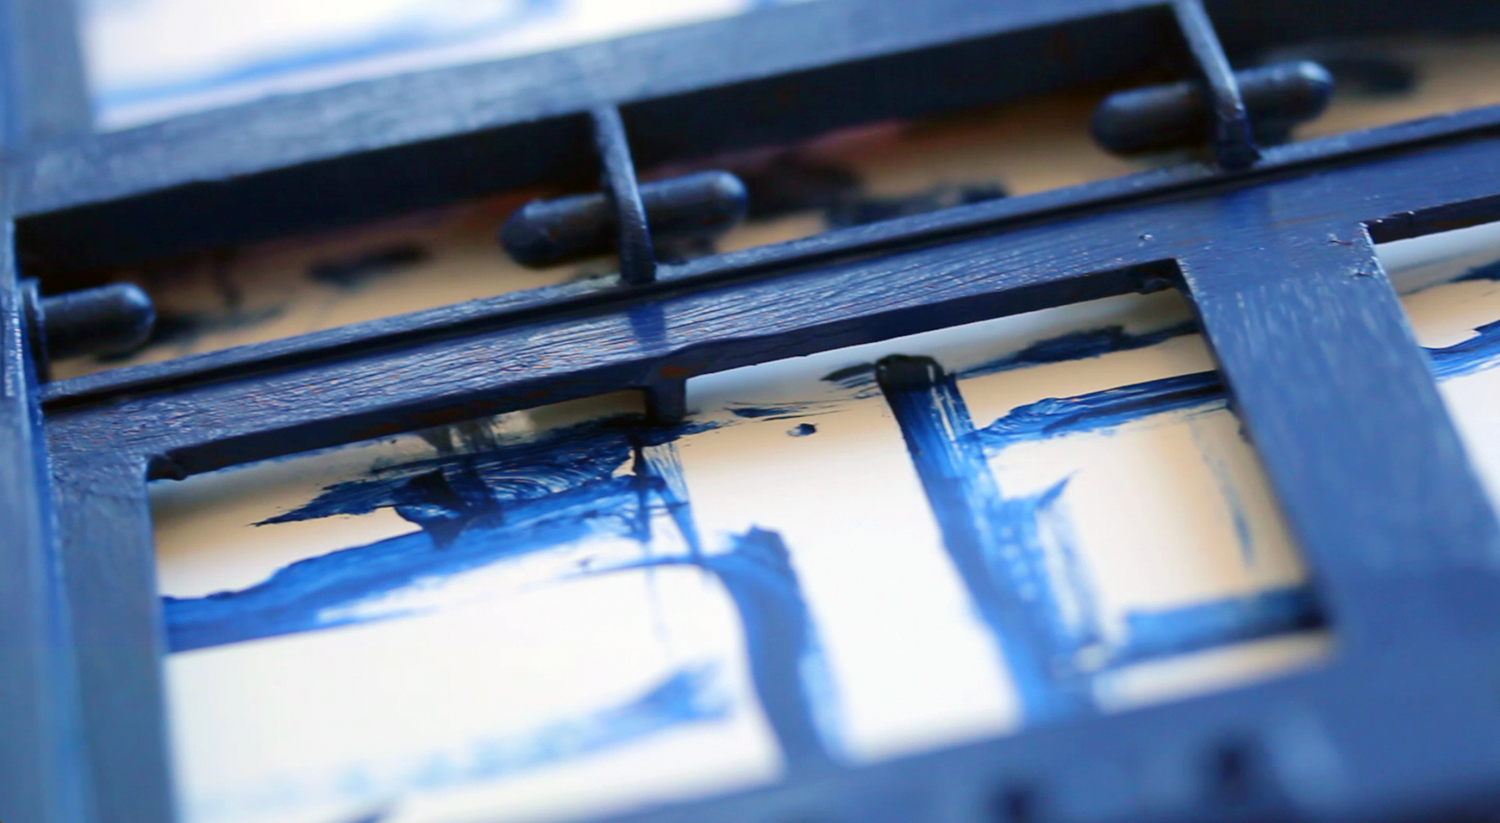
The painting took a while since there were a lot of nooks and crannies to cover, and I needed to put on about three coats of TARDIS blue paint to be sure the boards were covered evenly.
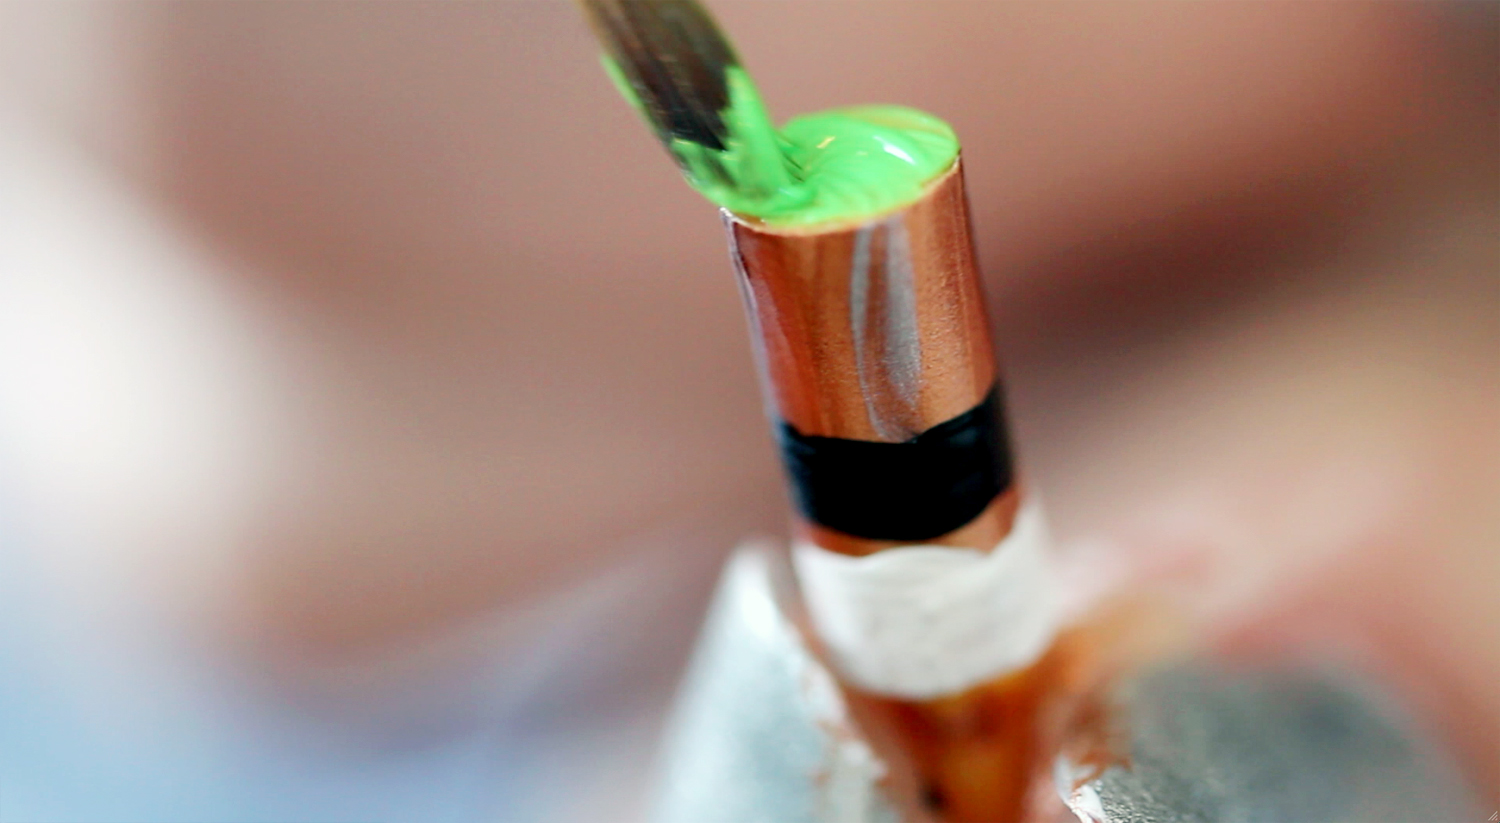
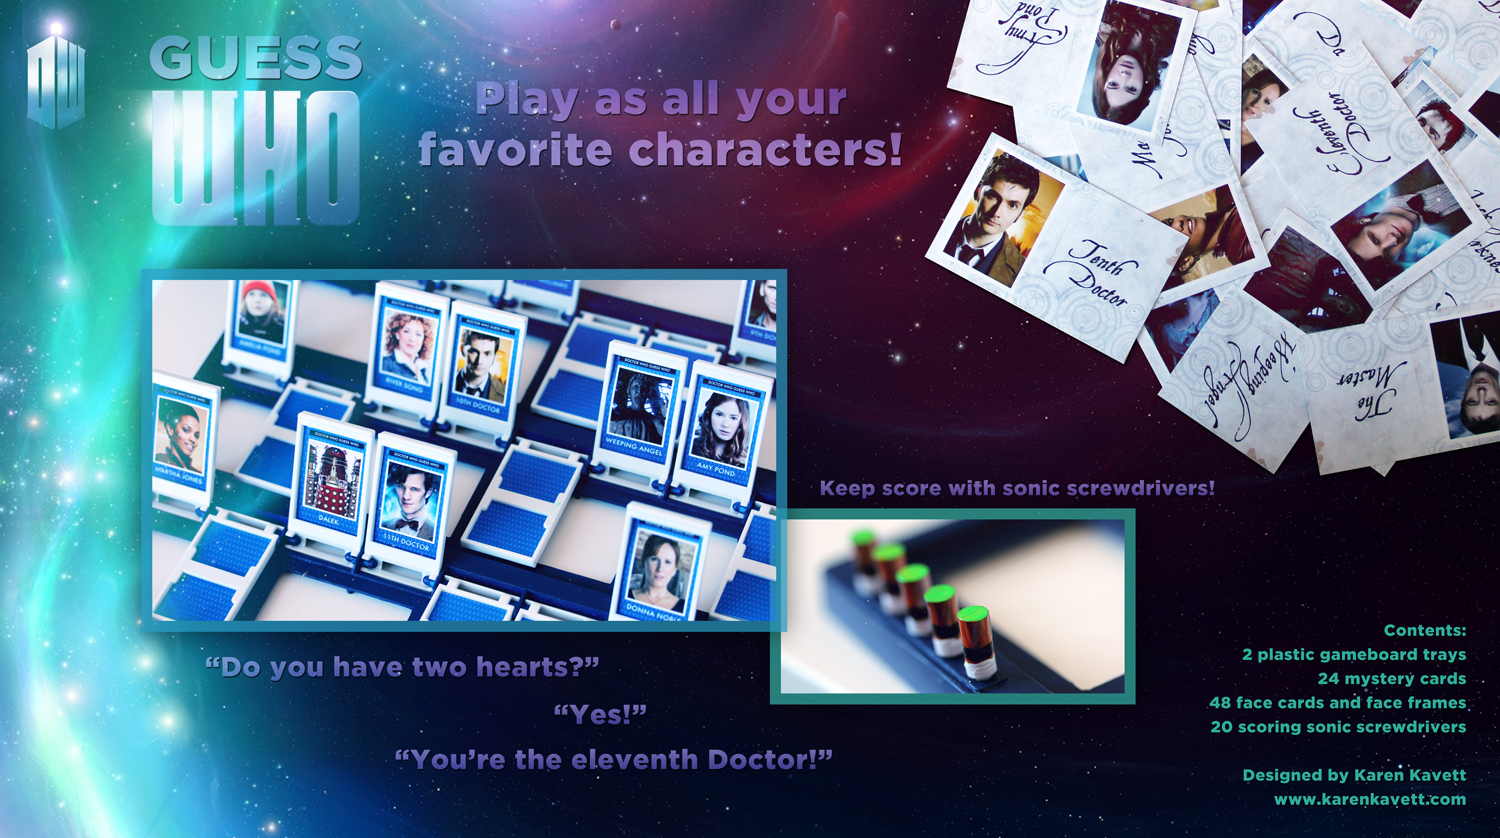
After painting the boards, I painted the scoring pegs to look like mini sonic screwdrivers.
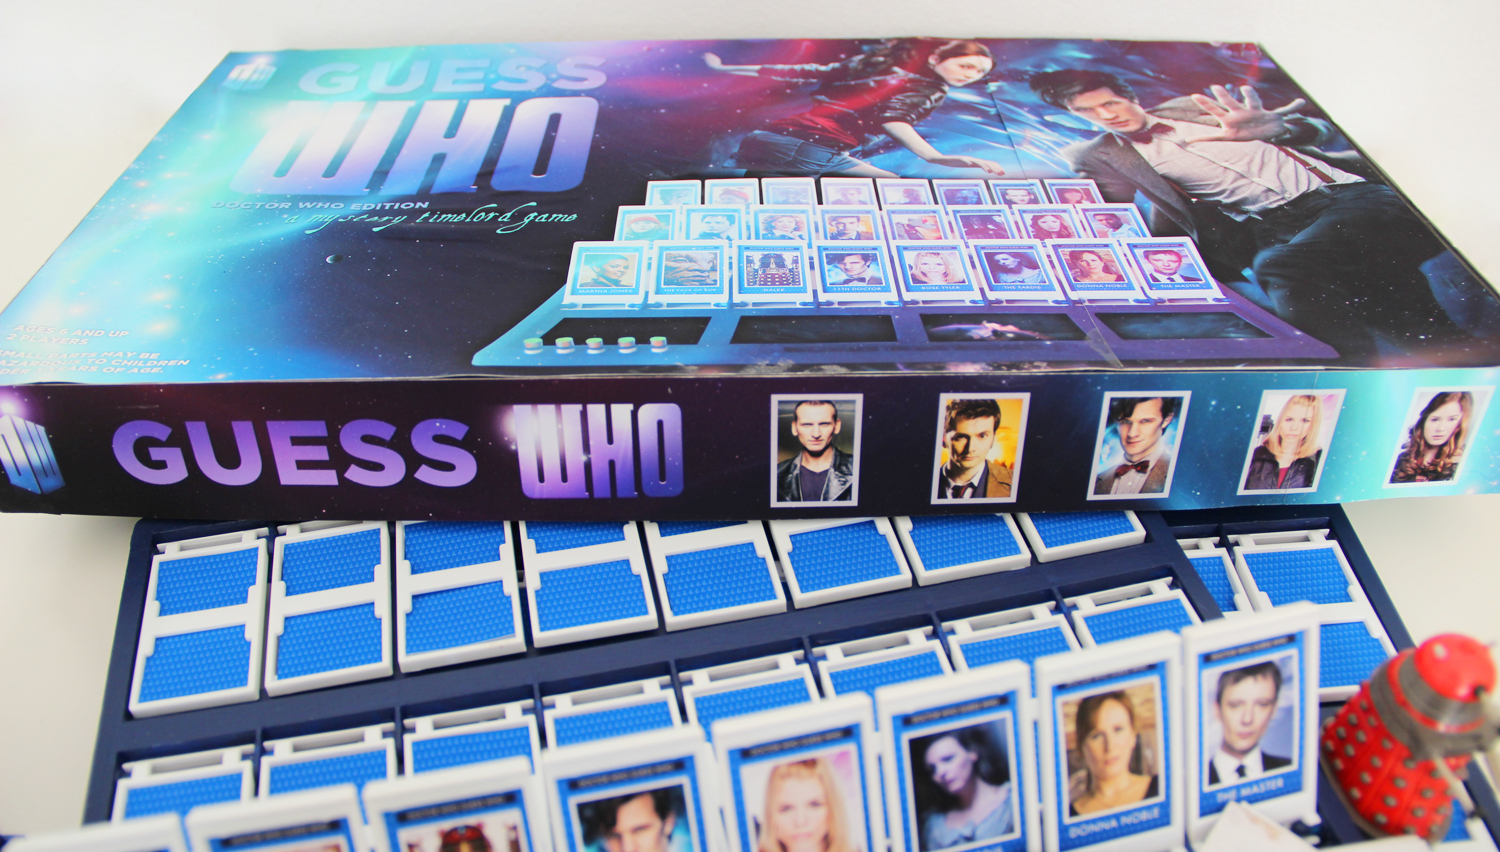
Next I designed, printed, and cut out the cards that go into the board. If you’d like to print your own set, you can download the PDFs of the cards here:
Board Cards
Board Cards backs
You’ll want to print them on cardstock or a similarly heavy paper, and be sure to print the back design on the back of the page that you print the cards on. The back design is just one continuous texture so you don’t have to worry about lining up the front and back of the pages exactly.
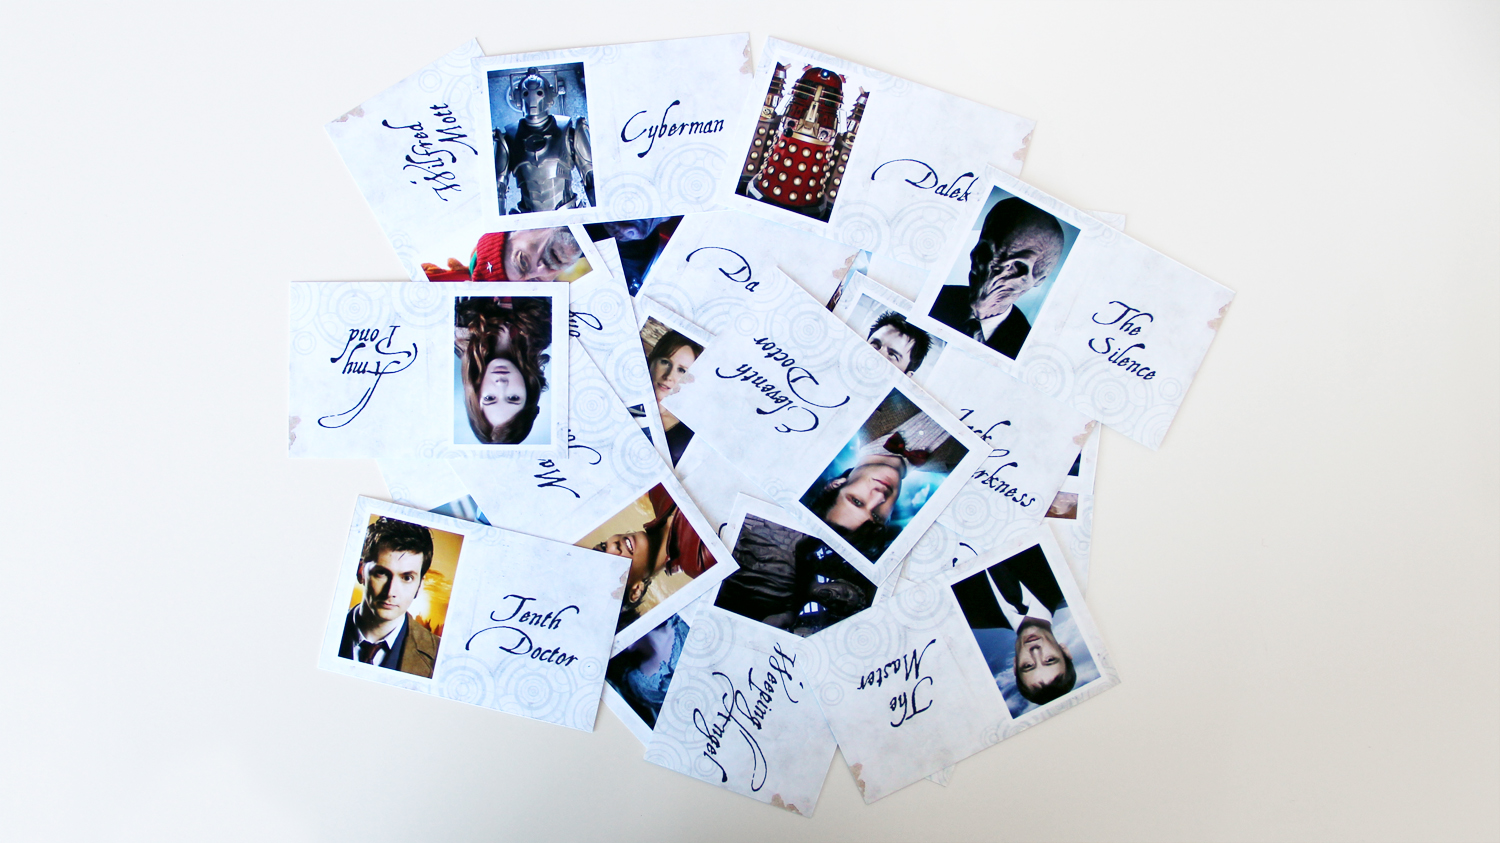
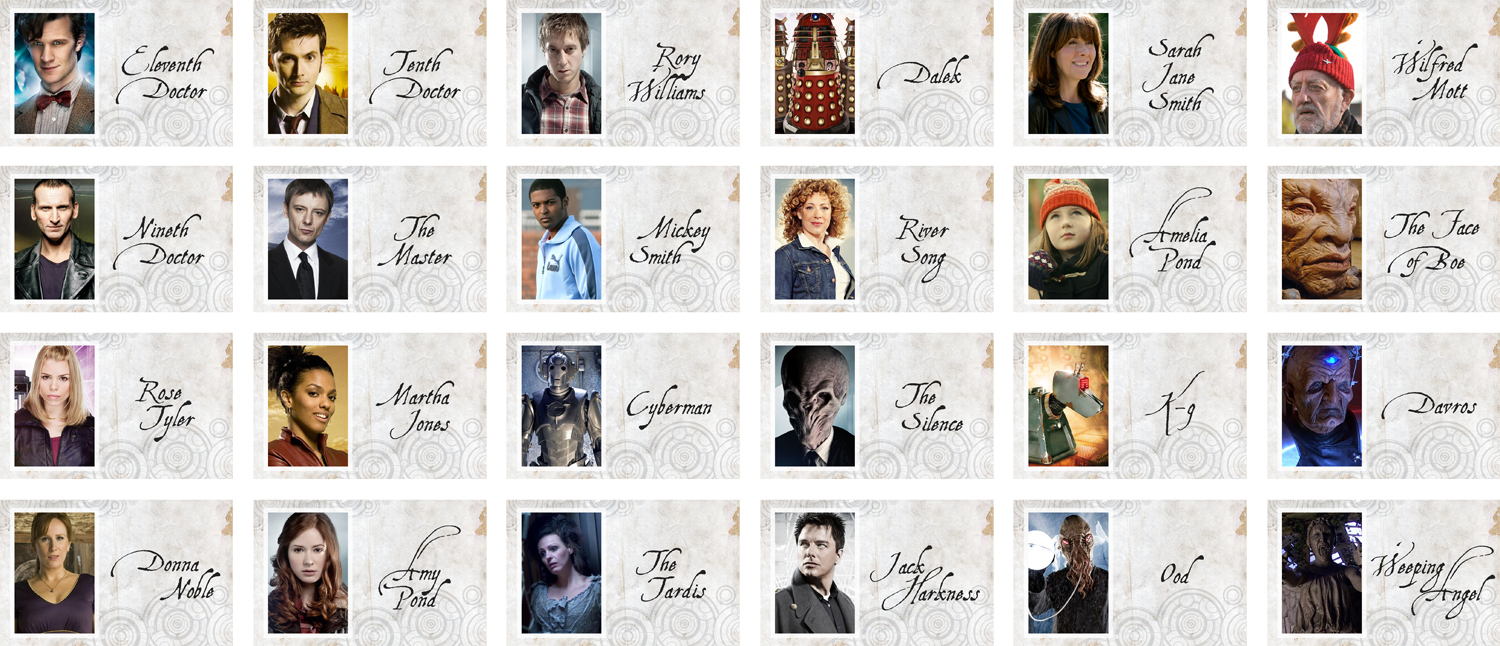
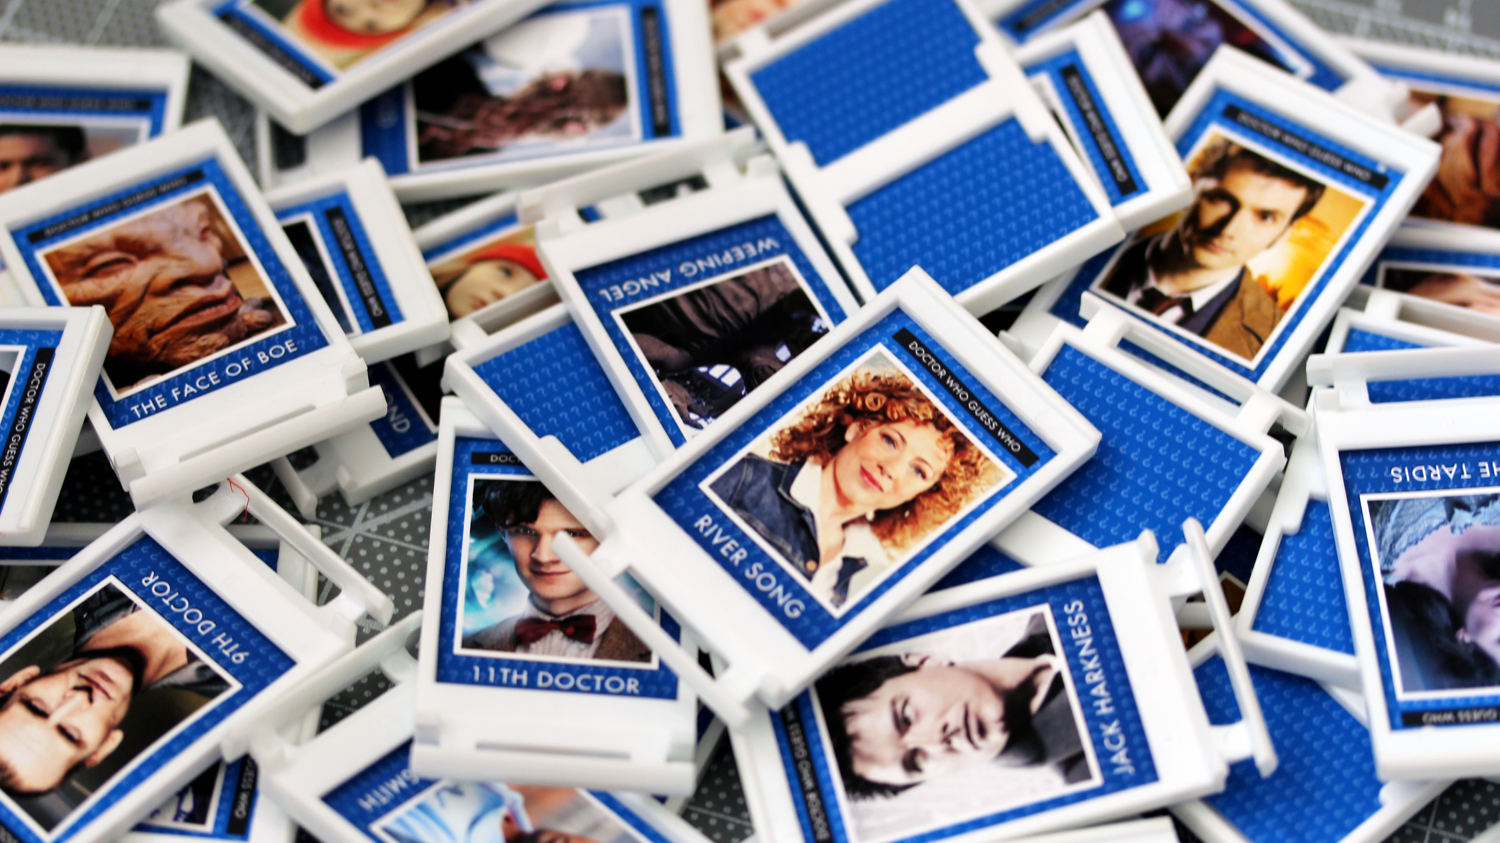
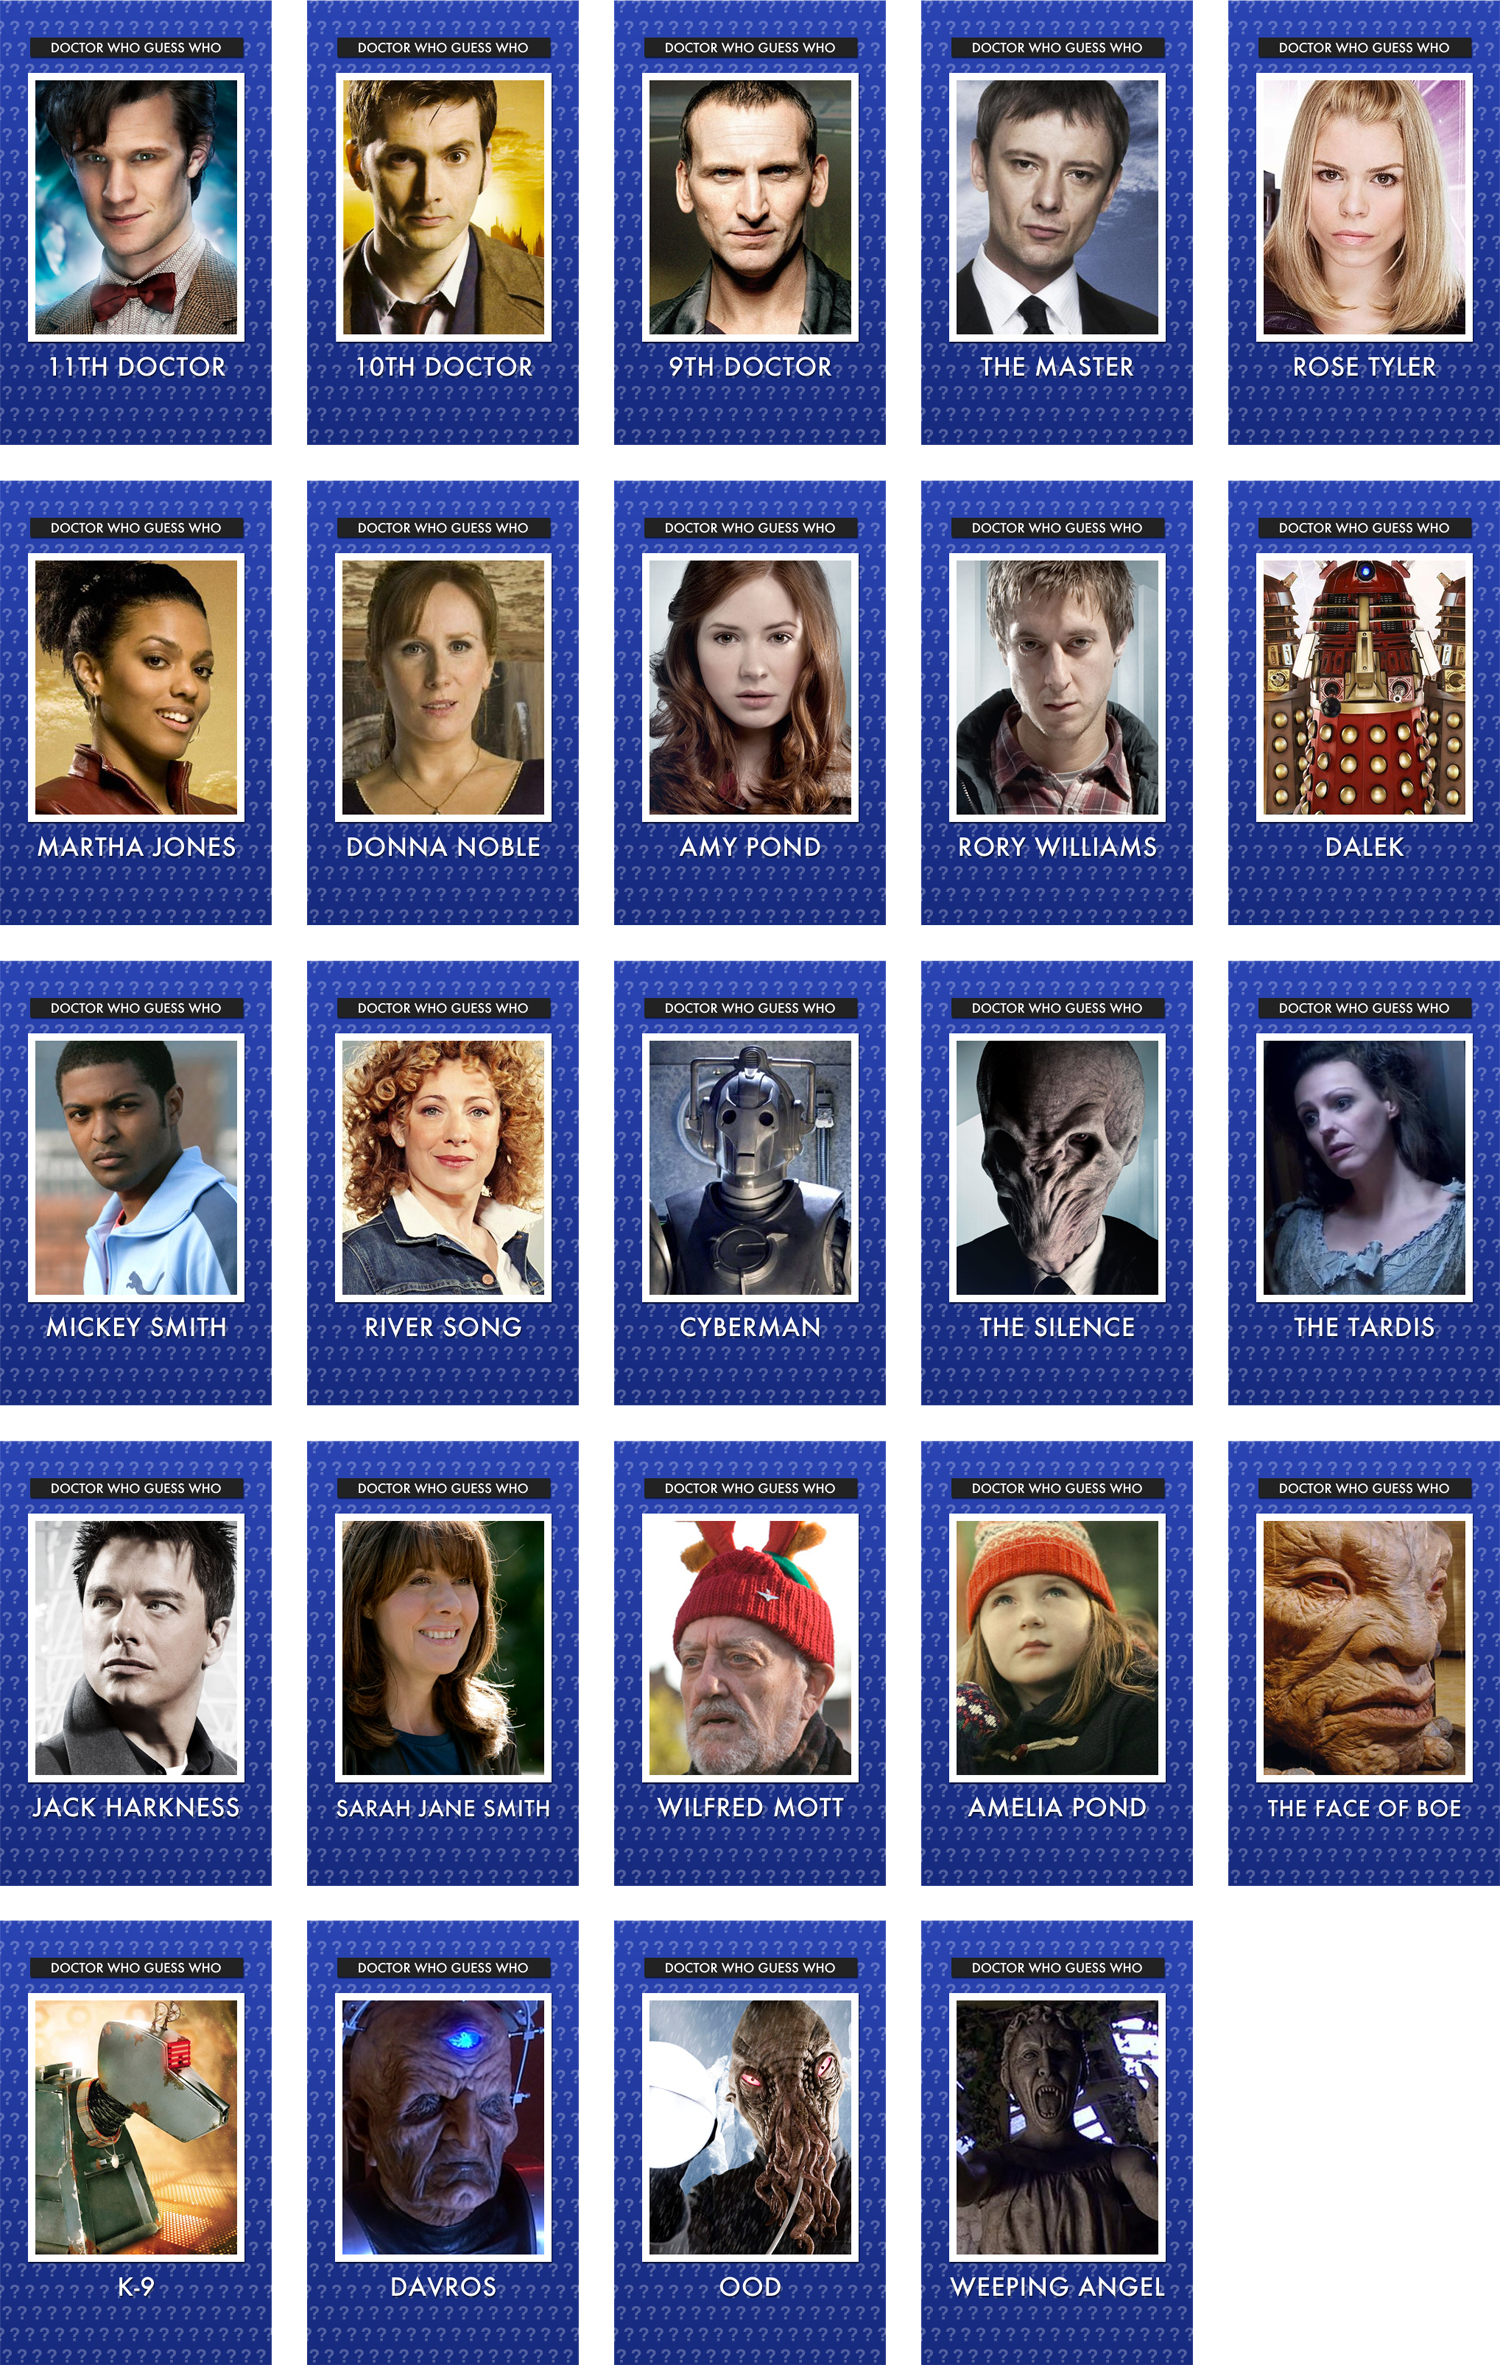
Next come the character cards. I tried to design them to look like they were on the Doctor’s psychic paper. If you’d like to print out your own set, you can download the PDF here:
Character Cards
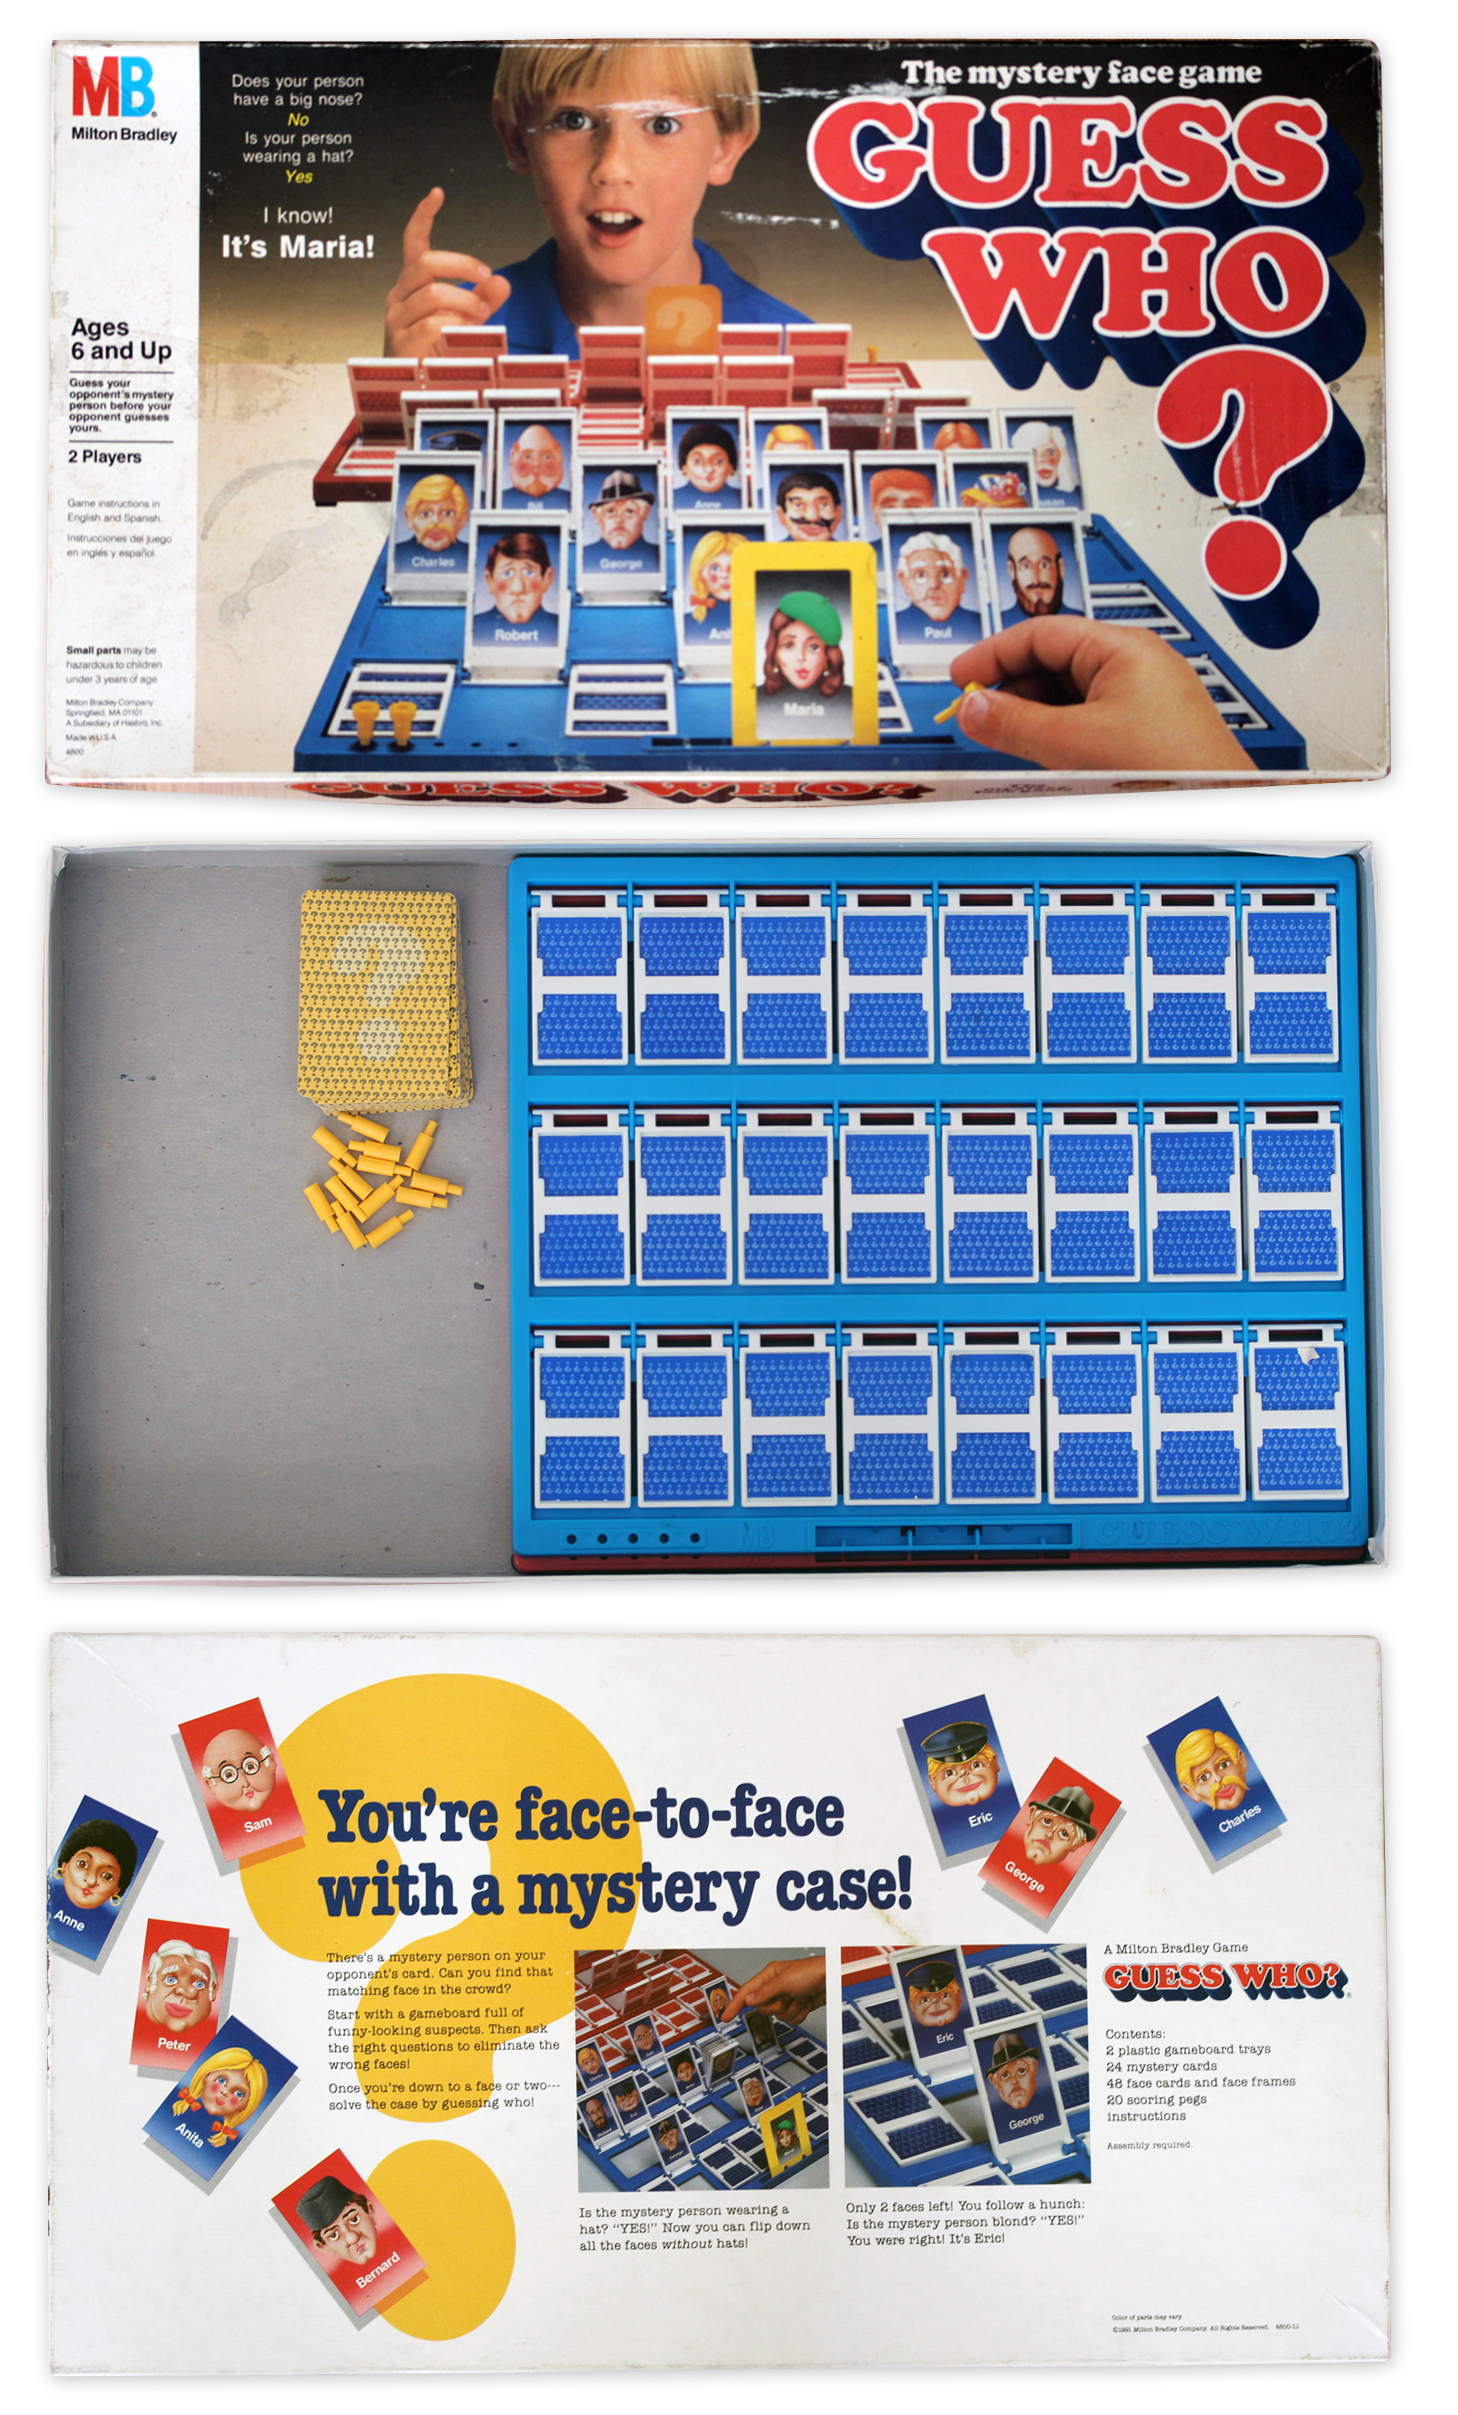
And the last step is the box. Above you can see the original design for the box, and below is my Doctor Who version.


To actually assemble the box, I first painted the edges of the box black so that the darker design I was printing wouldn’t have ugly white gaps where the sides didn’t exactly line up.
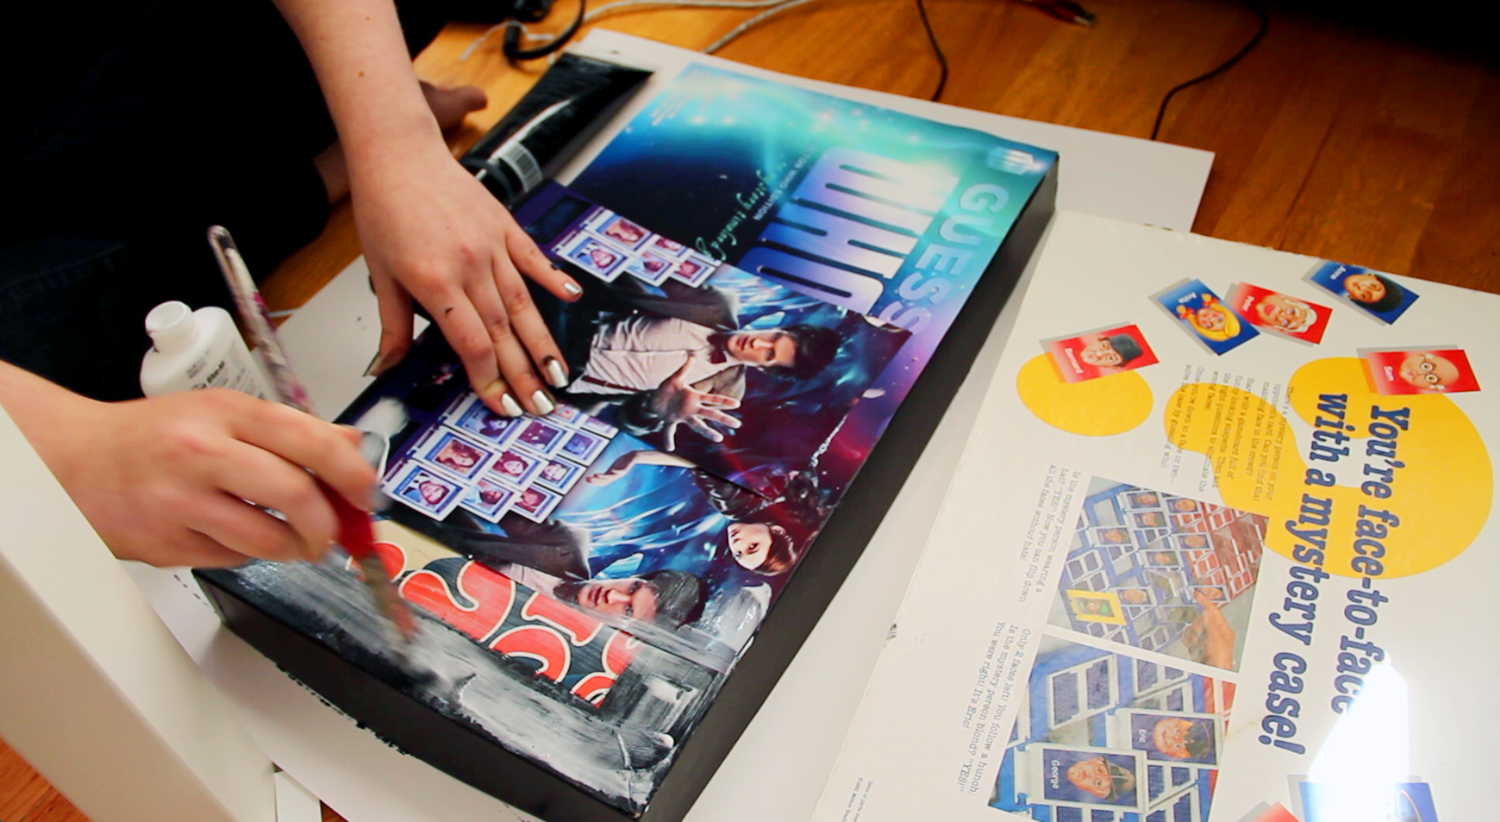
Next I used regular school glue to glue down the design. I had to print the longer designs in two parts since I didn’t have 18-inch paper, but the seam isn’t too noticeable.
And that’s all there was to it! I’d say that was a very good way to spend a weekend, and I hope you all enjoyed learning about how I put it together. If you have any questions, feel free to ask me on Twitter or Tumblr, and stay tuned to this blog for more crafty projects like this in the future!
If you missed the precursor to this post, you can check out the main post about the Doctor Who Guess Who set right here and the mock commercial I made for it right here! Thanks so much for reading!