
Giant Ampersand and New Wall Collage – Blog Post
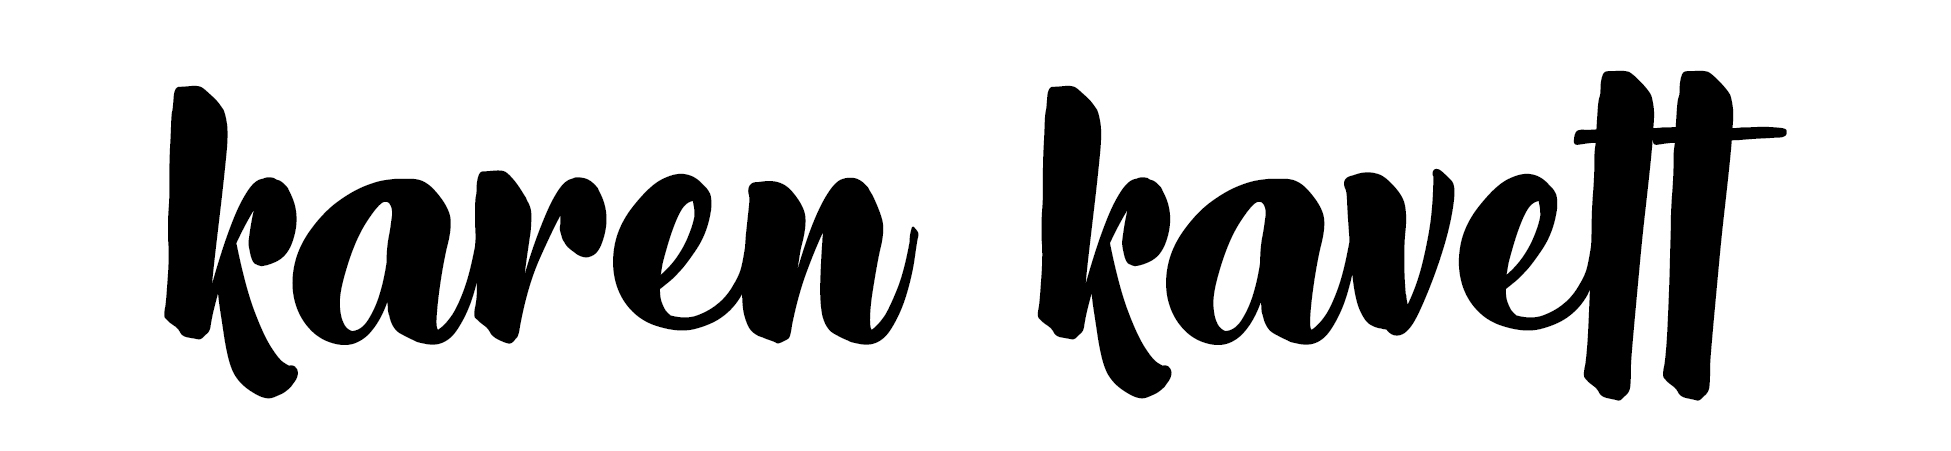
I had one more blank wall in my apartment, so I decided to make a giant cardboard ampersand and decorate around it. The ampersand is in the typeface Caslon Bold Italic, and I also displayed other craft projects I had made, including tiny flag bunting and matte gray bottle vases. The typography poster is from PopChartLab.

3D Costume Glasses – Blog Post
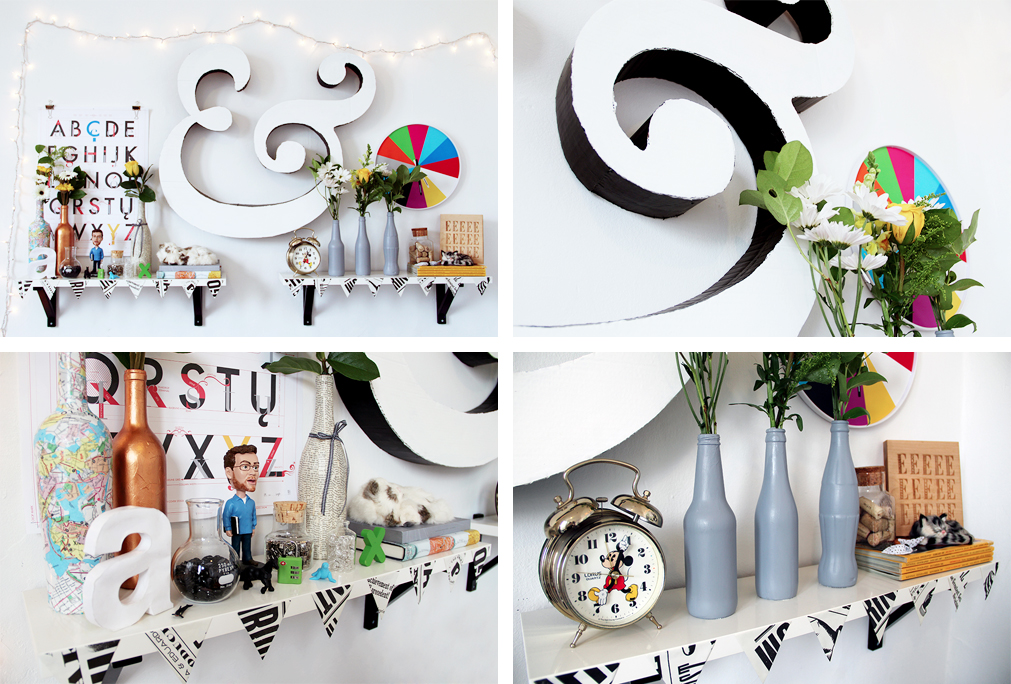
I made these costume glasses out of movie theater 3D glasses for a Halloween crafting video I made with Tyler Oakley. You can see all of my Halloween crafting videos in this playlist.
Trick-or-Treat Infographics Bags – Blog Post
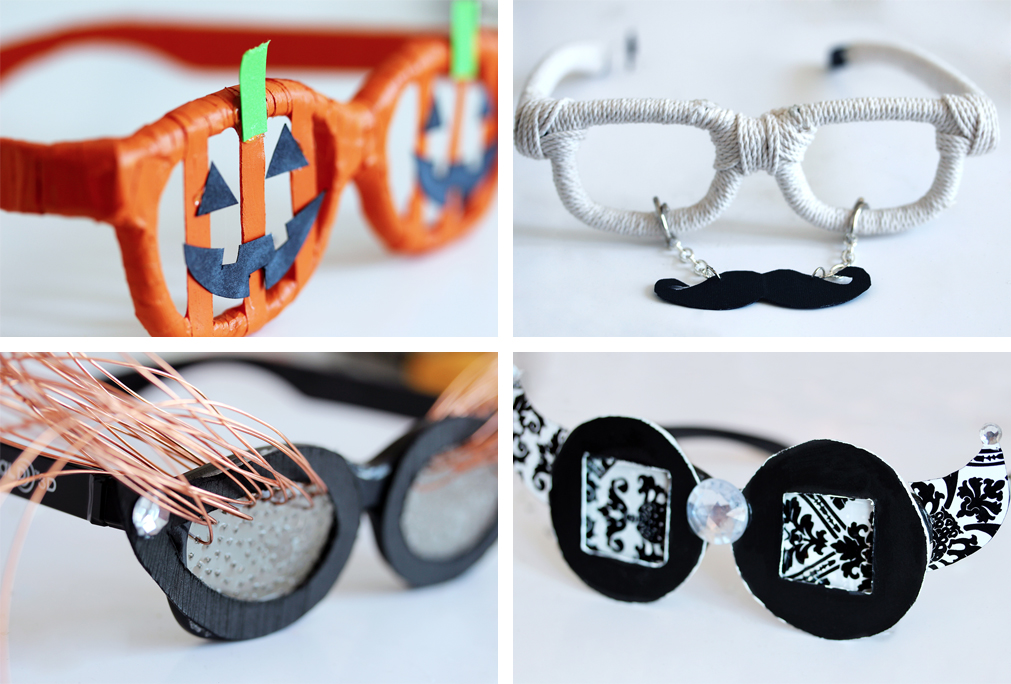
Conceptual trick-or-treat bags I made to represent various infographics, so that you can sort your candy as you get it. I made this for part of my Halloween crafting series, and you can see all the videos in that series in this playlist.
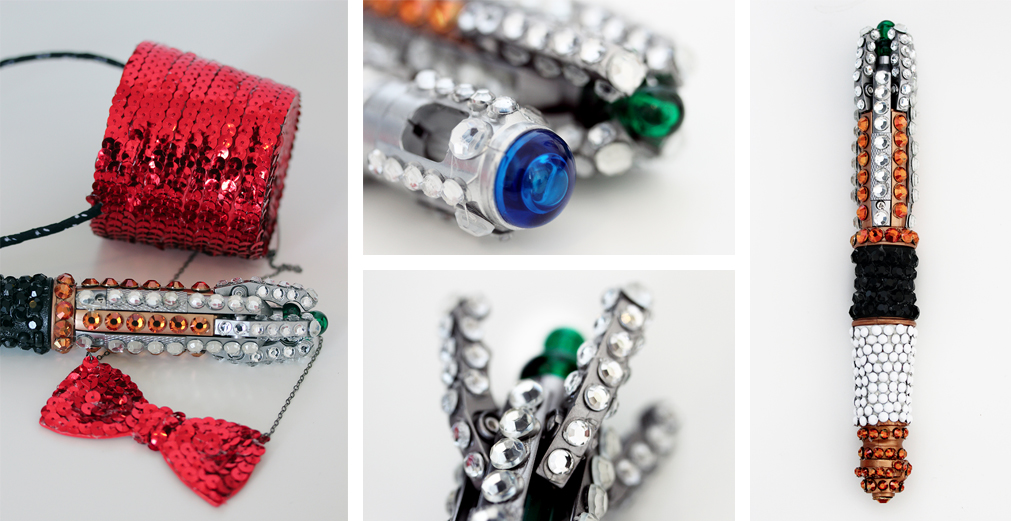
Bedazzled Sonic Screwdriver – Blog Post
For my Halloween costume in 2012, I went as the Fabulous 11th Doctor from Doctor Who. To achieve this, I bedazzled my sonic screwdriver by gluing rhinestones all over it, and also made a sequined bow tie necklace and miniature fez. I included these projects in my Halloween crafting series, and you can see all the videos in that series in this playlist.
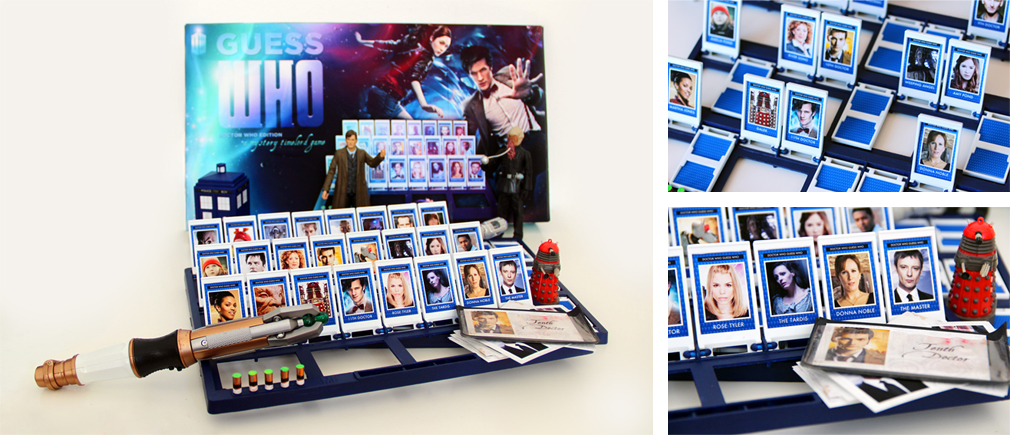
Doctor Who Guess Who Game – Blog Post • Making Of
I had the idea one day – what if there was a Doctor Who version of the classic game Doctor Who? And so, I bought a Guess Who set off Ebay and made it myself, redesigning the cards, the game set, and the entire box.
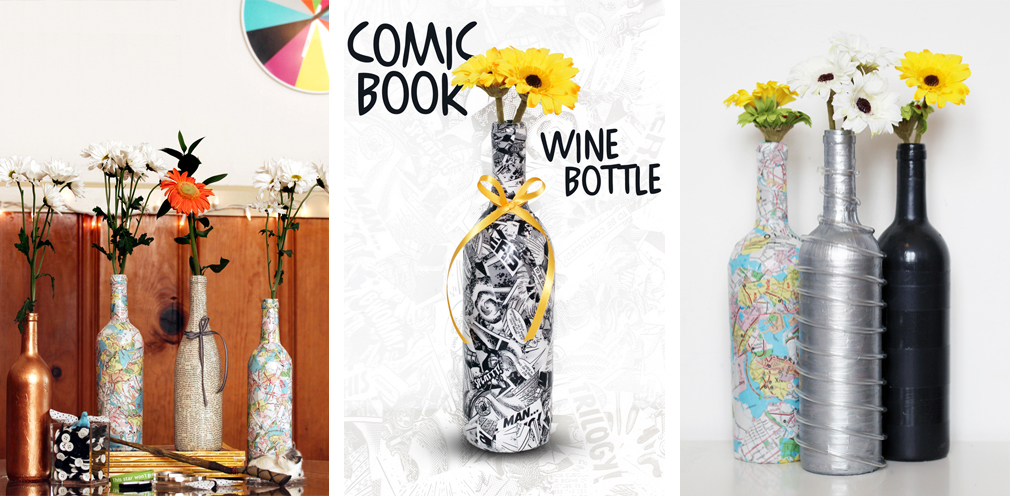
Collaged Wine Bottles – Collaged Map Bottles • Comic Book Wine Bottle • Silver Wine Bottle
I love collaging onto wine bottles and turning them into vases. Above are three projects I’ve done – collaged map bottles, a black and white comic book wine bottle, and a painted silver futuristic bottle.
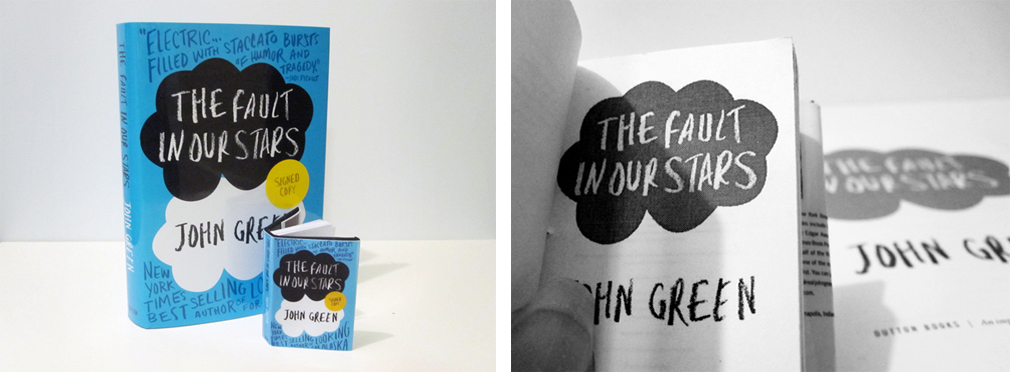
Miniature The Fault in Our Stars – Blog Post
After The Fault in Our Stars, the New York Times Bestselling book by John Green, was released, I decided to reprise the miniature Paper Towns video and make a minitature TFioS. The book contains the entire first two chapters, and is now signed by John as well.
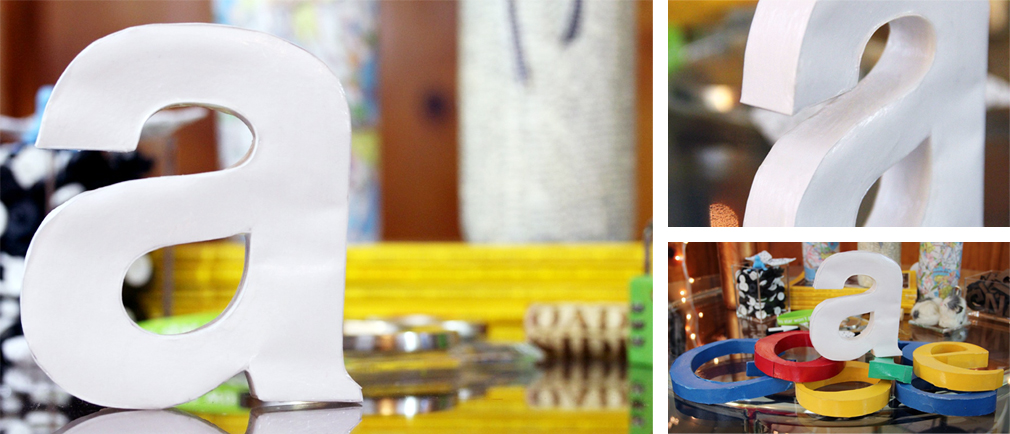
3D Papercraft Typography – Blog Post
After getting requests for a year about how to make the 3D Google letters I showed in a video about the Google Chromebook, I made a tutorial about how to make a papercraft Helvetica a.
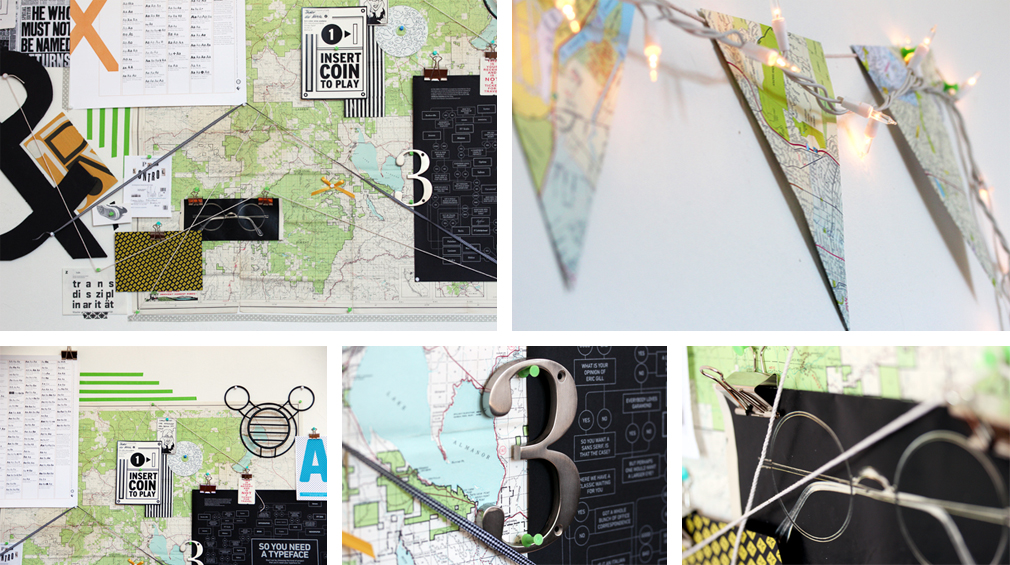
Wall Collage – Blog Post • Map Bunting Tutorial
A few months ago I had an empty wall in my room, and decided to fill it with a big collage. I photographed the process of putting it up and turned it into a time lapse video, and I also put up a tutorial of how to make the map flag bunting.

Living Room Recoration – Blog Post
Before I moved out of my old apartment, I redesigned the living room, setting up a composition on the shelf and putting up colored tape and typography pages to make it feel like one cohesive space.

Hand-drawn Typography – Blog Post
For my video Graphic Design Without a Computer Part 1, I put together some hand-drawn typography, traced out of magazines to make new compositions.
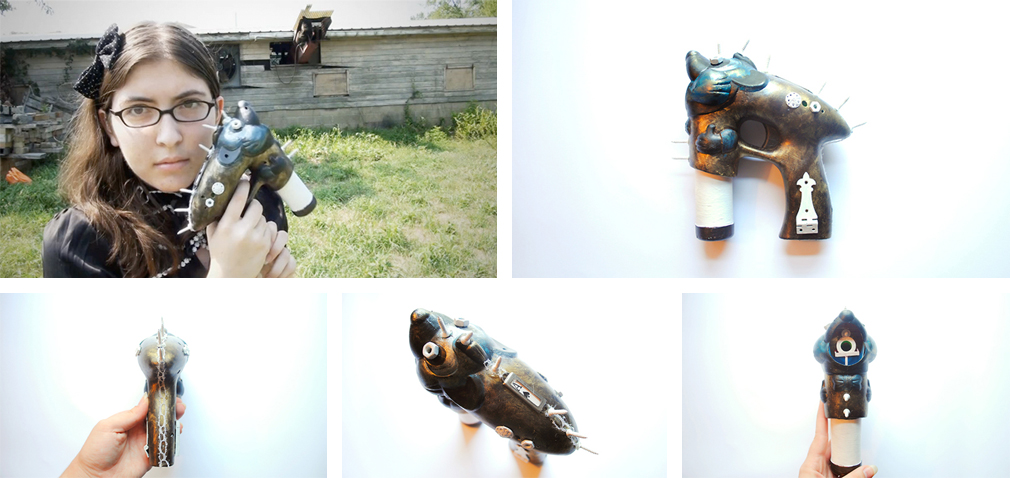
Steampunk Bubble Gun – Blog Post
After the New York City bubble battle in summer 2010, I ended up with this bubble gun, so I decided to paint and modify it, inspired by steampunk styles.
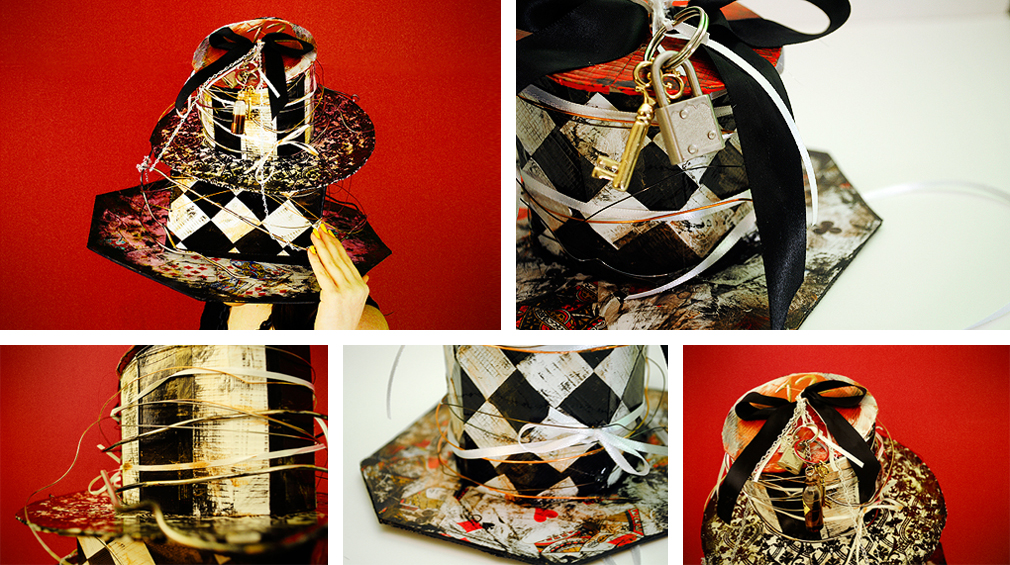
Alice in Wonderland Hats – Big Hat • Mini Hat
To celebrate the release of the Tim Burton Alice in Wonderland movie, I made a hat out of cardboard, duct tape, cards, wire, and other assorted materials inspired by the movie. I then made a miniature version and put up a video tutorial on how to make it yourself.
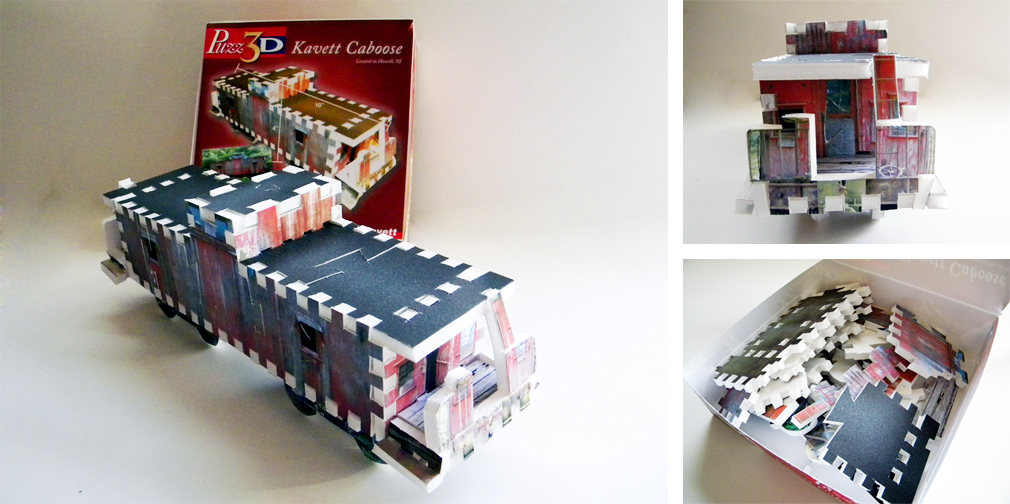
Caboose Puzz3D – Blog Post
My sister loves to do Puzz3Ds, so for her Christmas gift in 2009, I made her a custom puzzle of the caboose that is in the backyard of our childhood home.