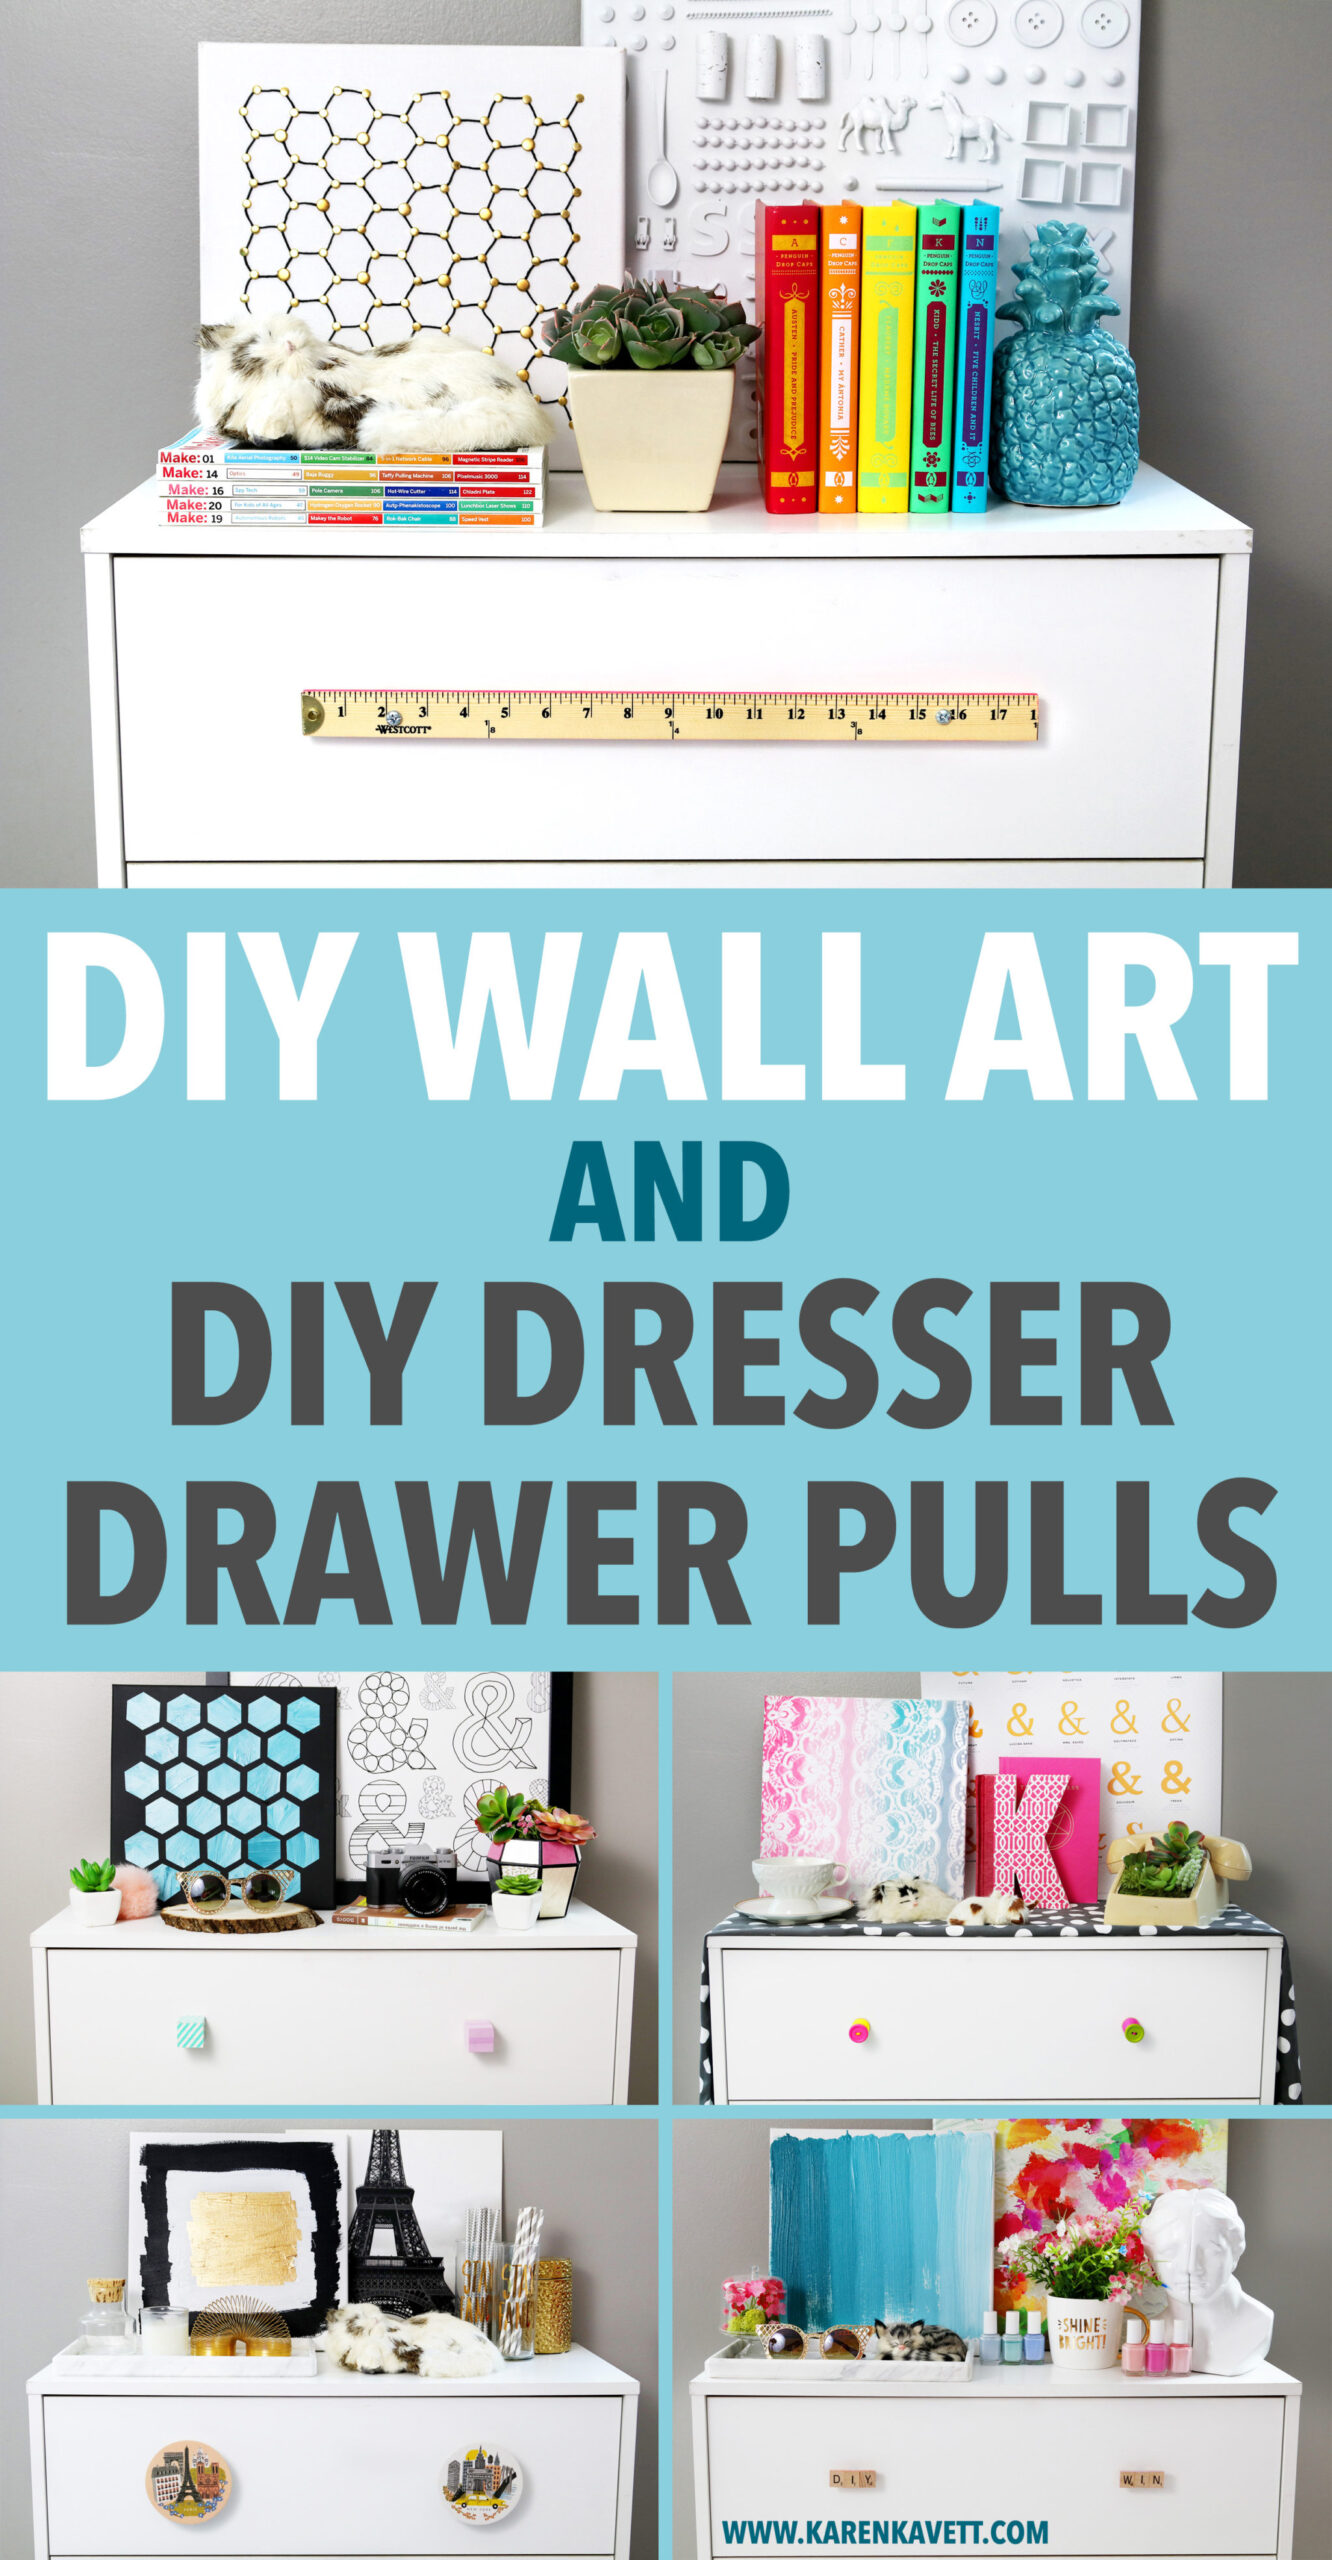
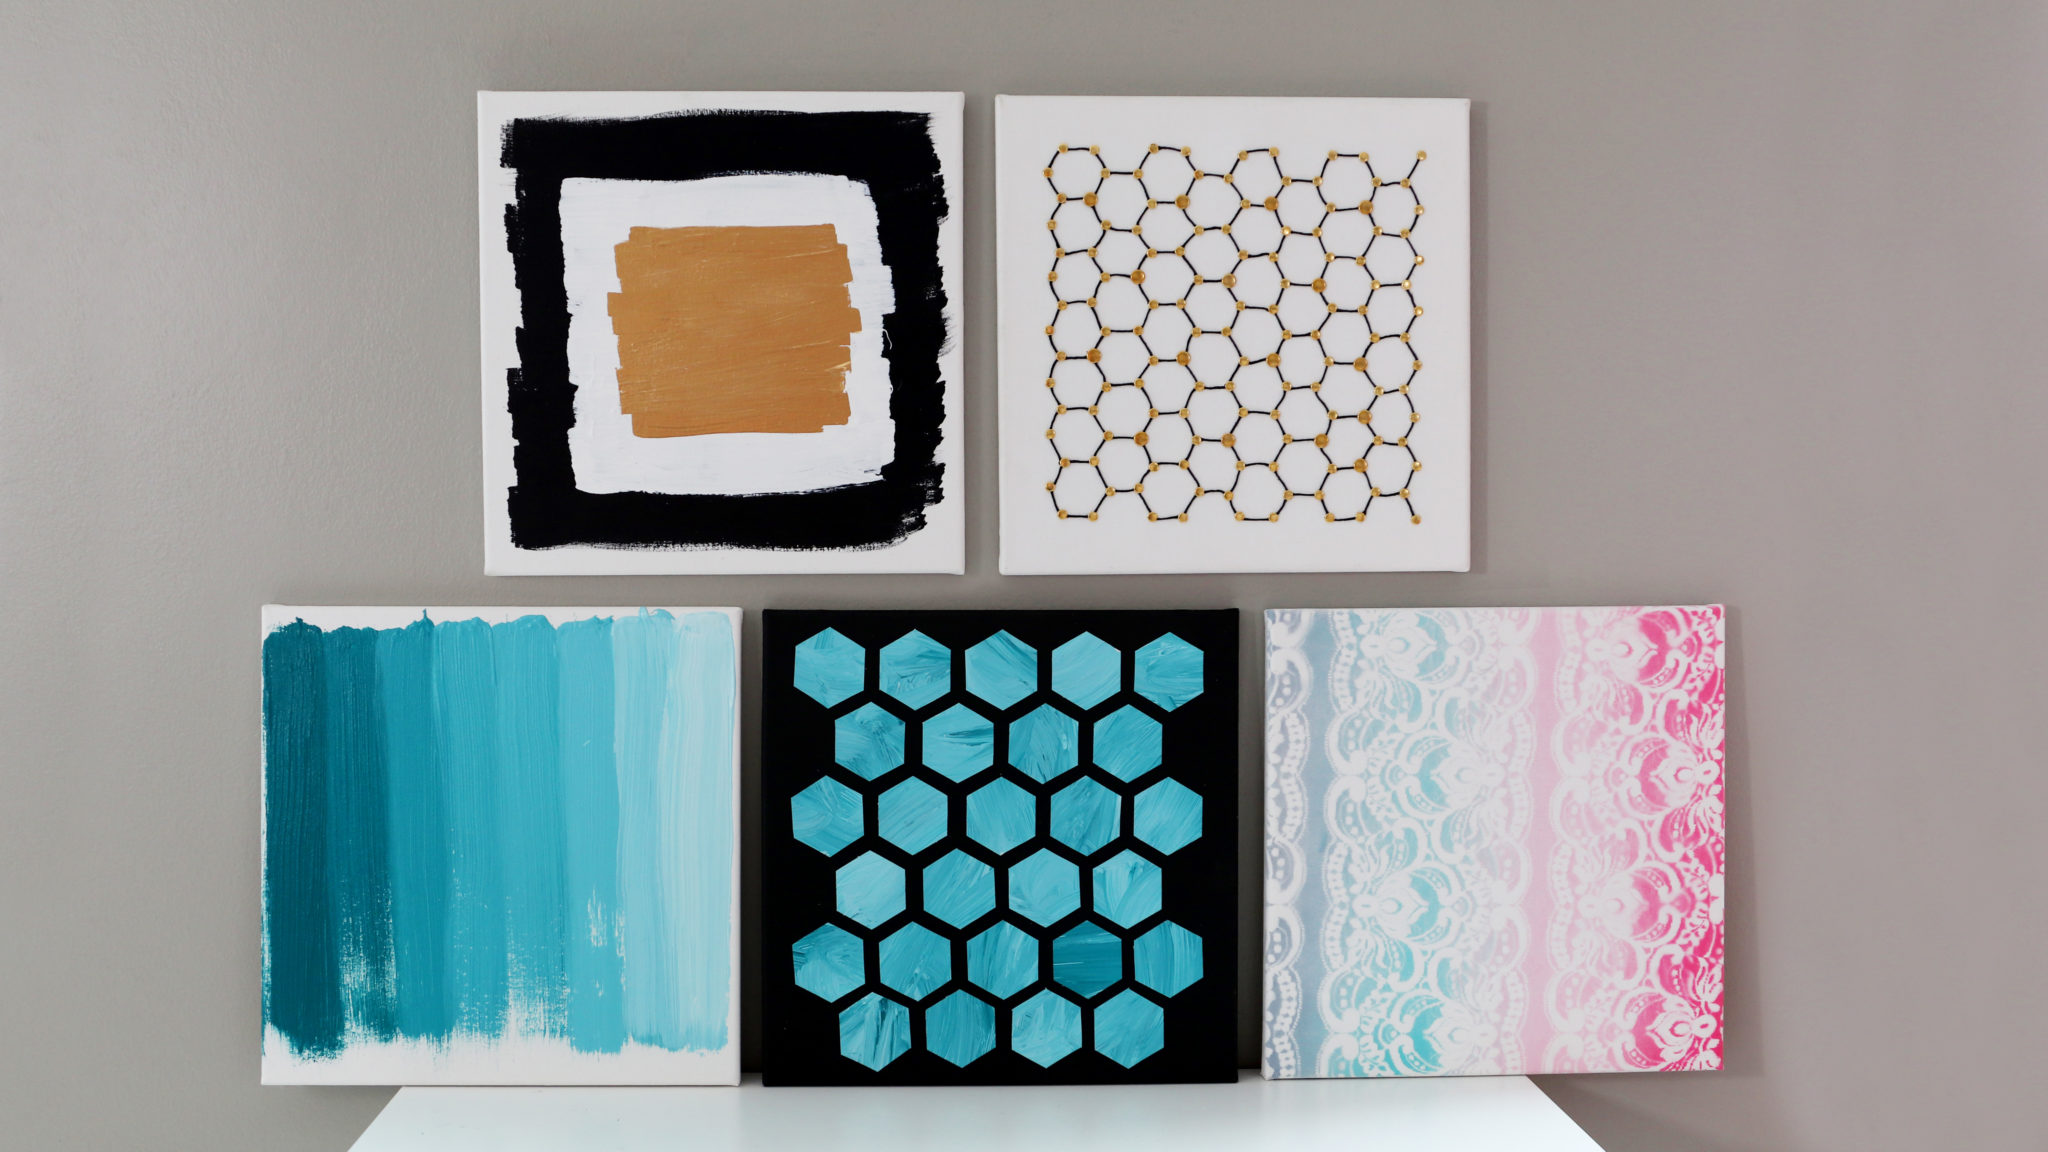
Today I have TWO videos for you, with ten projects in total! Over on HGTV Handmade, I’m showing you how to make 5 DIY Dresser Drawer Pulls, and then on my channel, I’m showing you how to make 5 DIY Wall Art Designs to go with them. Keep reading for photos of all of the projects!
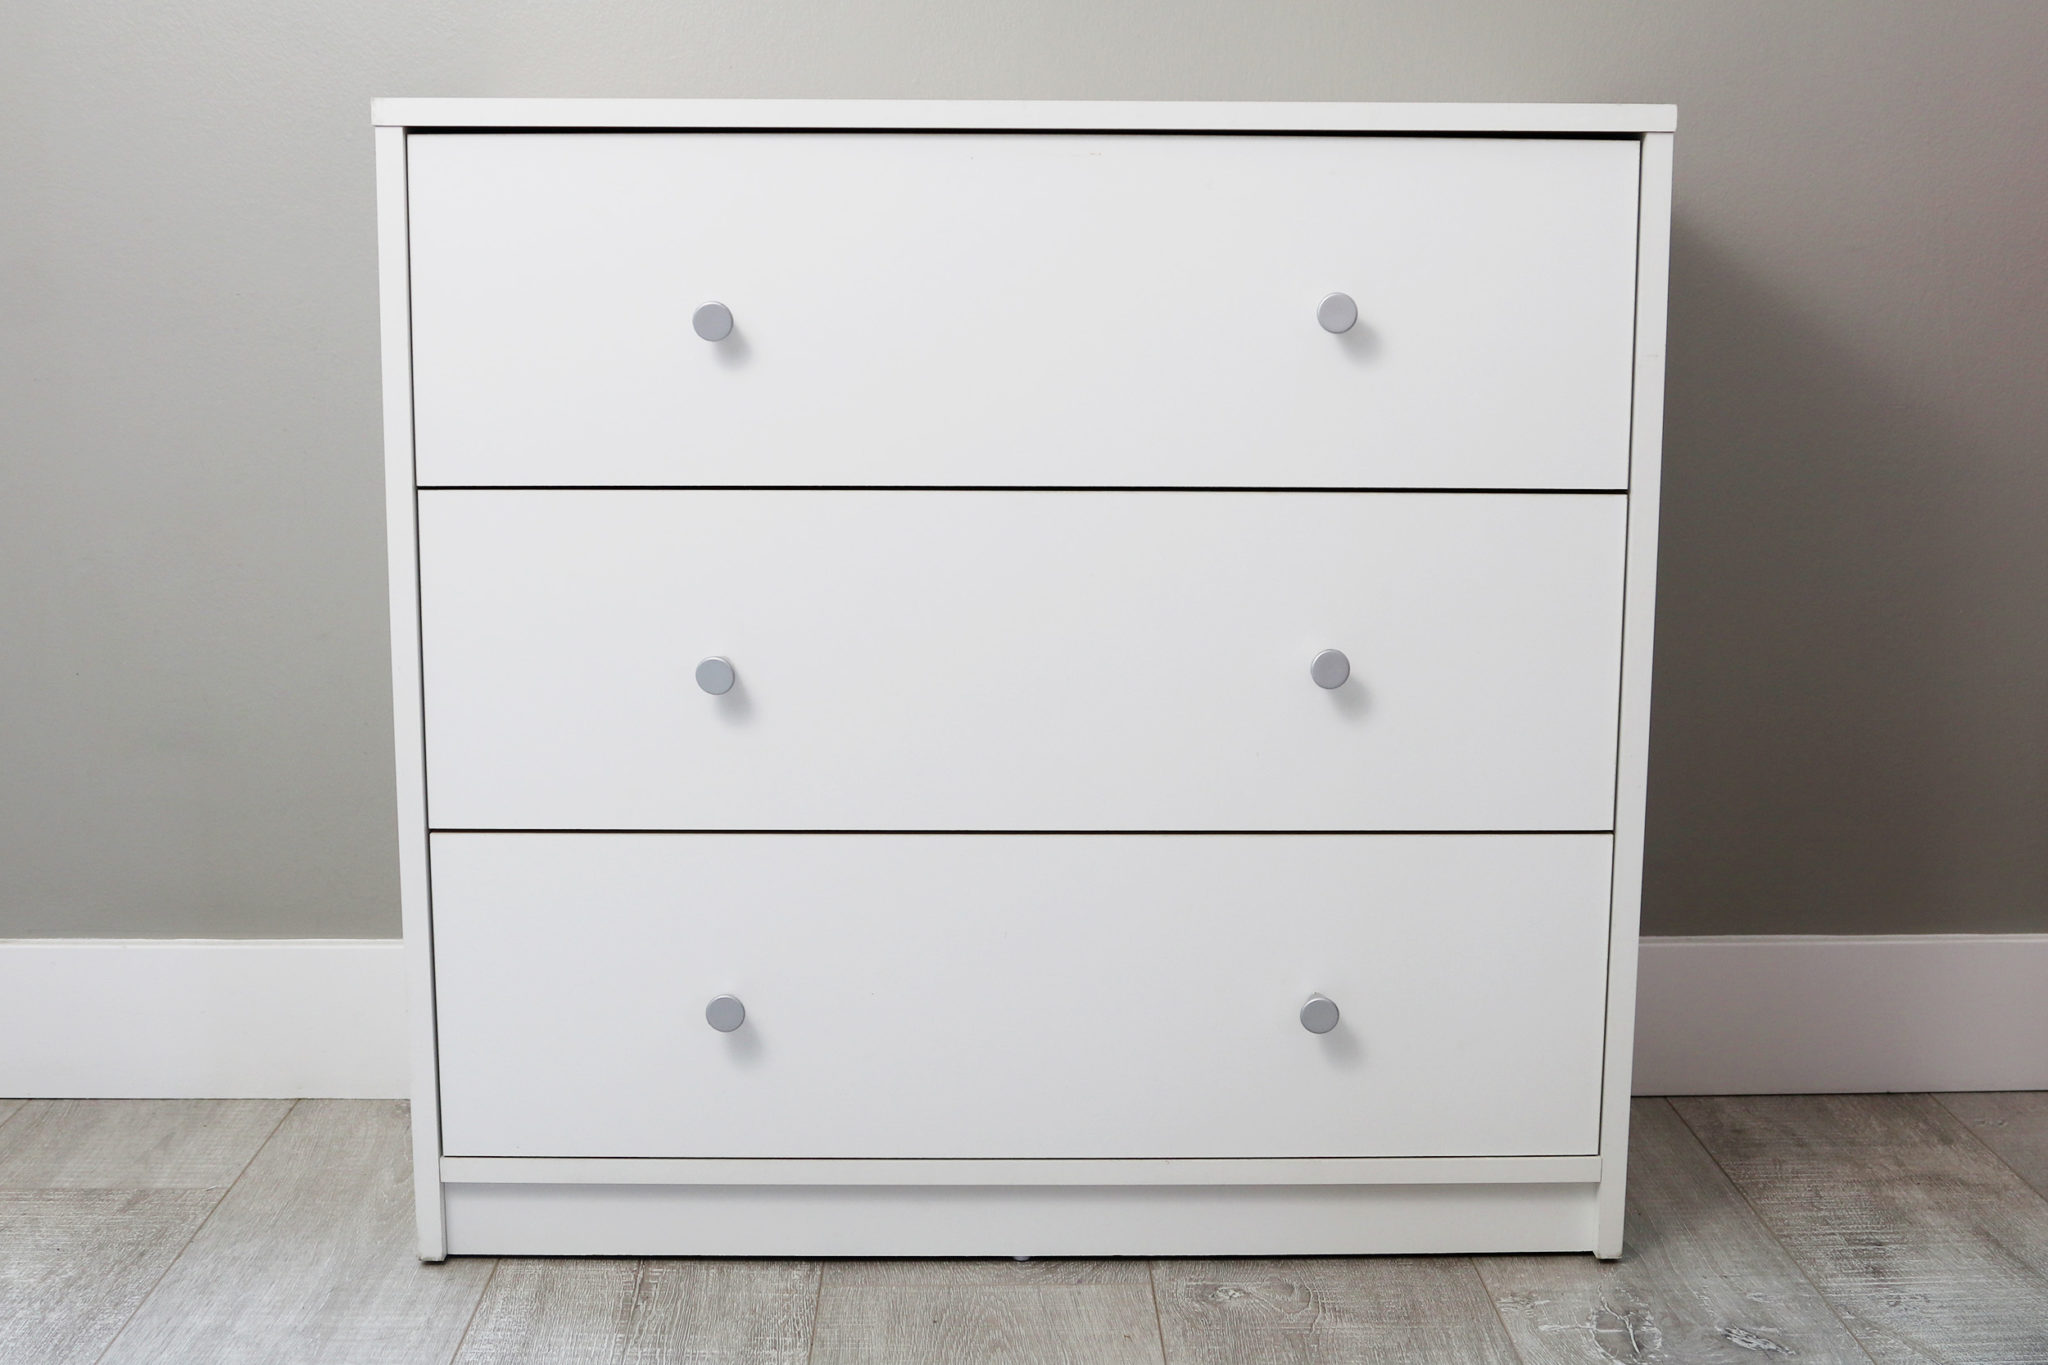
The dresser I’m using in all of these photos is the Bedford 3 Drawer Chest. For full disclosure, this dresser was given to me free of charge by Wayfair when I did a Dorm Room Design video with them last year.
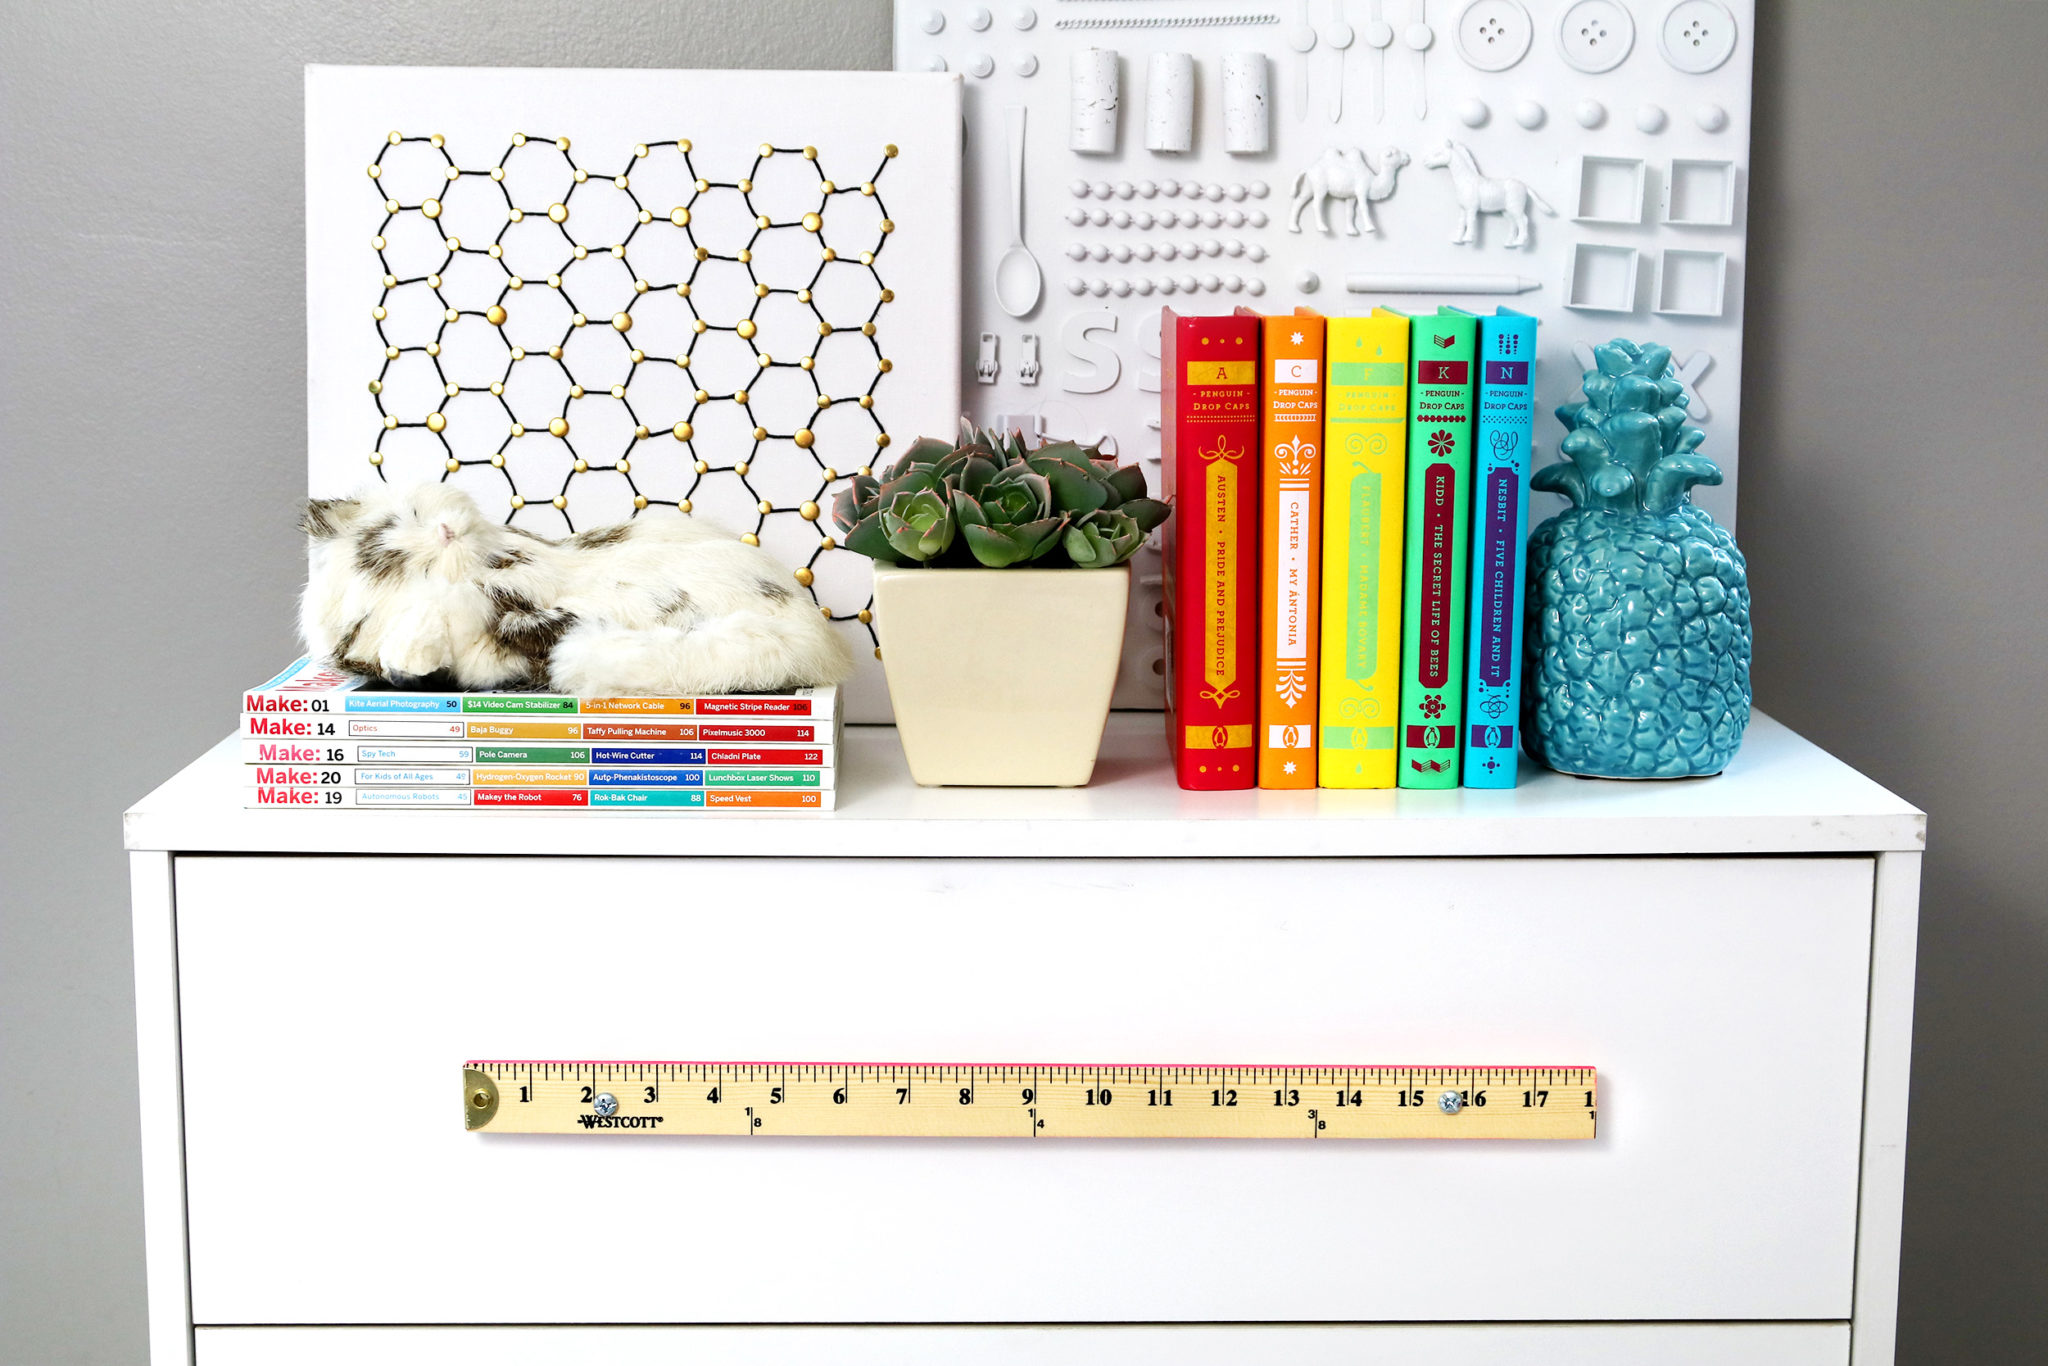
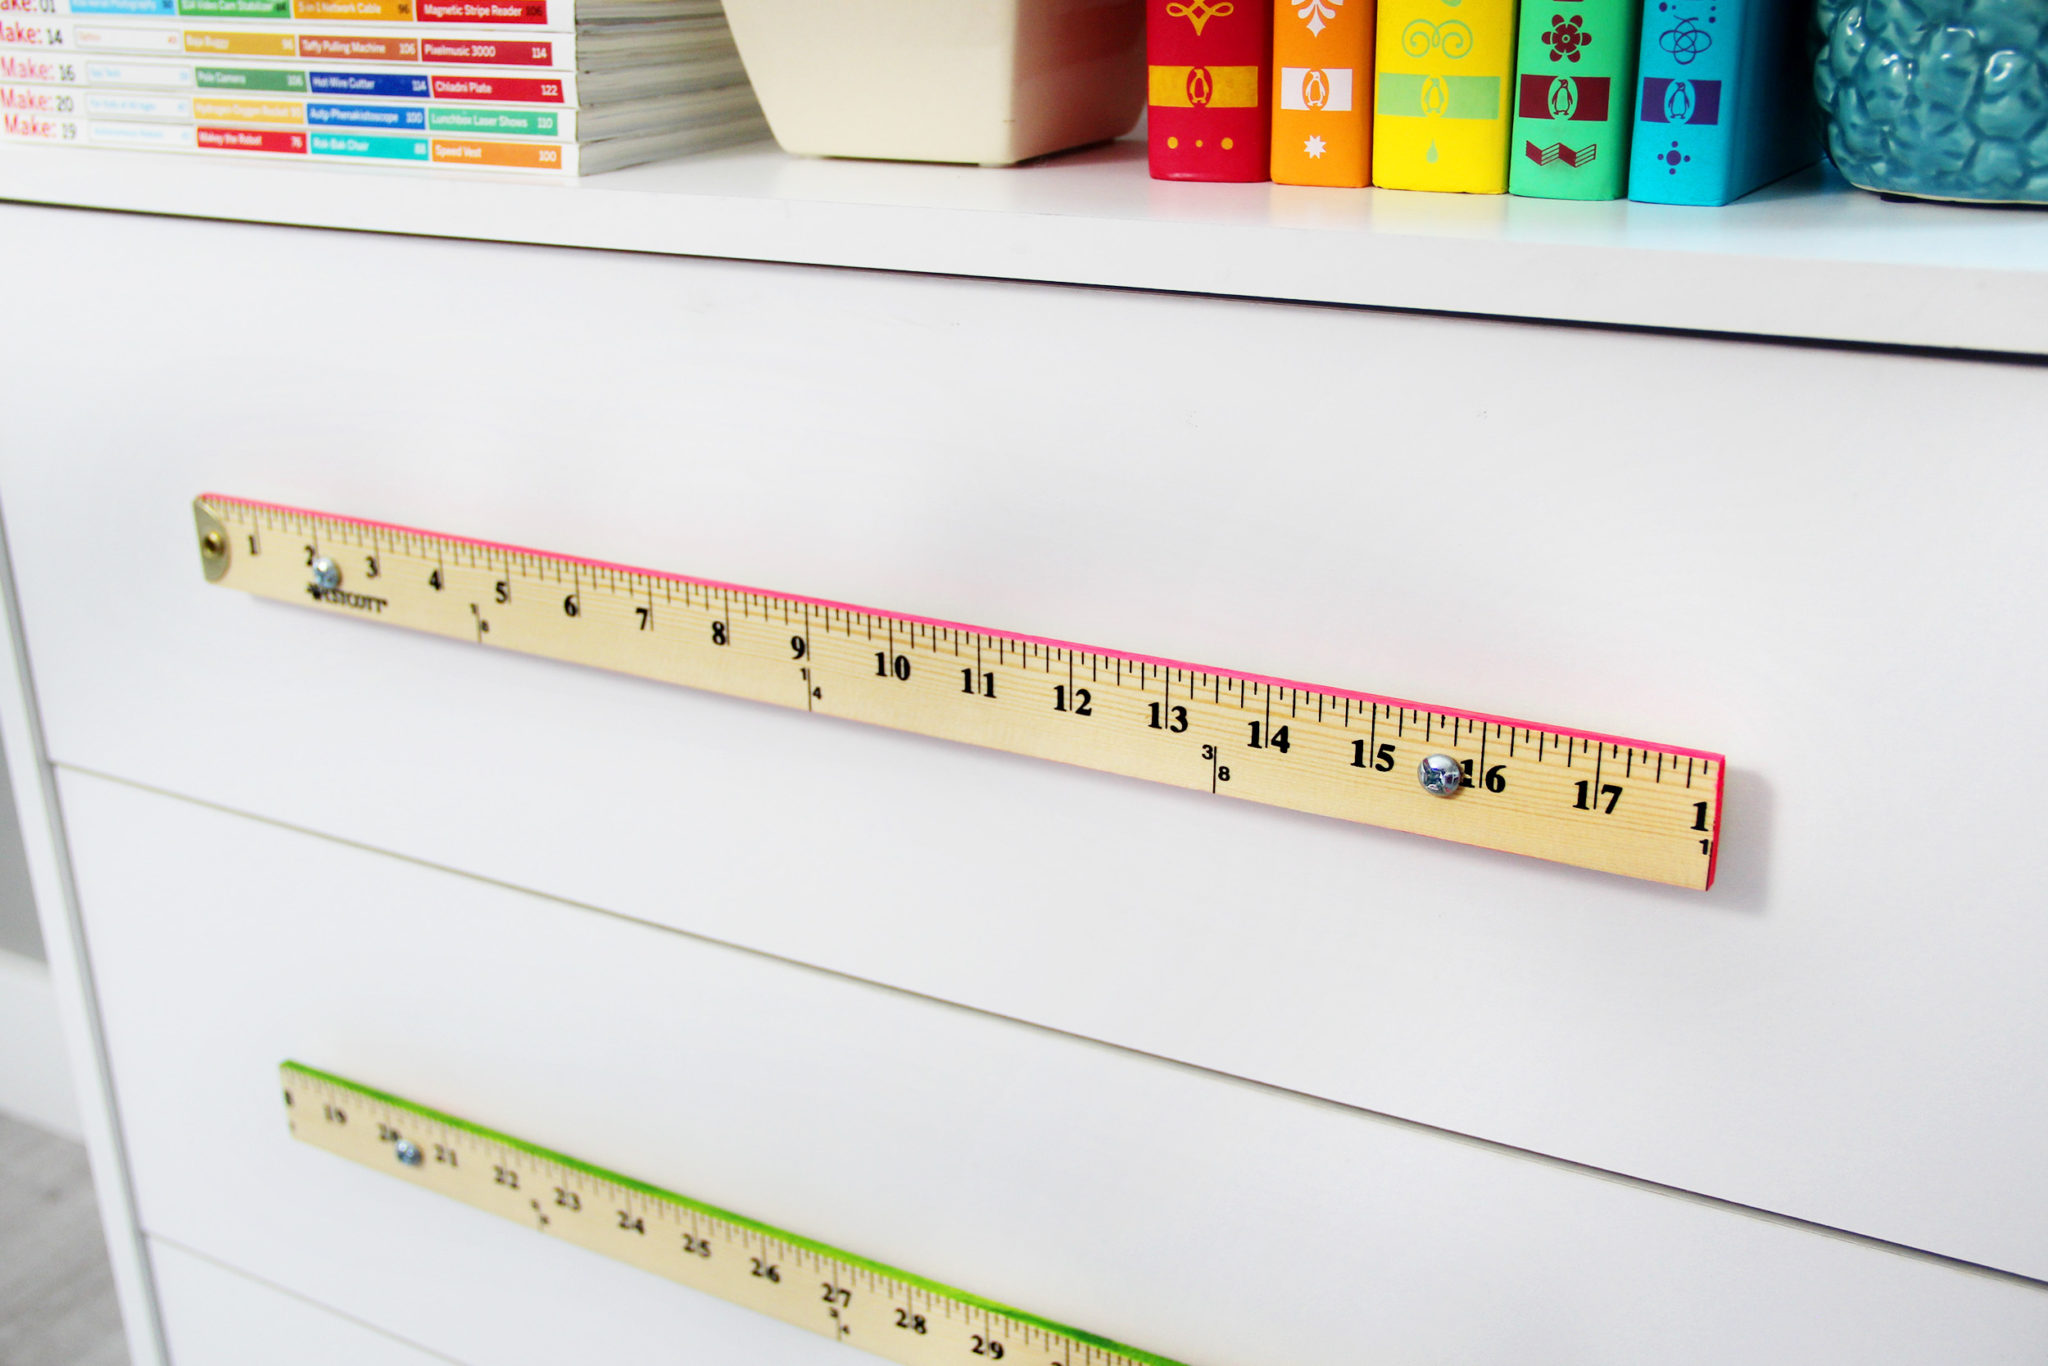
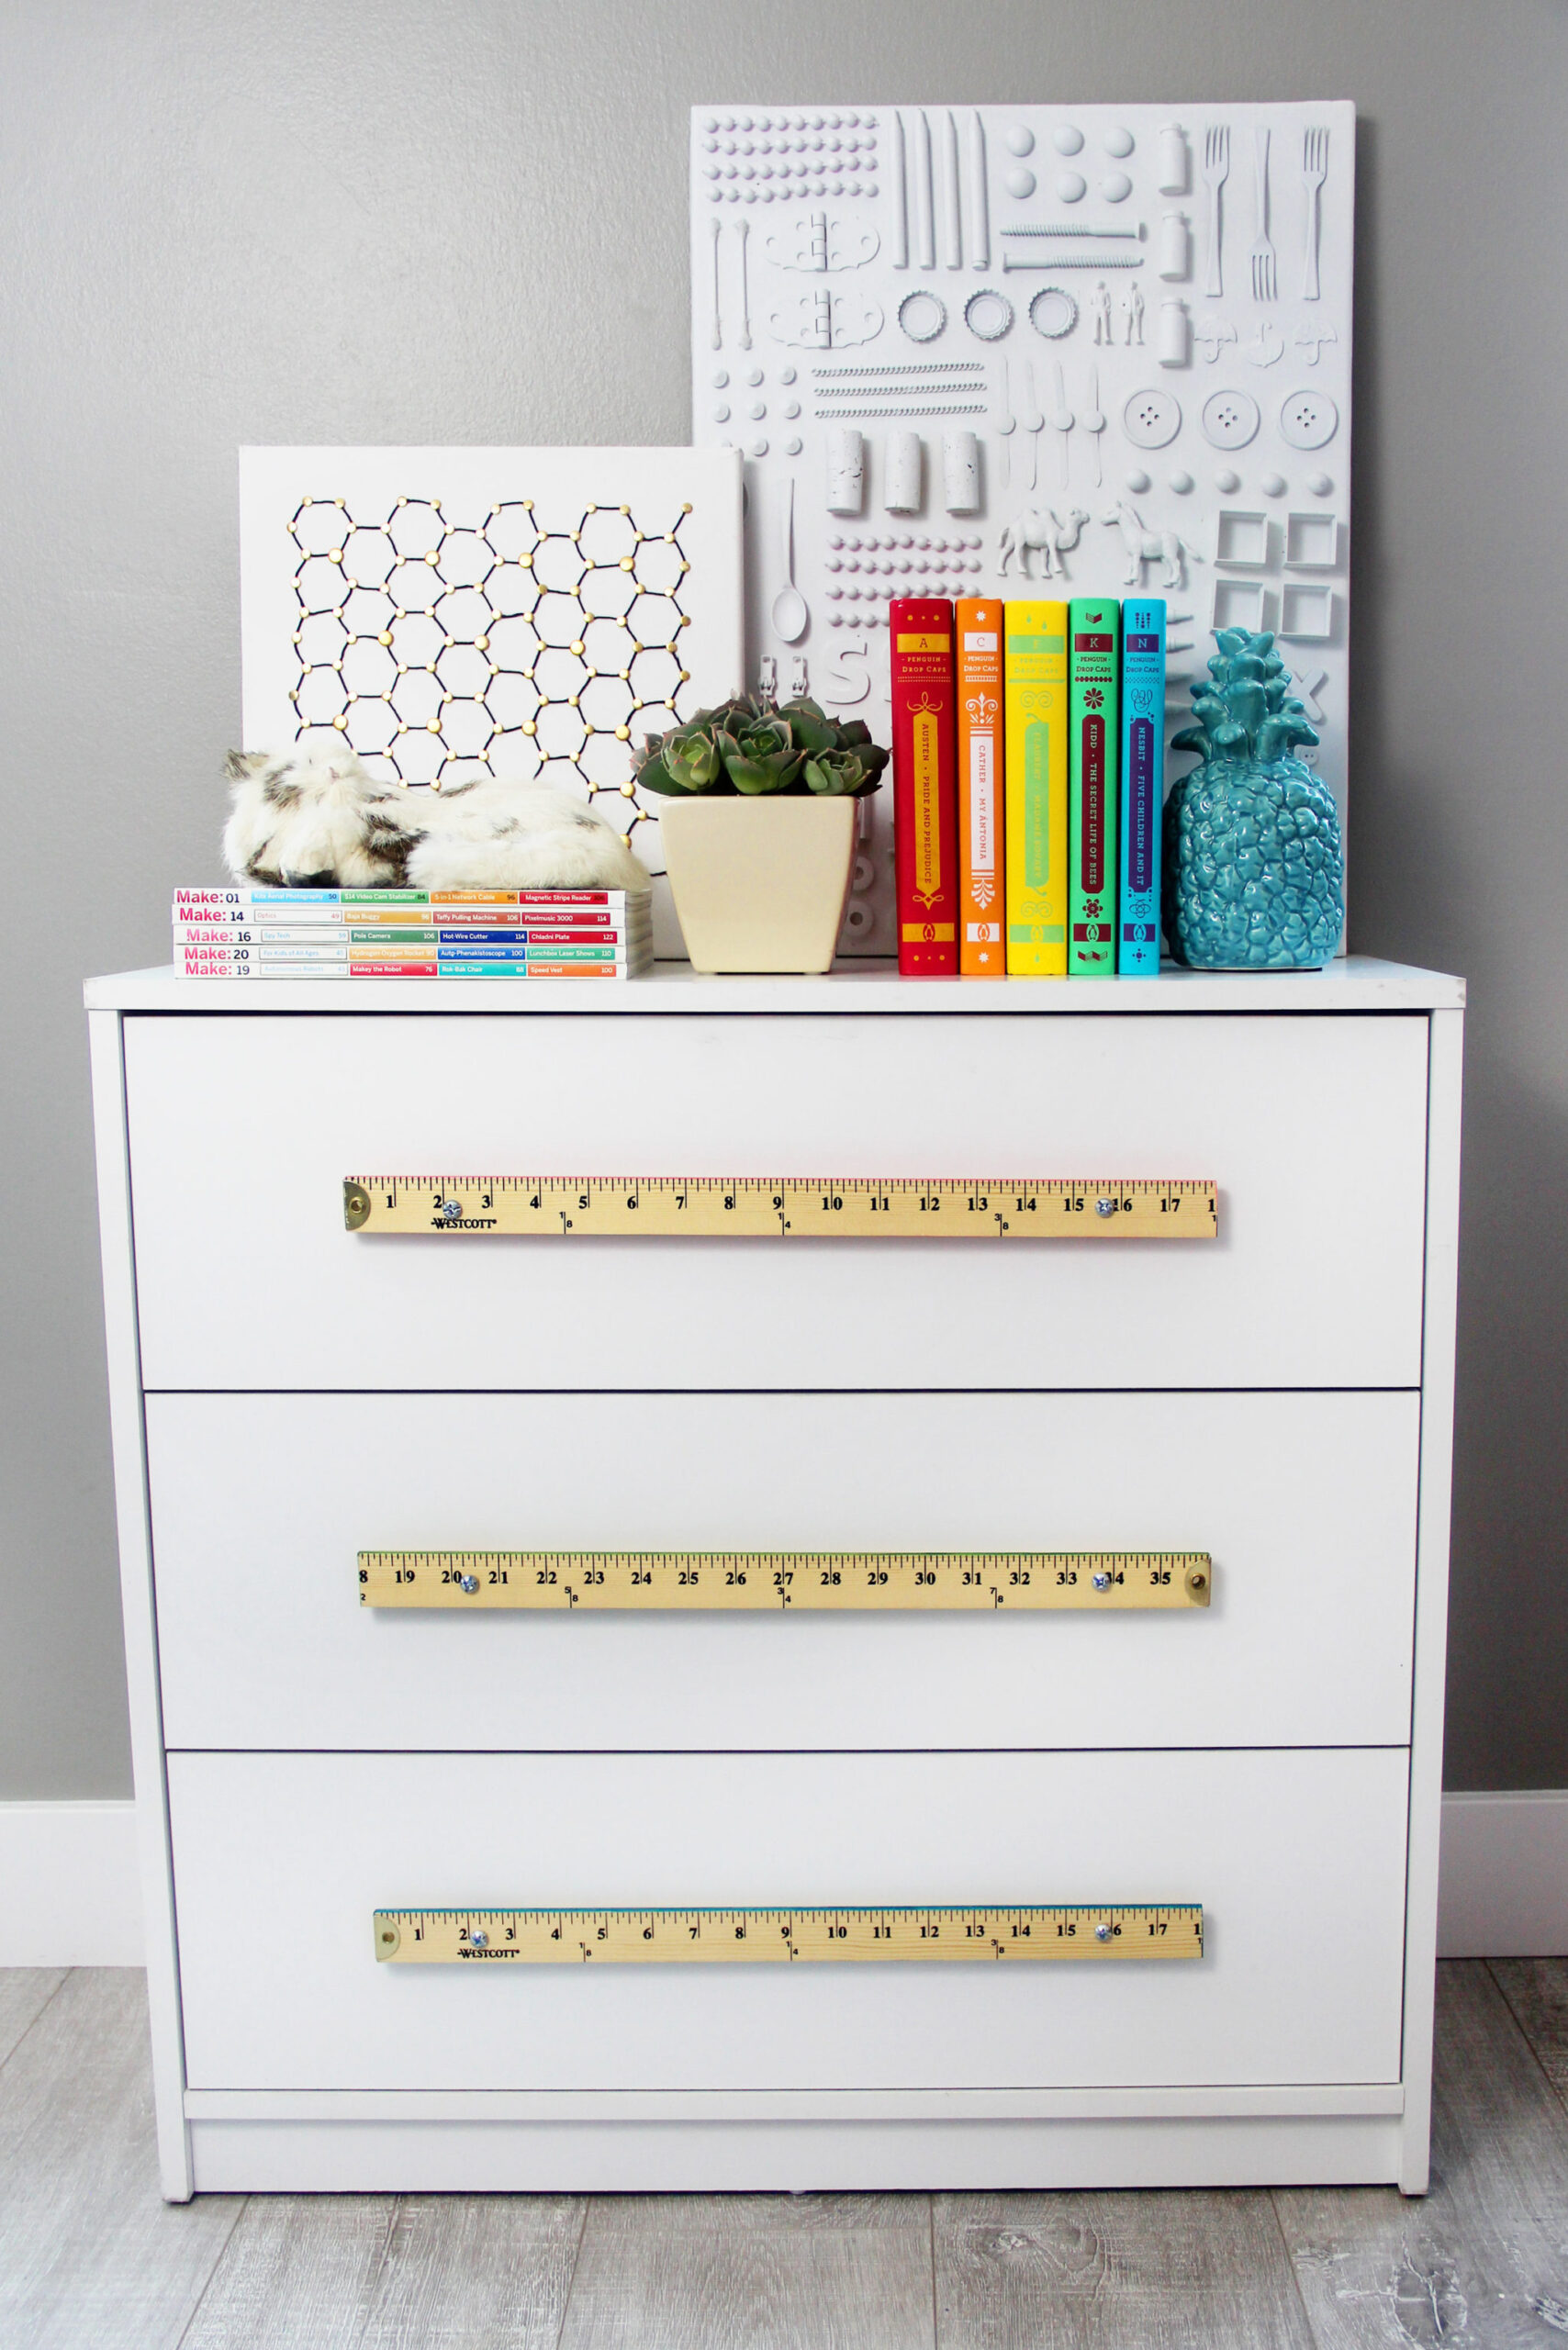
Our first set-up is colorful and fun, with some string art and drawer pulls made out of rulers.
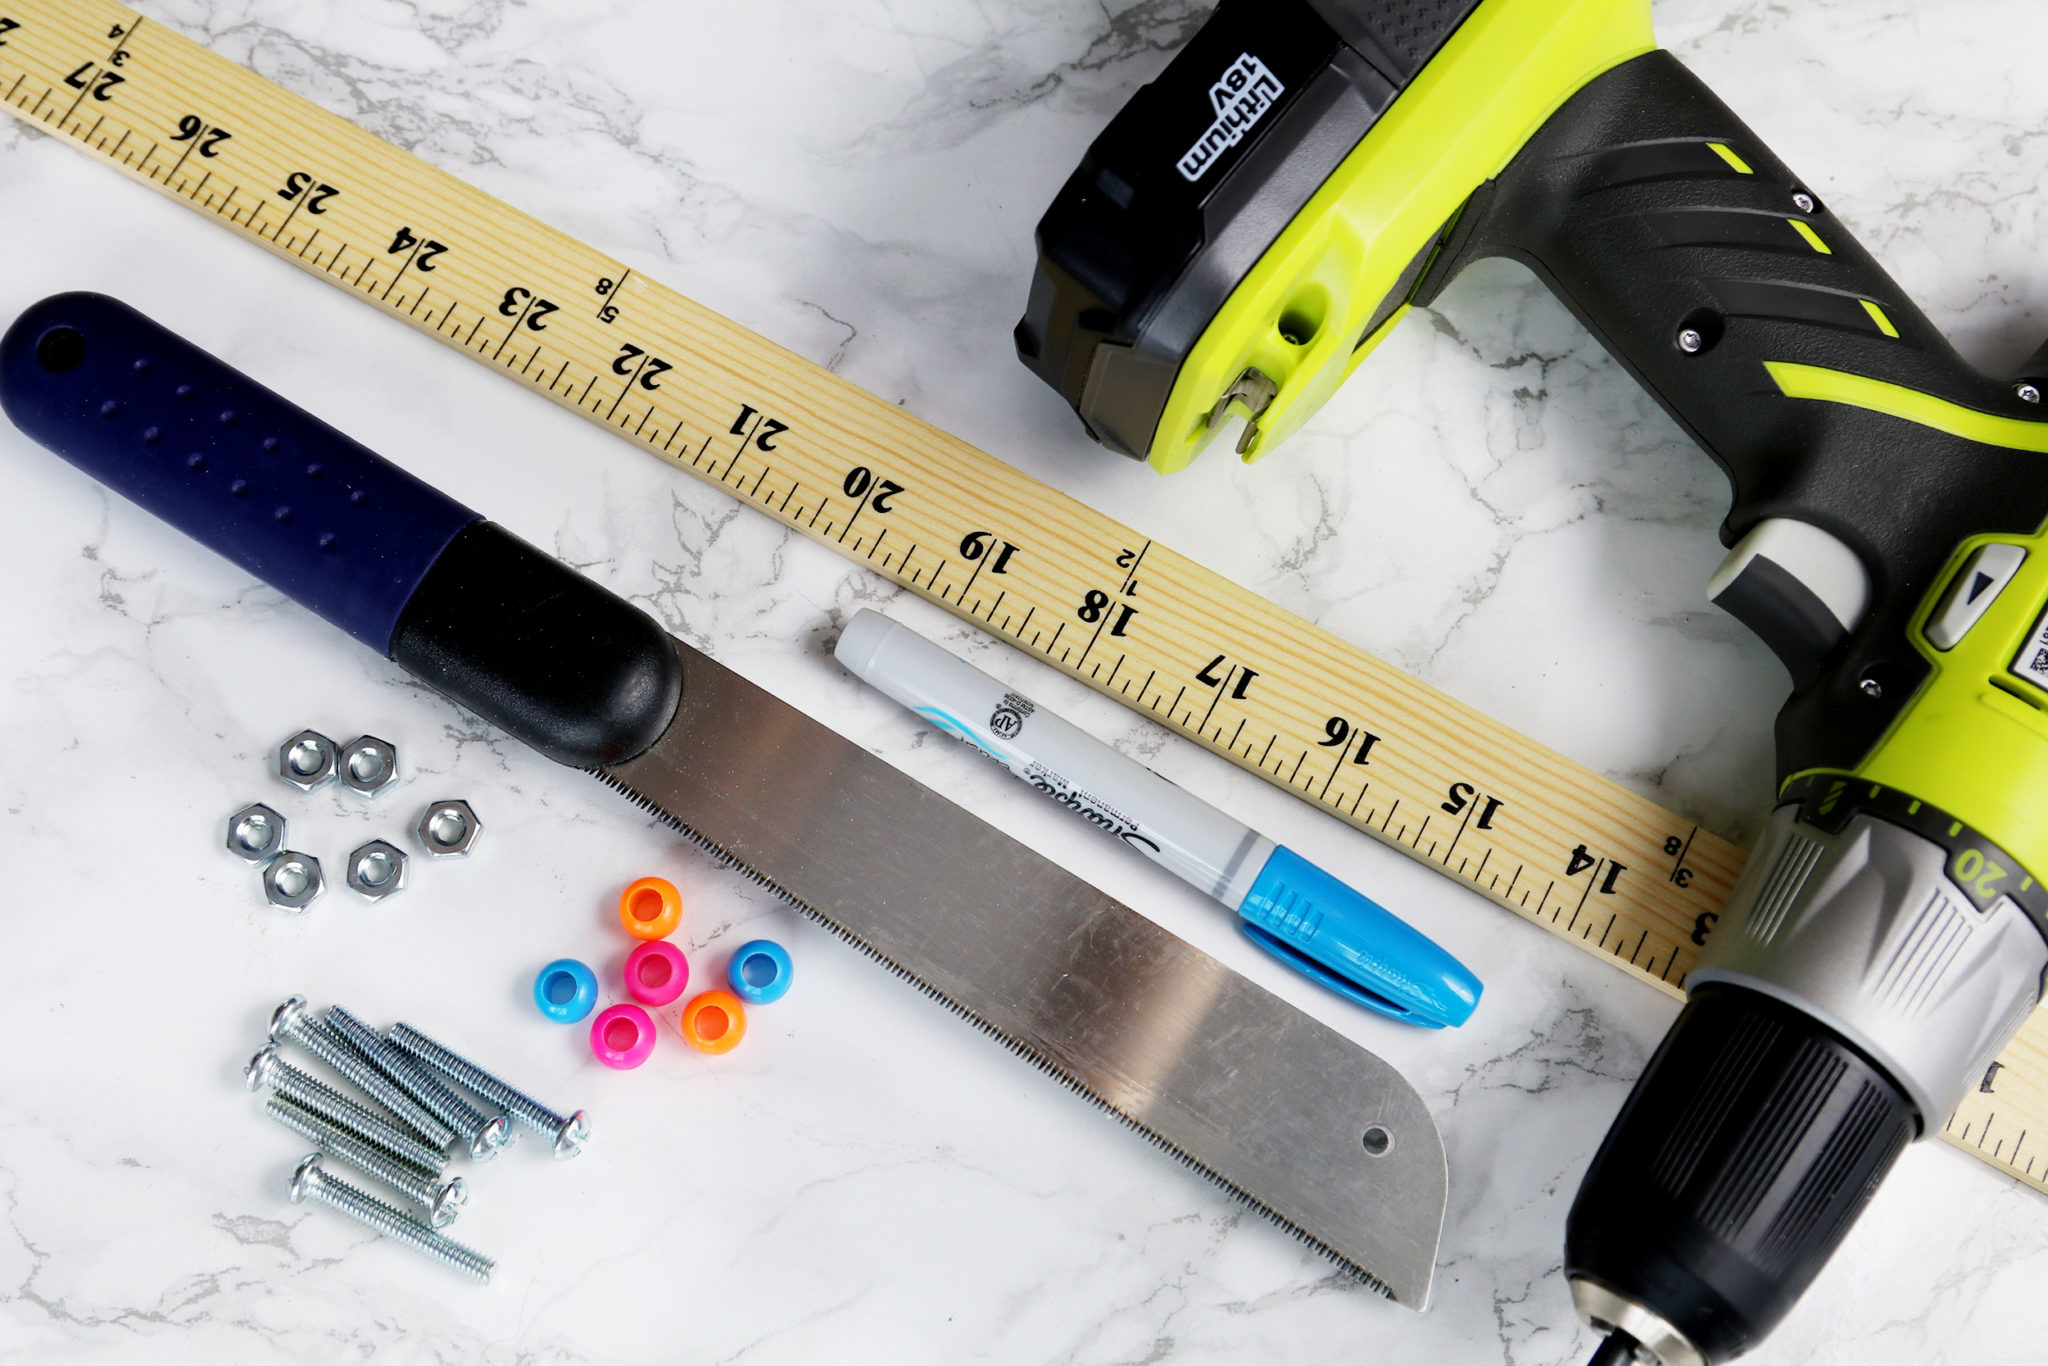
To make the ruler drawer pulls, you’ll need a yardstick, a drill, a permanent marker, a saw, plastic beads to use as spacers, screws, and nuts.
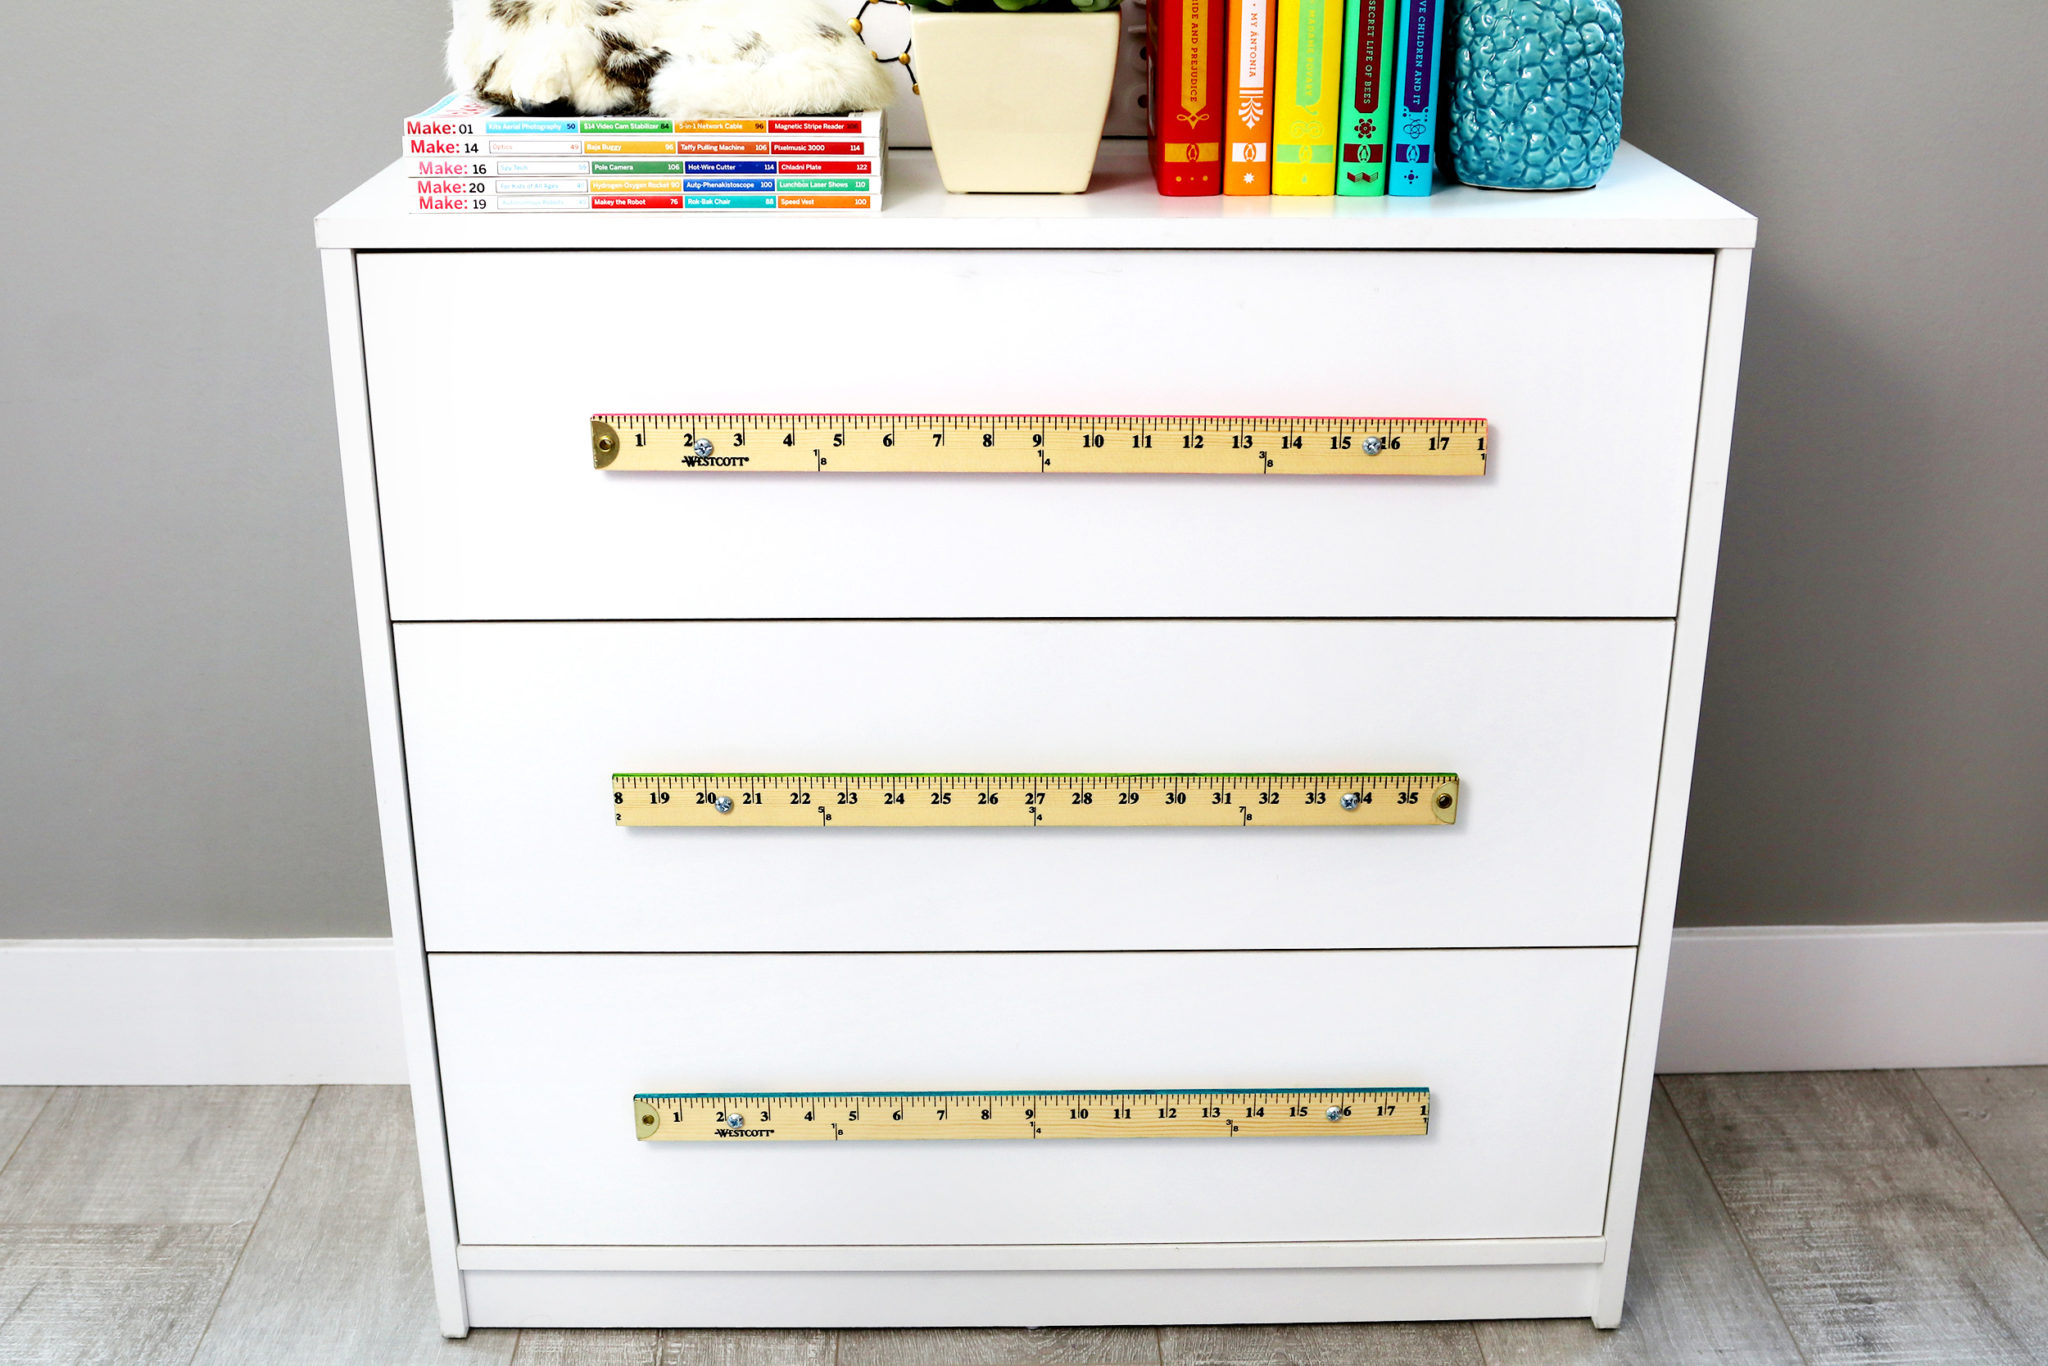
Be sure to watch the video for the full step-by-step on how to make these drawer pulls. I LOVE how they came out, and I think they would look great in a classroom!
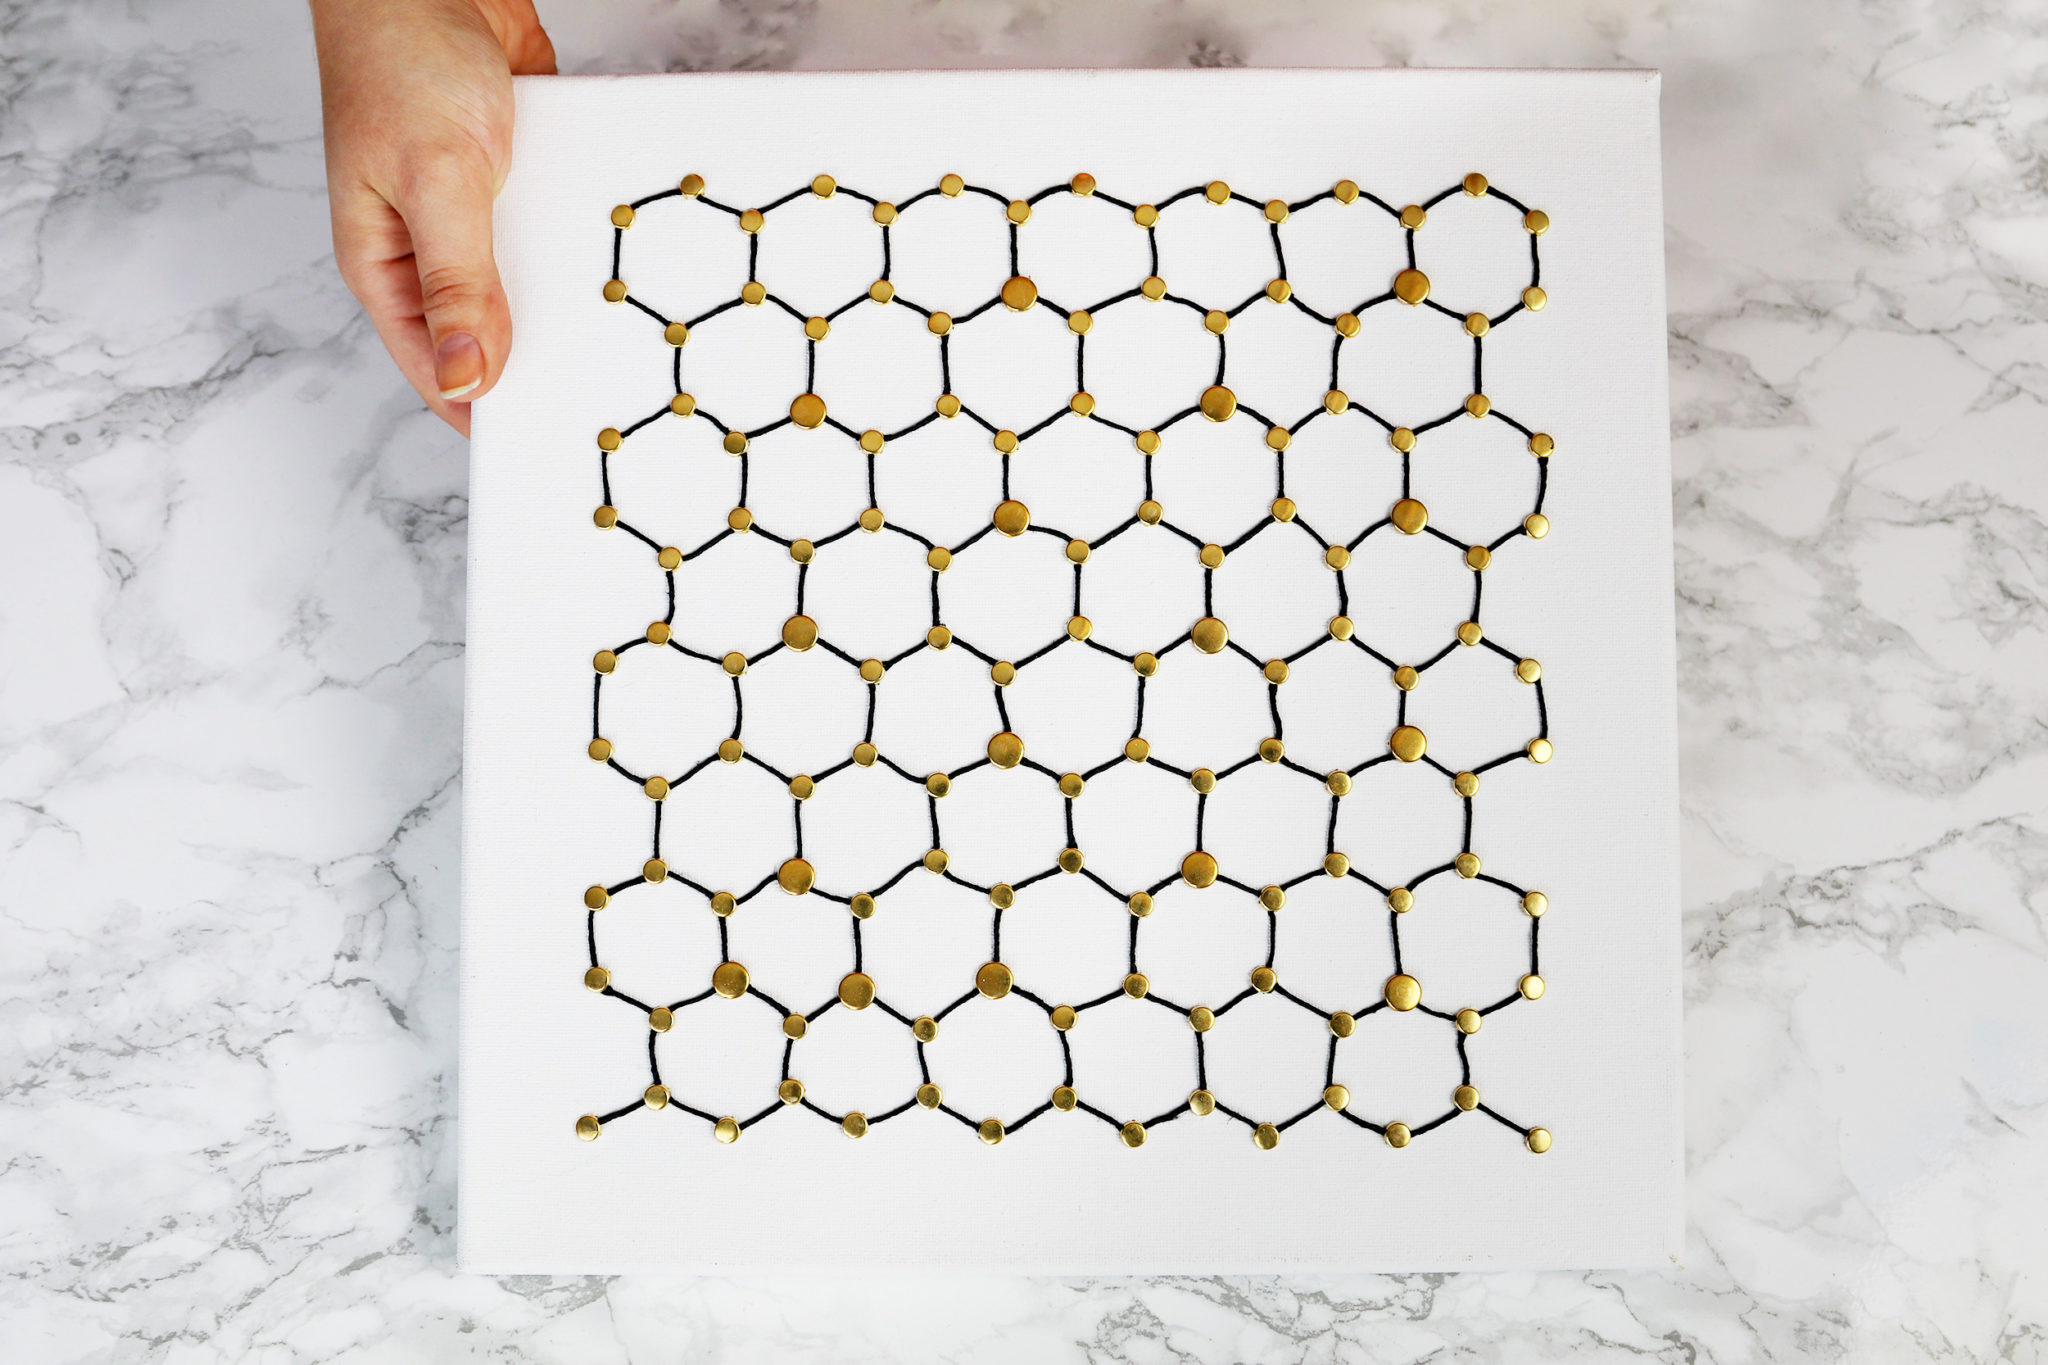
I made this string art by using a screw punch and a hexagon pattern to punch all of the holes, and then just filling it in with black string. I found the gold studs in the fashion district of New York, but you can find similar ones at any craft store.
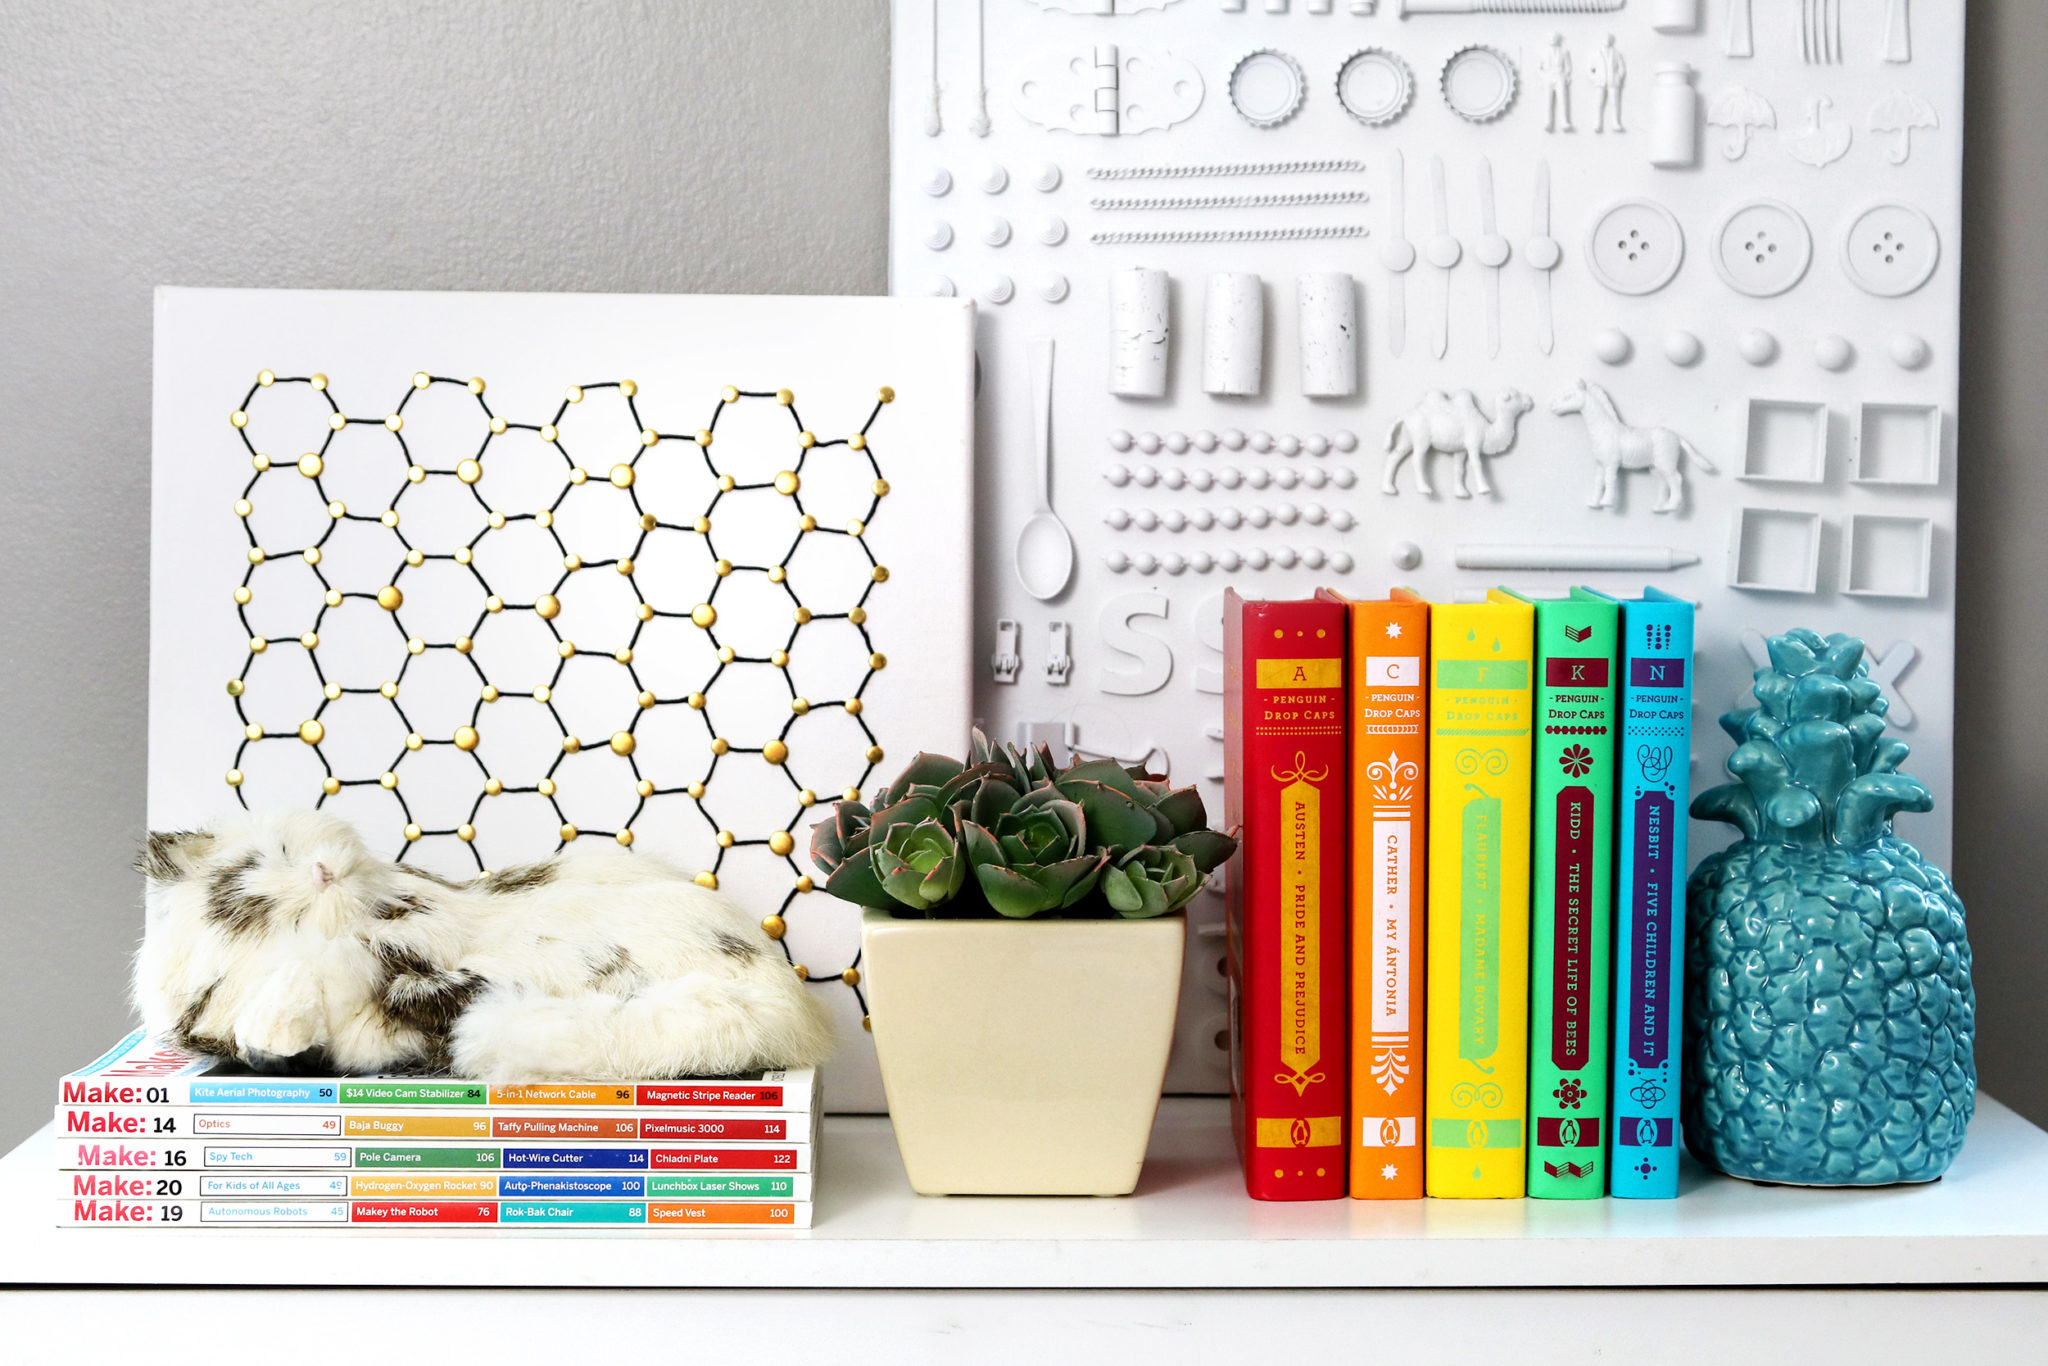
I styled this scene with my DIY Collaged Canvas, Penguin Drop Cap books, and Make Magazine. And of course one of my fake cats from my very large collection of them. My roommate says they freak him out, but I think they’re adorable!
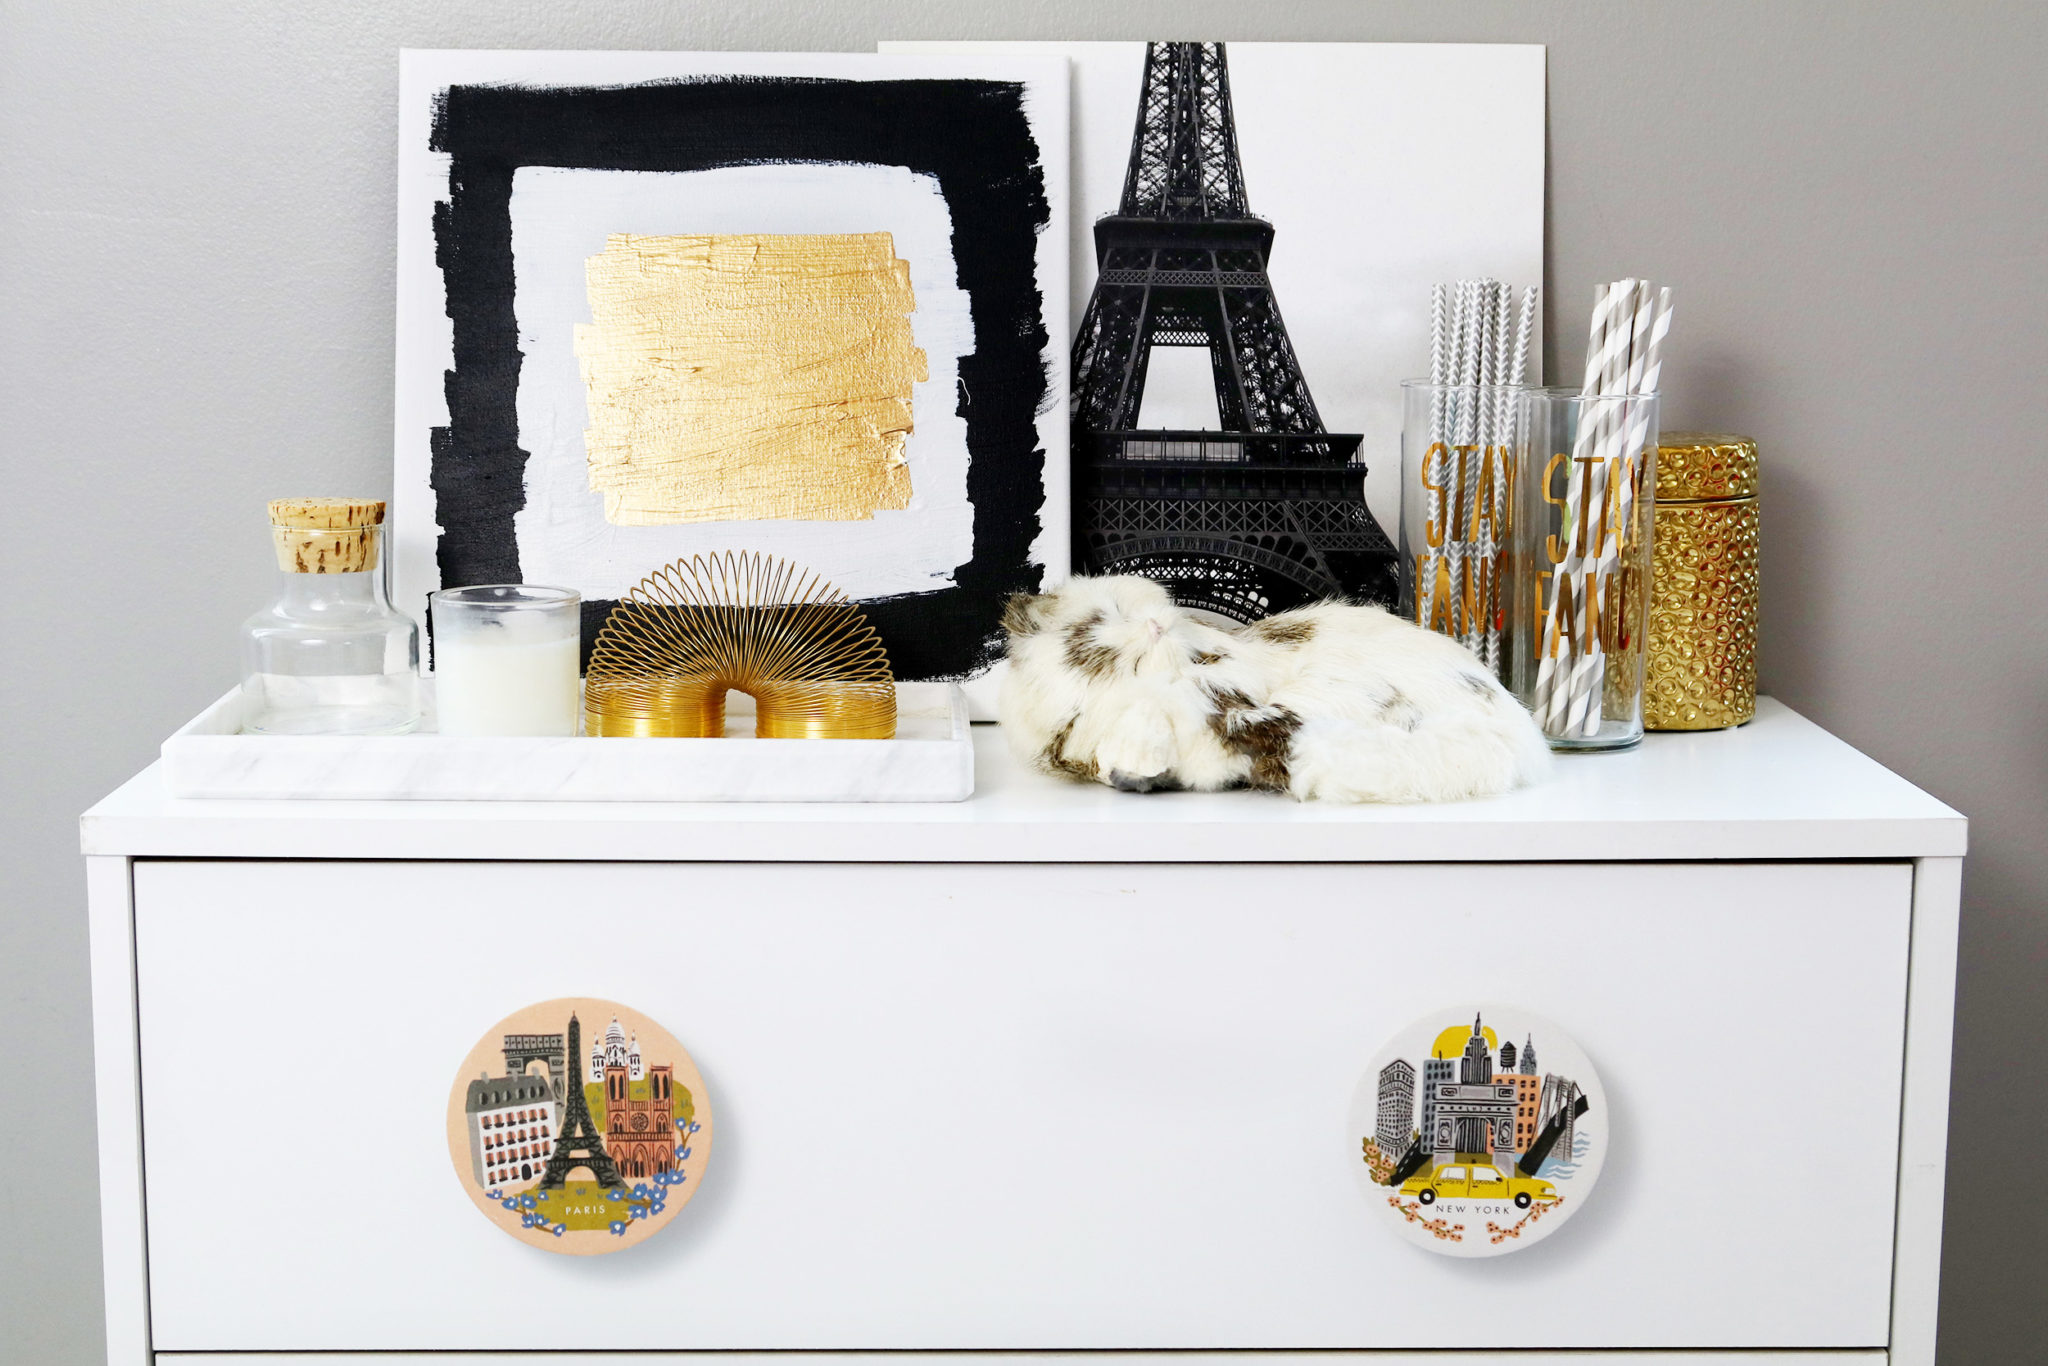
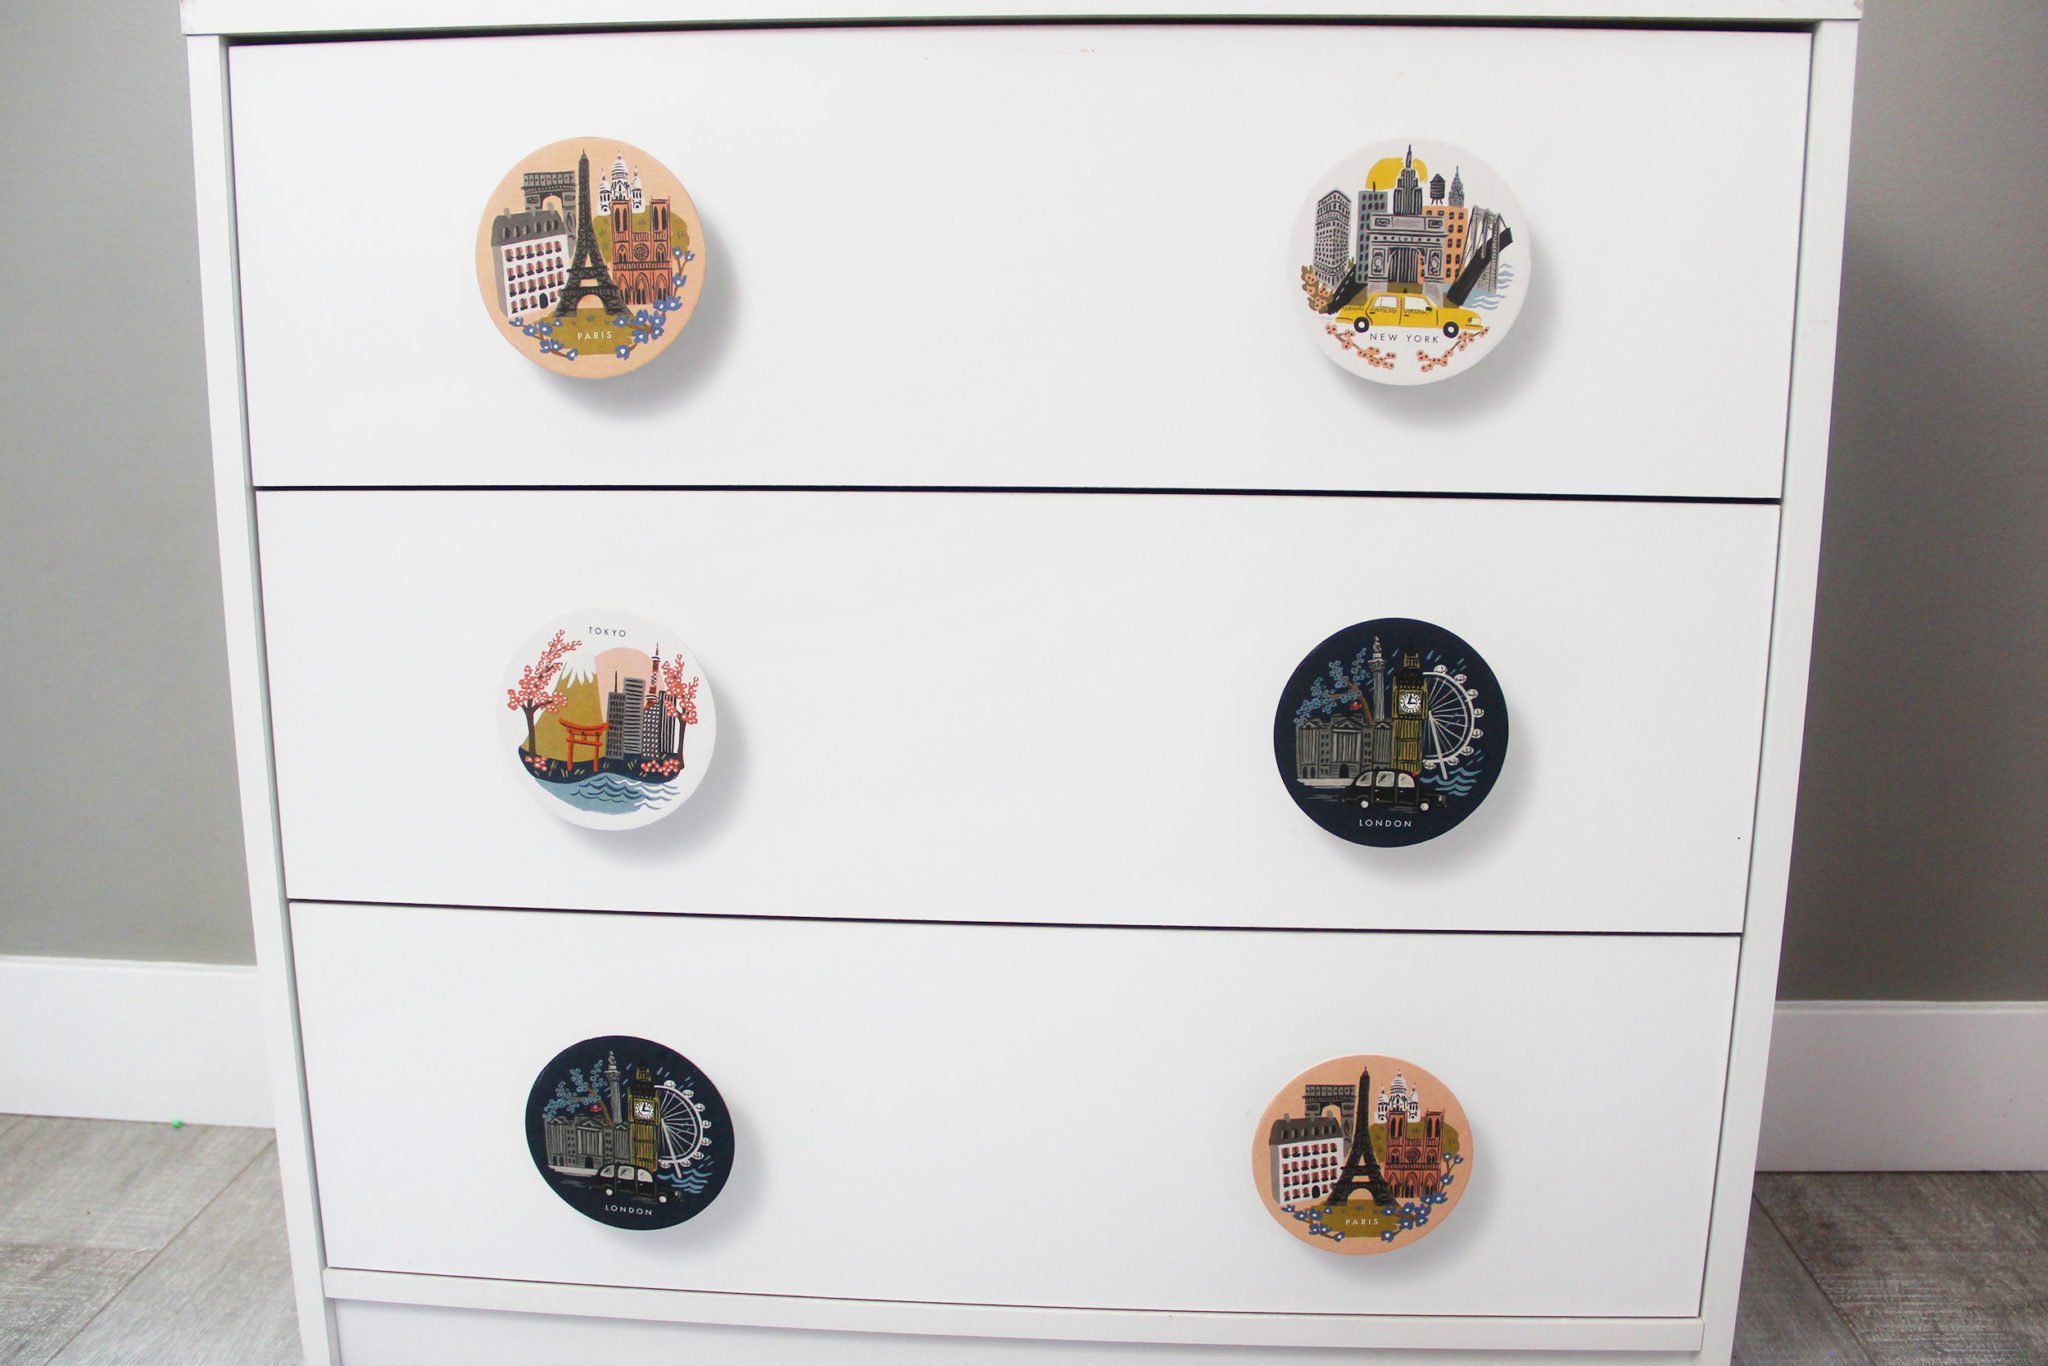
Next we’ve got this classy black, white, and gold set-up. The artwork is an abstract square design anybody can make, and the drawer pulls are actually made from coasters!
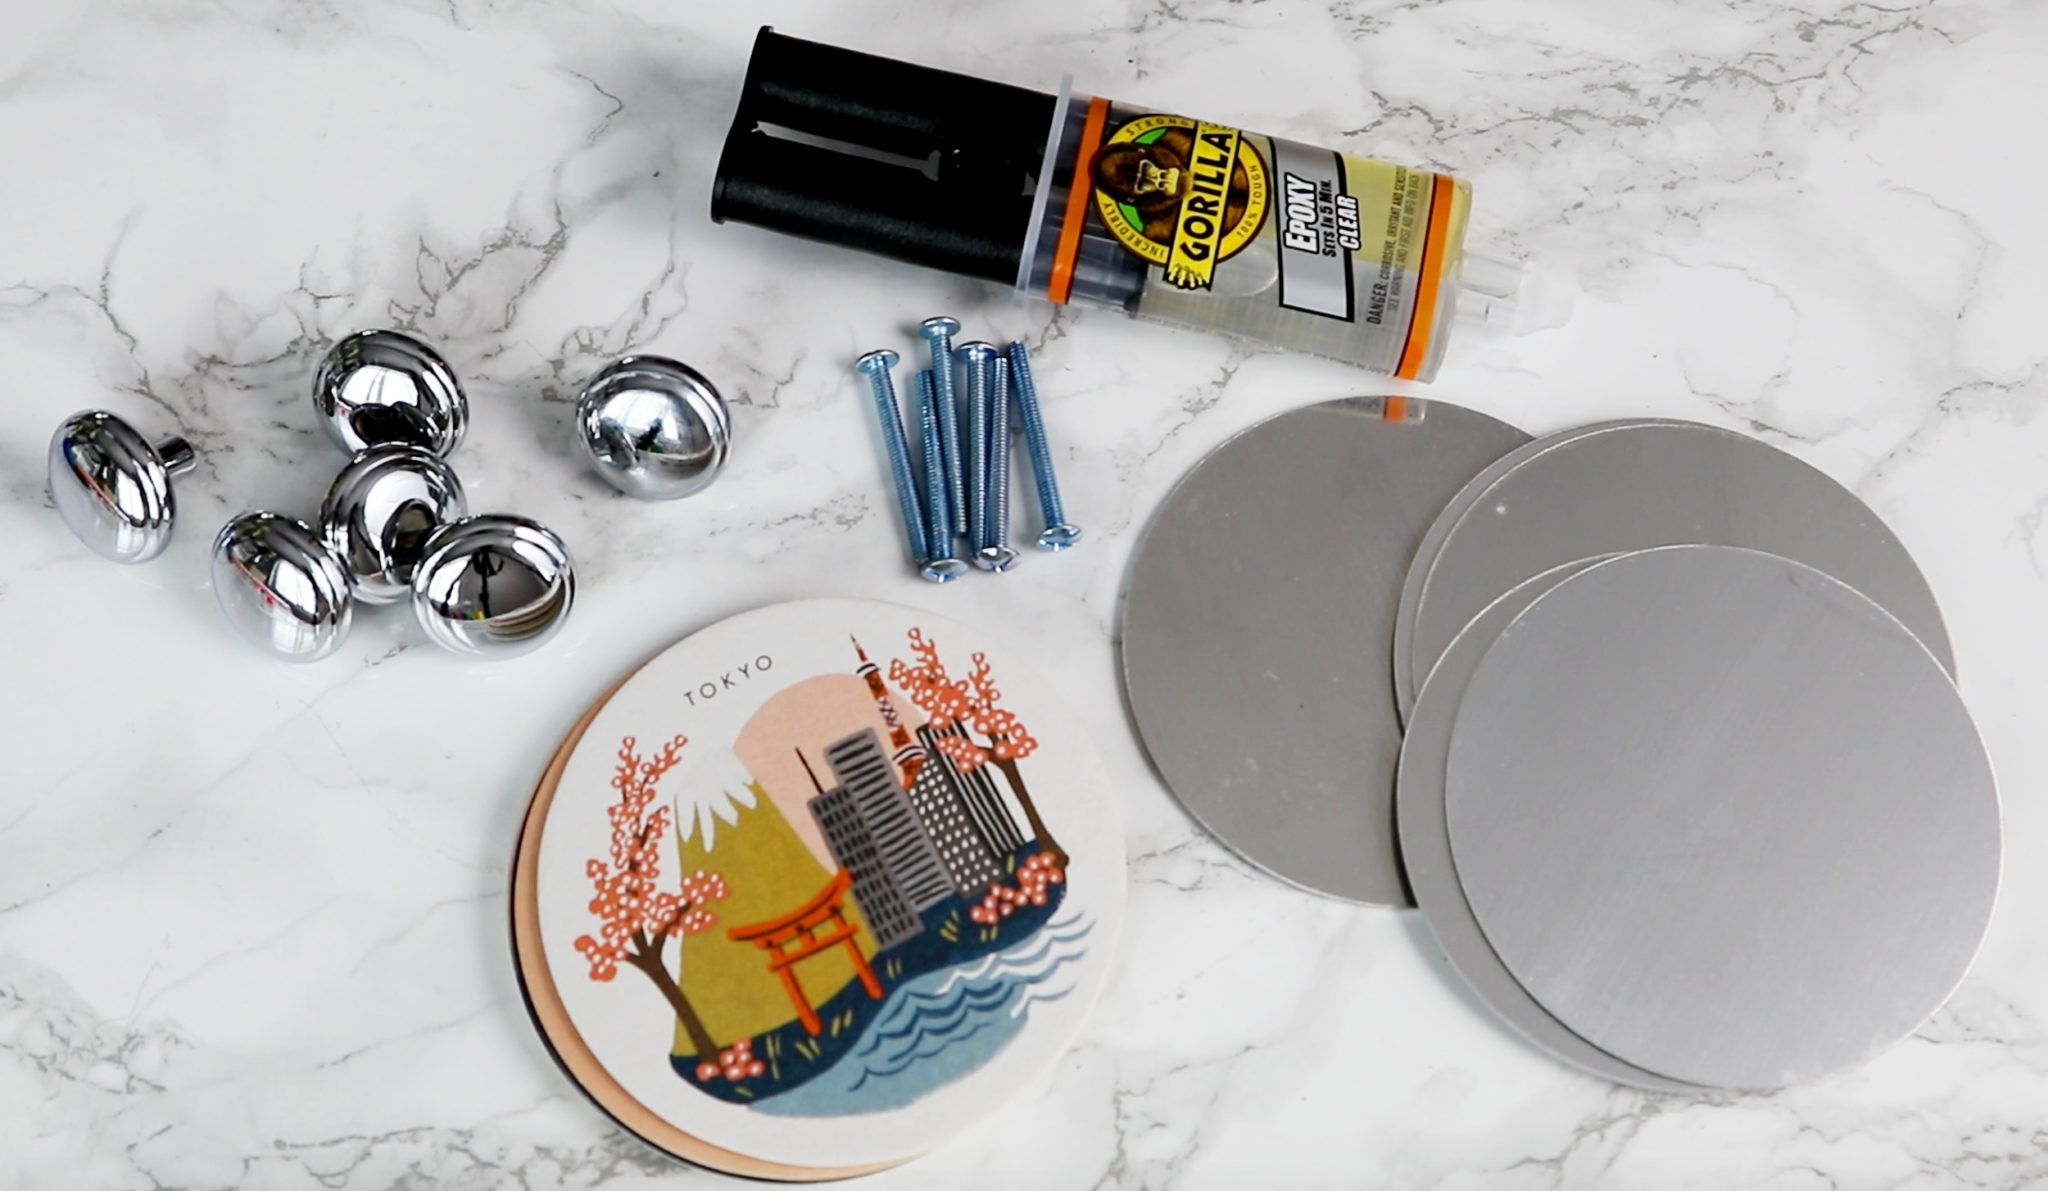
For these drawer pulls, you’ll need coasters (mine are the Bon Voyage Set from the Rifle Paper Co.), plain drawer pulls, epoxy, and metal circles. I got these aluminum discs from my dad who used to be a metal shop teacher, but you can use anything sturdy that’s about the same size as your coasters. They’re just to glue onto the back of the coasters so the cardboard doesn’t bend when pulling the drawers out.
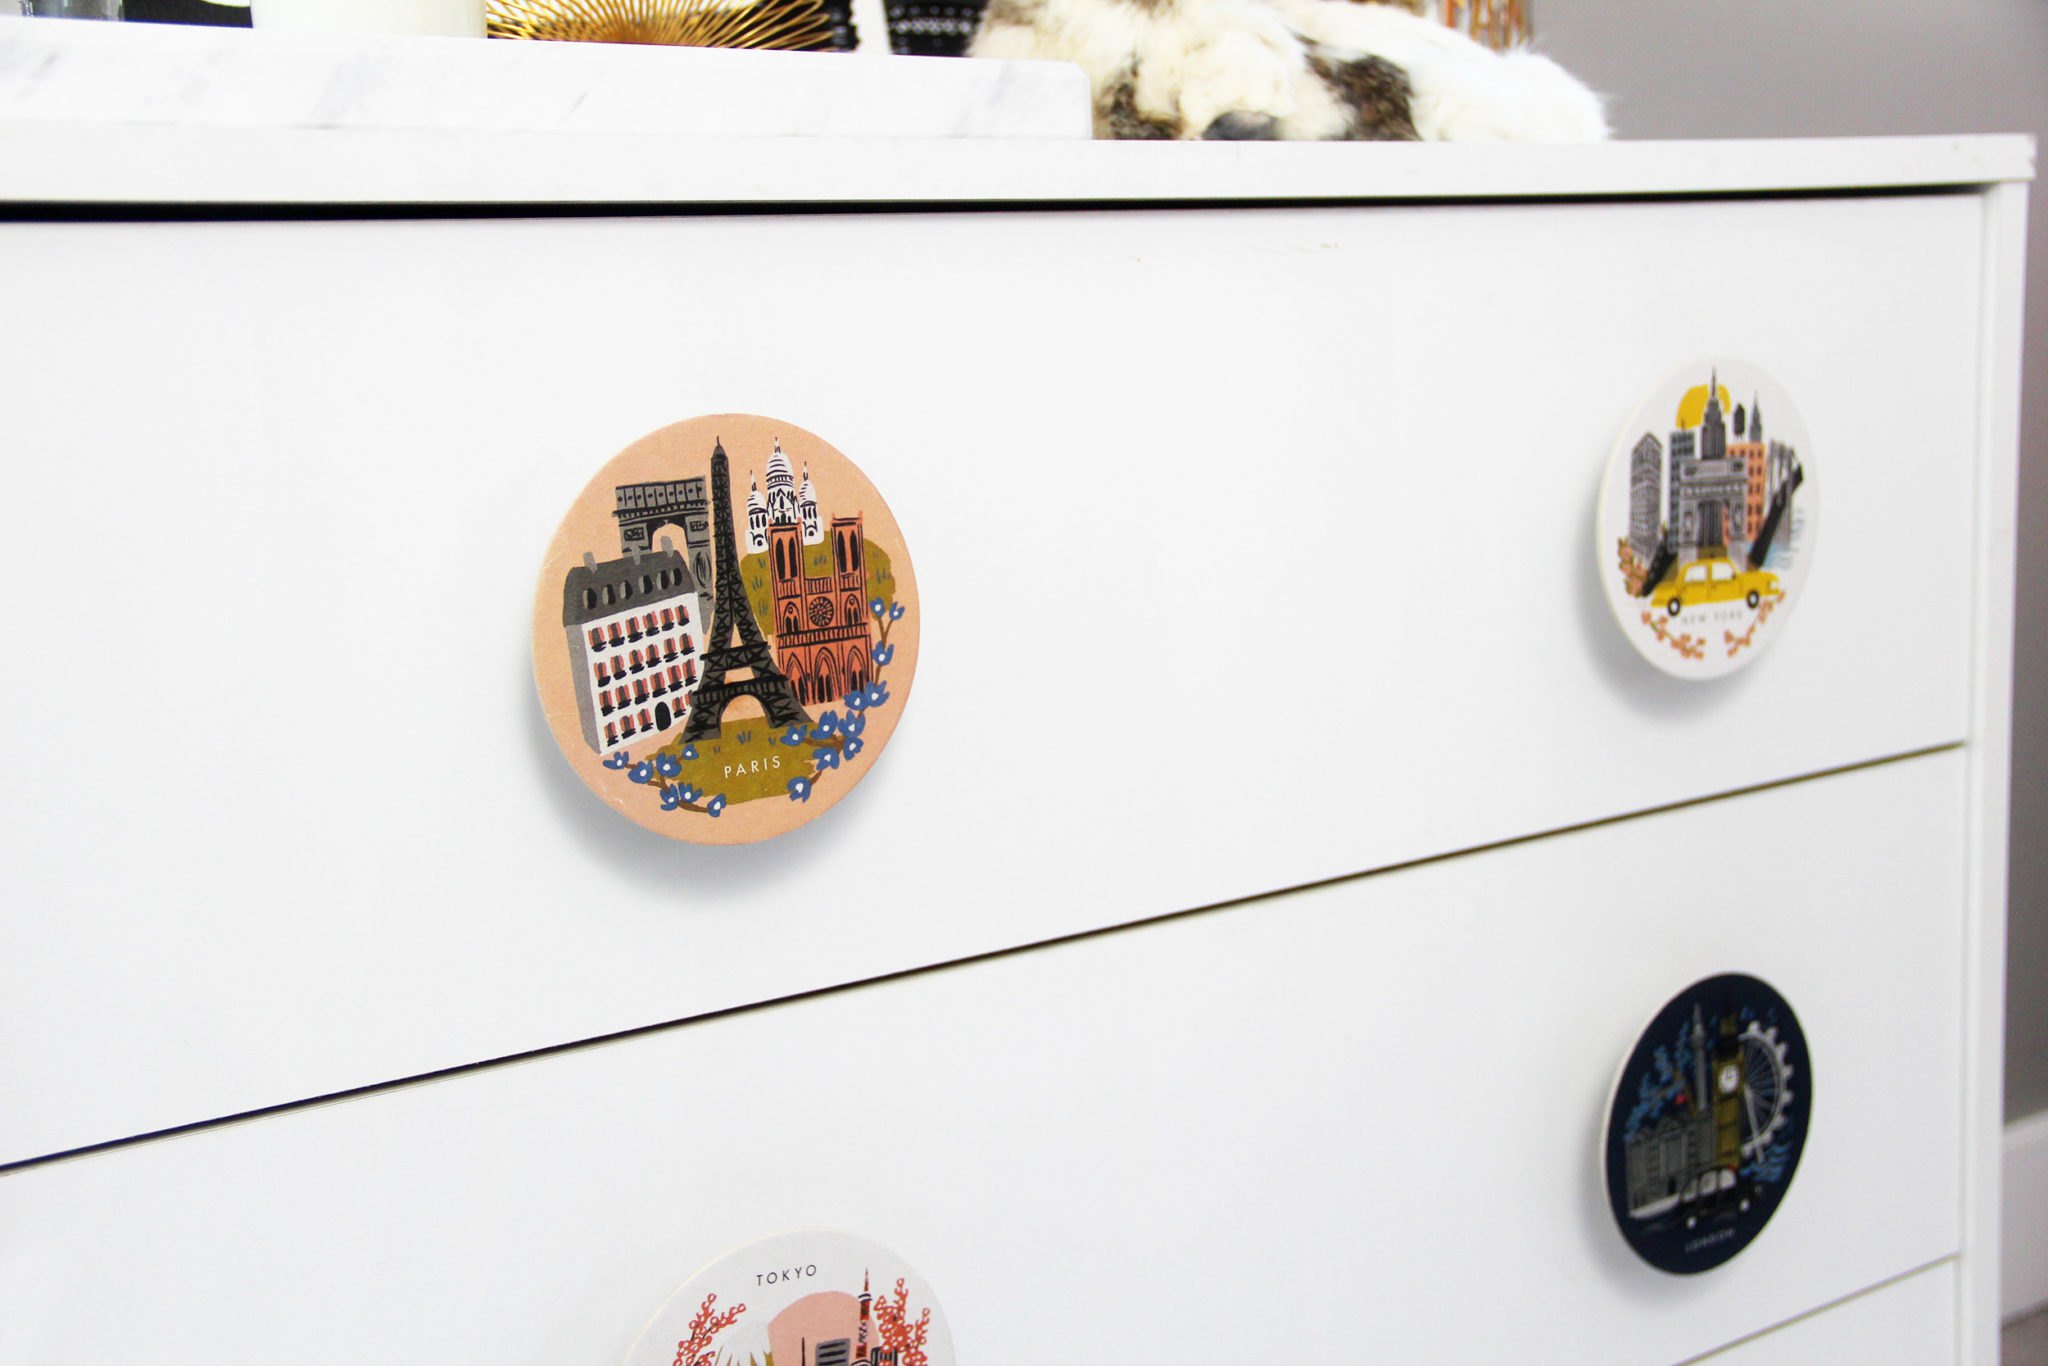
I love how oversize and modern these are, and I love finding a new use for drink coasters!
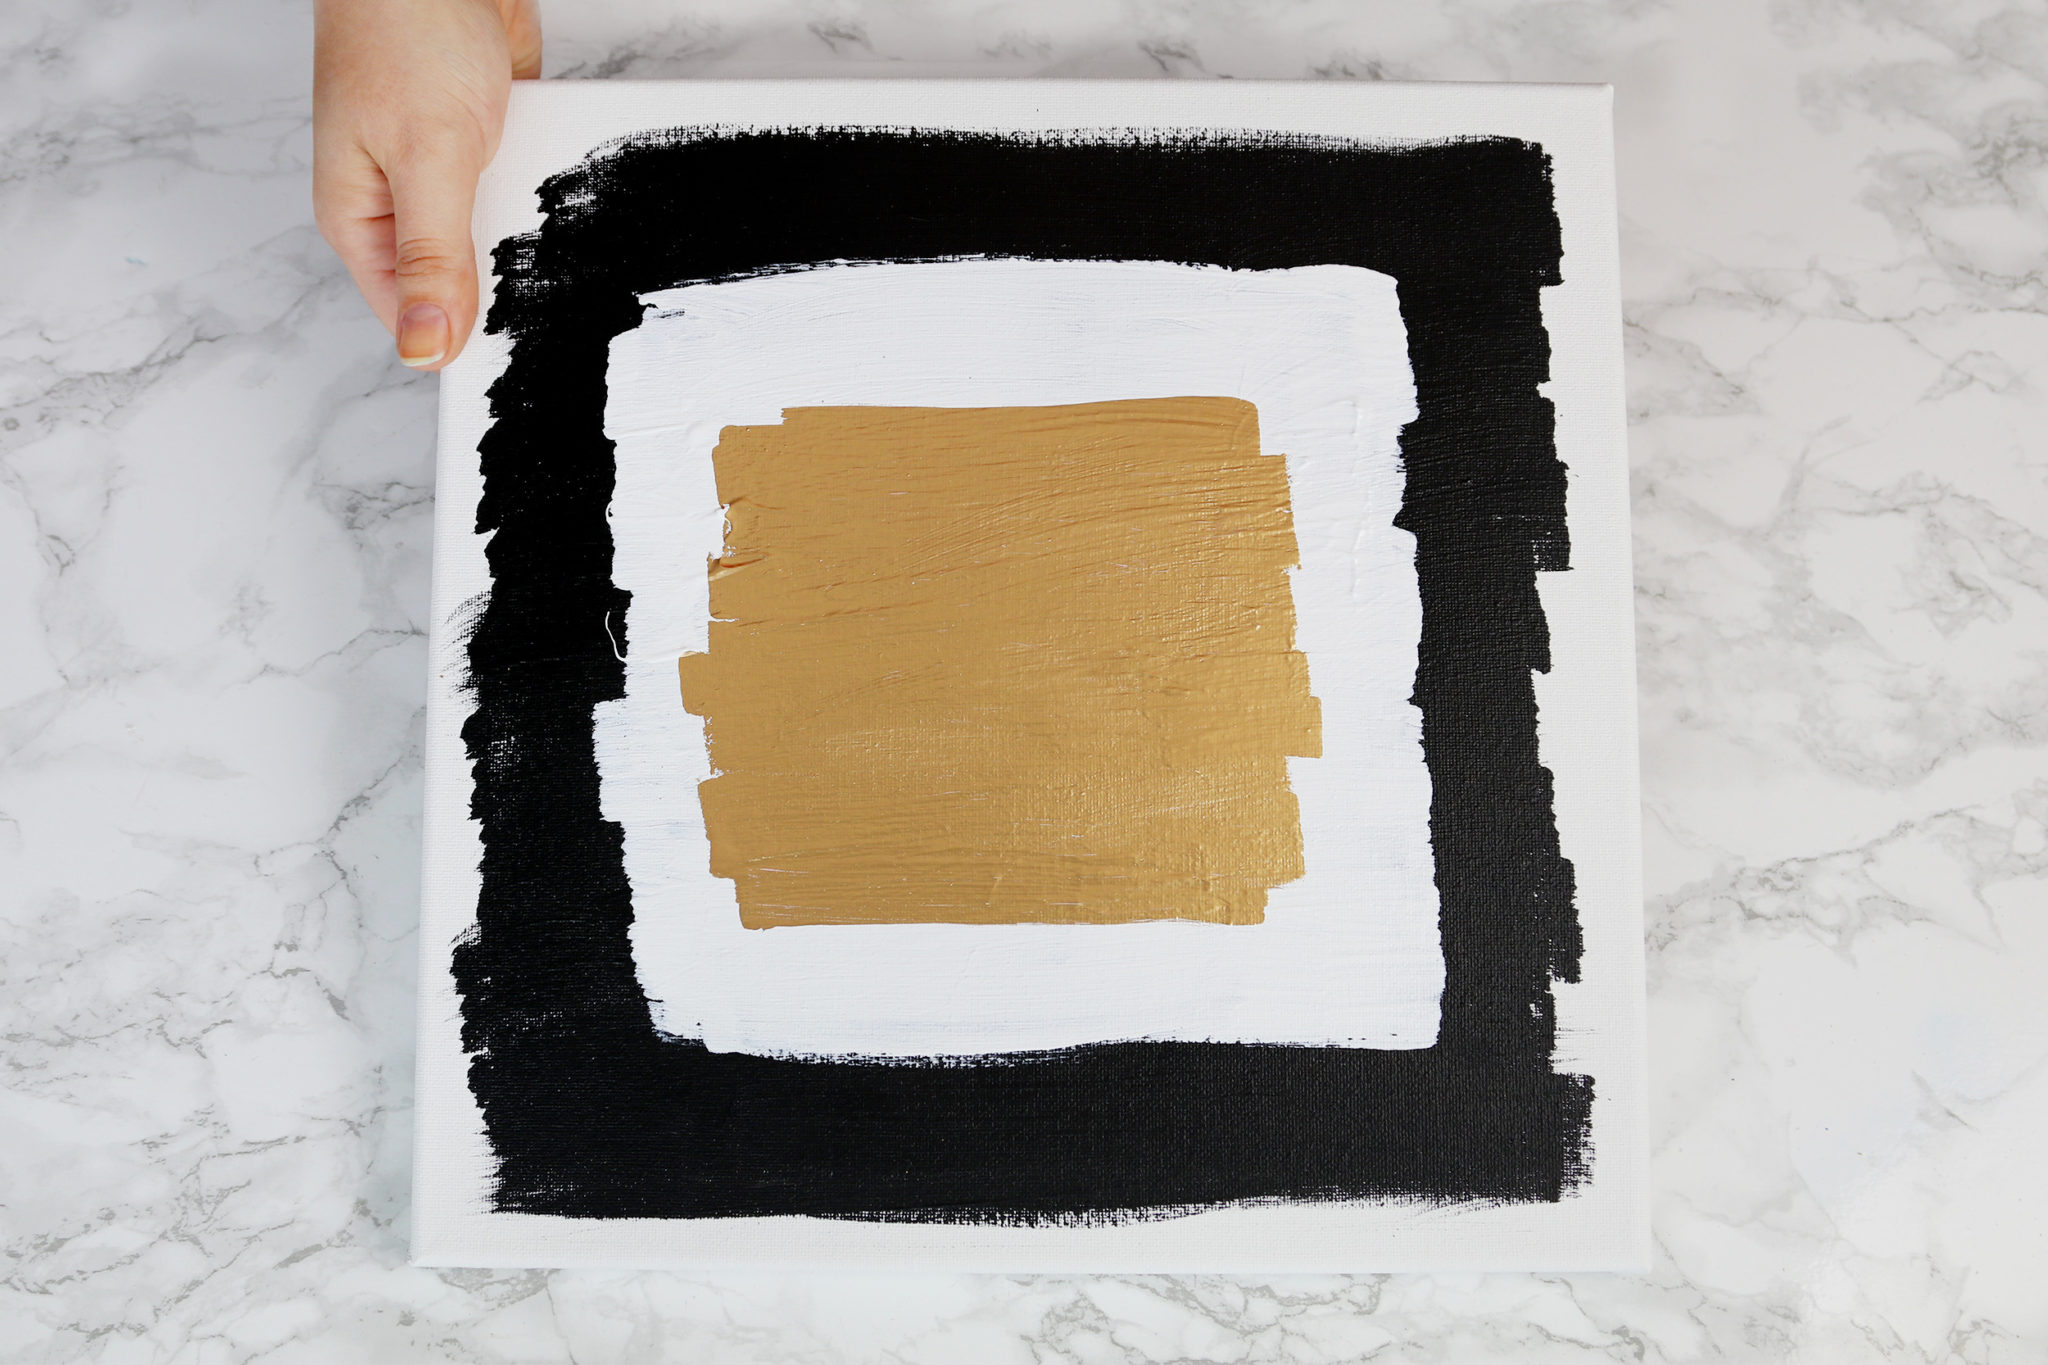
This painting is so easy to make – literally just paint a black square and wait for it to dry. Then paint a white square and wait for it to dry. And then use gilding paint to paint a gold square, and one more time, wait for it to dry. And you’re done!
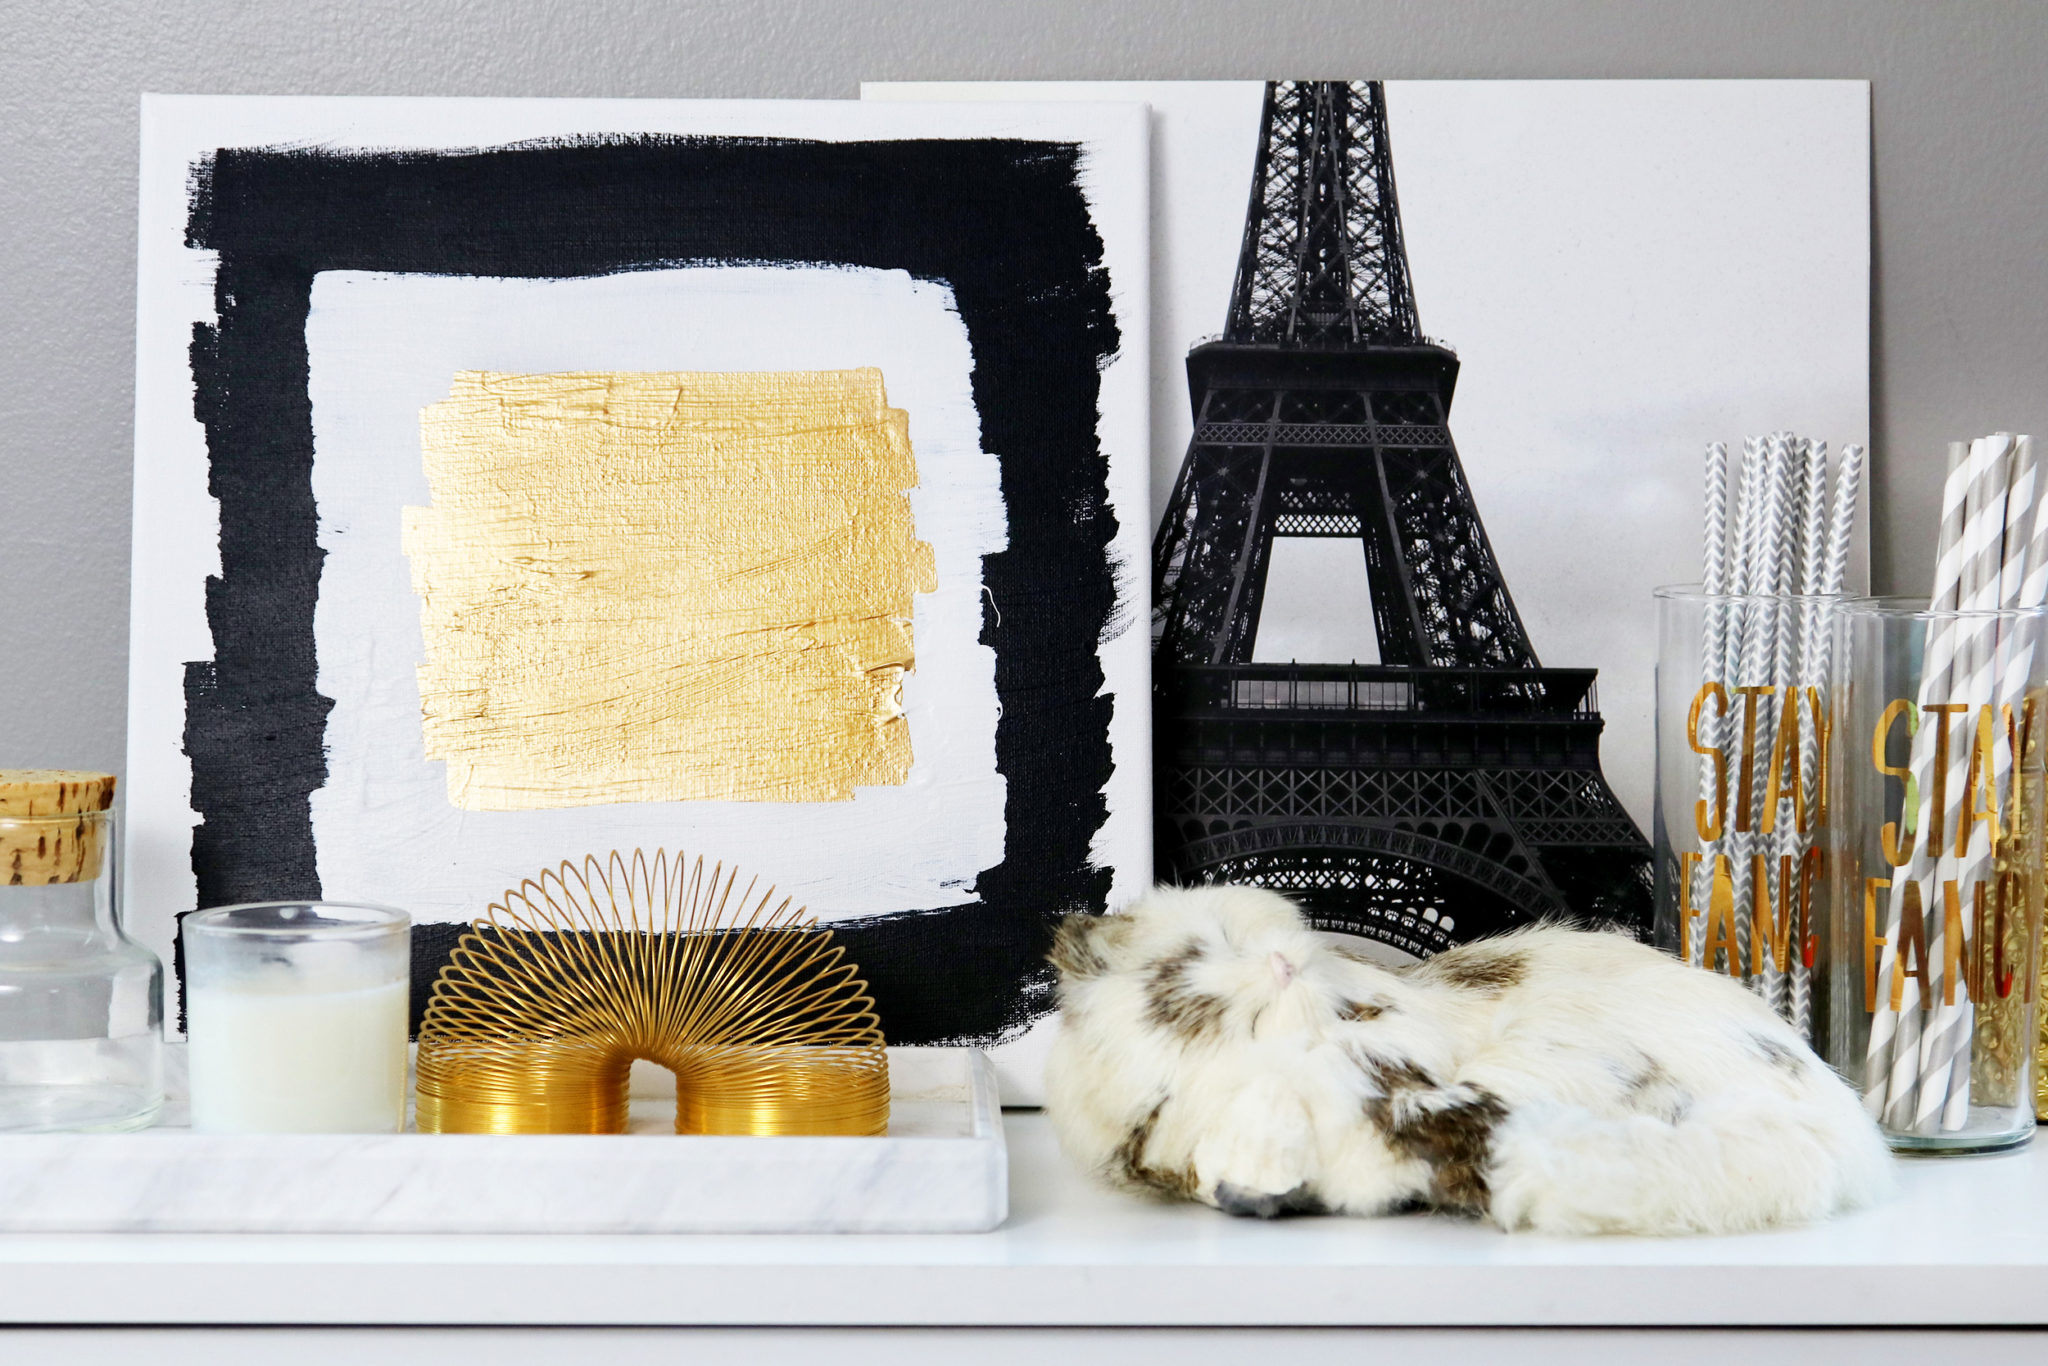
I styled this look with an Eiffel Tower photo that belongs to my roommate, cups that say Stay Fancy, a fake cat, a marble tray, and a gold Slinky.
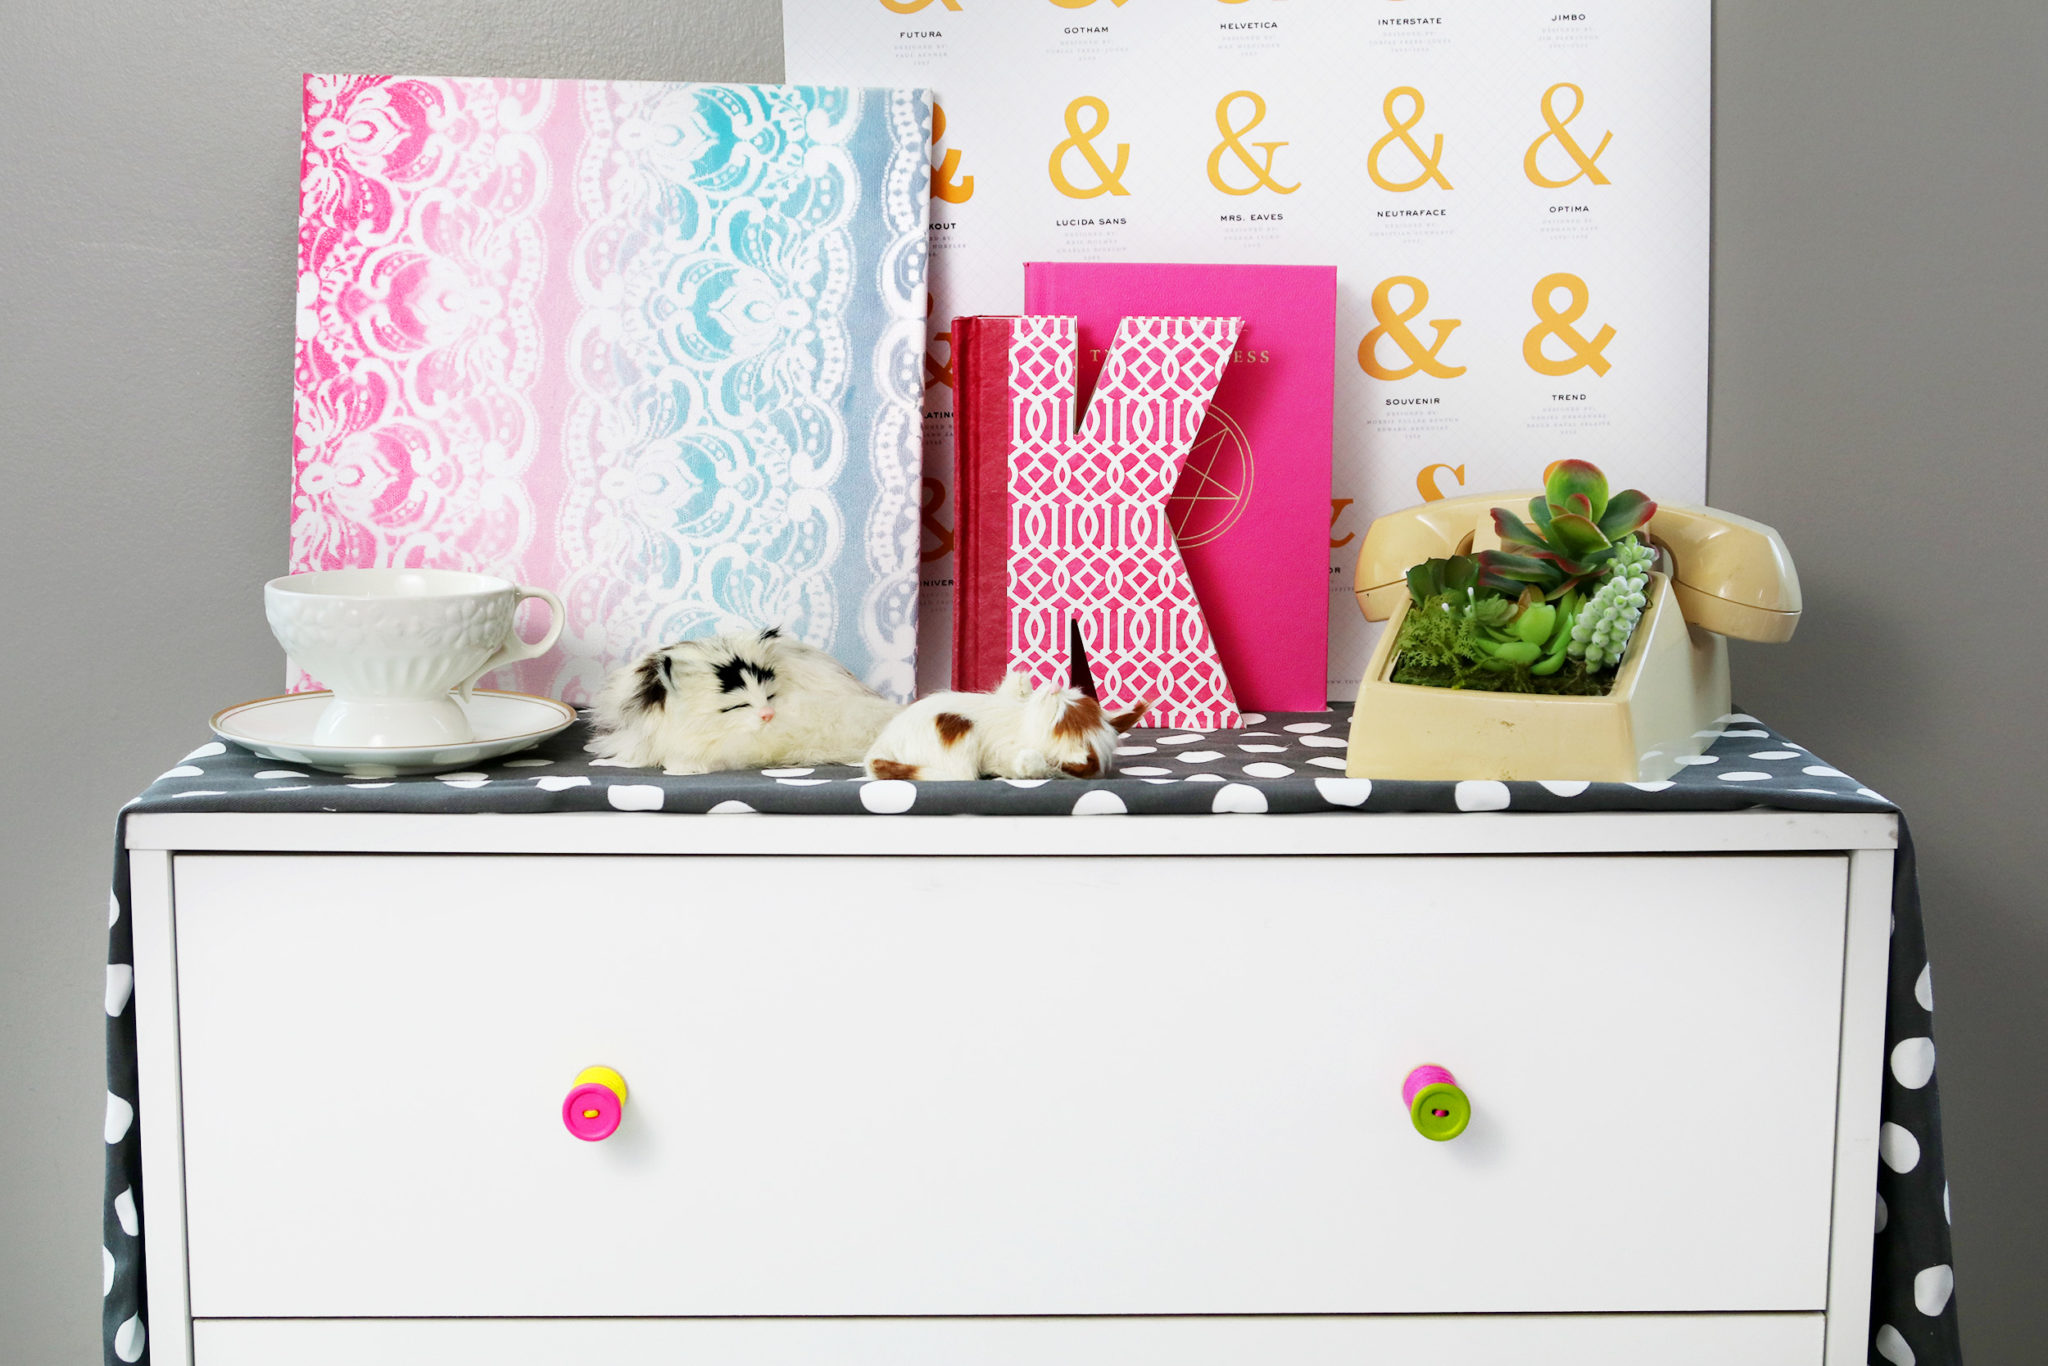
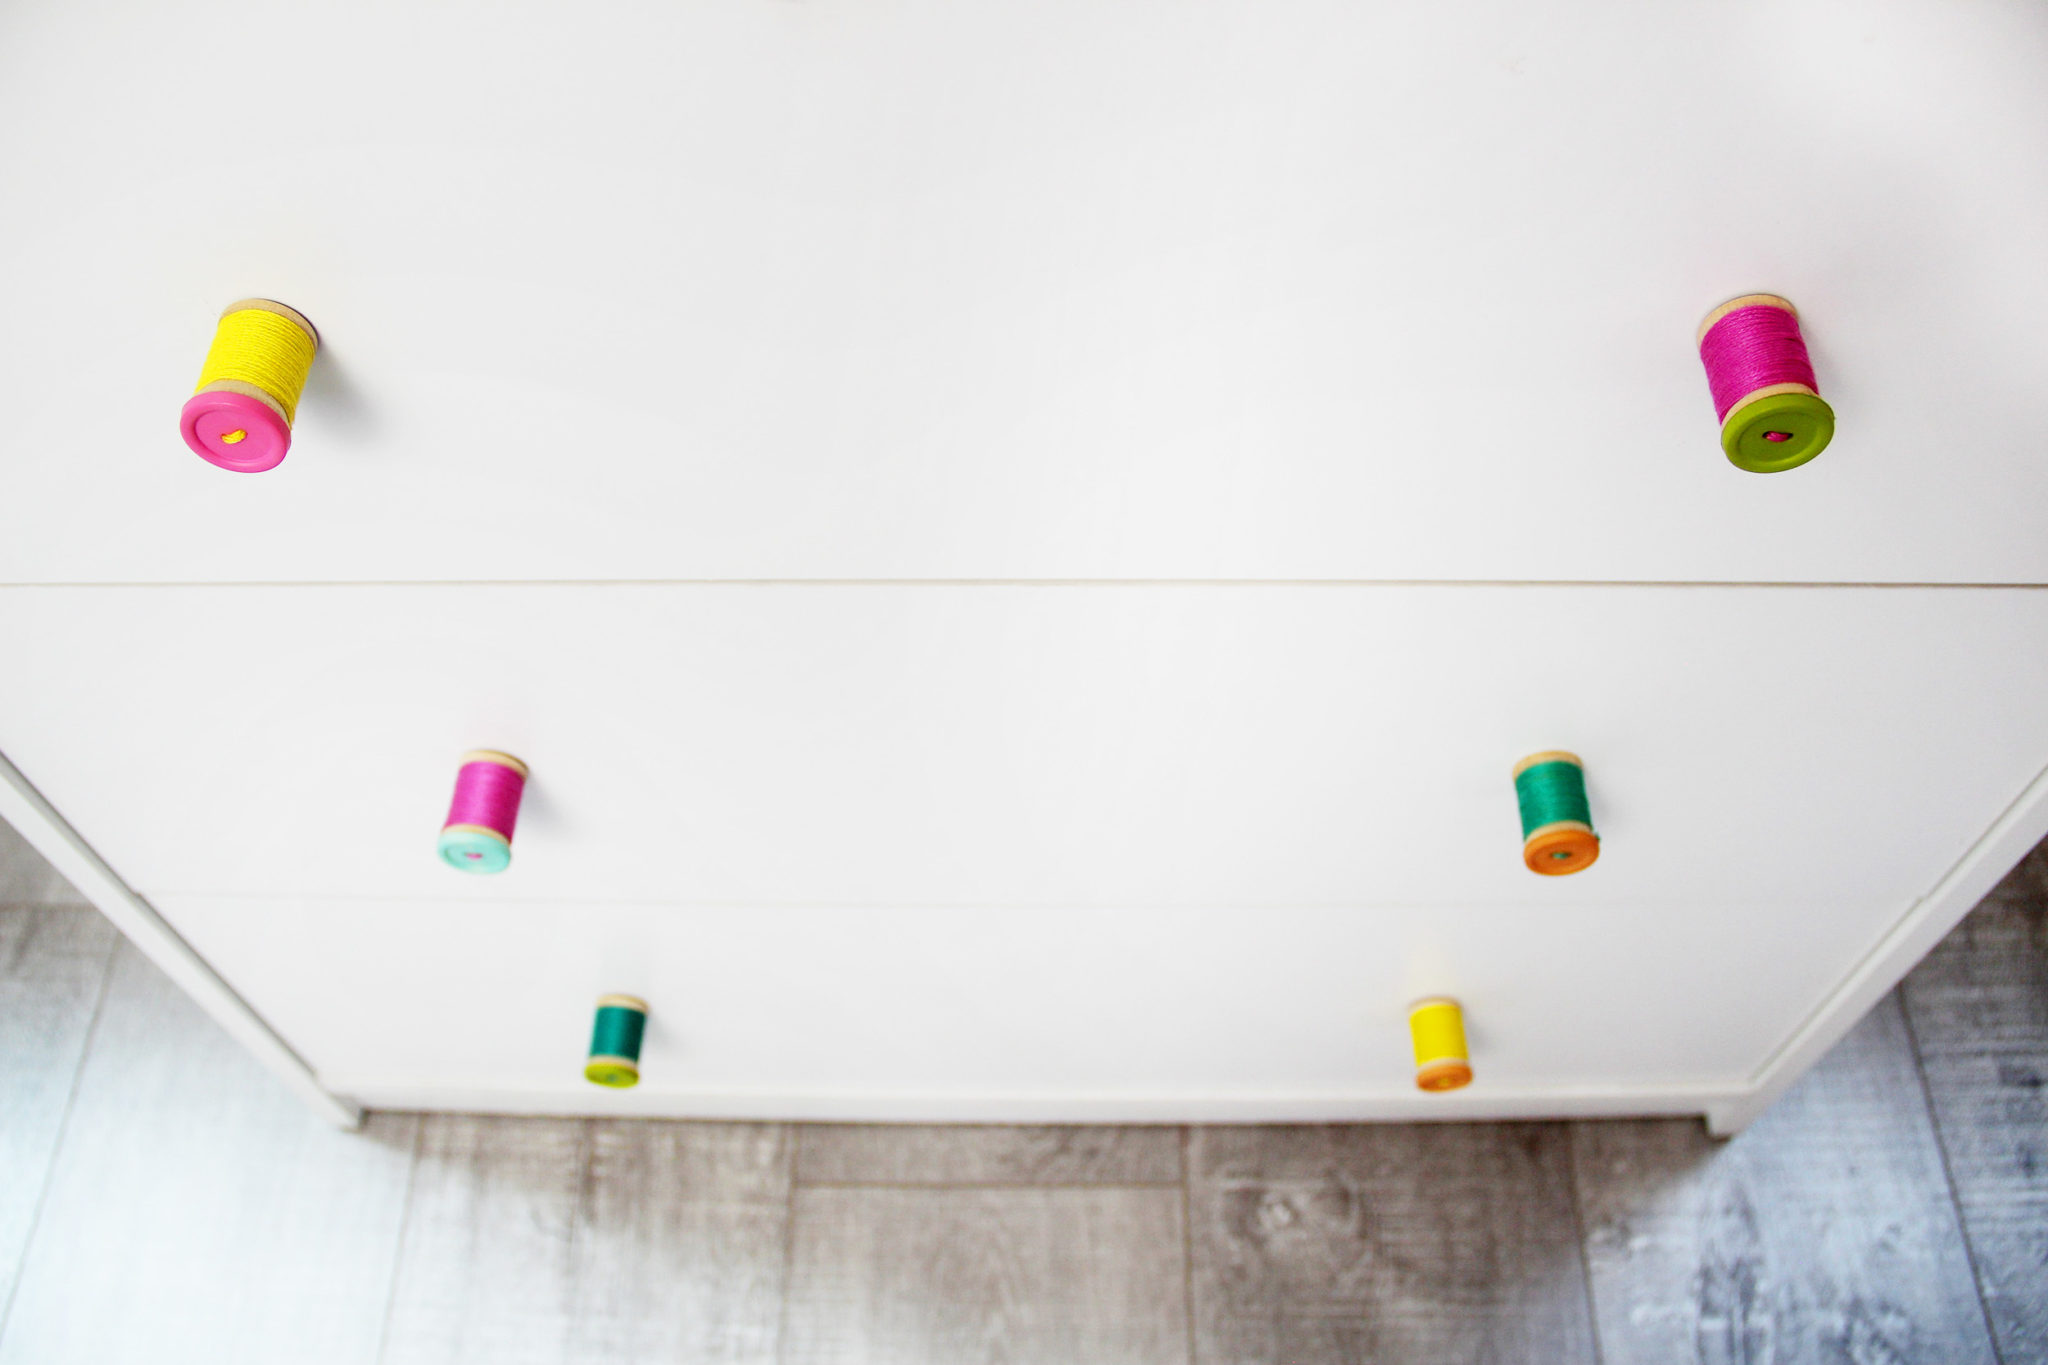
Up next is a set-up that I think would be perfect for a craft room or sewing cabinet! We’re making button and spool drawer pulls and a gradient lace piece of art.
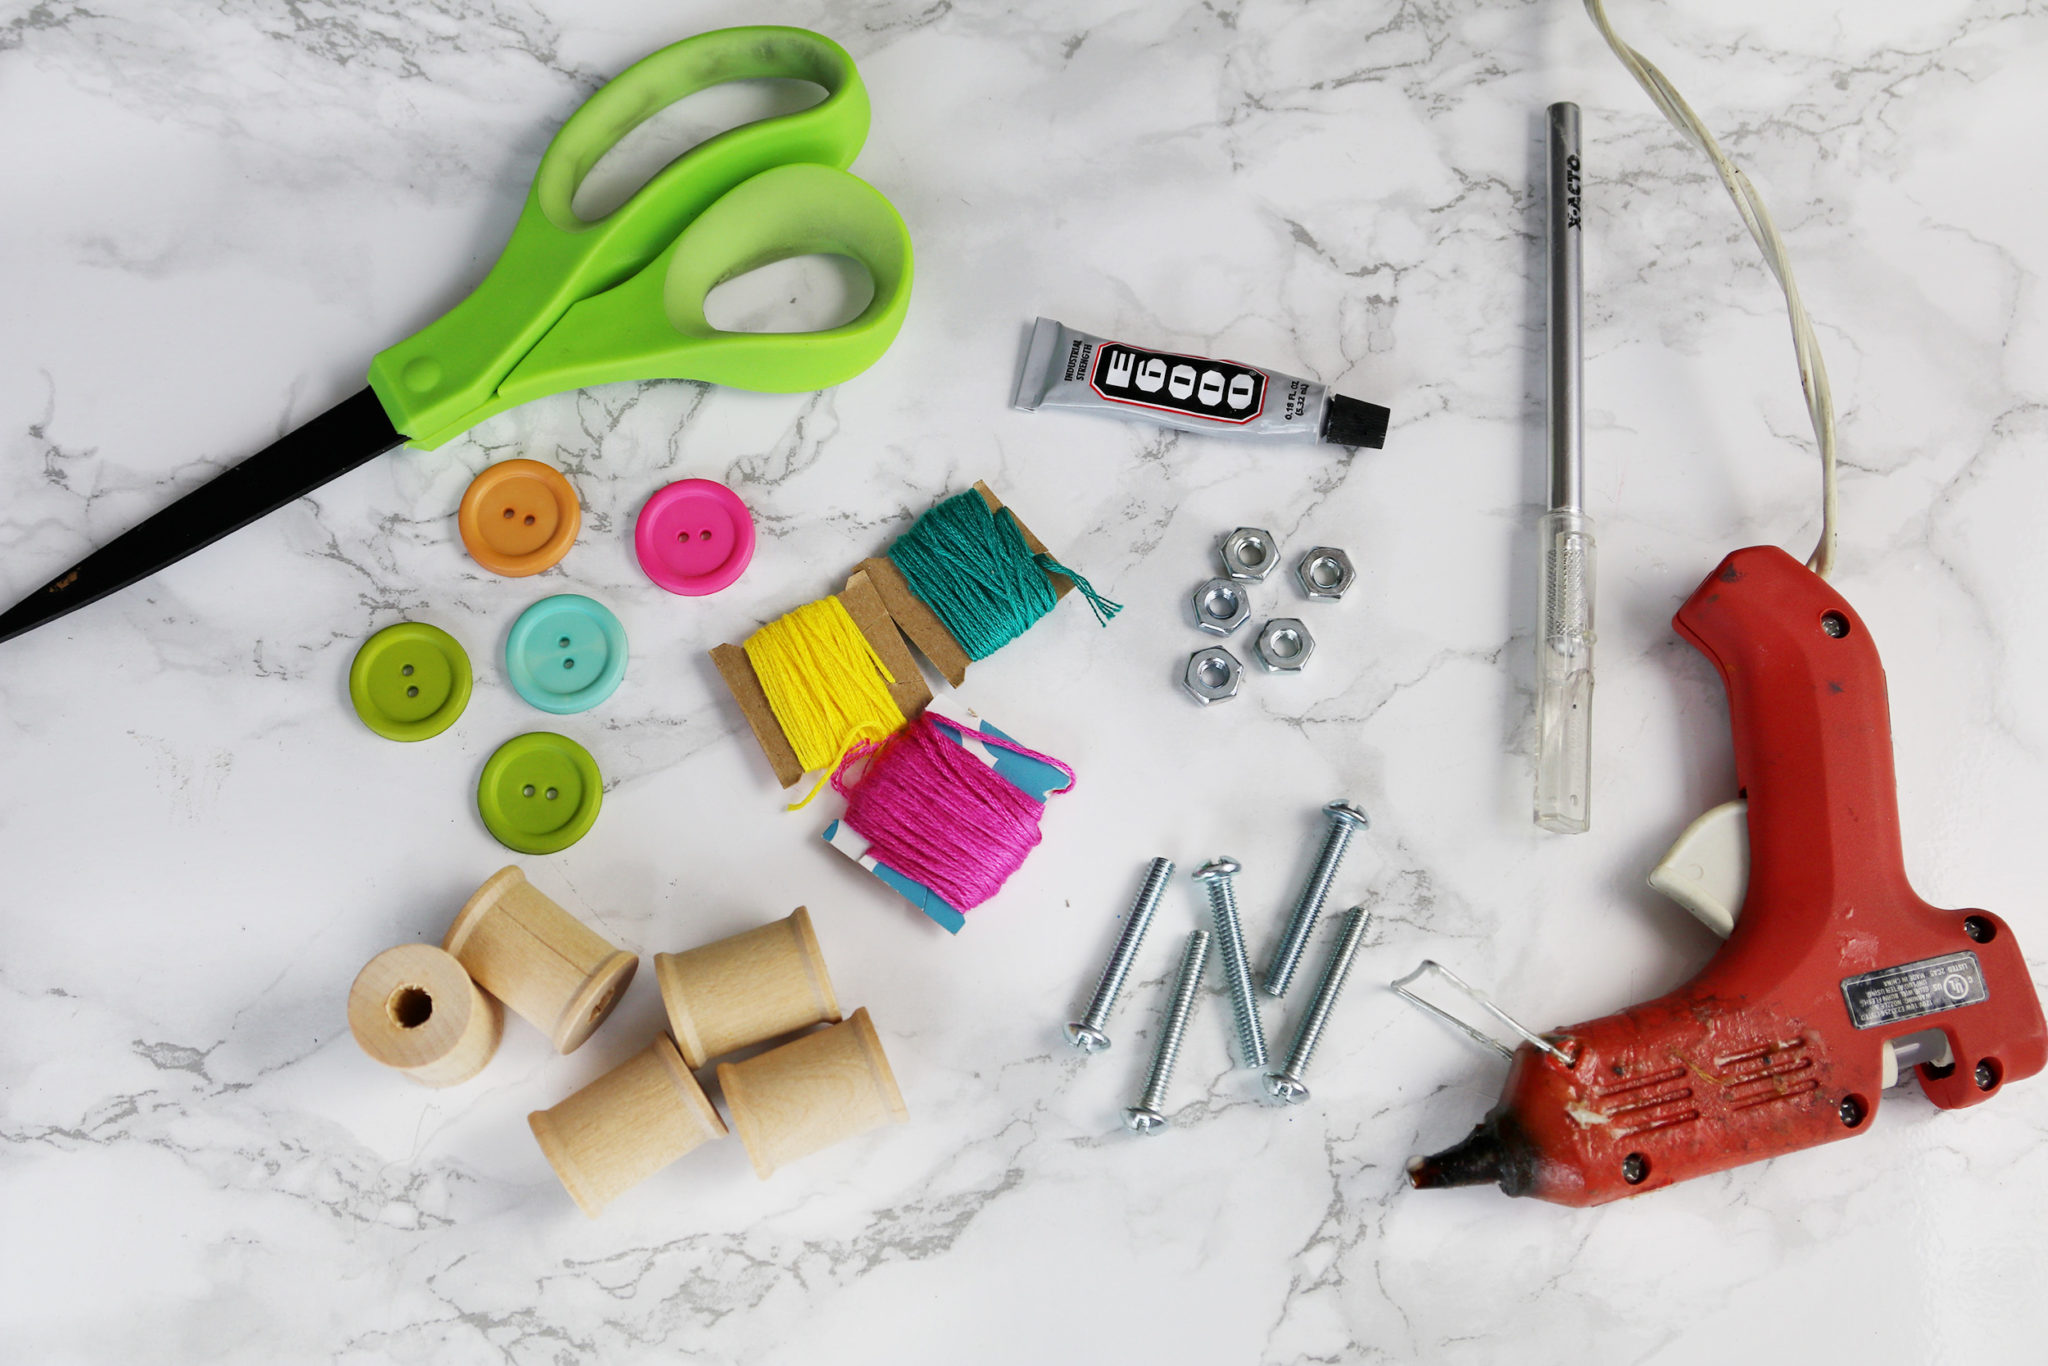
For this project, you need scissors, buttons, wooden spools, embroidery thread, e6000, screws, nuts, a craft knife, and a hot glue gun.
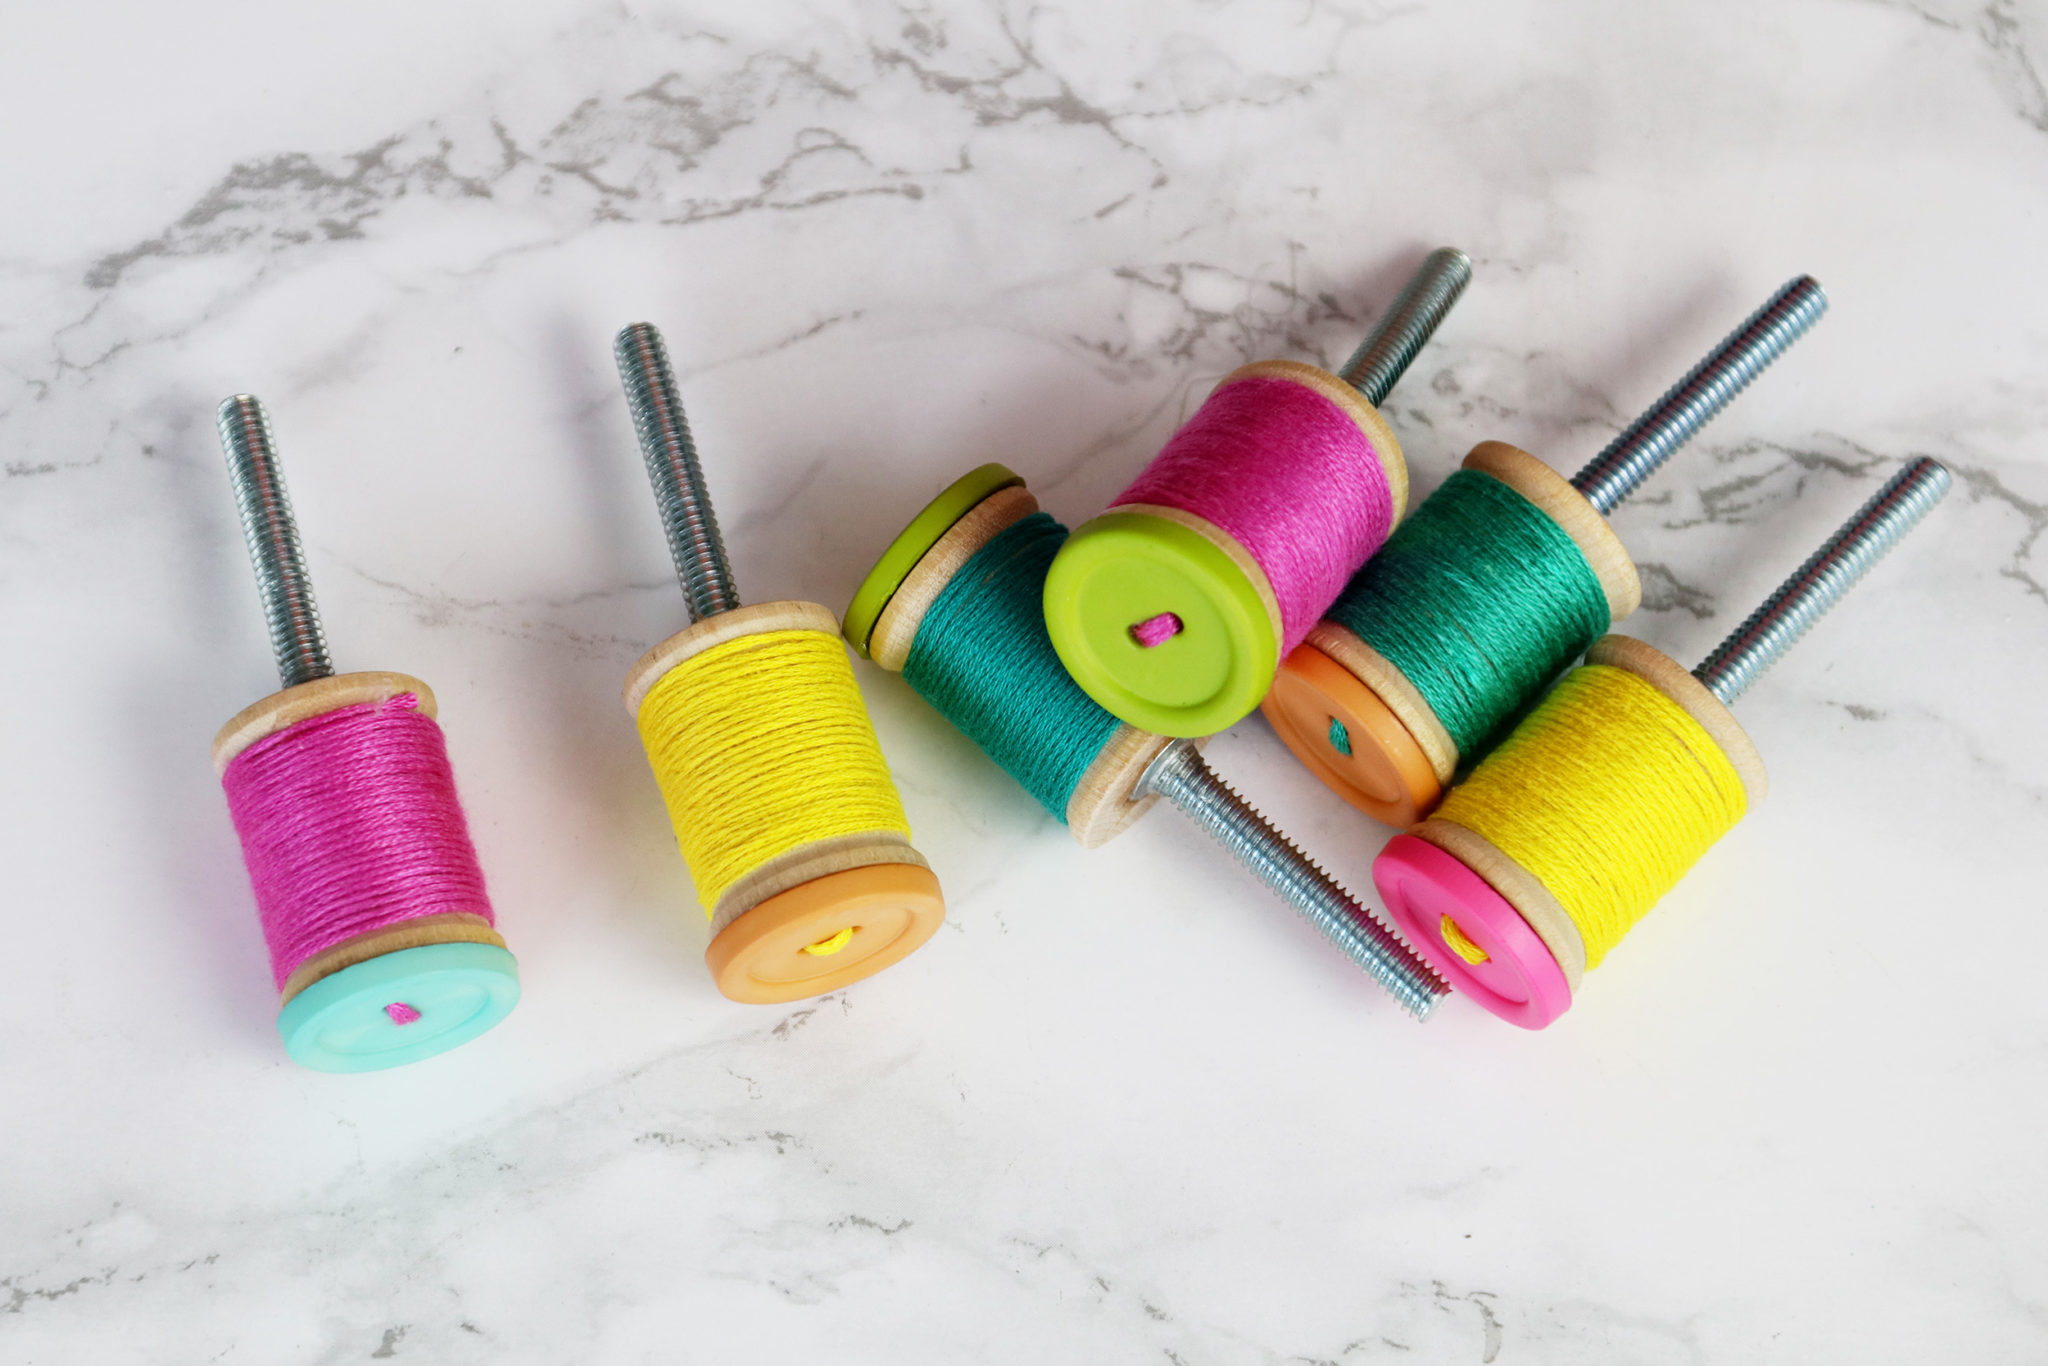
Be sure to watch the video to get the full DIY, but we’re basically just gluing a button to the head of a spool, wrapping thread around it, and gluing a screw to the other end.
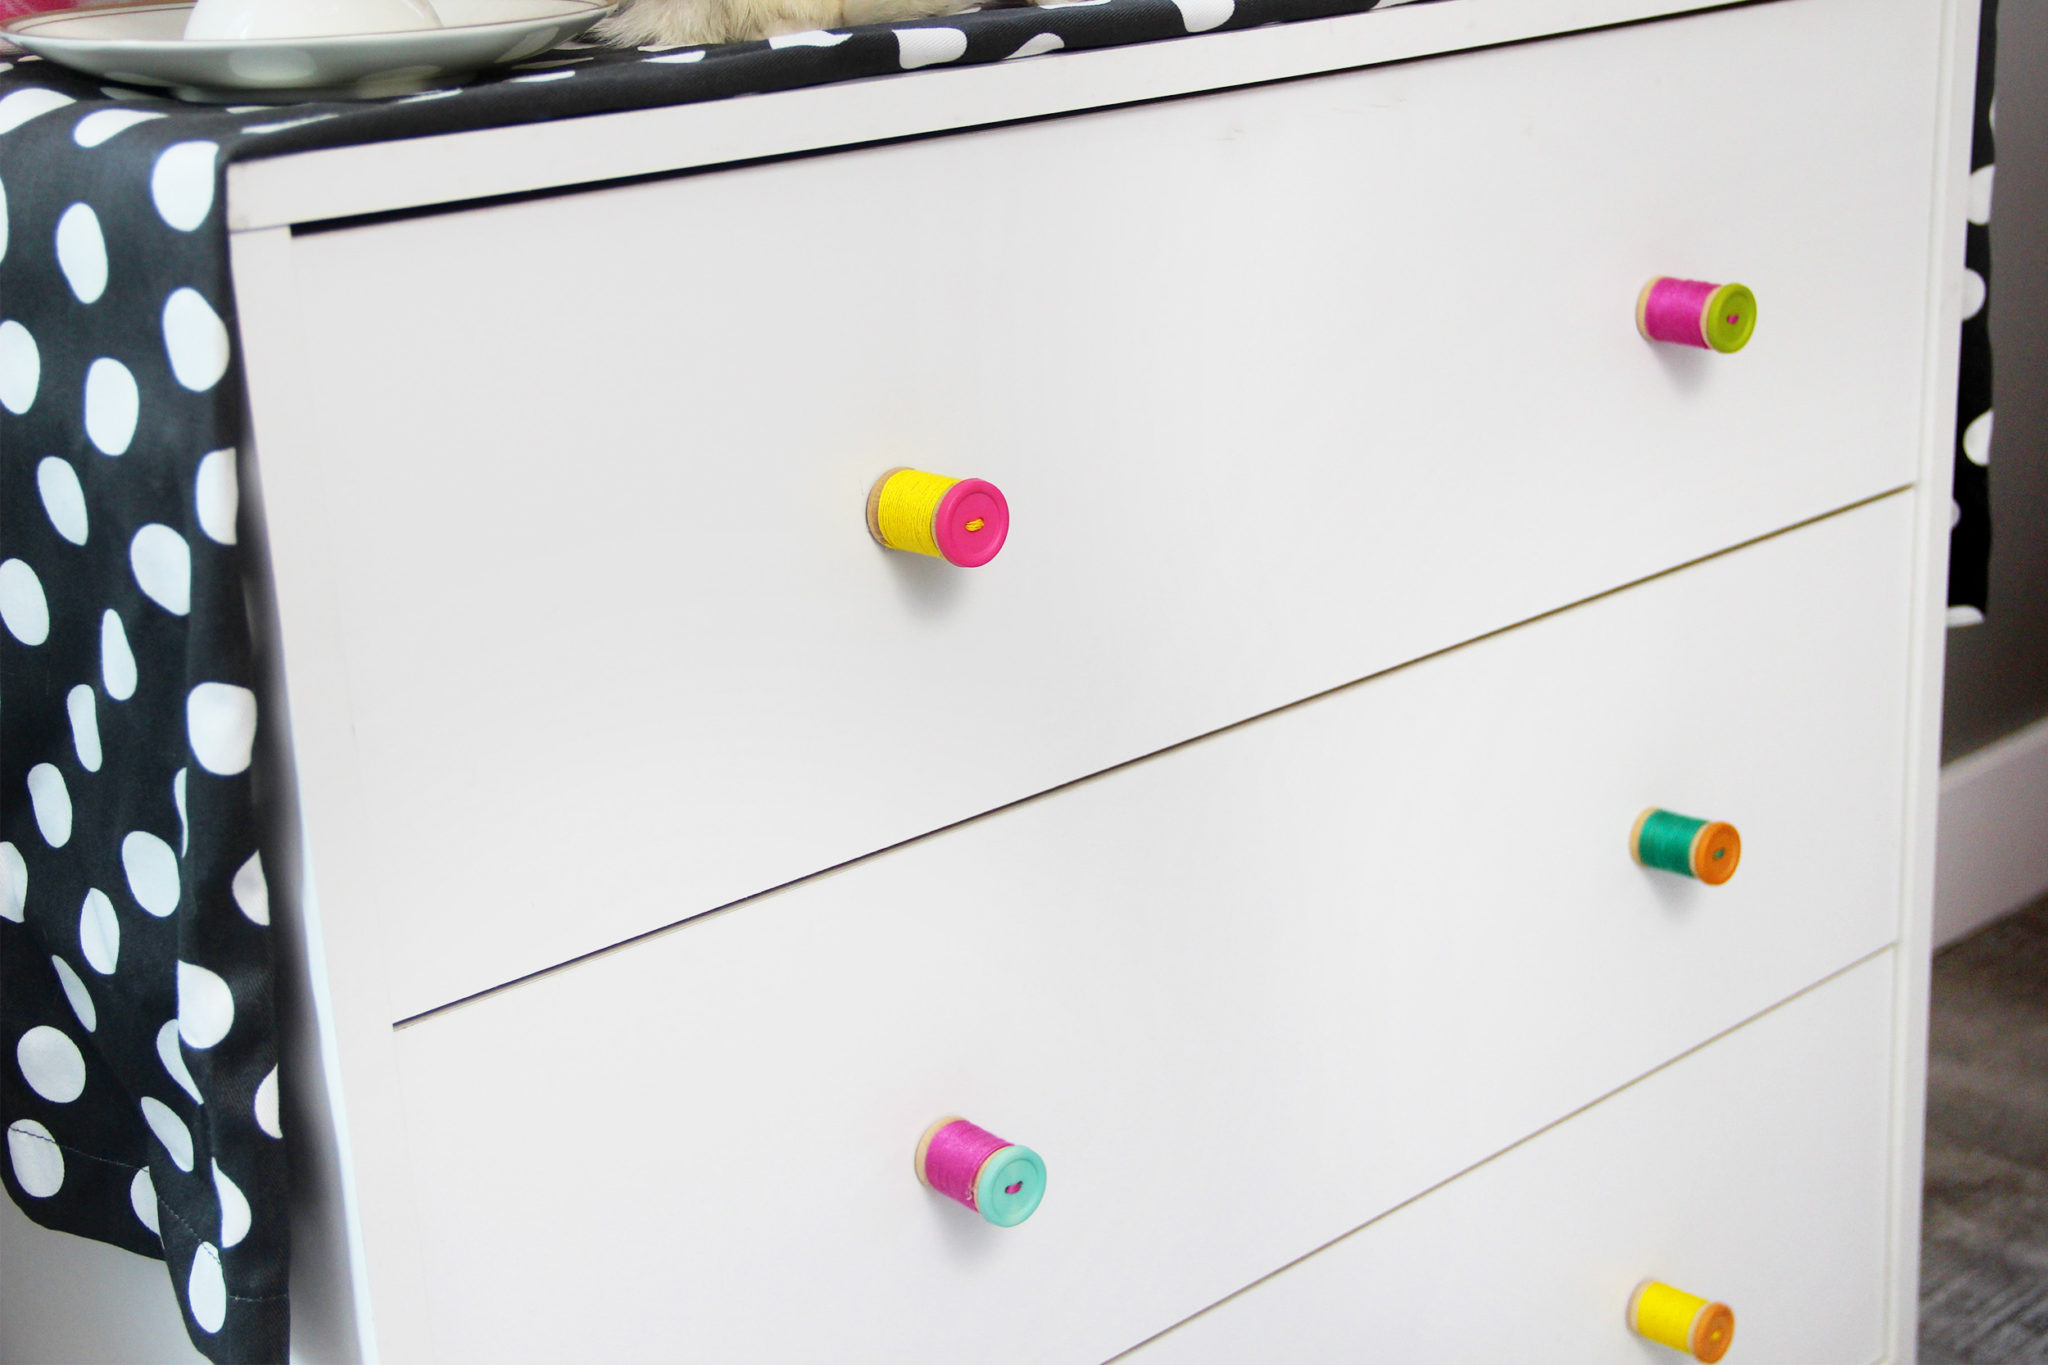
These kind of remind me of The Borrowers. Anyone else?
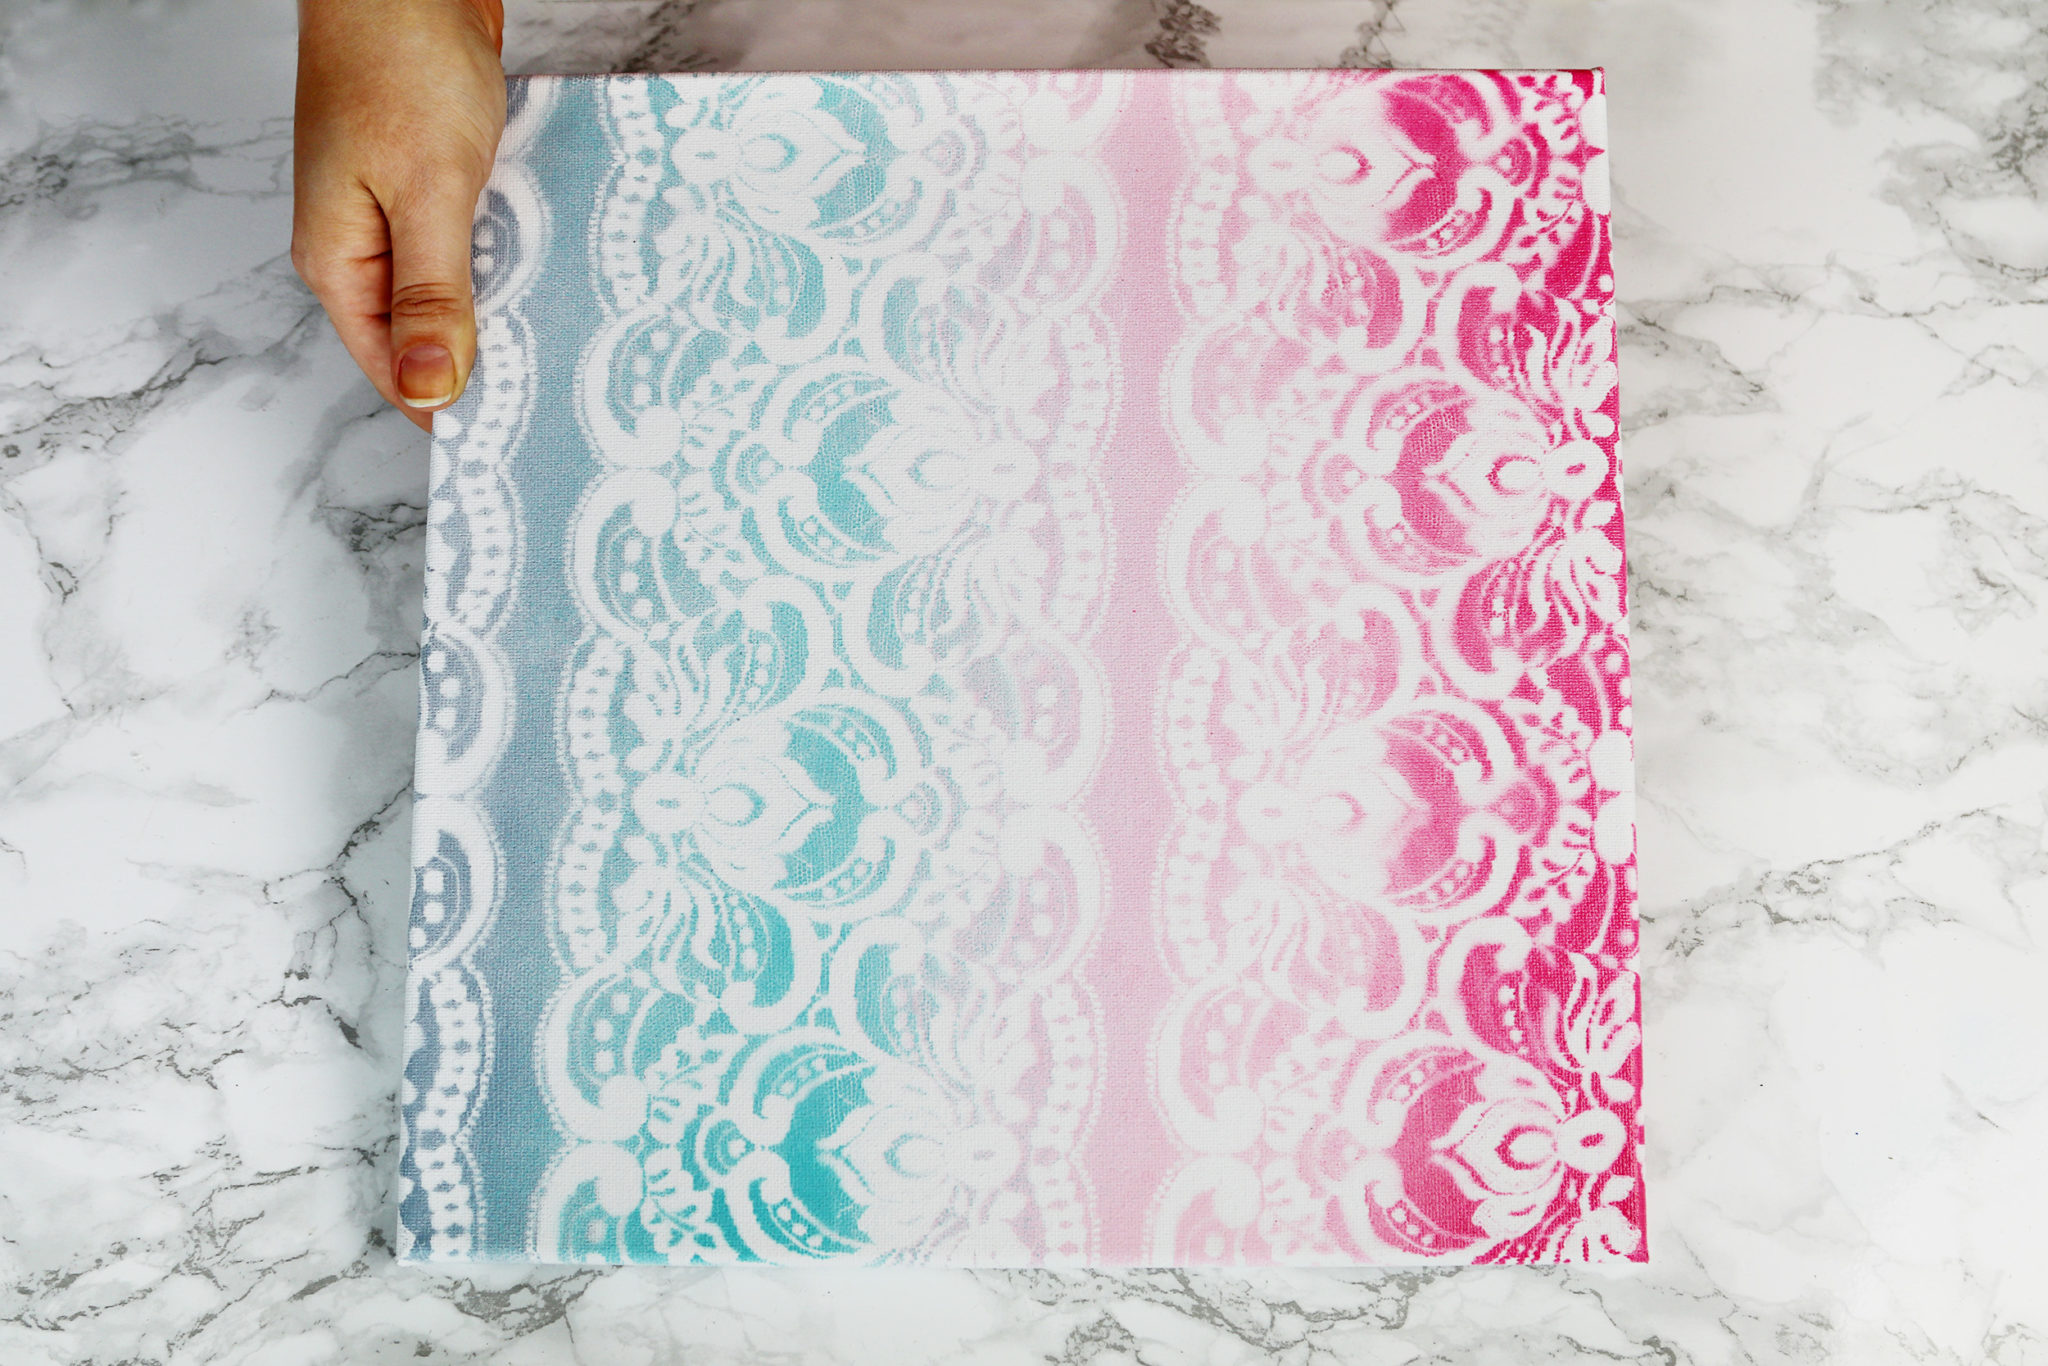
This artwork is so easy to make too. All you have to do is cover your canvas with a piece of lace and then spray paint a gradient on top of it. Remove the lace, and you’ve got this beautiful pattern with no artistic skill needed!
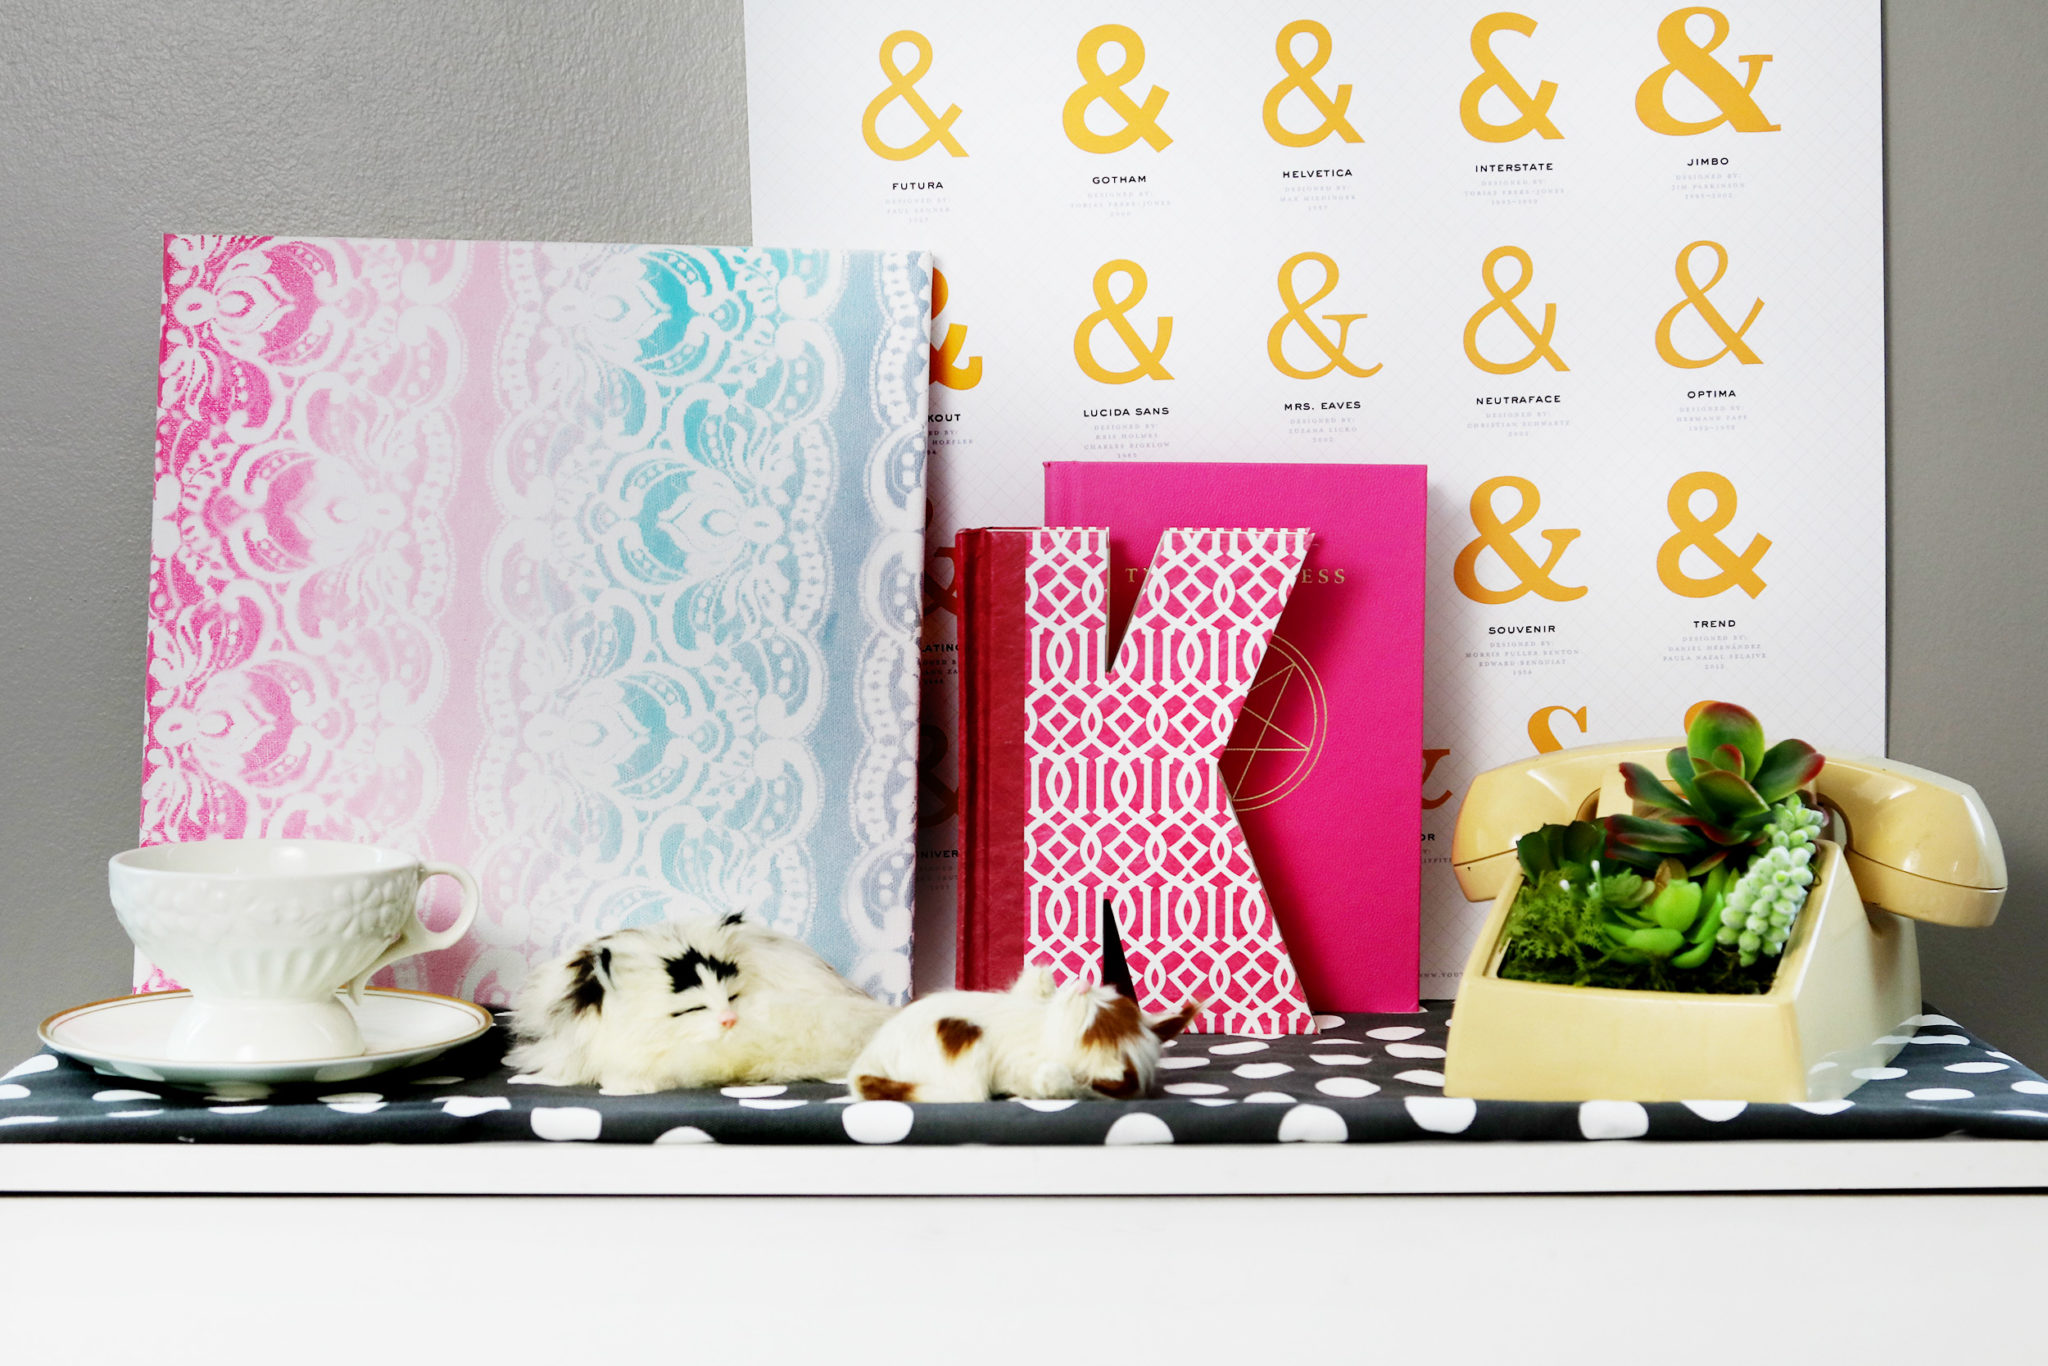
I styled this look with my Alphabet of Ampersands poster that I sell on DFTBA, my DIY Telephone Planter, and a few more cats from my adorable fake cat collection.
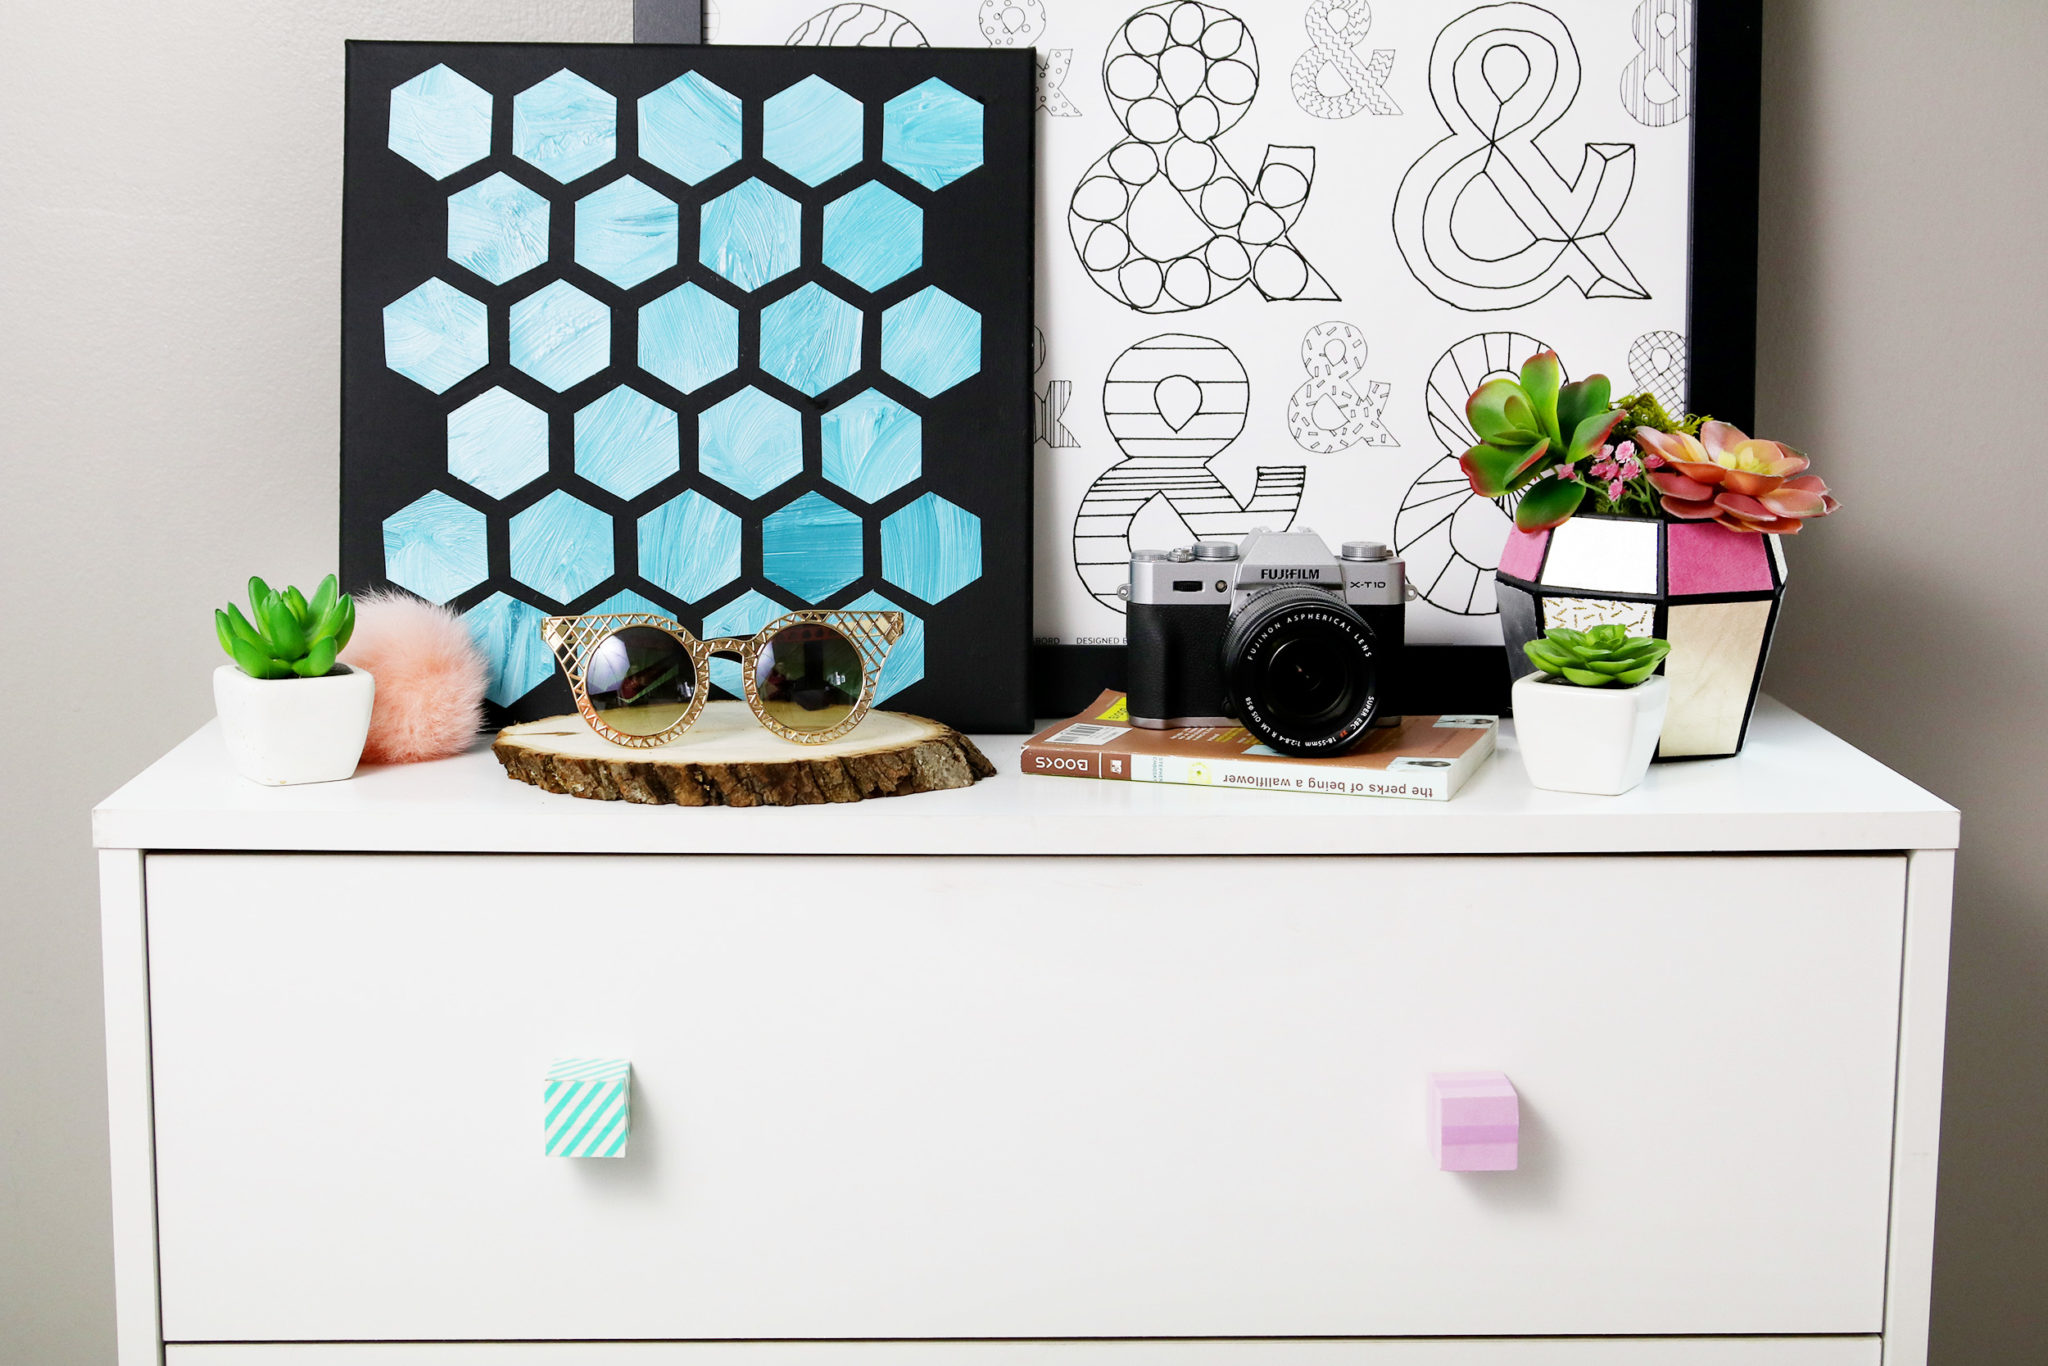
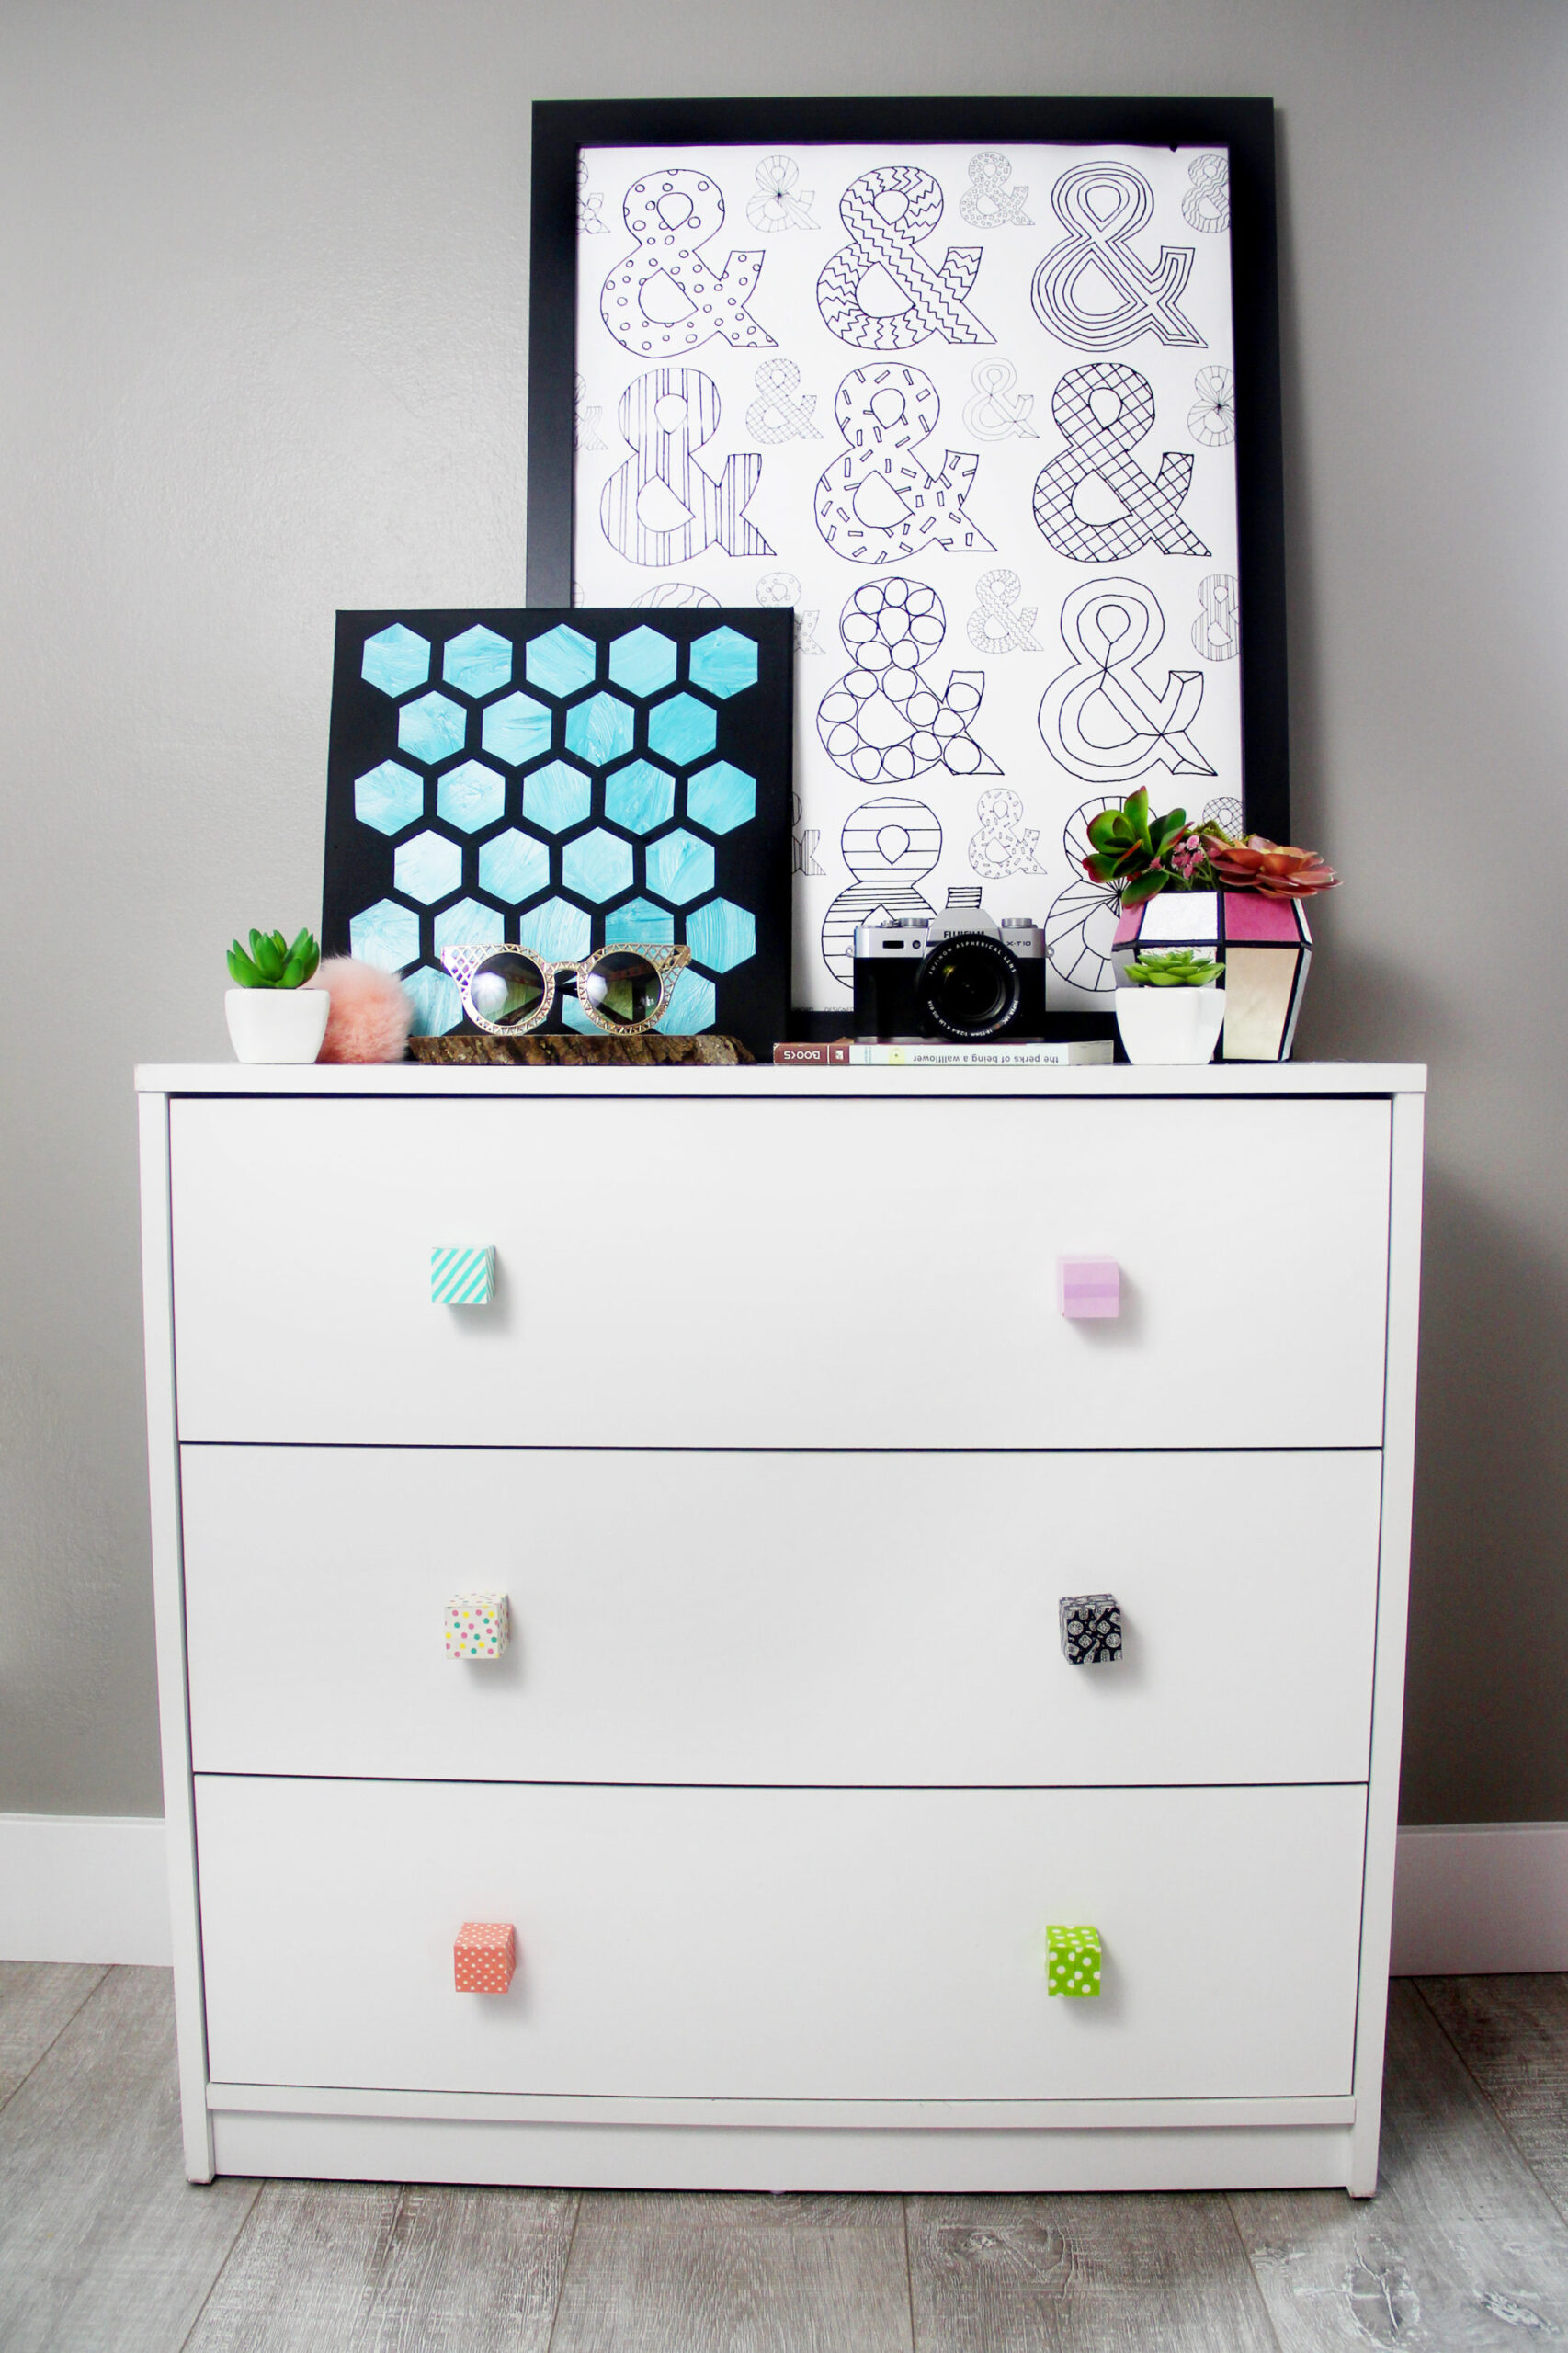
Now we’ve got a painted hexagon artwork and some washi tape drawer pulls made from alphabet blocks!
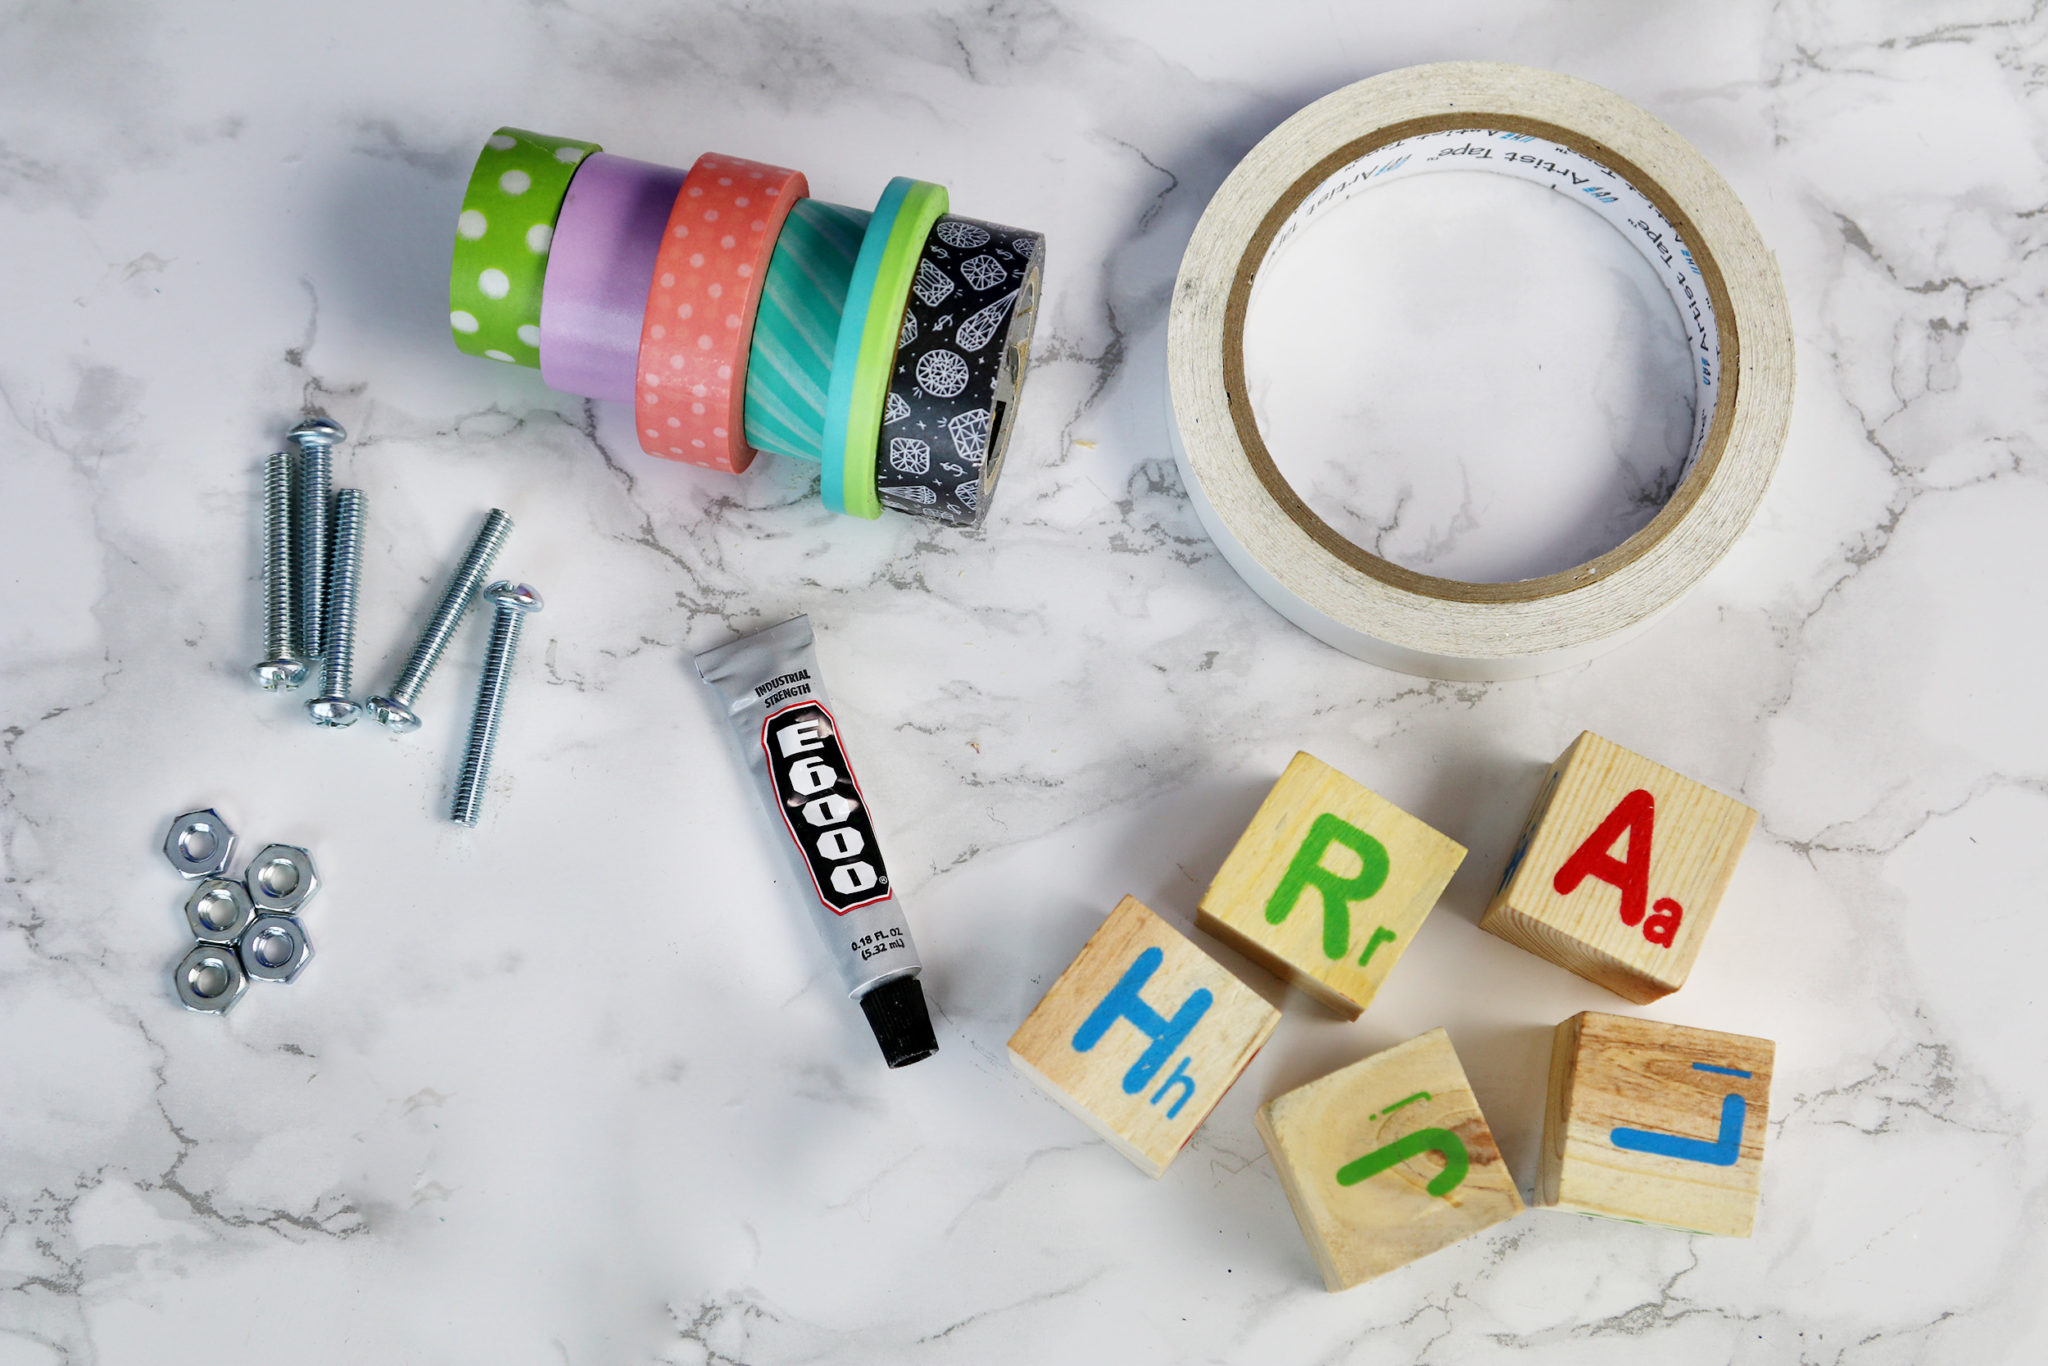
I got these alphabet blocks at the dollar store and they work great because they’re flat on all six sides, unlike the more expensive ones that have raised letters. But you can use any wooden blocks you like. You also need a drill, white tape, washi tape, screws, nuts, and e6000.
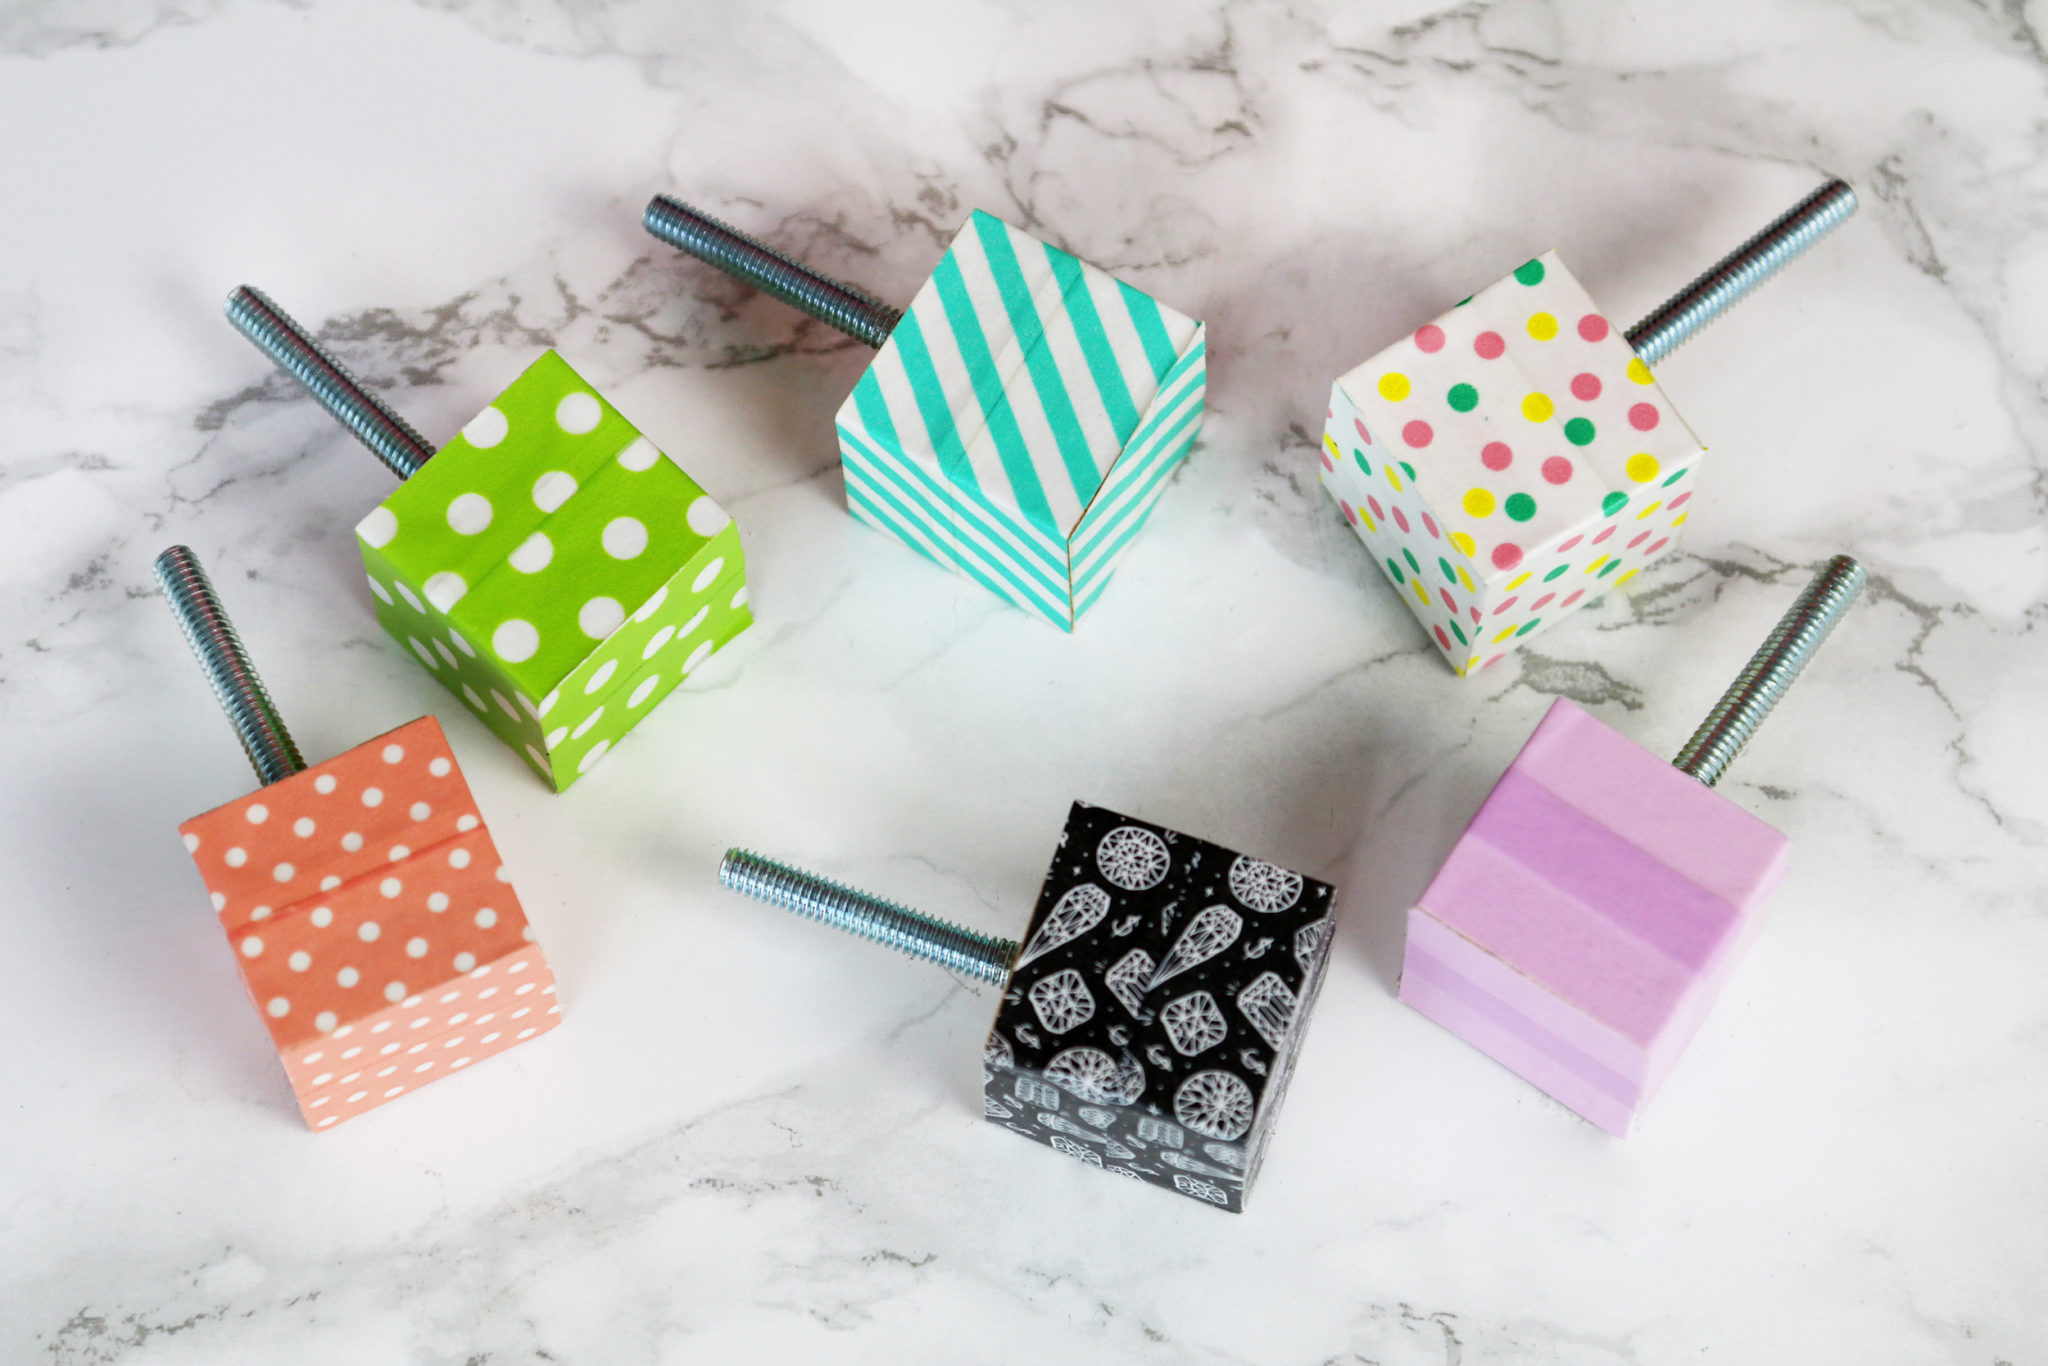
This project is as simple as drilling a hole into the back of the blocks to glue screws into, and covering the blocks with washi tape. If you’re decorating a nursery, you could definitely just use the alphabet blocks as they are!
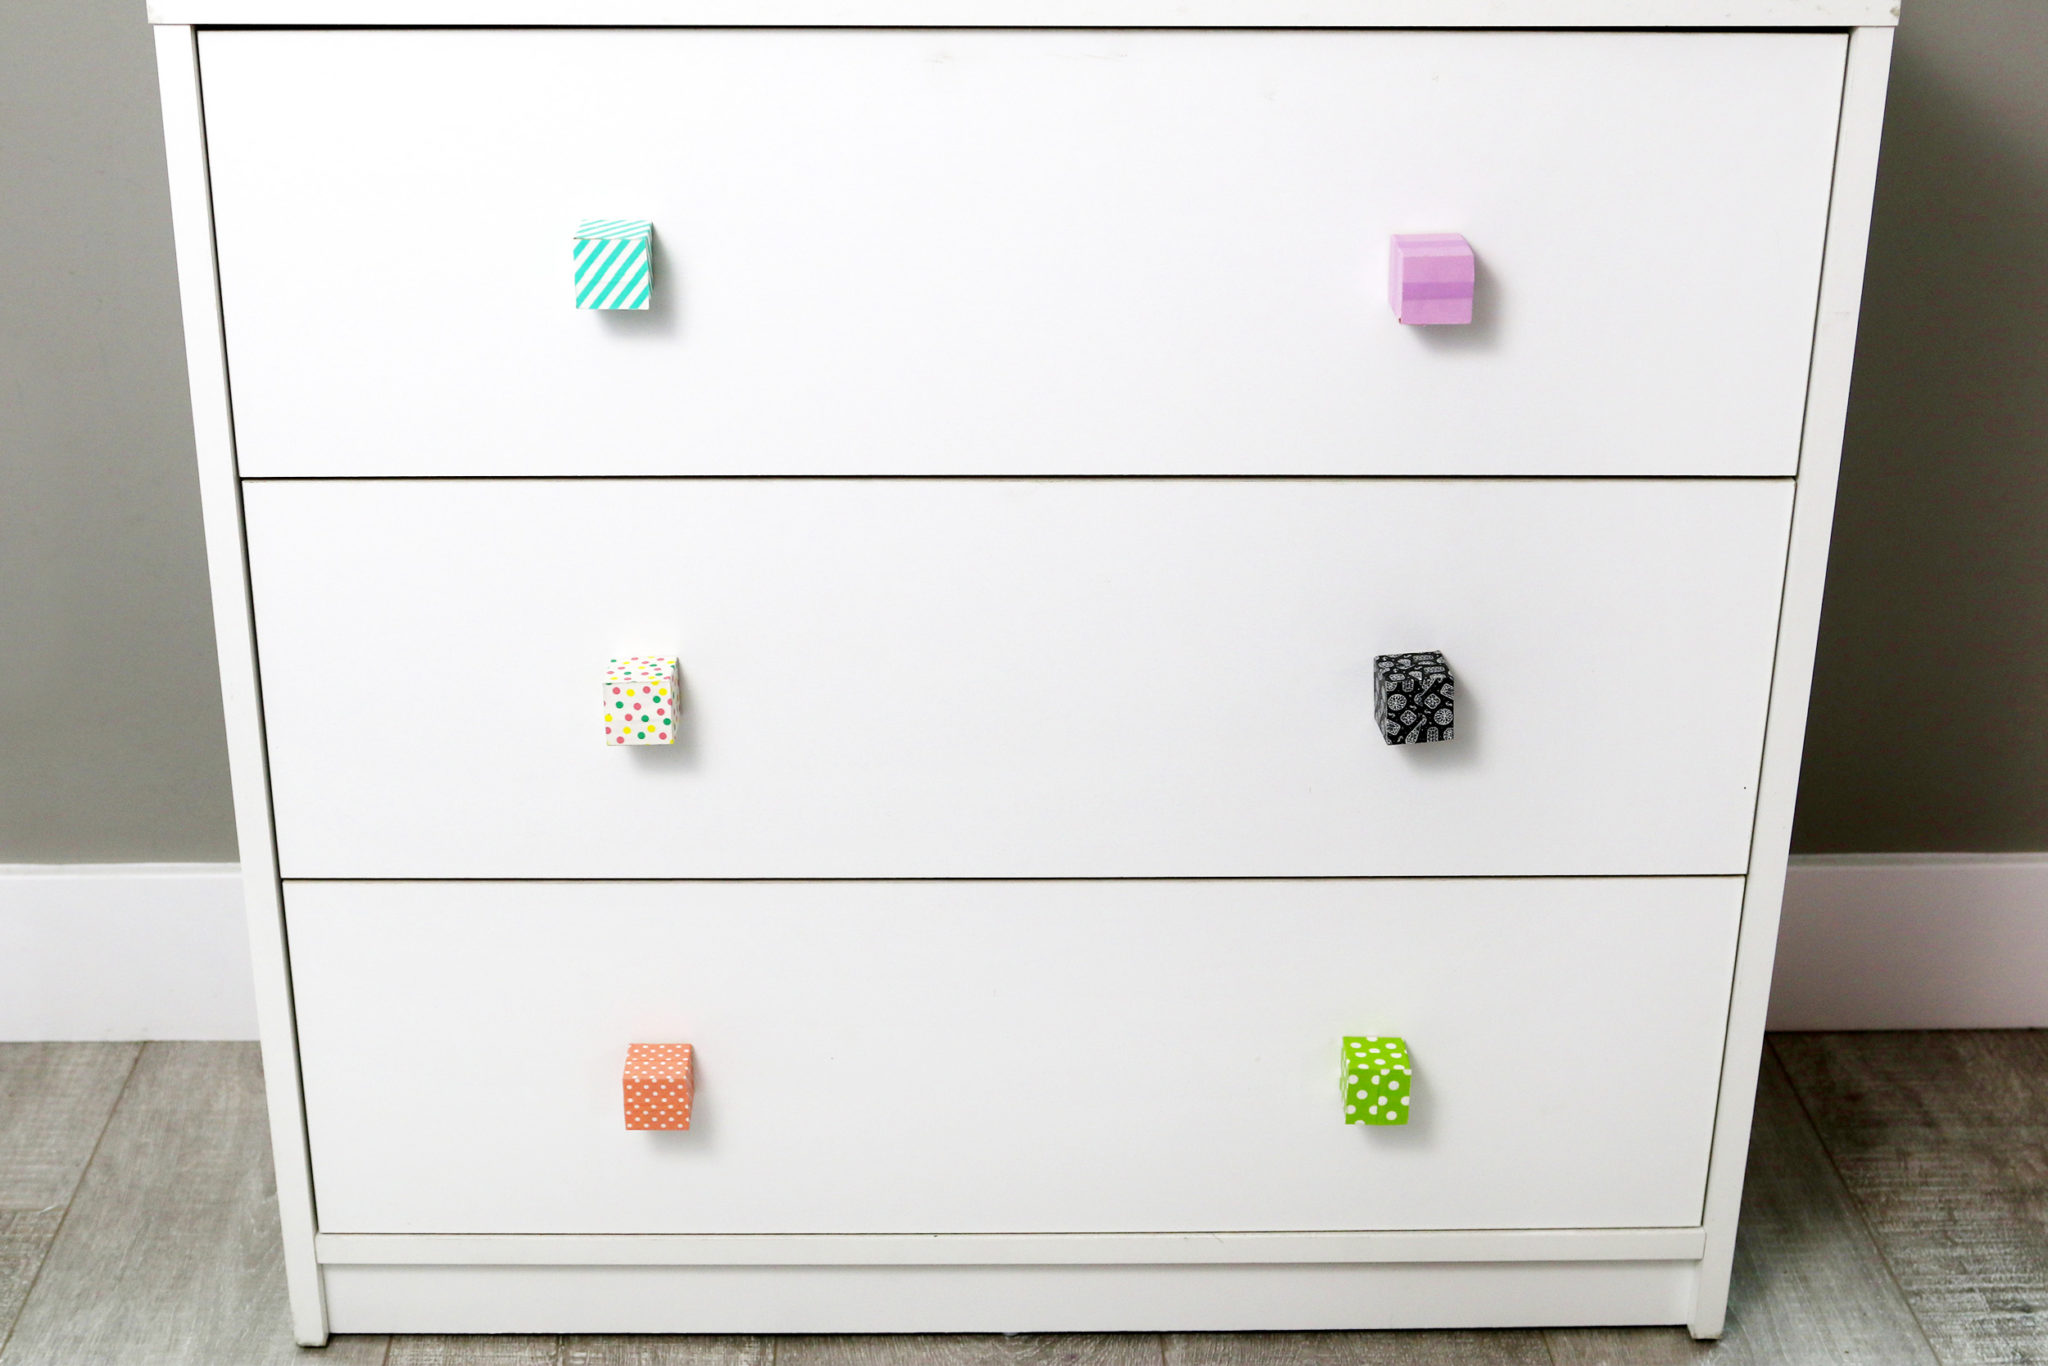
You could also paint these instead of using washi tape if you don’t have as many rolls of washi tape as I do.
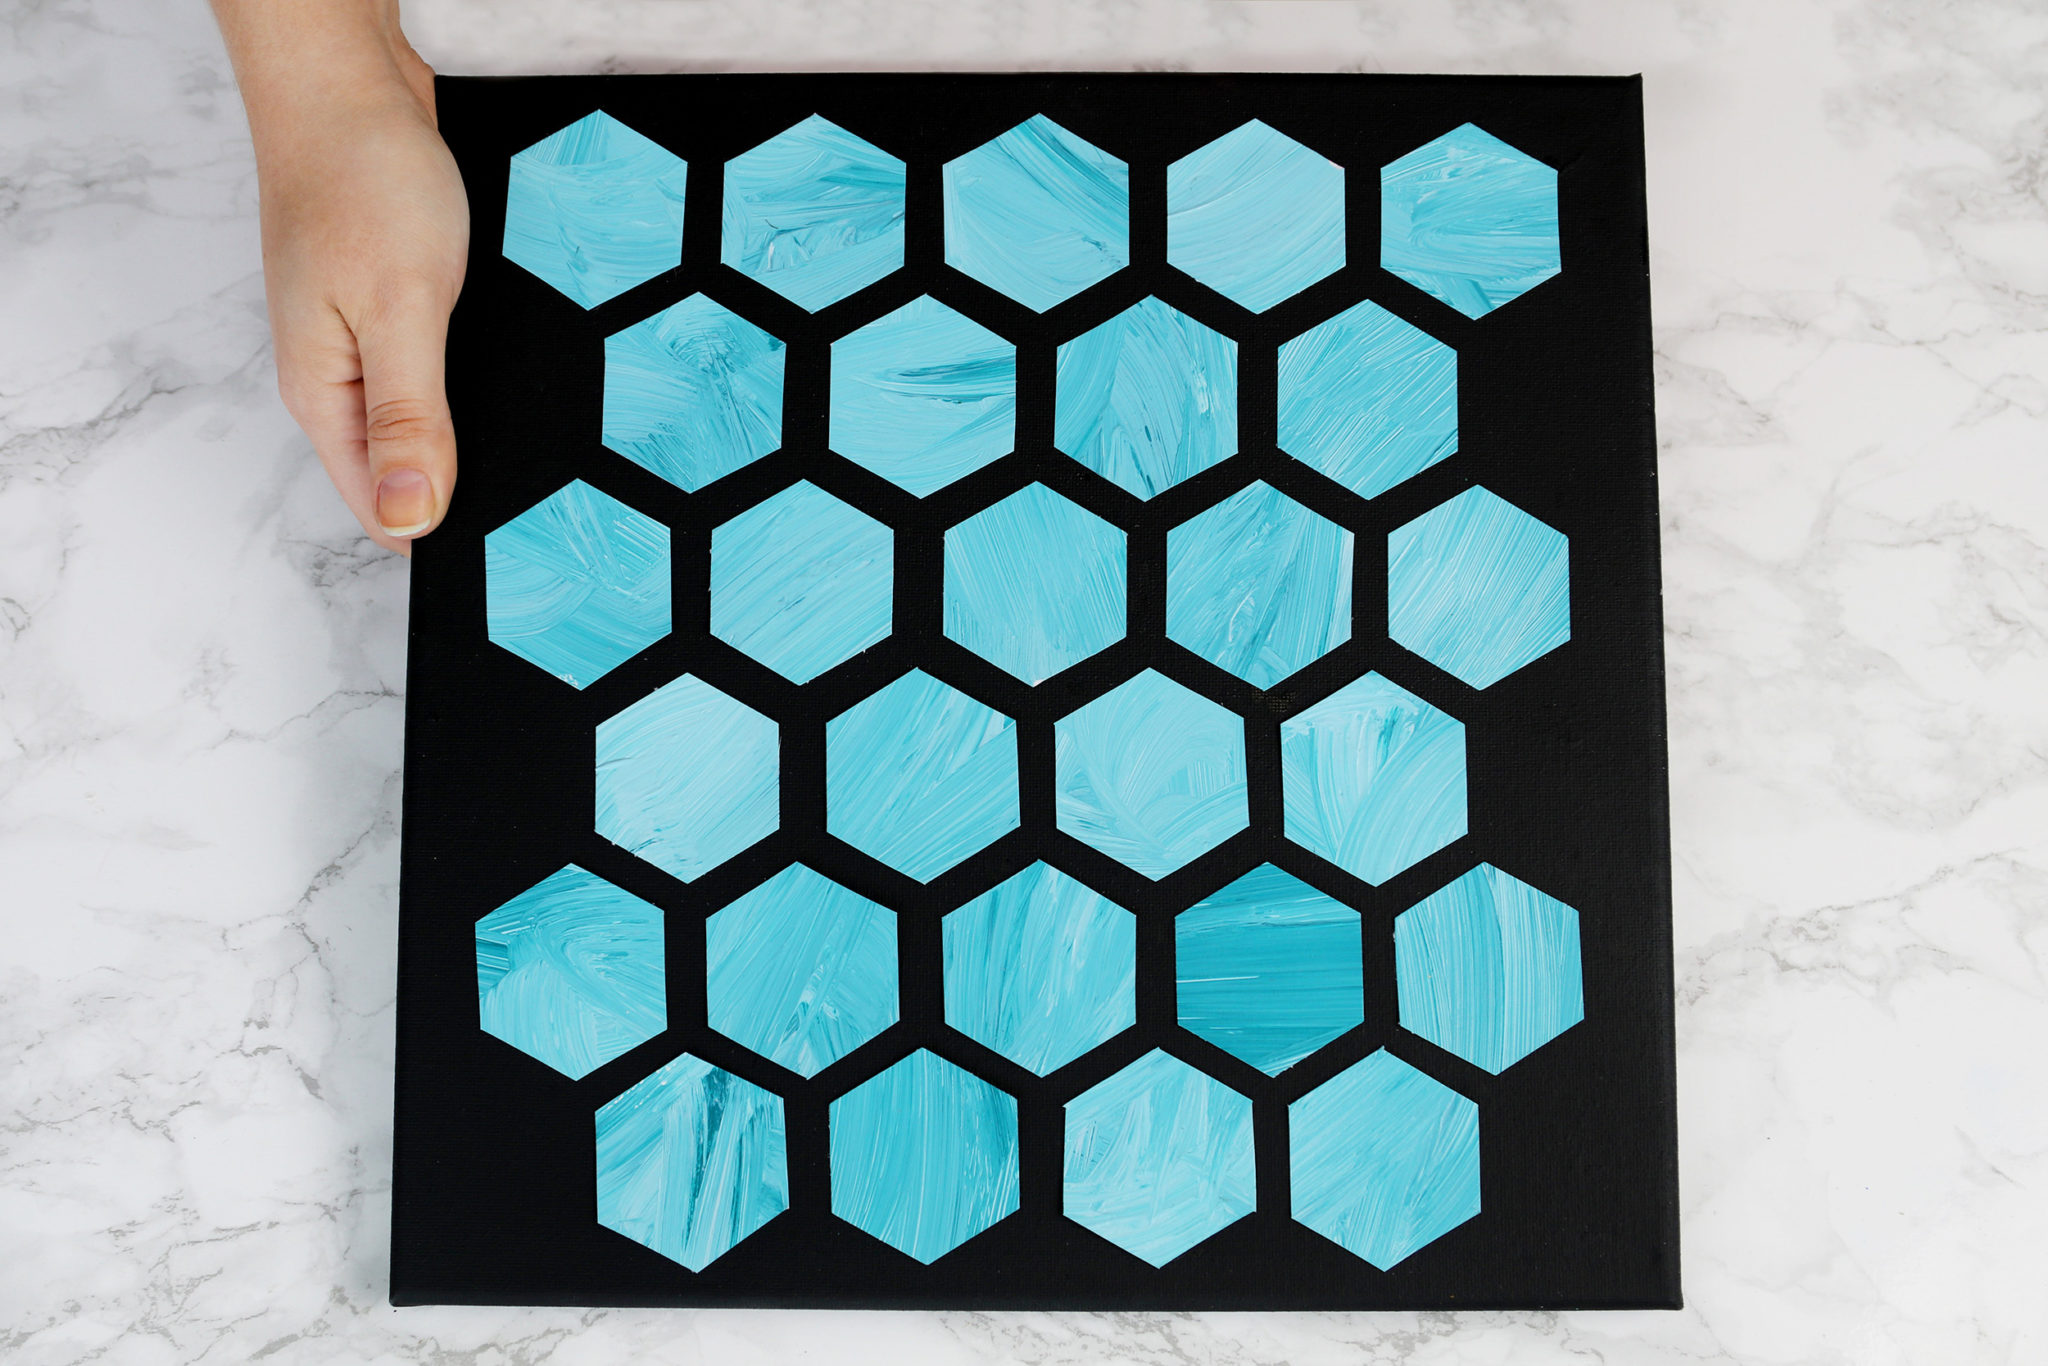
This artwork was partially inspired by Marianne’s Hexagon Wall Art on HGTV Handmade. I took it in a slightly different direction by painting the canvas black and using the leftover paint from the next project to give it more of an abstract texture.
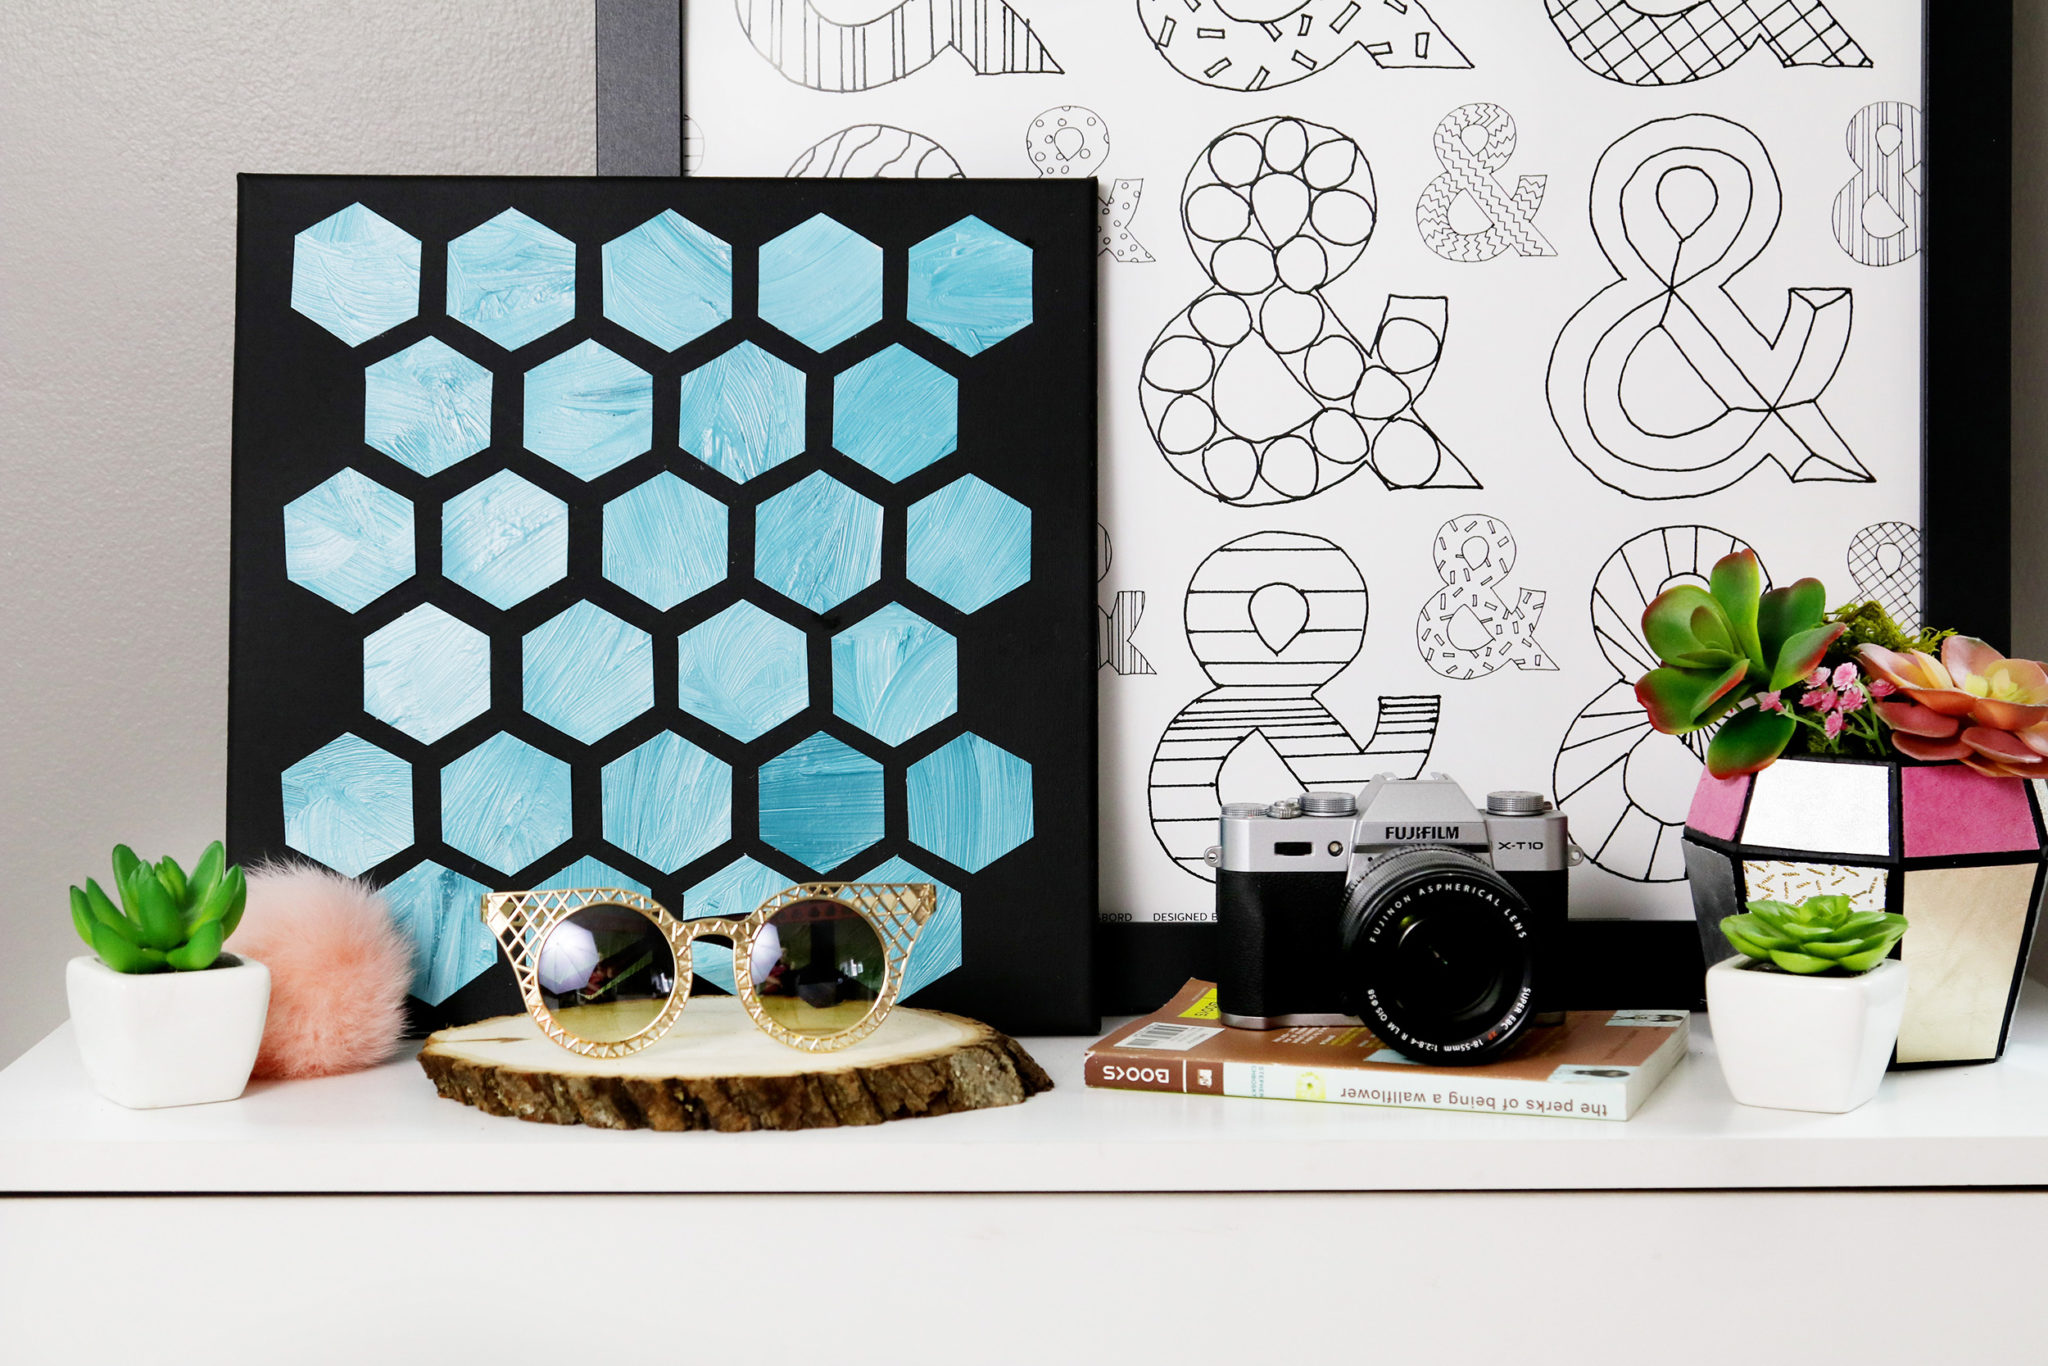
I styled this scene with my Ampersand Coloring Poster that I sell on DFTBA, my DIY leather planter, The Perks of Being a Wallflower book, gold sunglasses, and some faux succulents I bought from the dollar bin at Michaels.
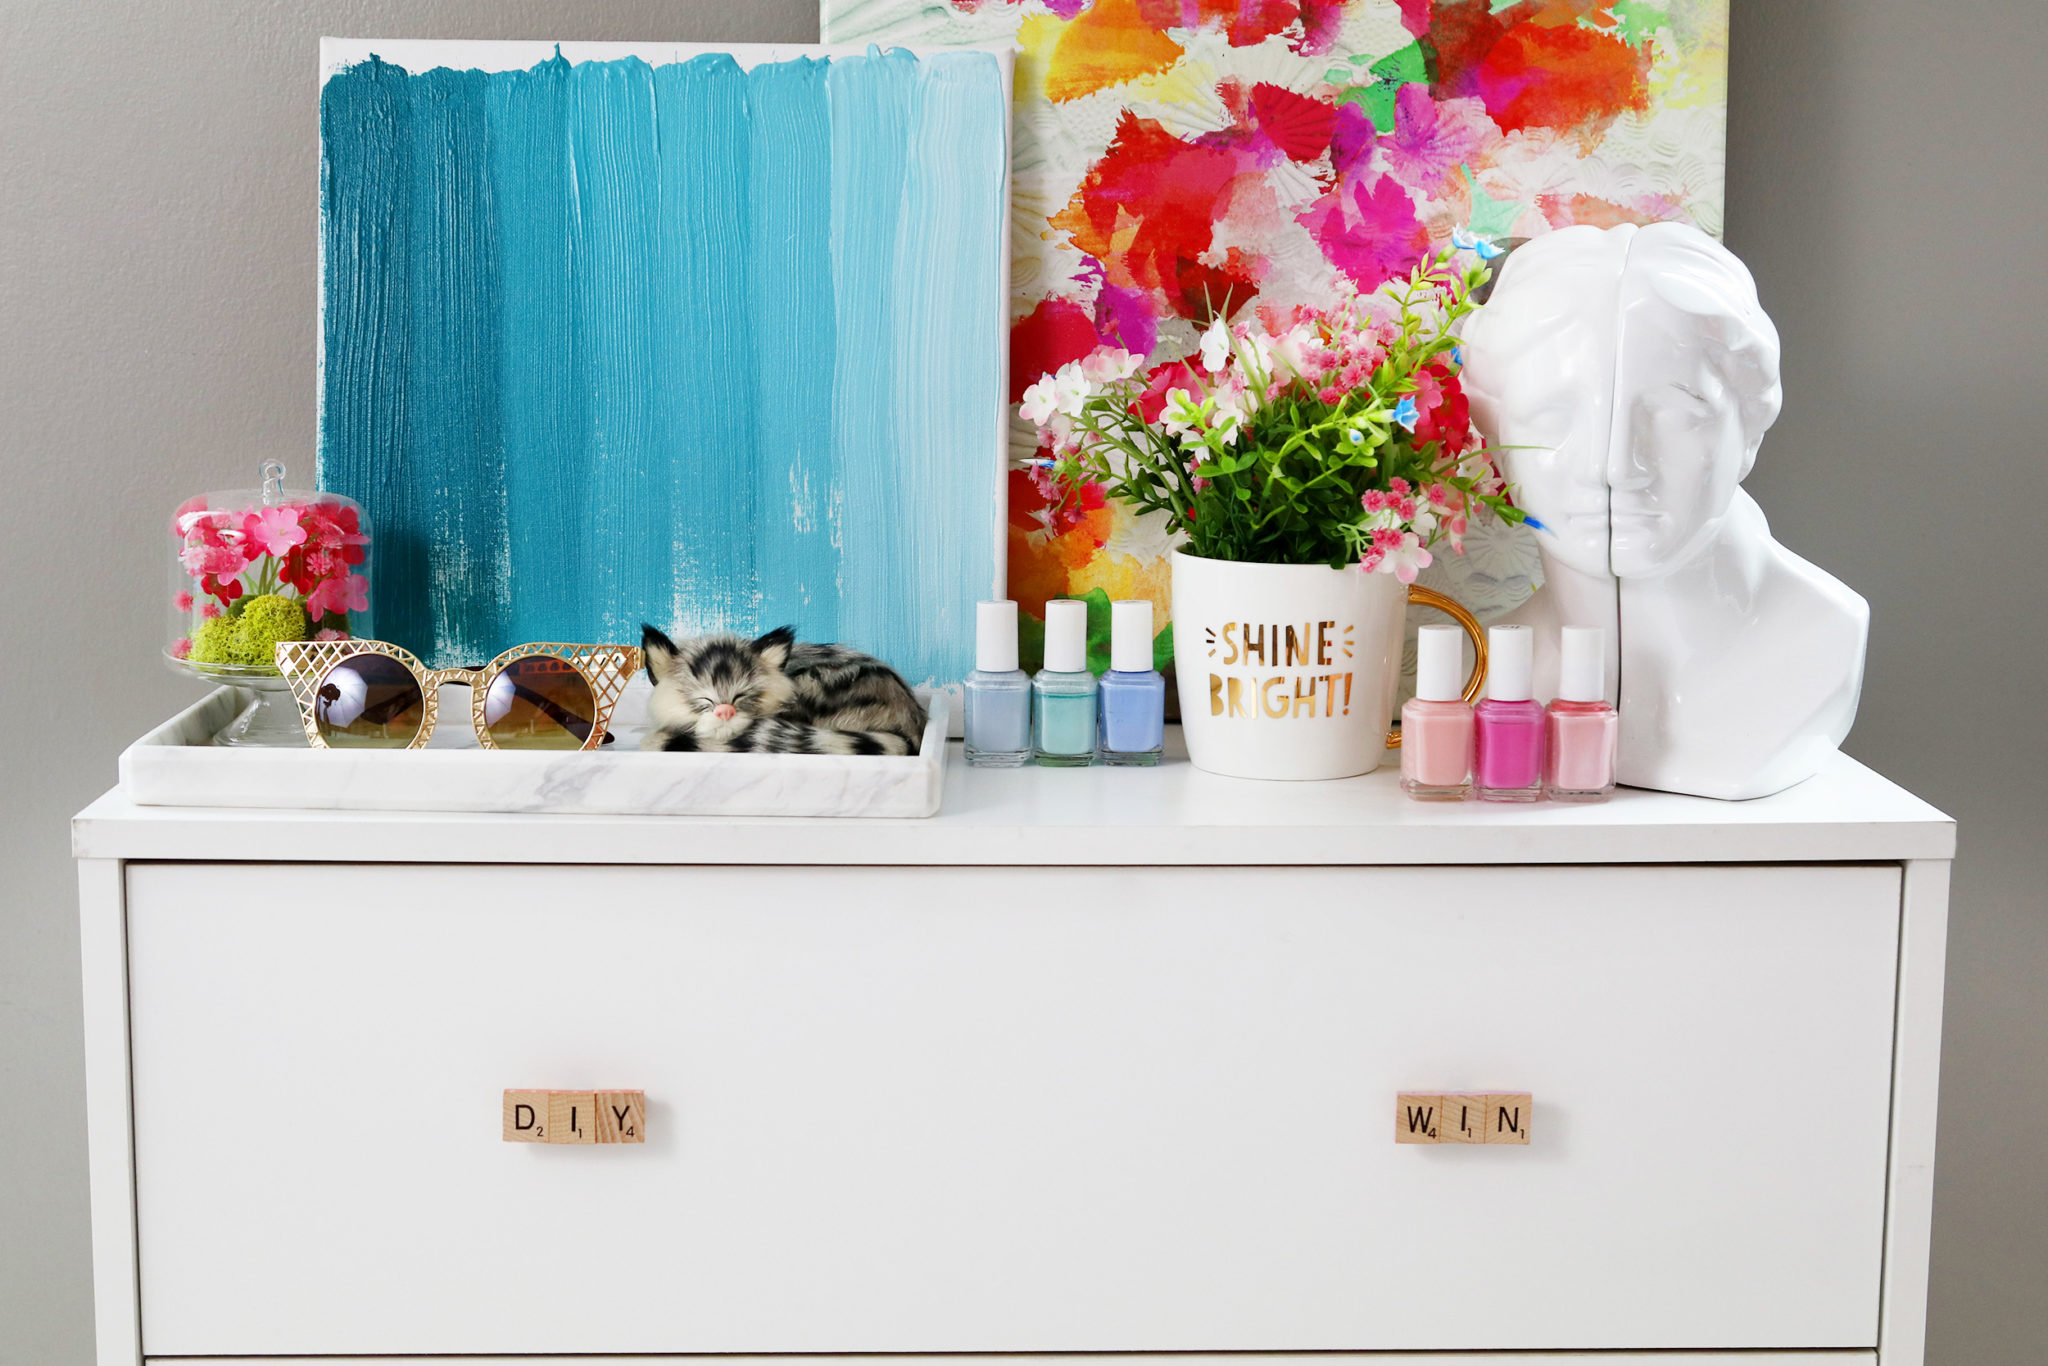
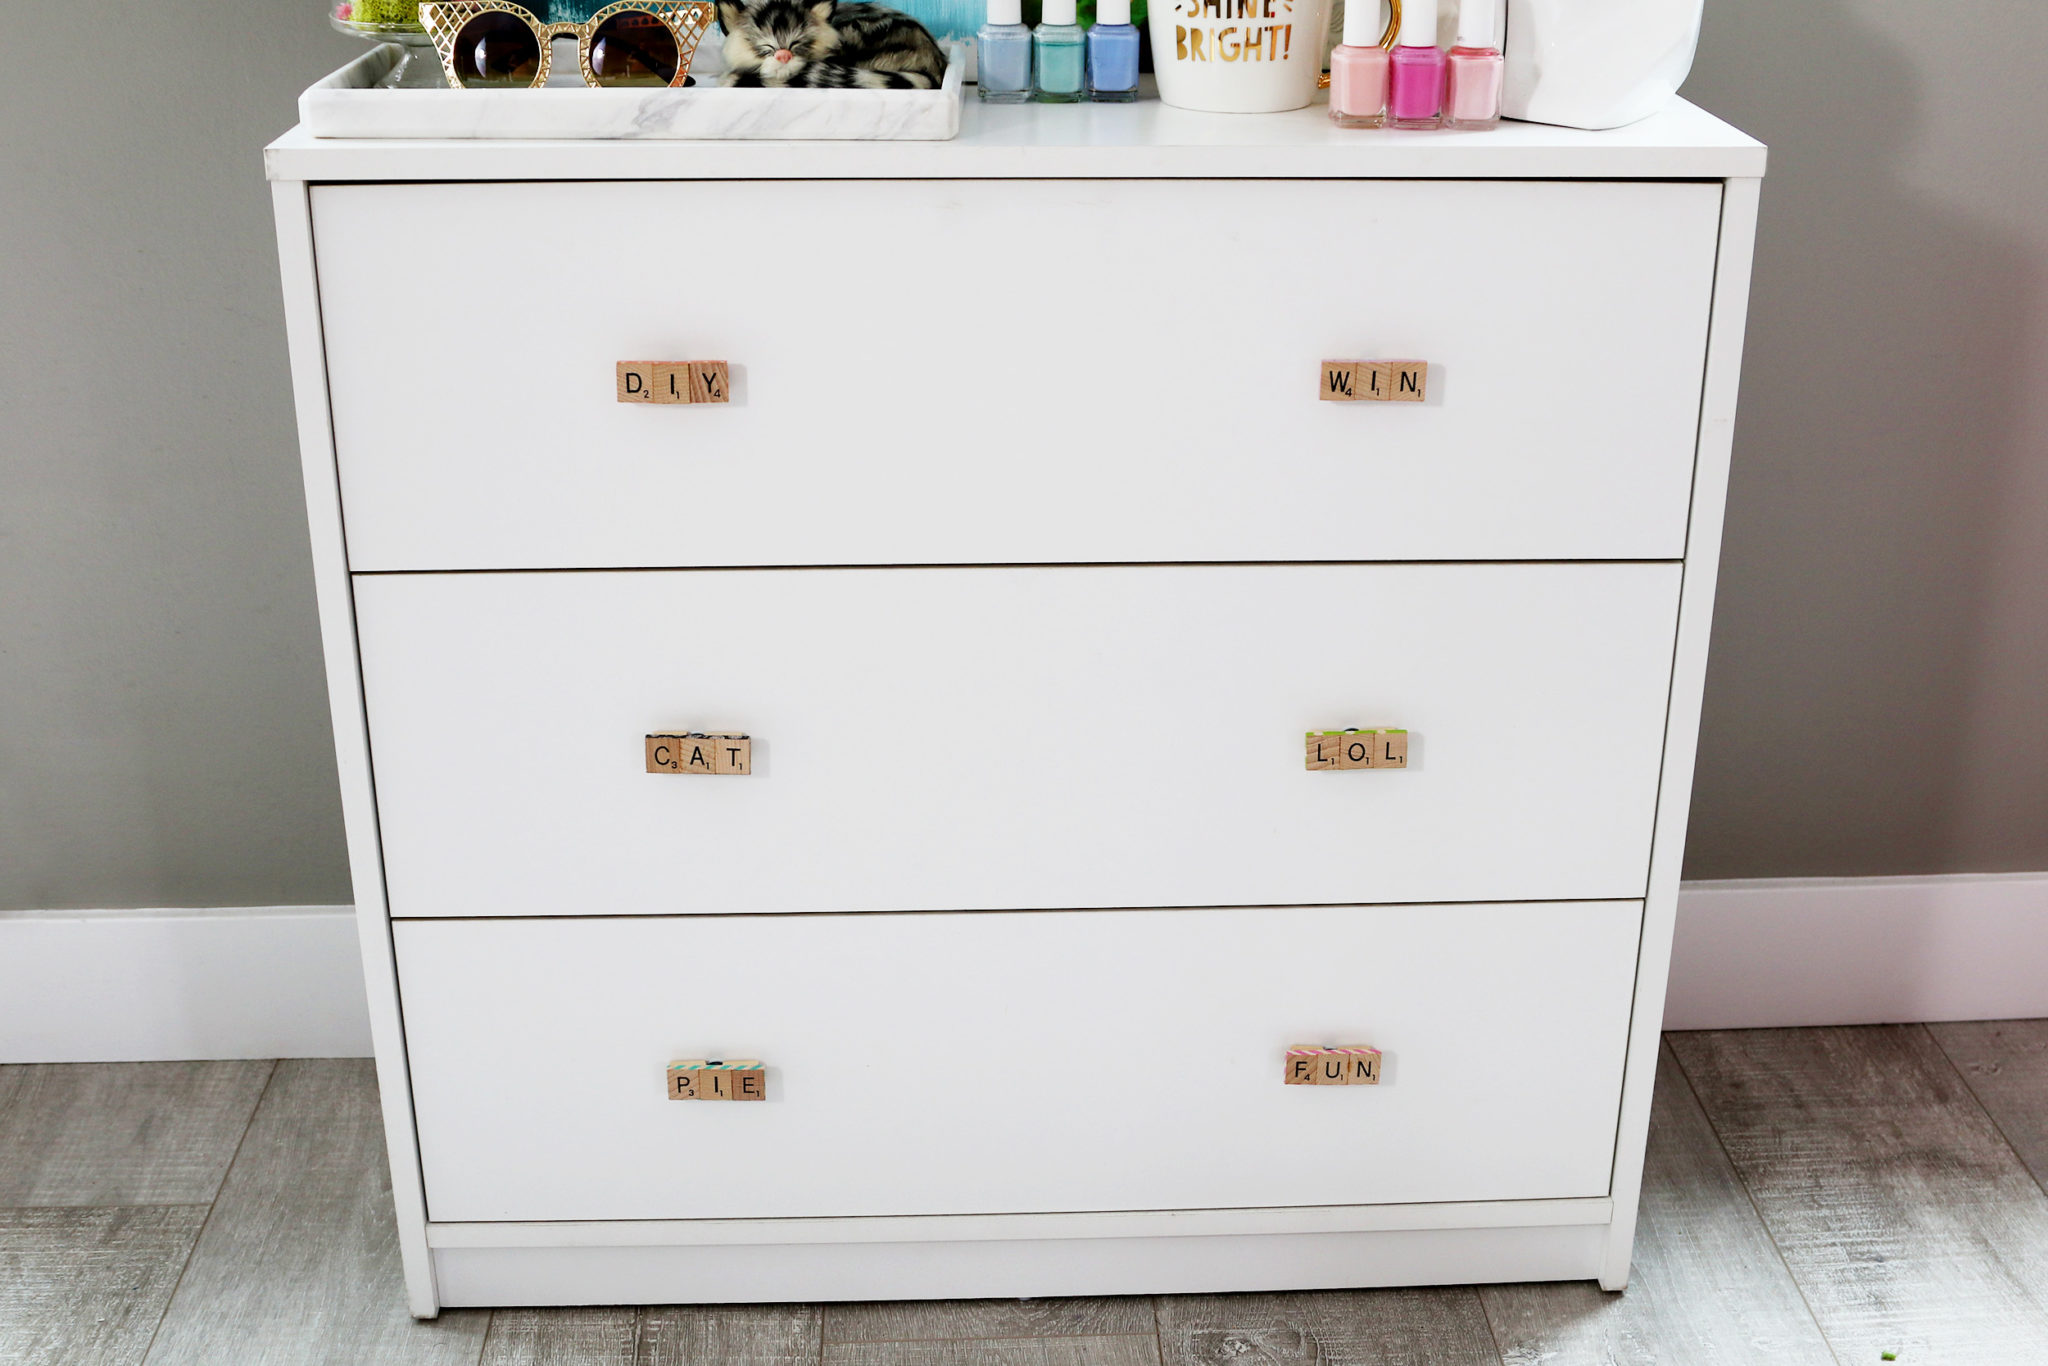
And finally, we’ve got a teal gradient piece of art and some Scrabble Tile drawer pulls.
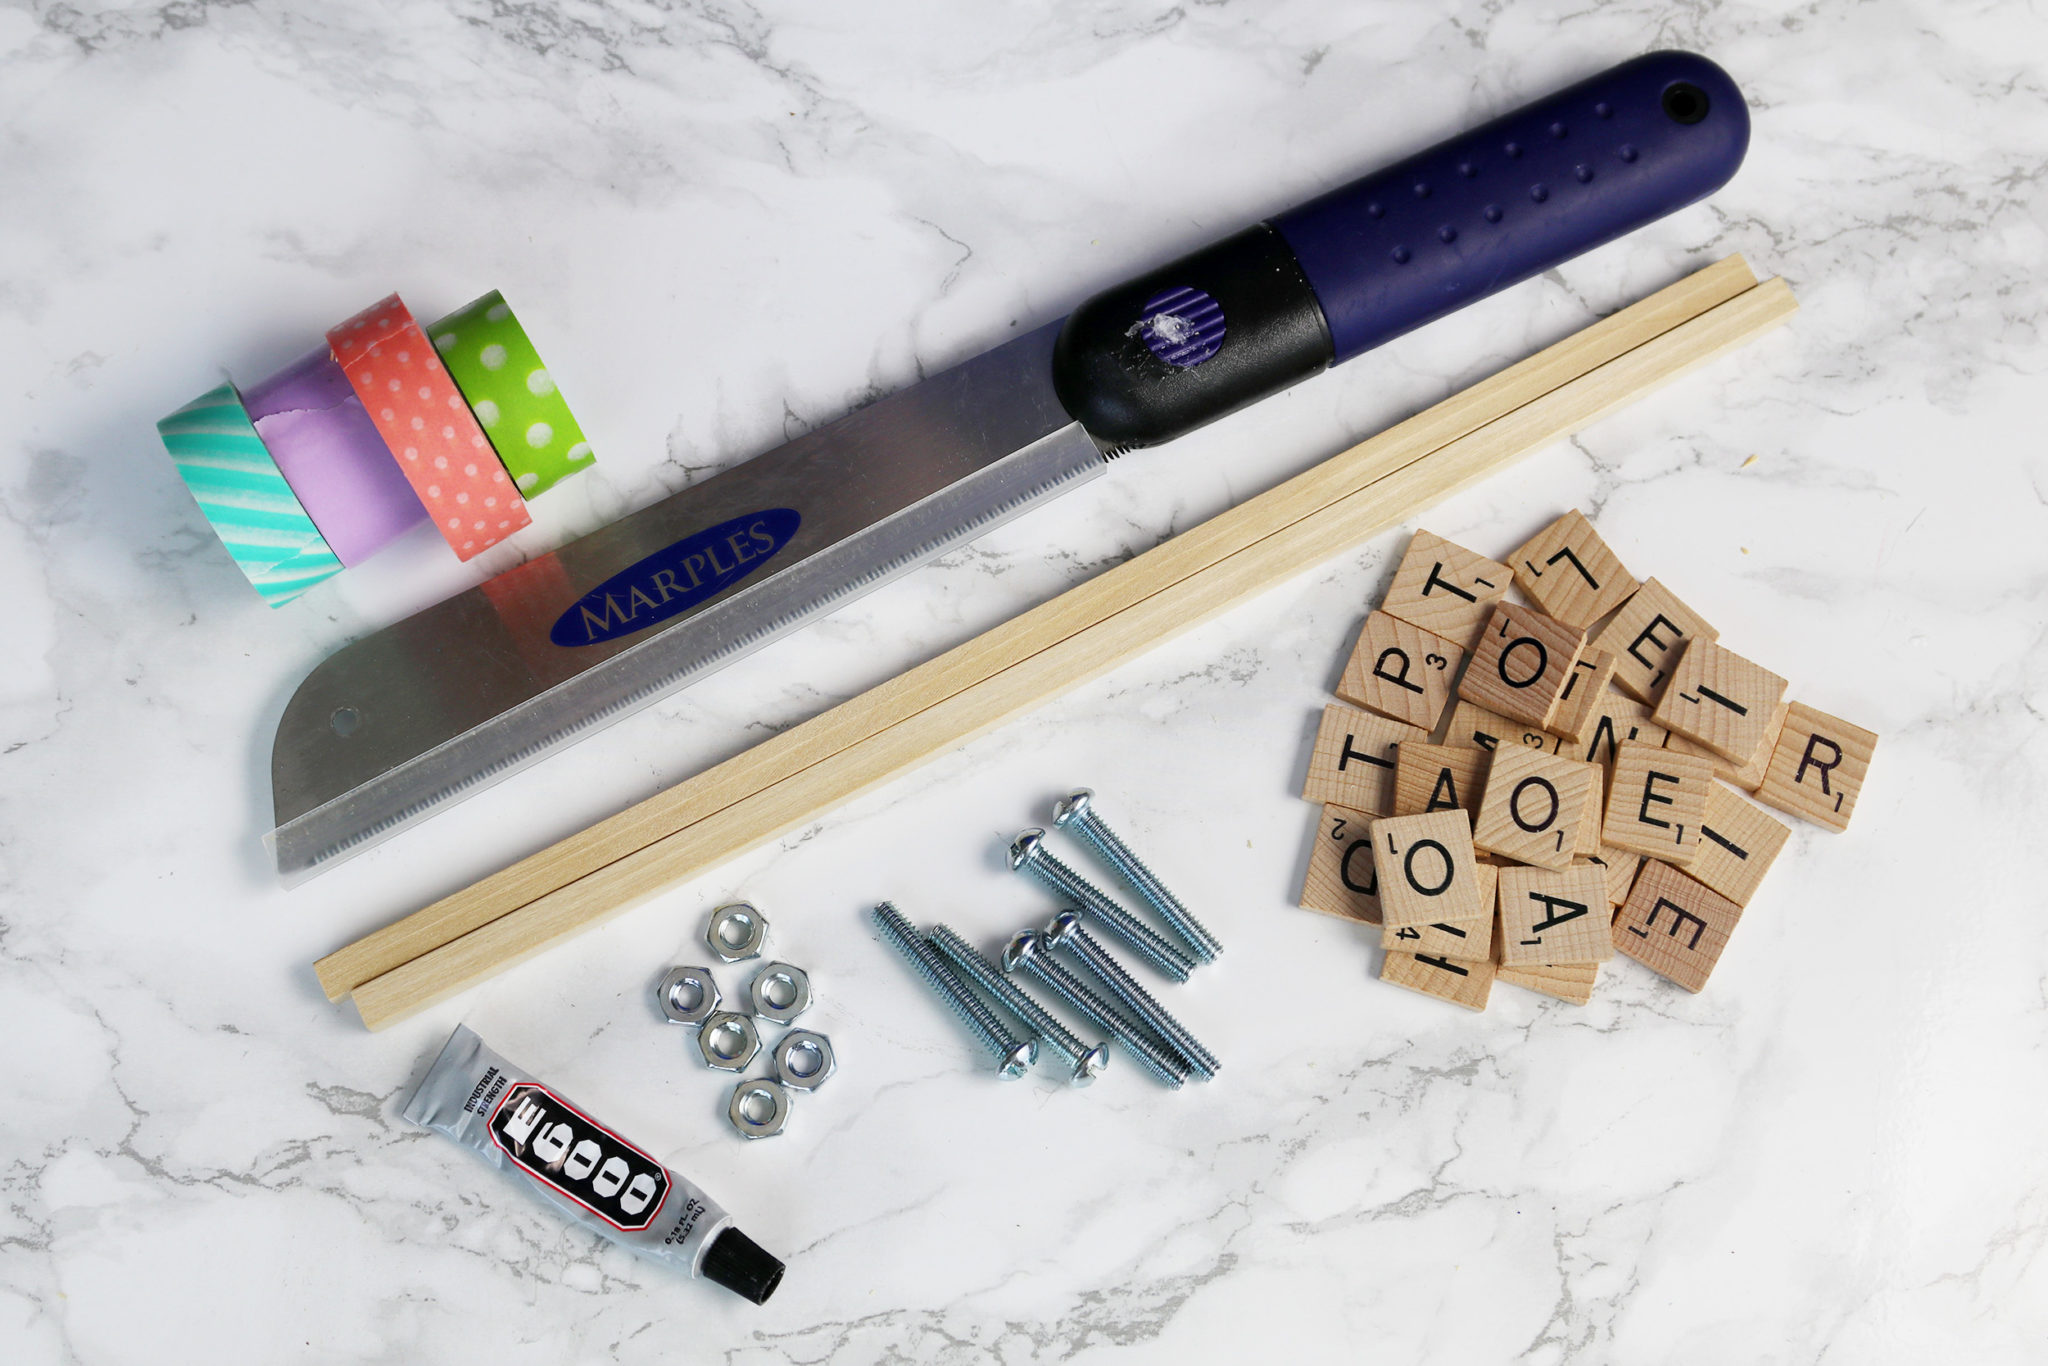
To make these drawer pulls, you’ll need Scrabble tiles, square wooden dowels, a saw, washi tape, e6000, nuts, and screws.
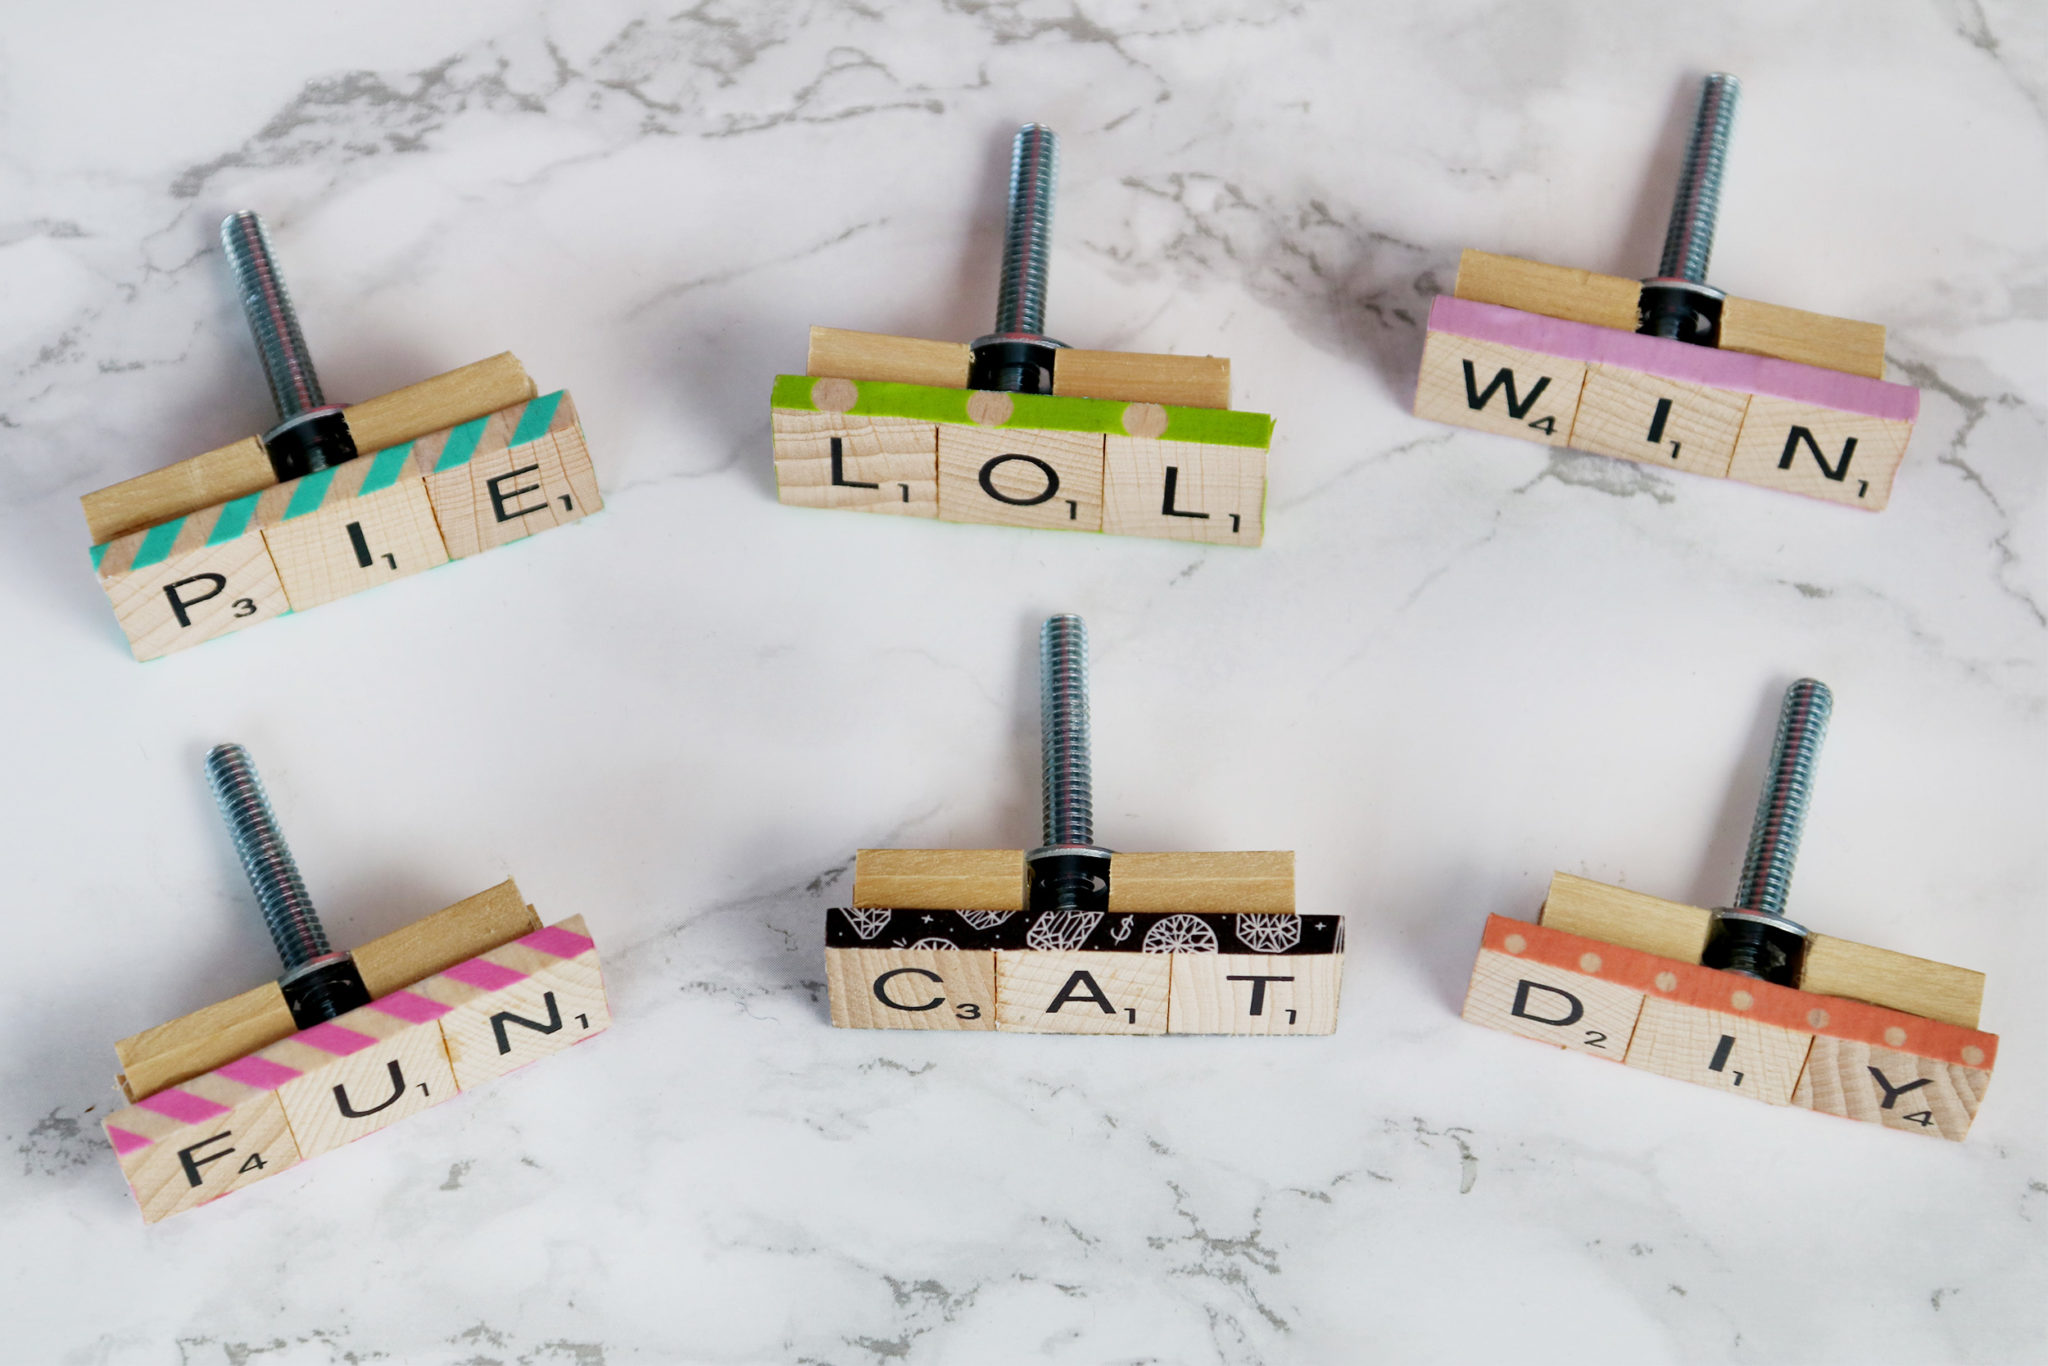
These are so fun because you can spell out any word you like, and you can add some color with washi tape on the sides.
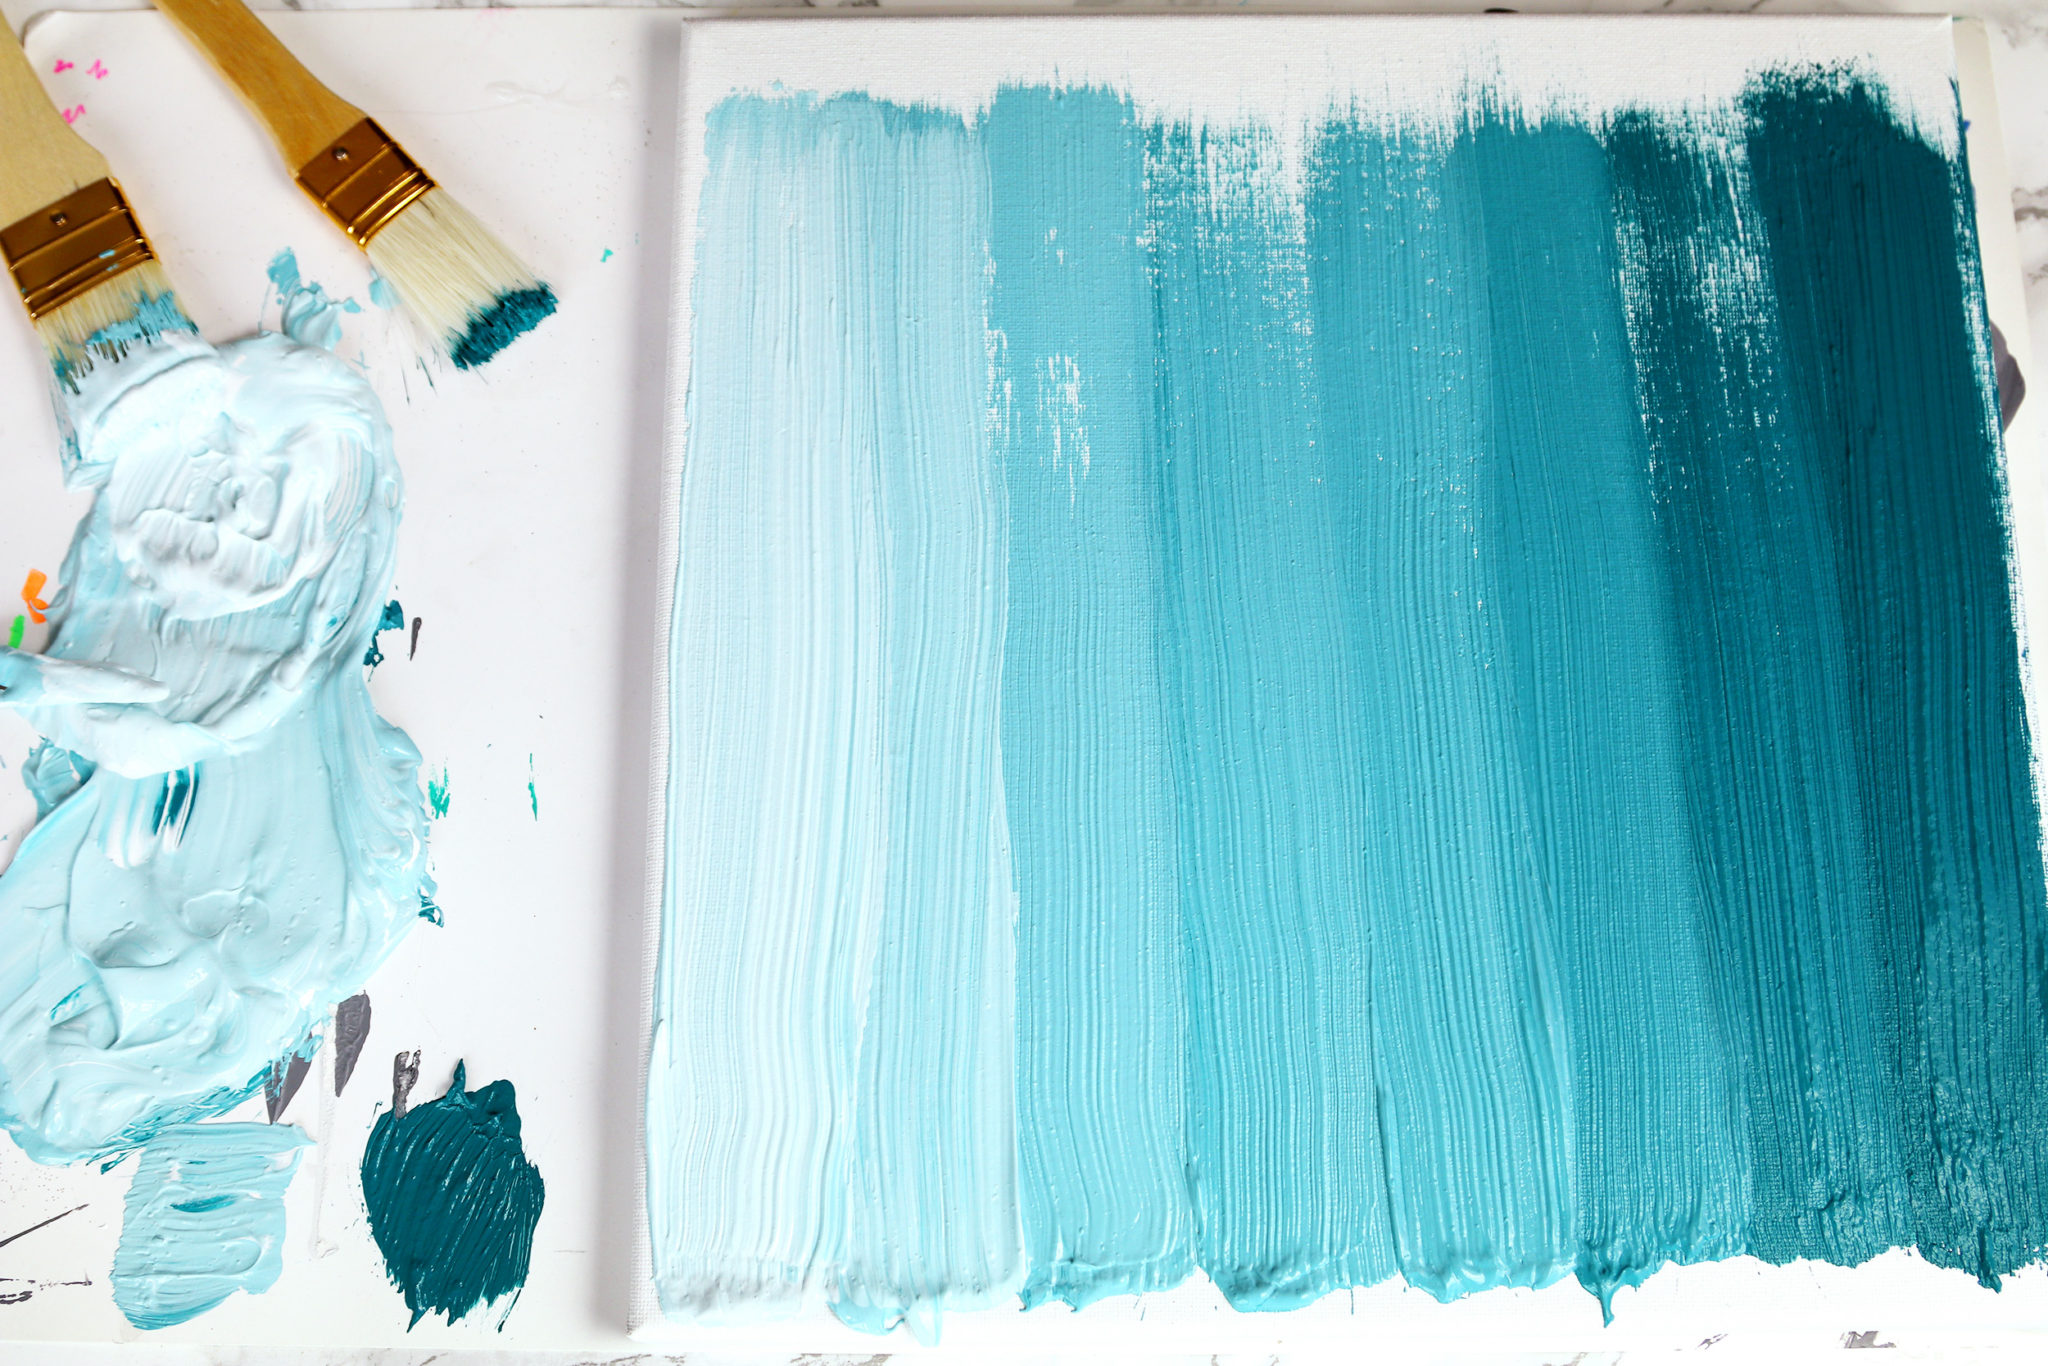
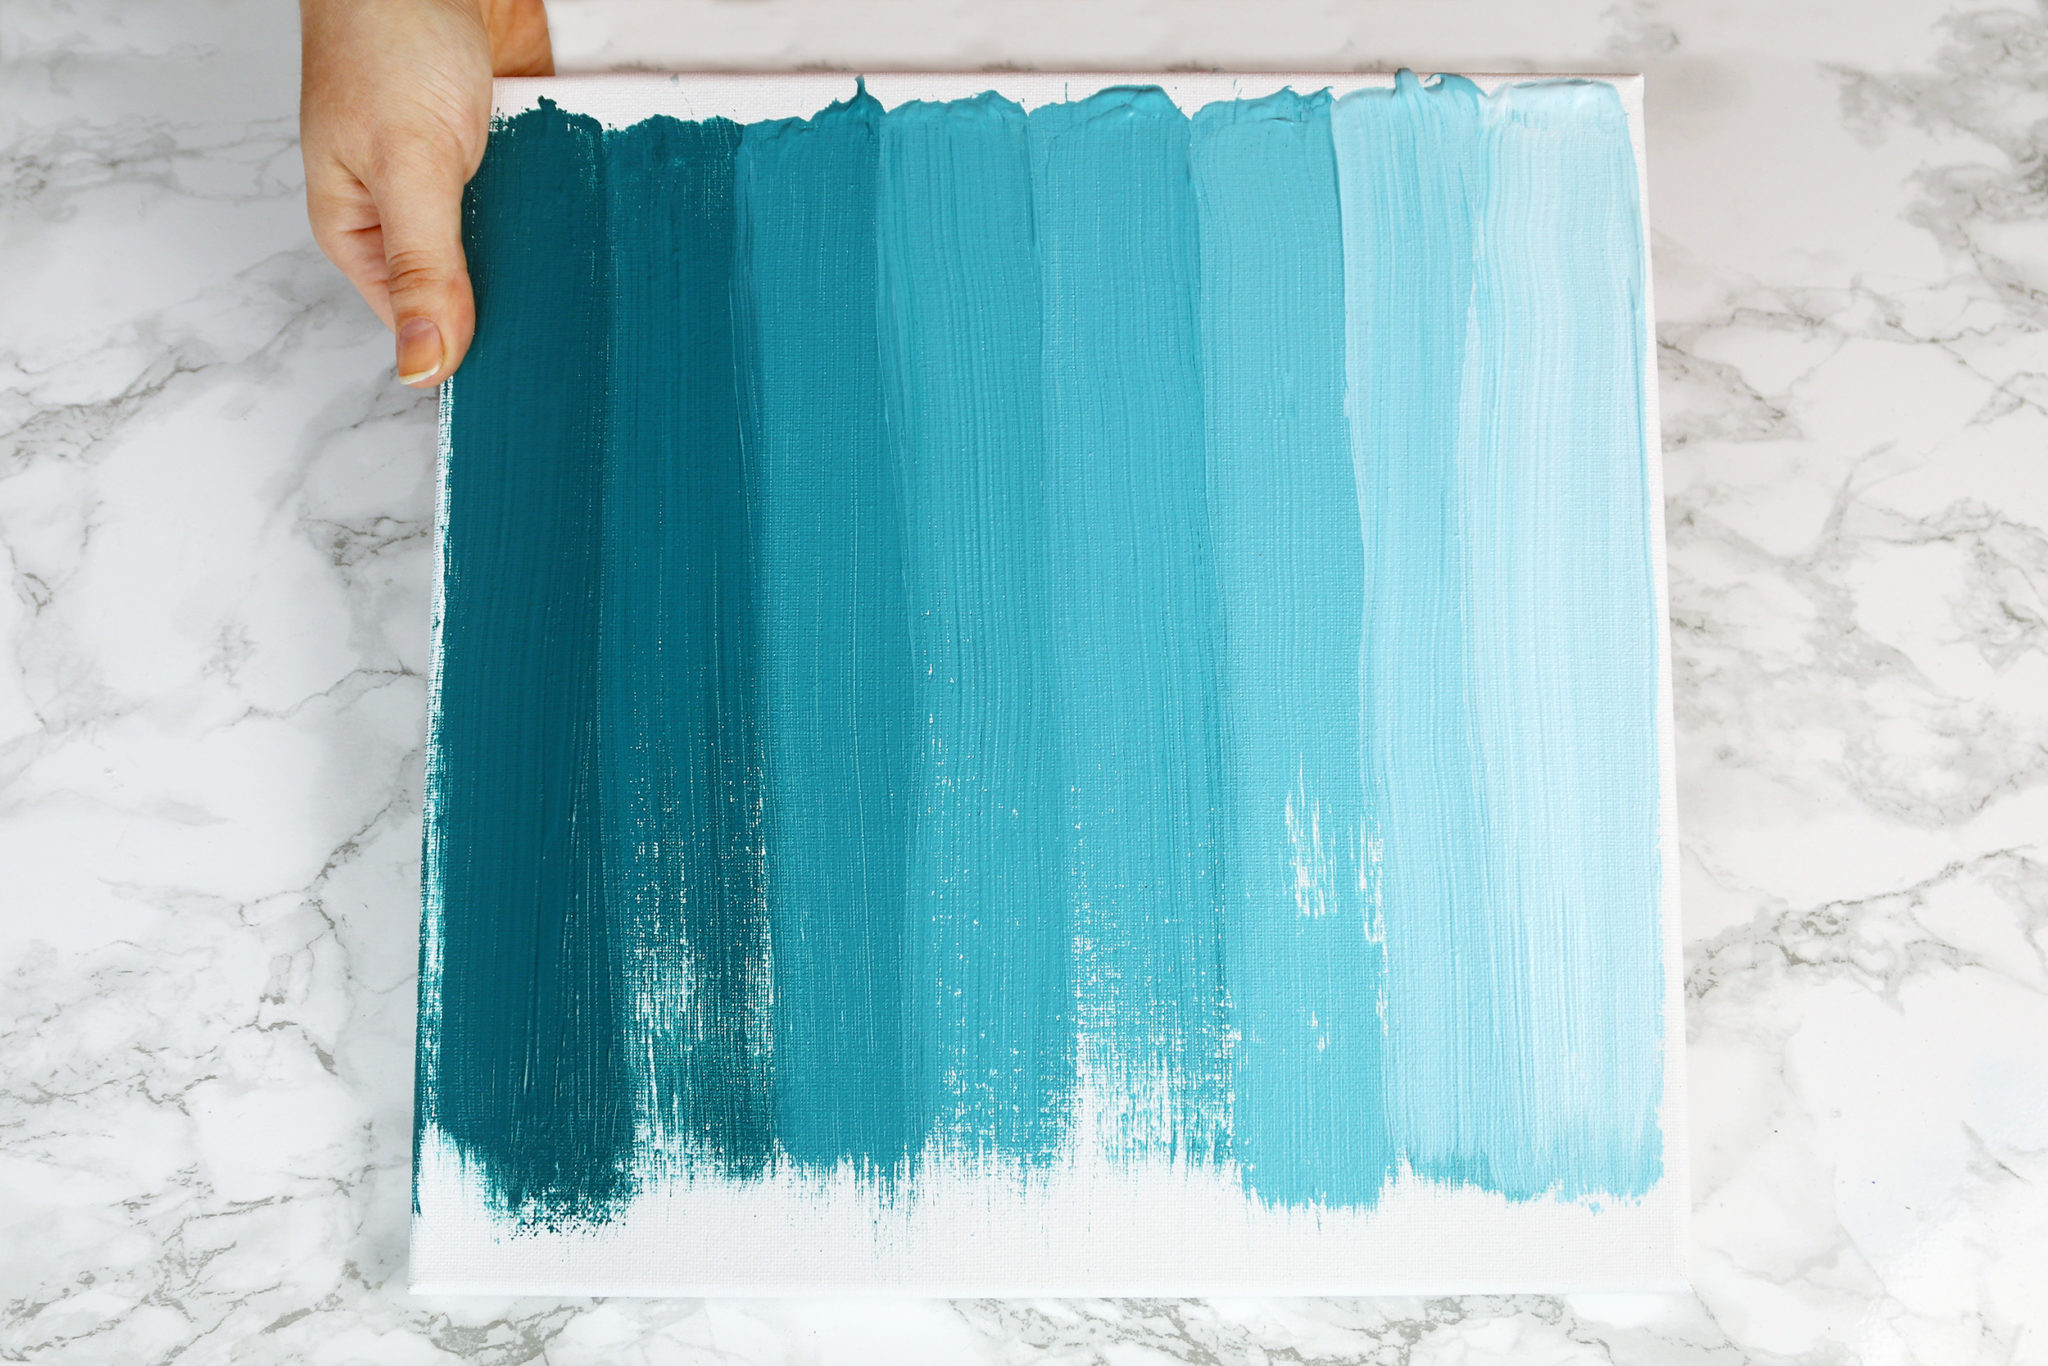
This painting takes literally about 20 minutes to make. Just use a large brush to paint a stripe of a bright color, then keep adding white paint to your color and adding more stripes. And you’re done!
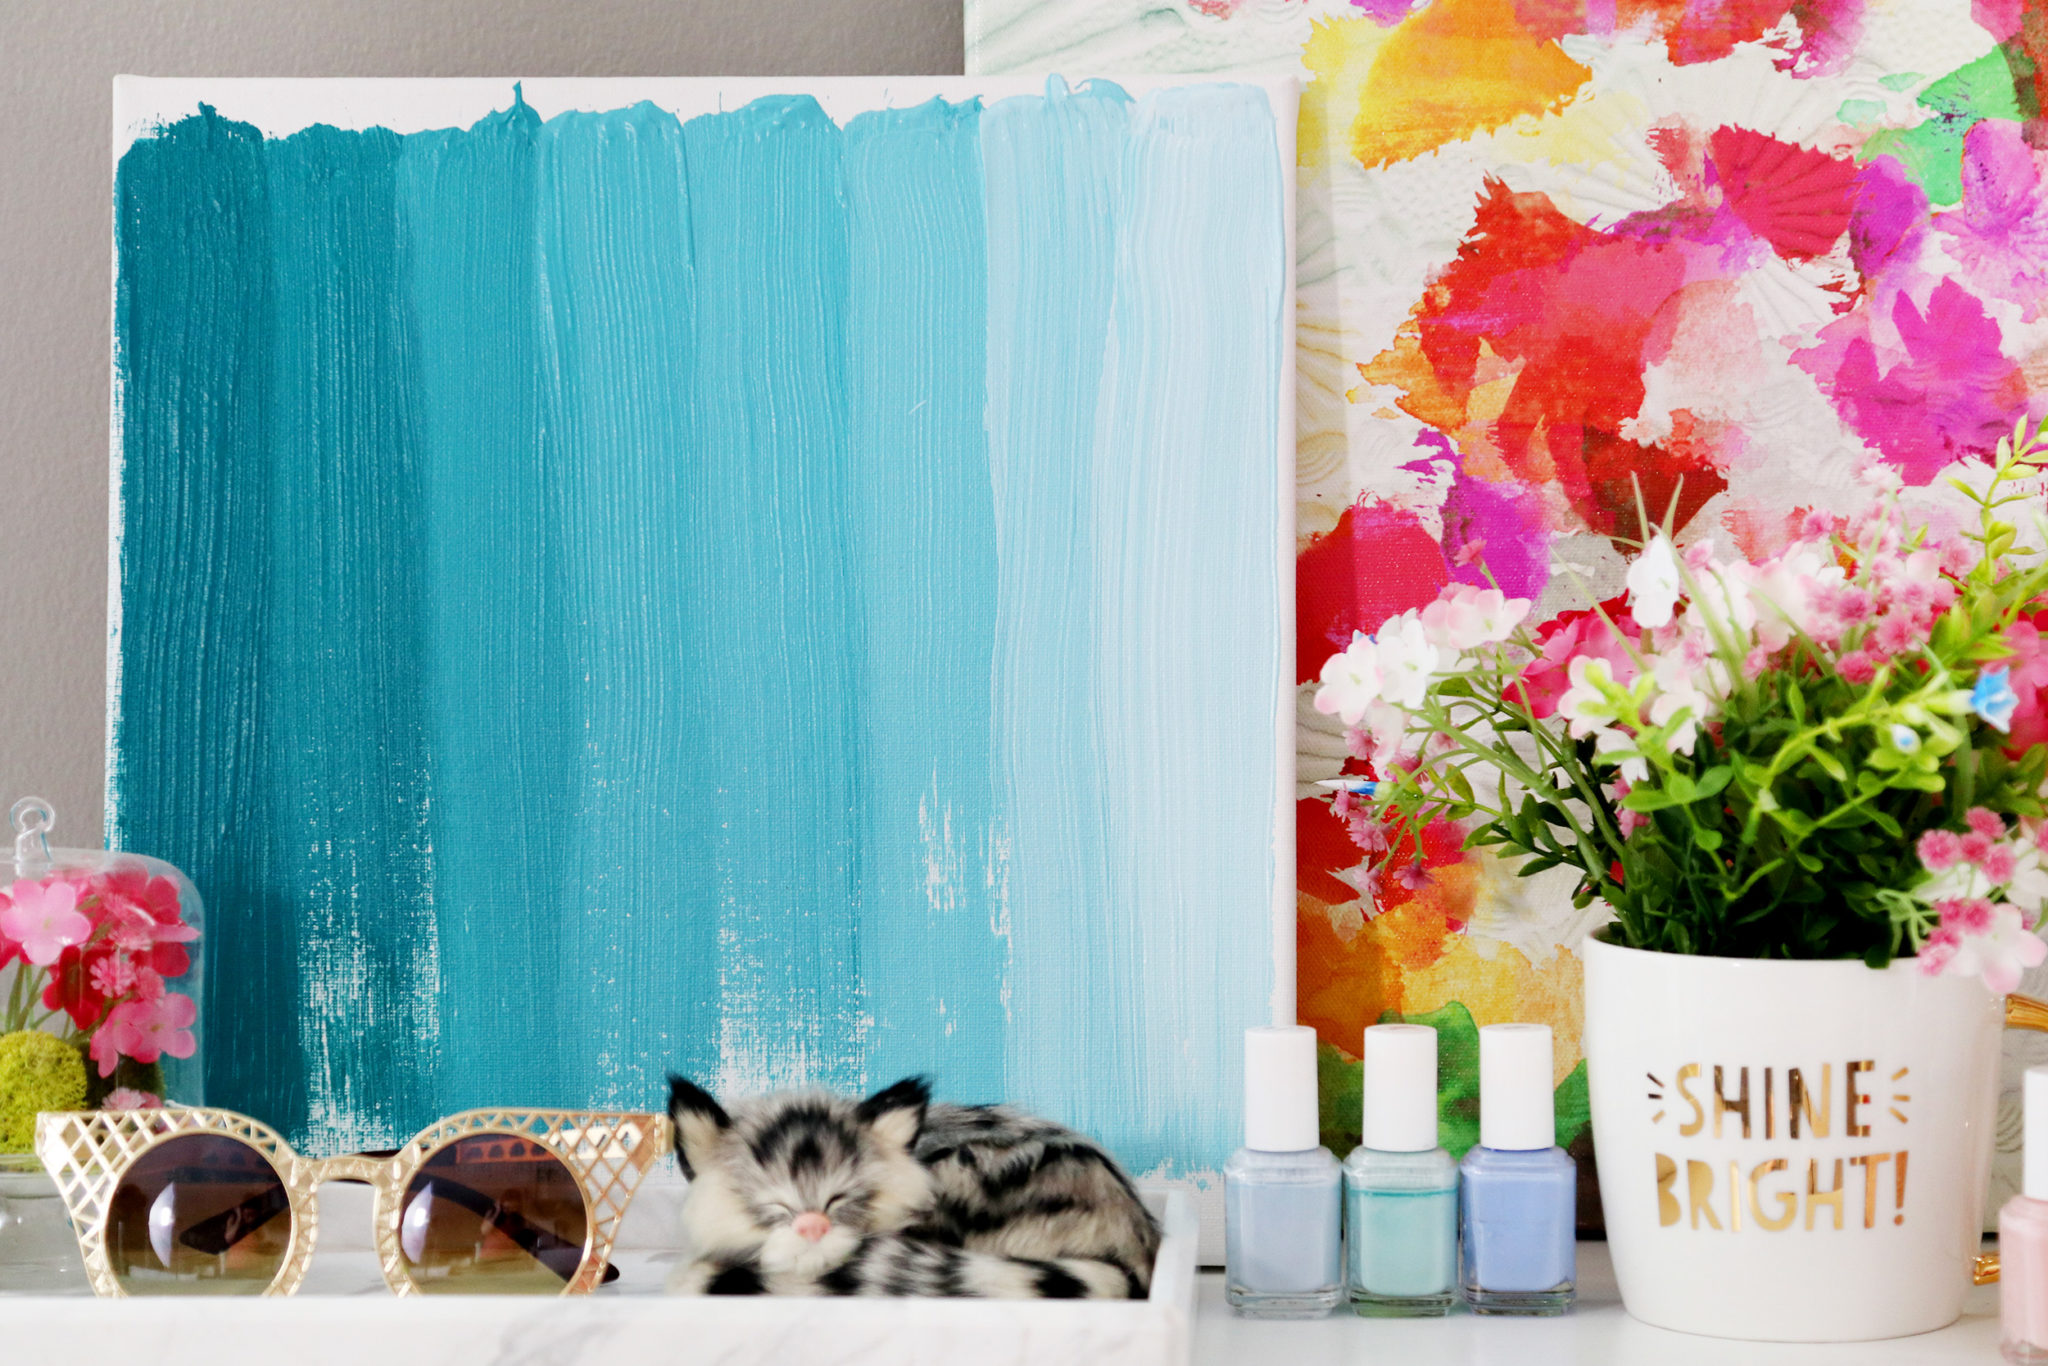
I styled this painting with Essie nail polishes, my DIY mug planter and DIY display planter, another fake cat, gold sunglasses, and a colorful printed canvas.
I hope you guys liked all of these projects! Be sure to watch the videos for the full DIY step-by-step – DIY Drawer Pulls on HGTV Handmade & DIY Wall Art on my main channel. Stay tuned to HGTV Handmade for two more DIY videos from me this week, and I’ll see you guys next time!


