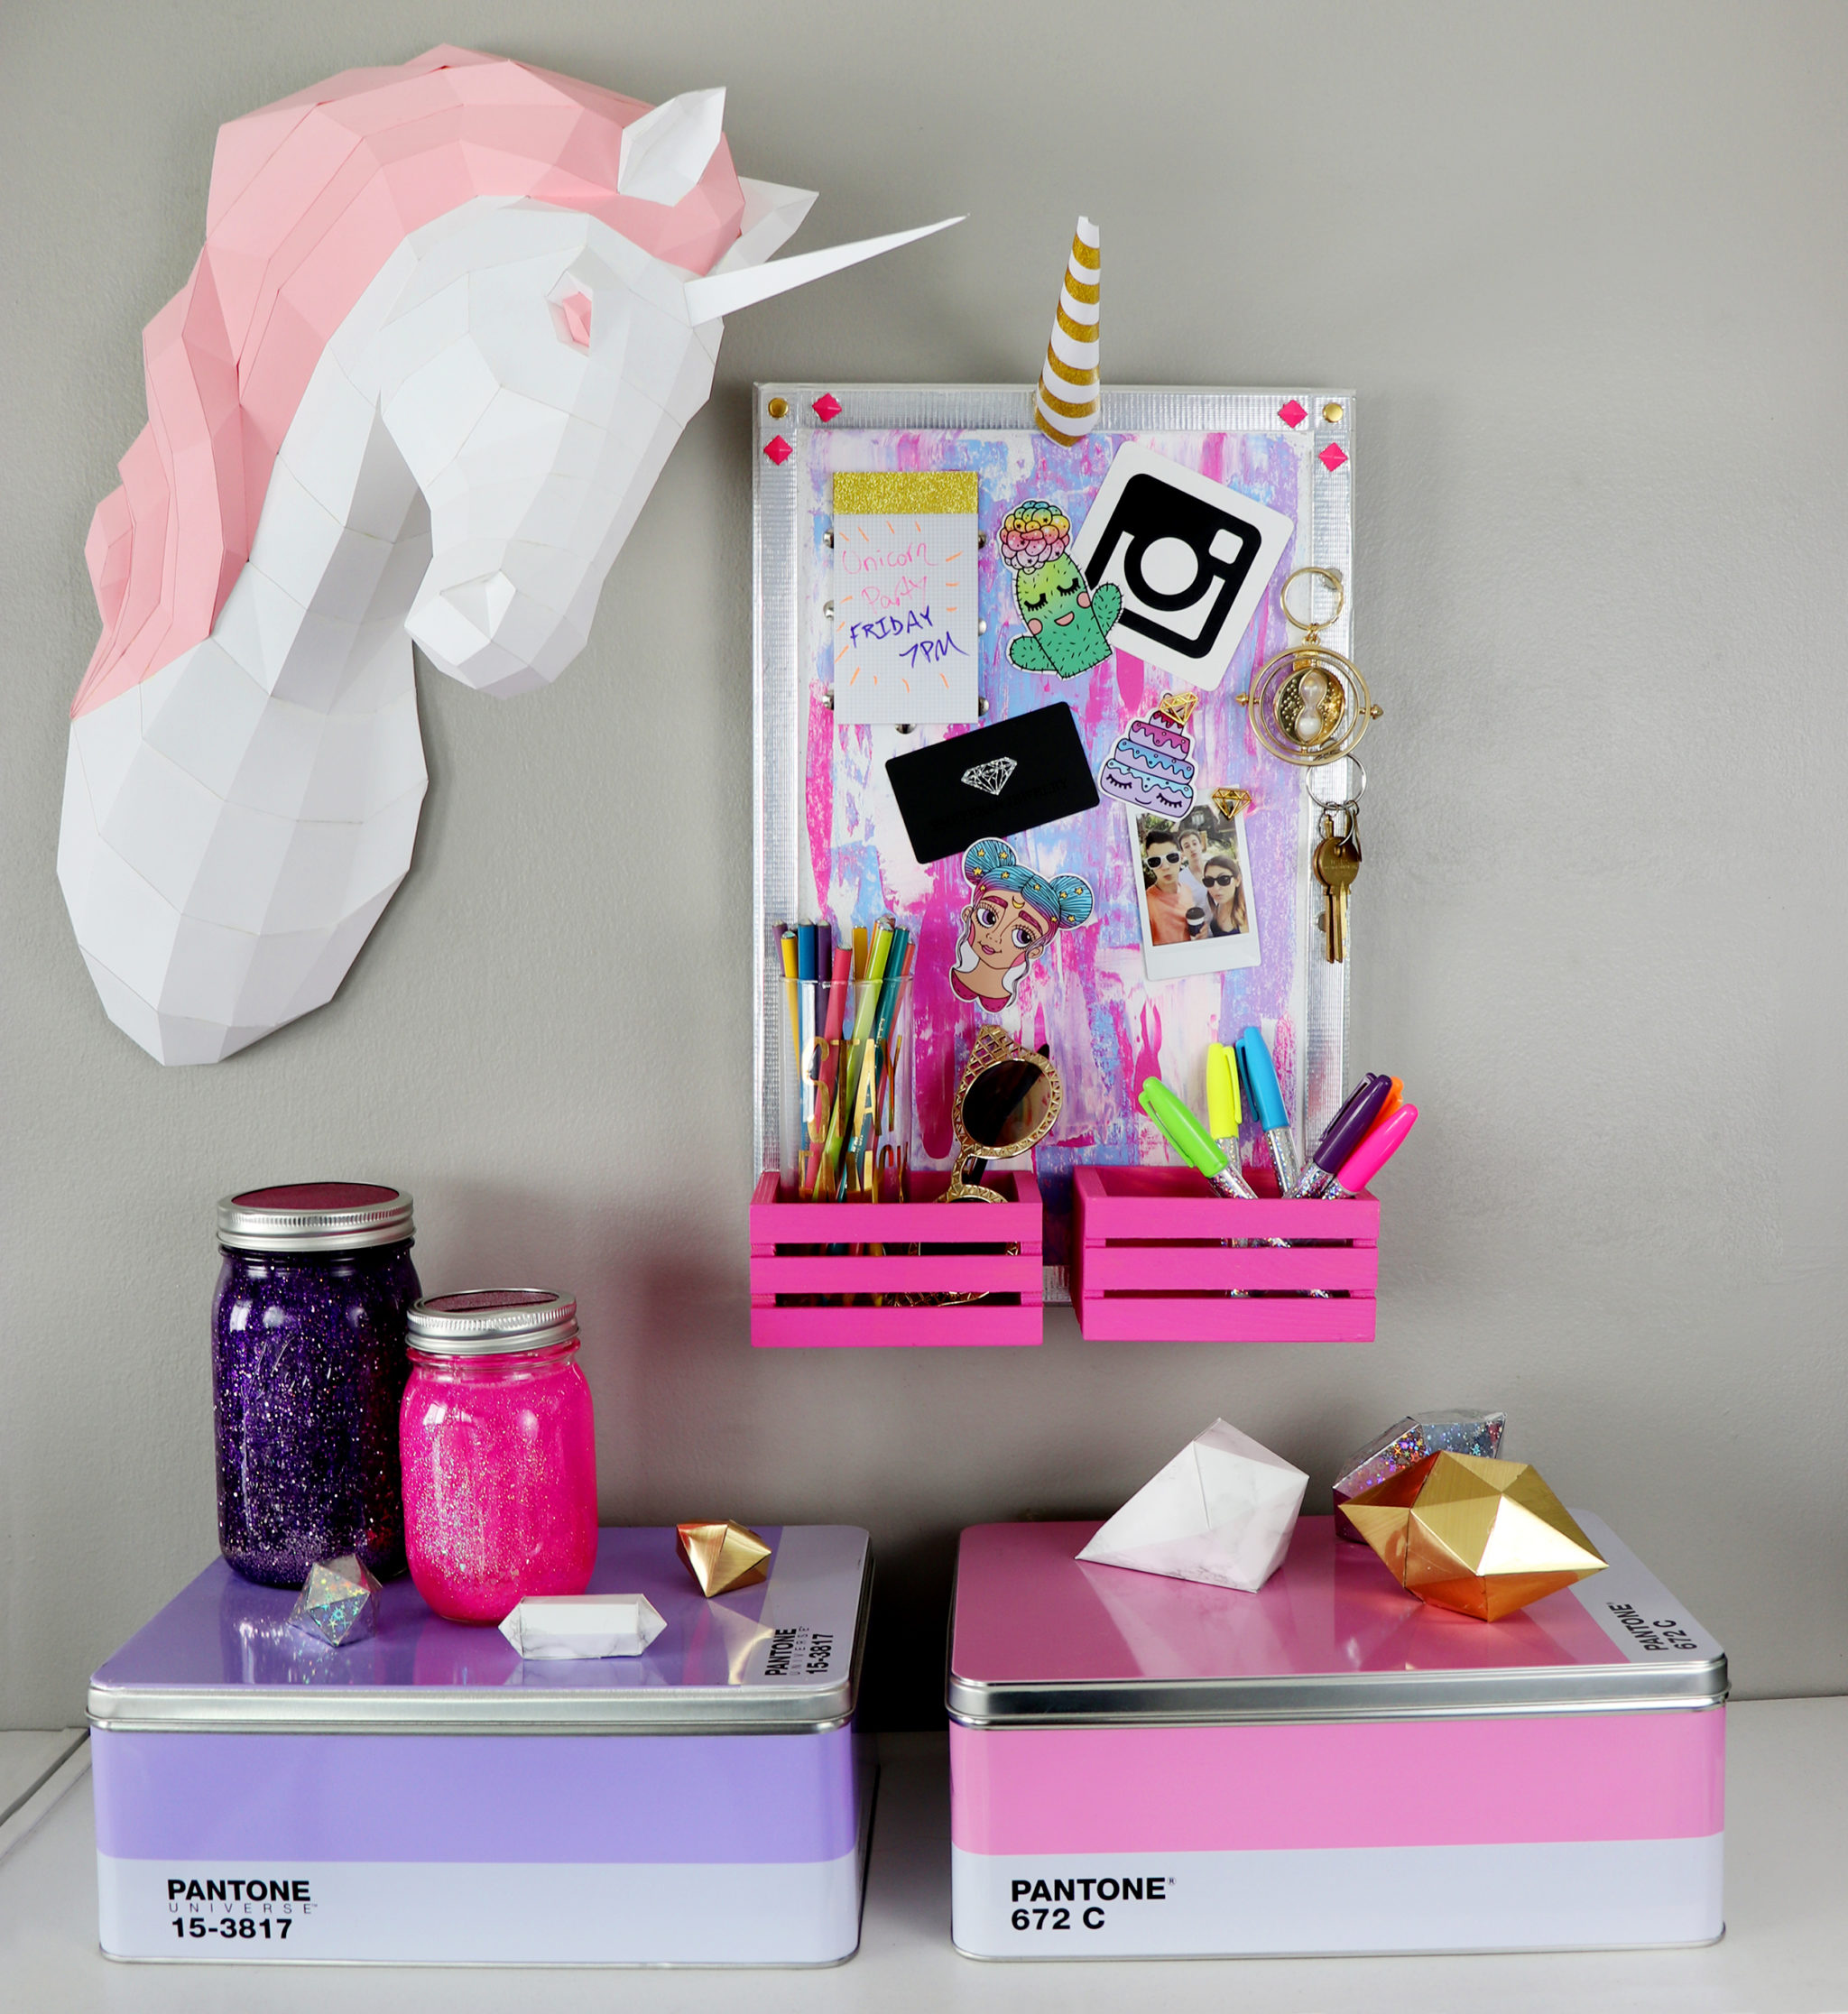
Today I have a fun craft for you guys – a DIY Unicorn Wall Organizer! It seems like unicorns are super on-trend right now, and I have zero complaints, because I never quite got over my Lisa Frank obsession. Keep reading to learn how to make it and check out a bonus second way to decorate it!
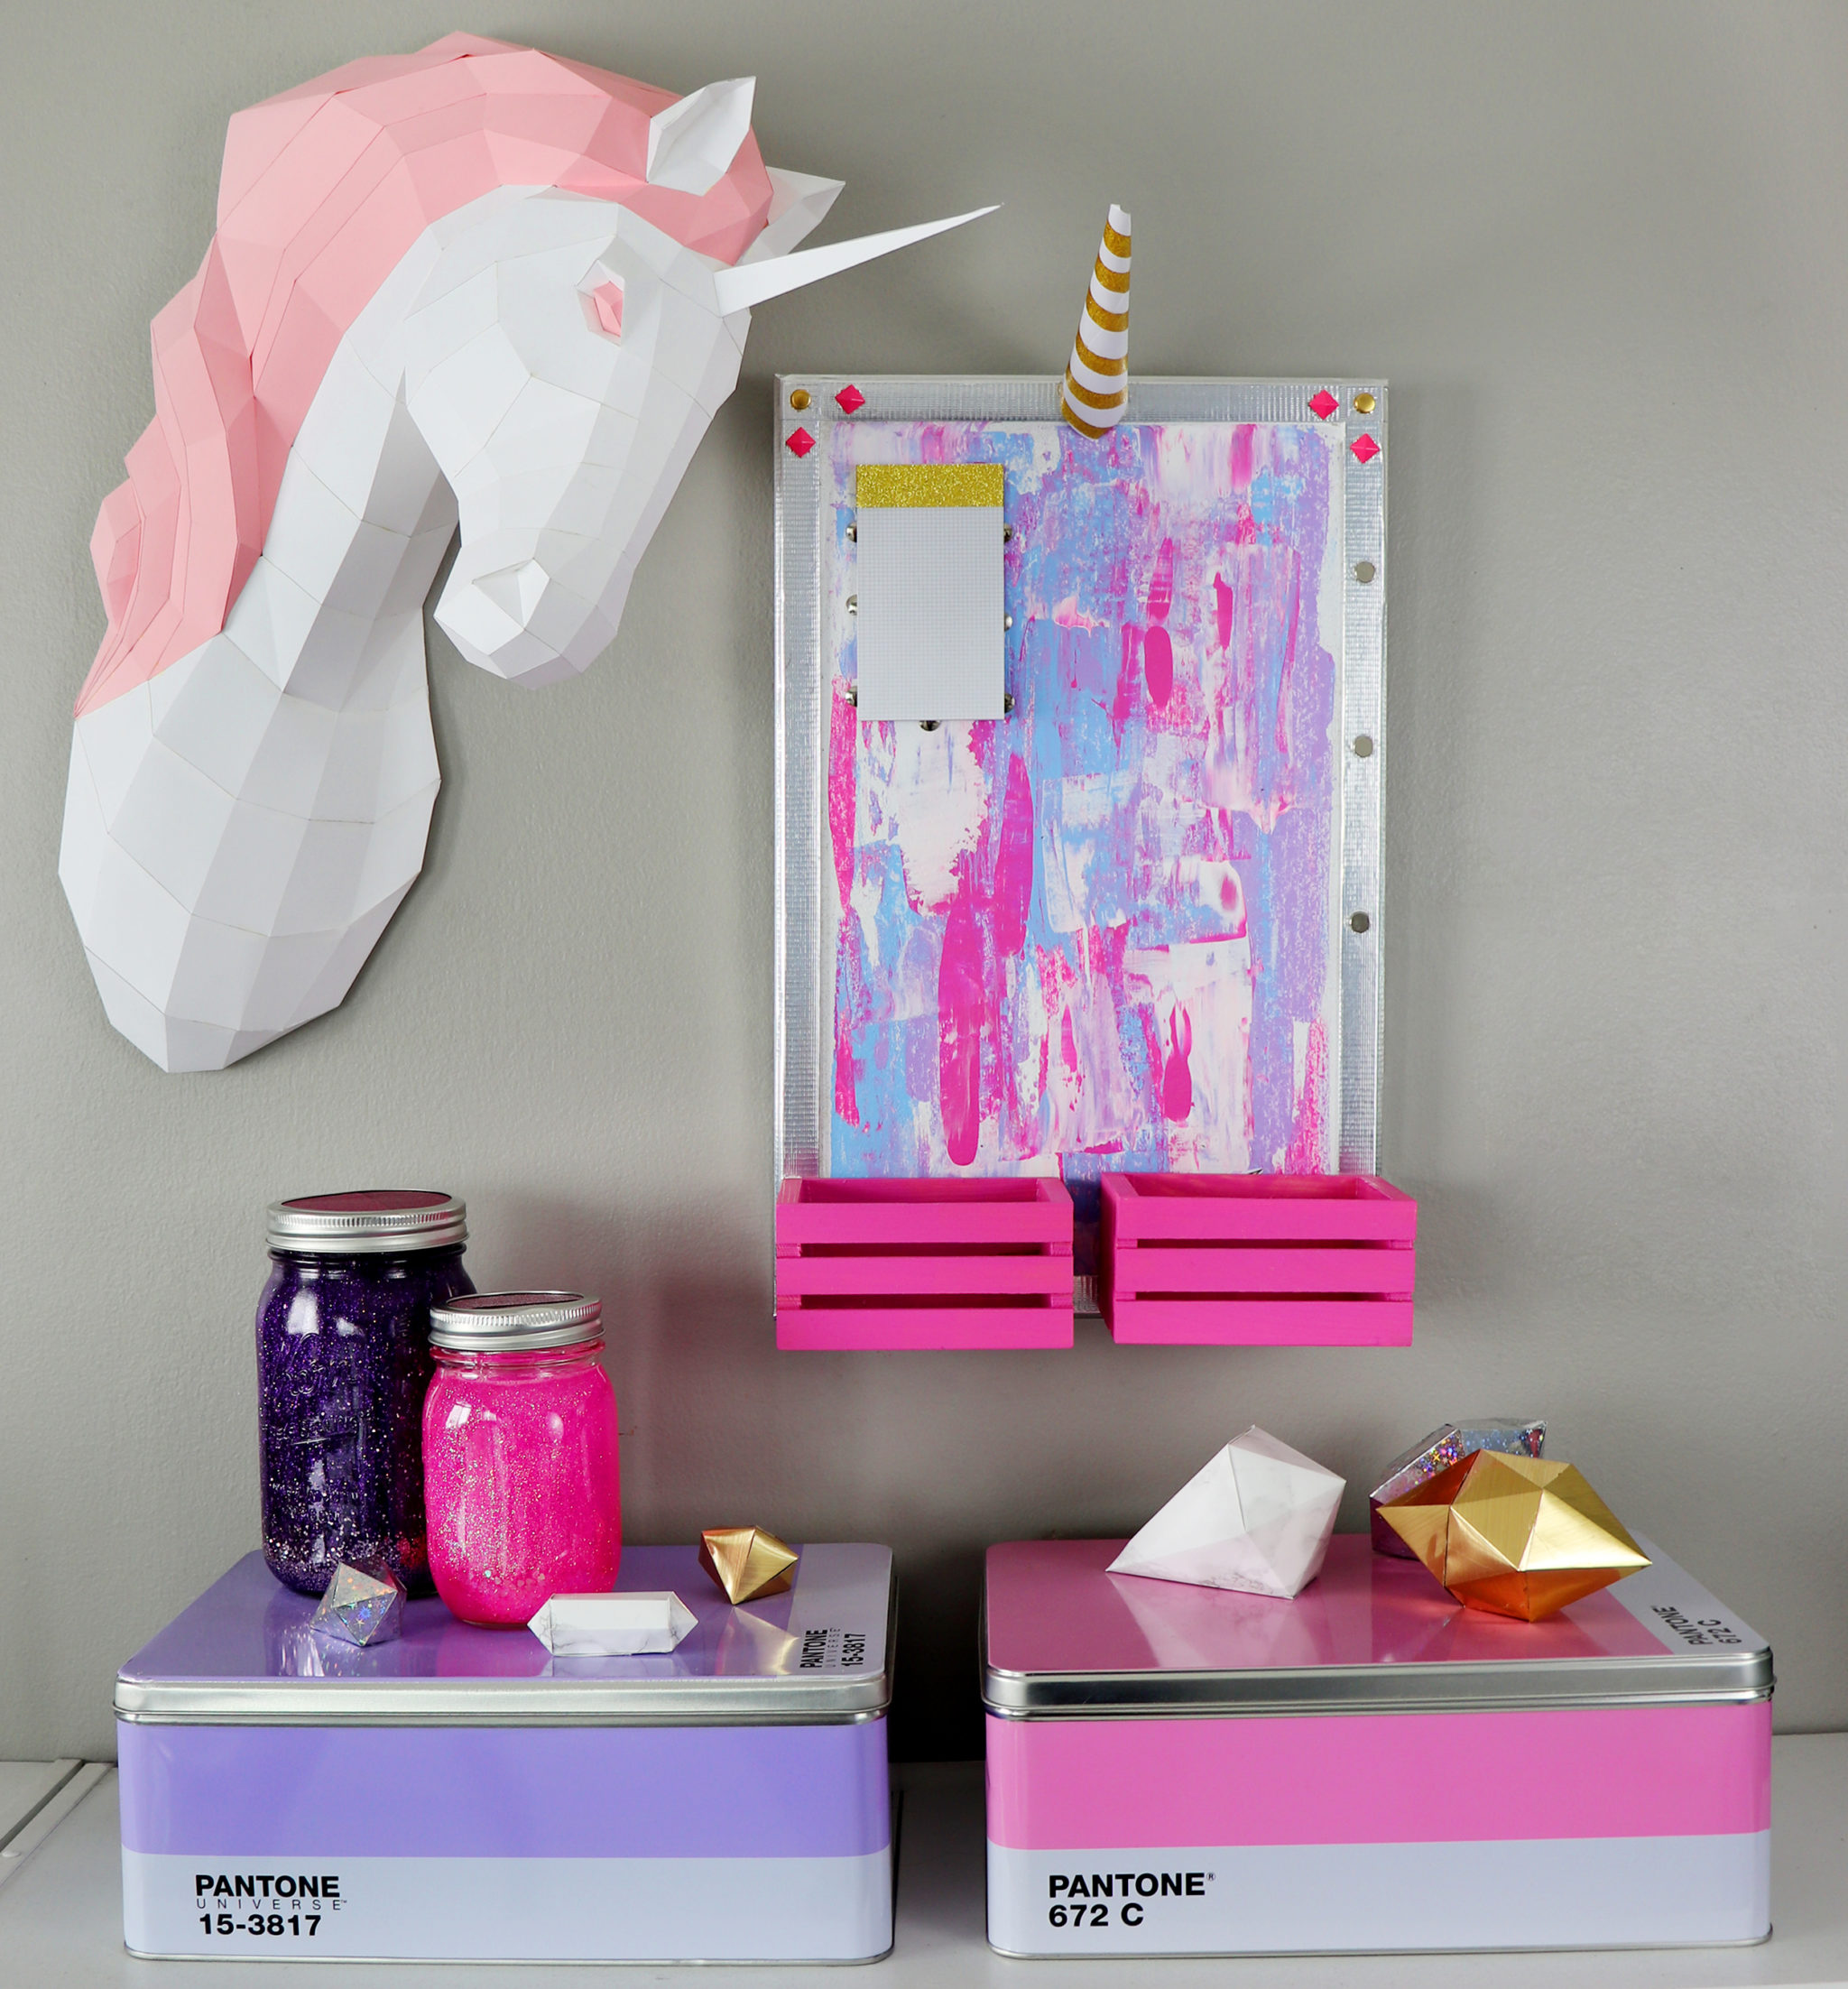
This is actually a really easy project – it’s just a matter of painting the corkboard how you like, adding on the boxes, and then decorating it with whatever theme you like!

I LOVE how the paint came out, and it was so easy to do! All you have to do is lay down random splotches of paint and drag them around with an old credit card!
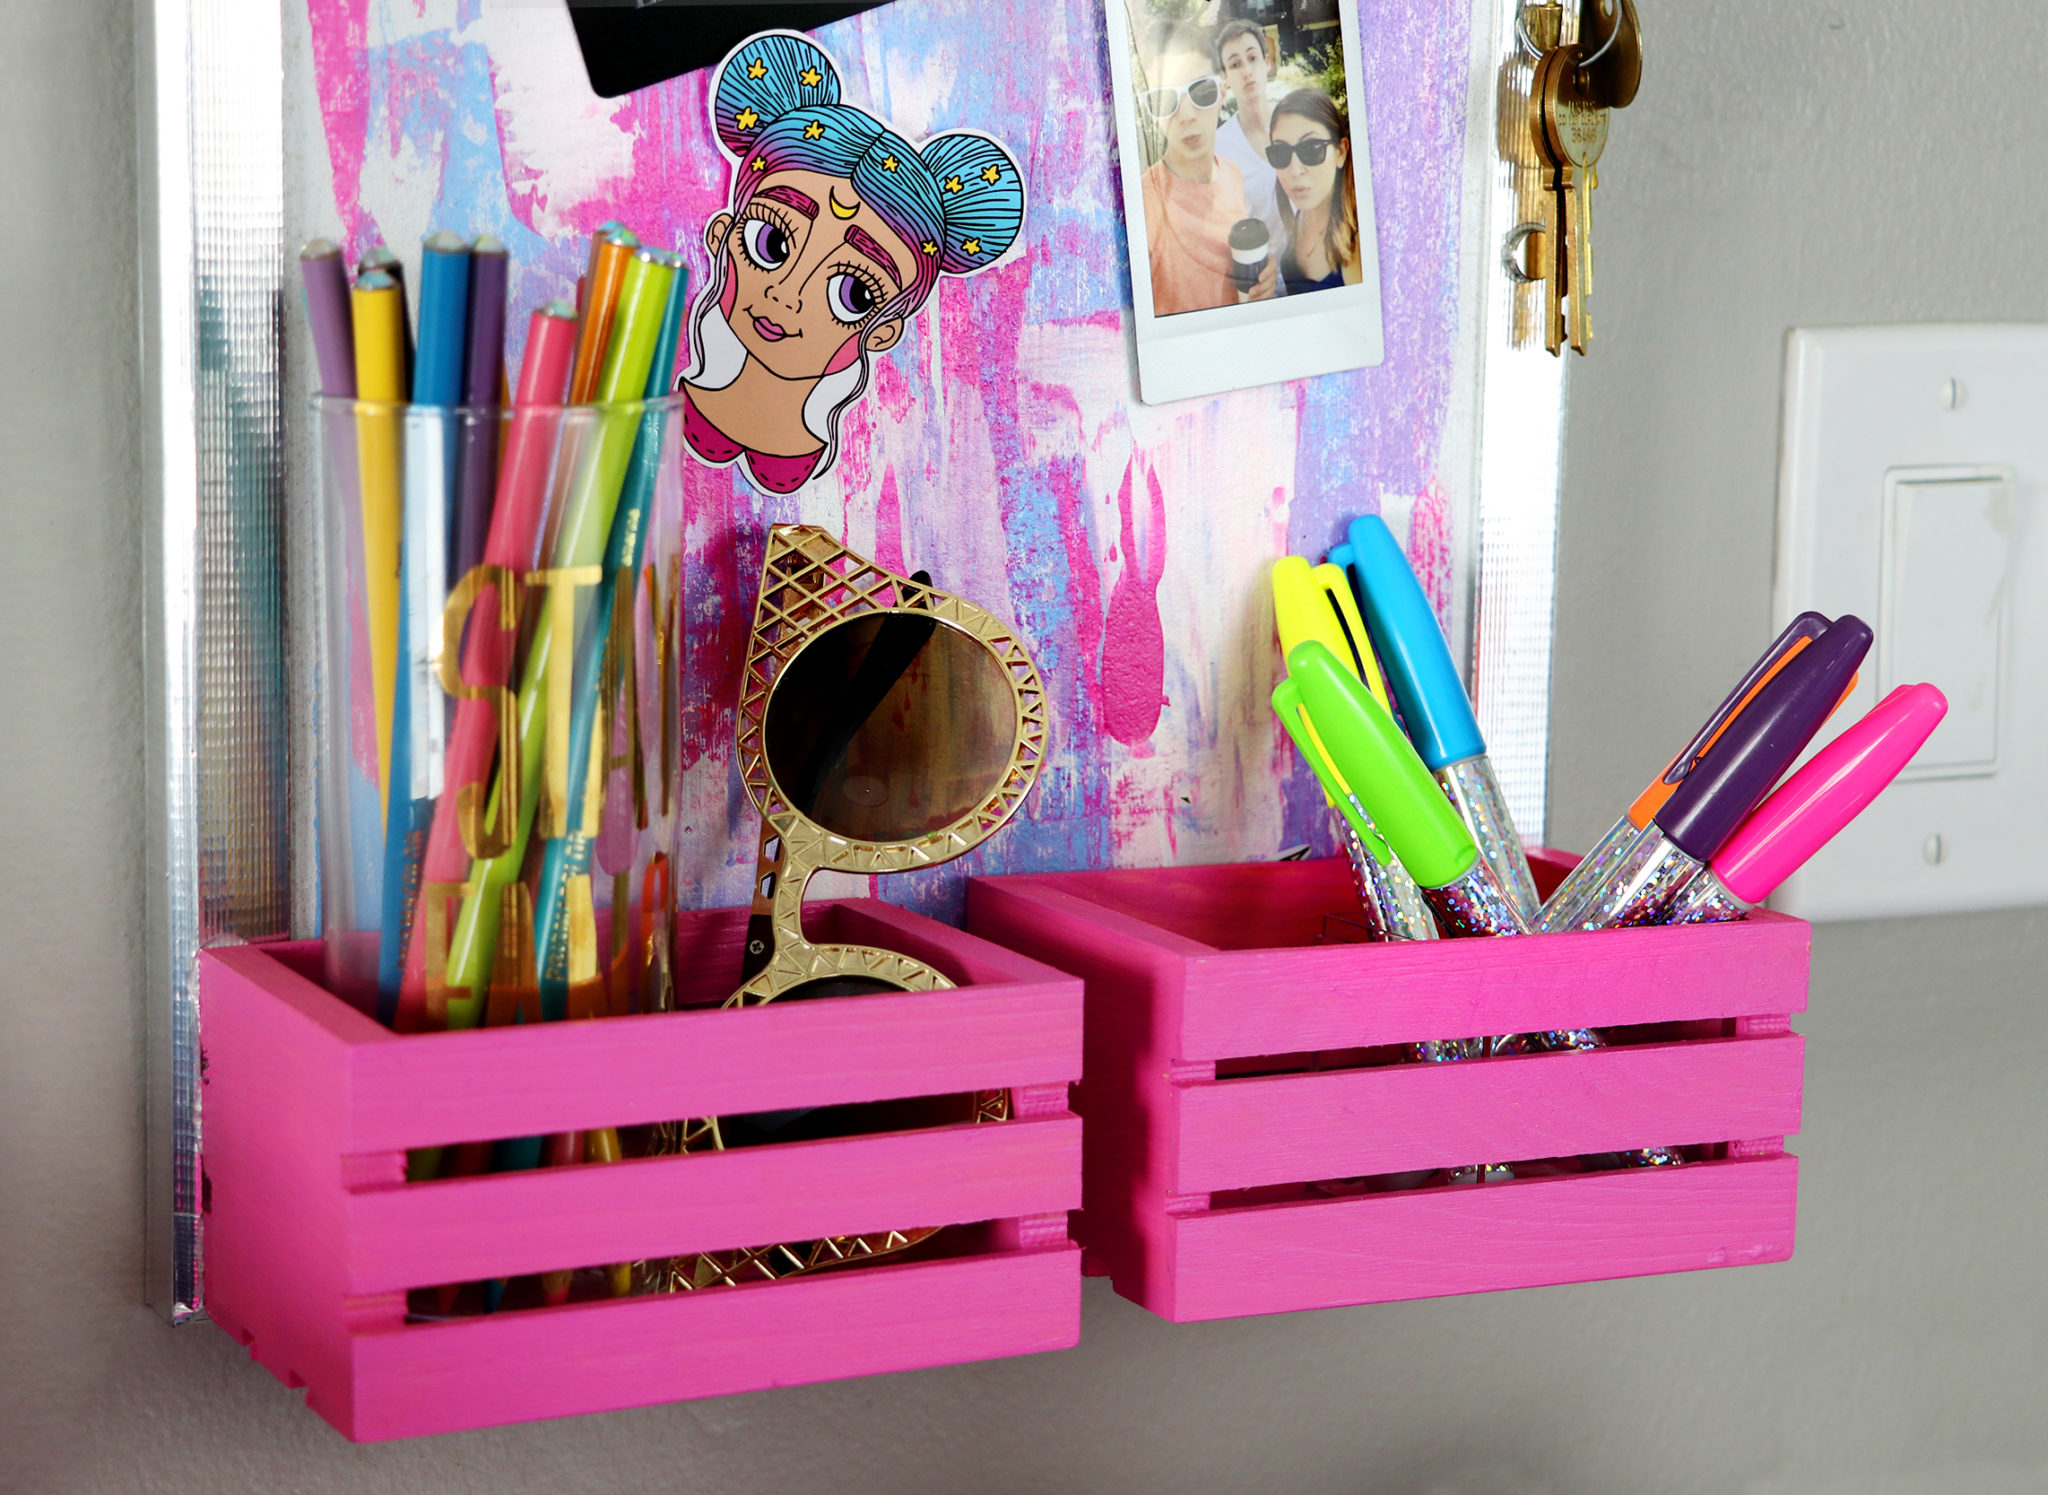
These boxes are from Michaels and only cost a dollar or two each.
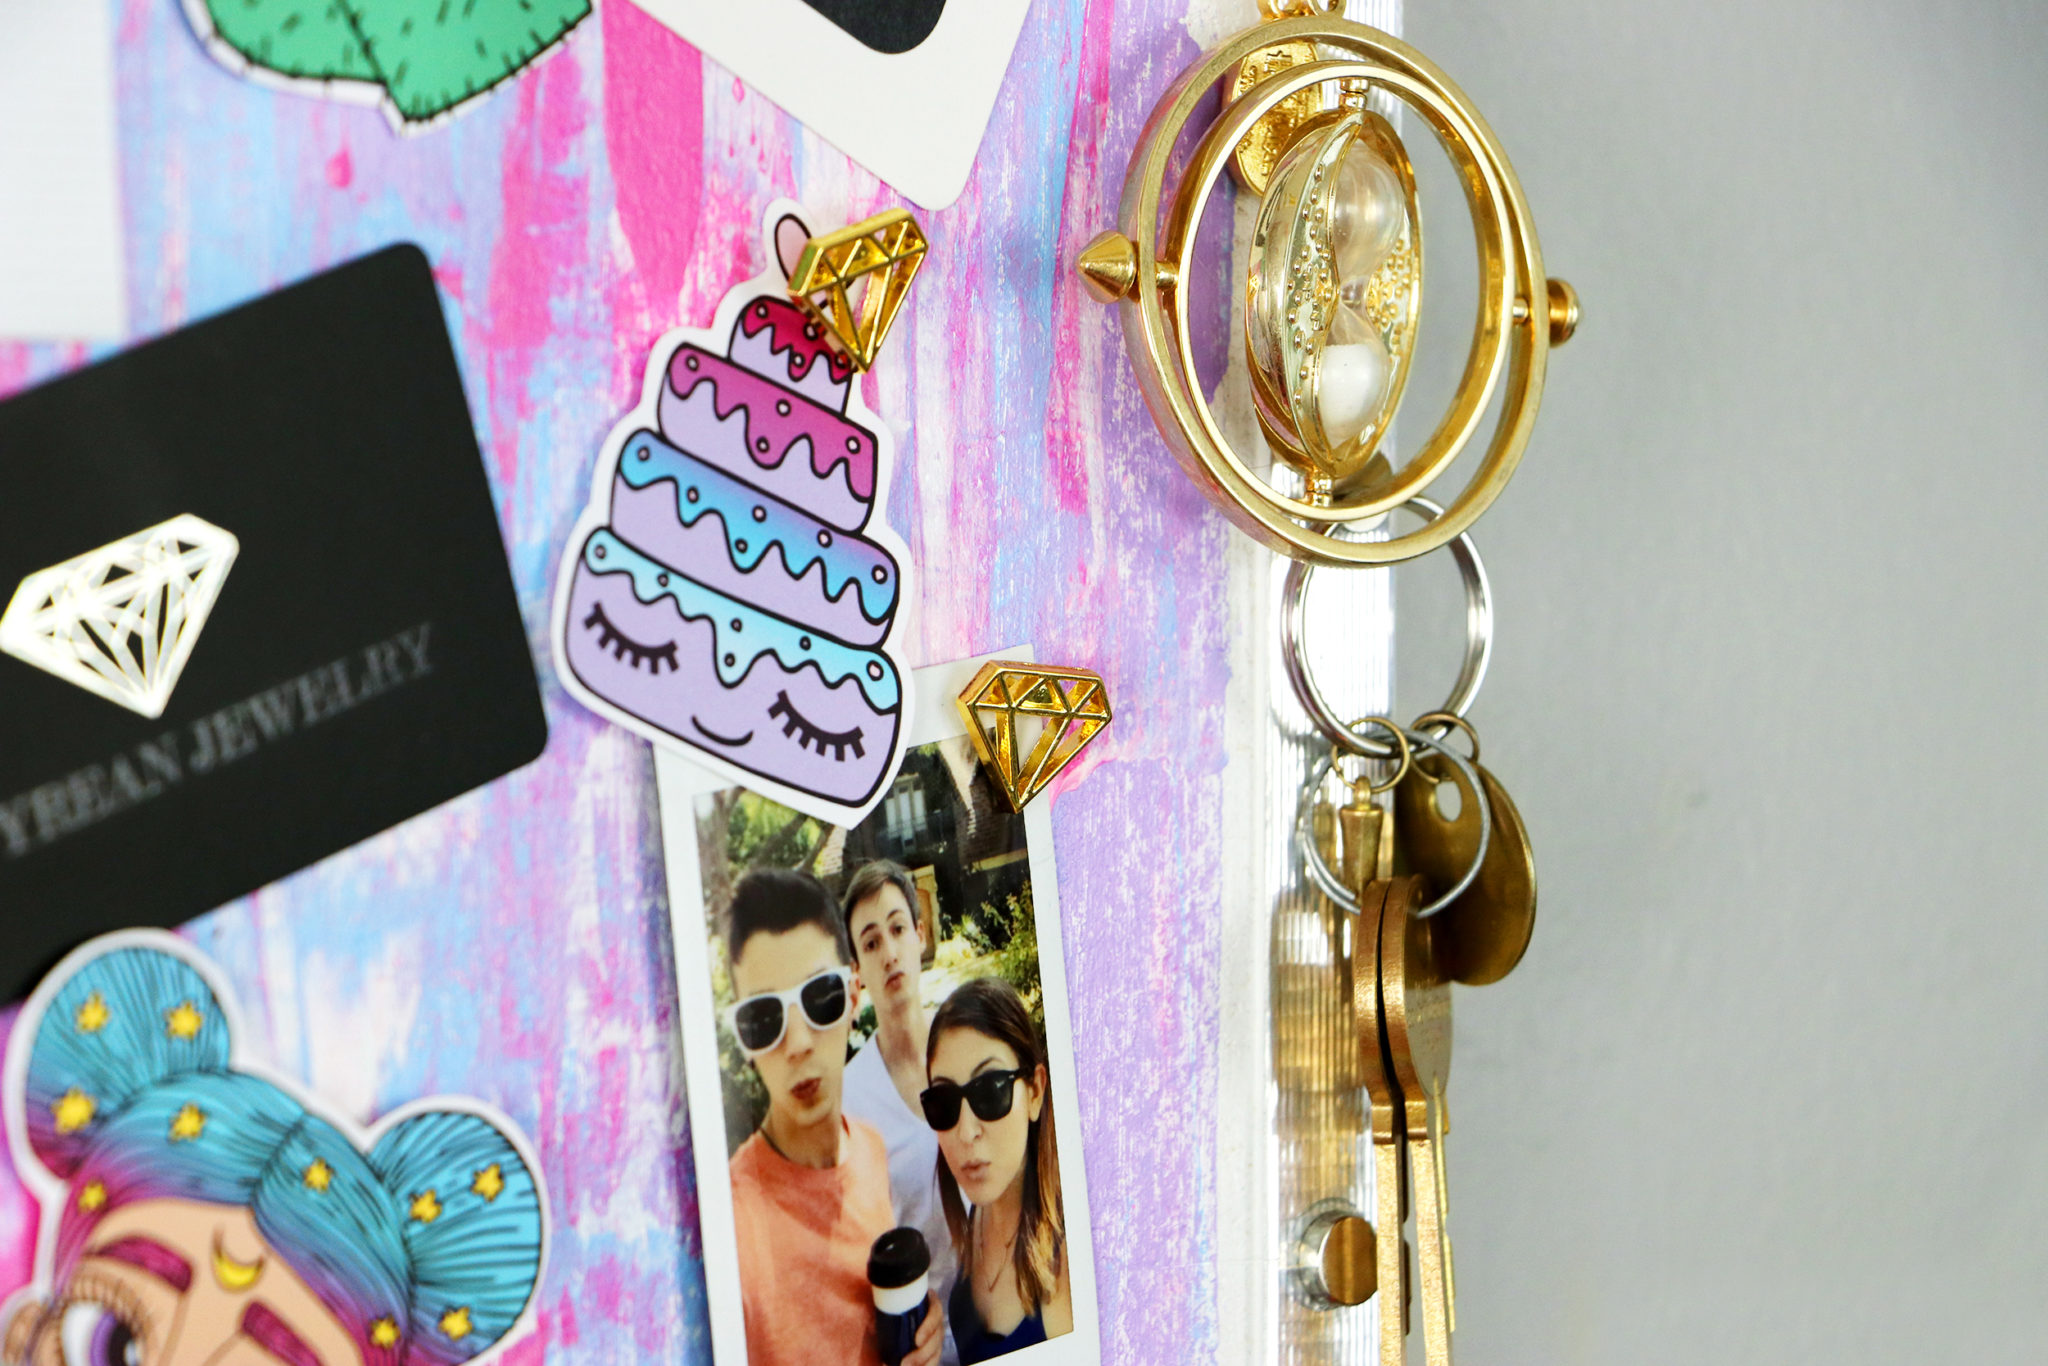
I hung up stickers from Dream Gal Designs using diamond pushpins I got at Target. And I hung up my time turner key chain because I need a bit of Harry Potter in every project!
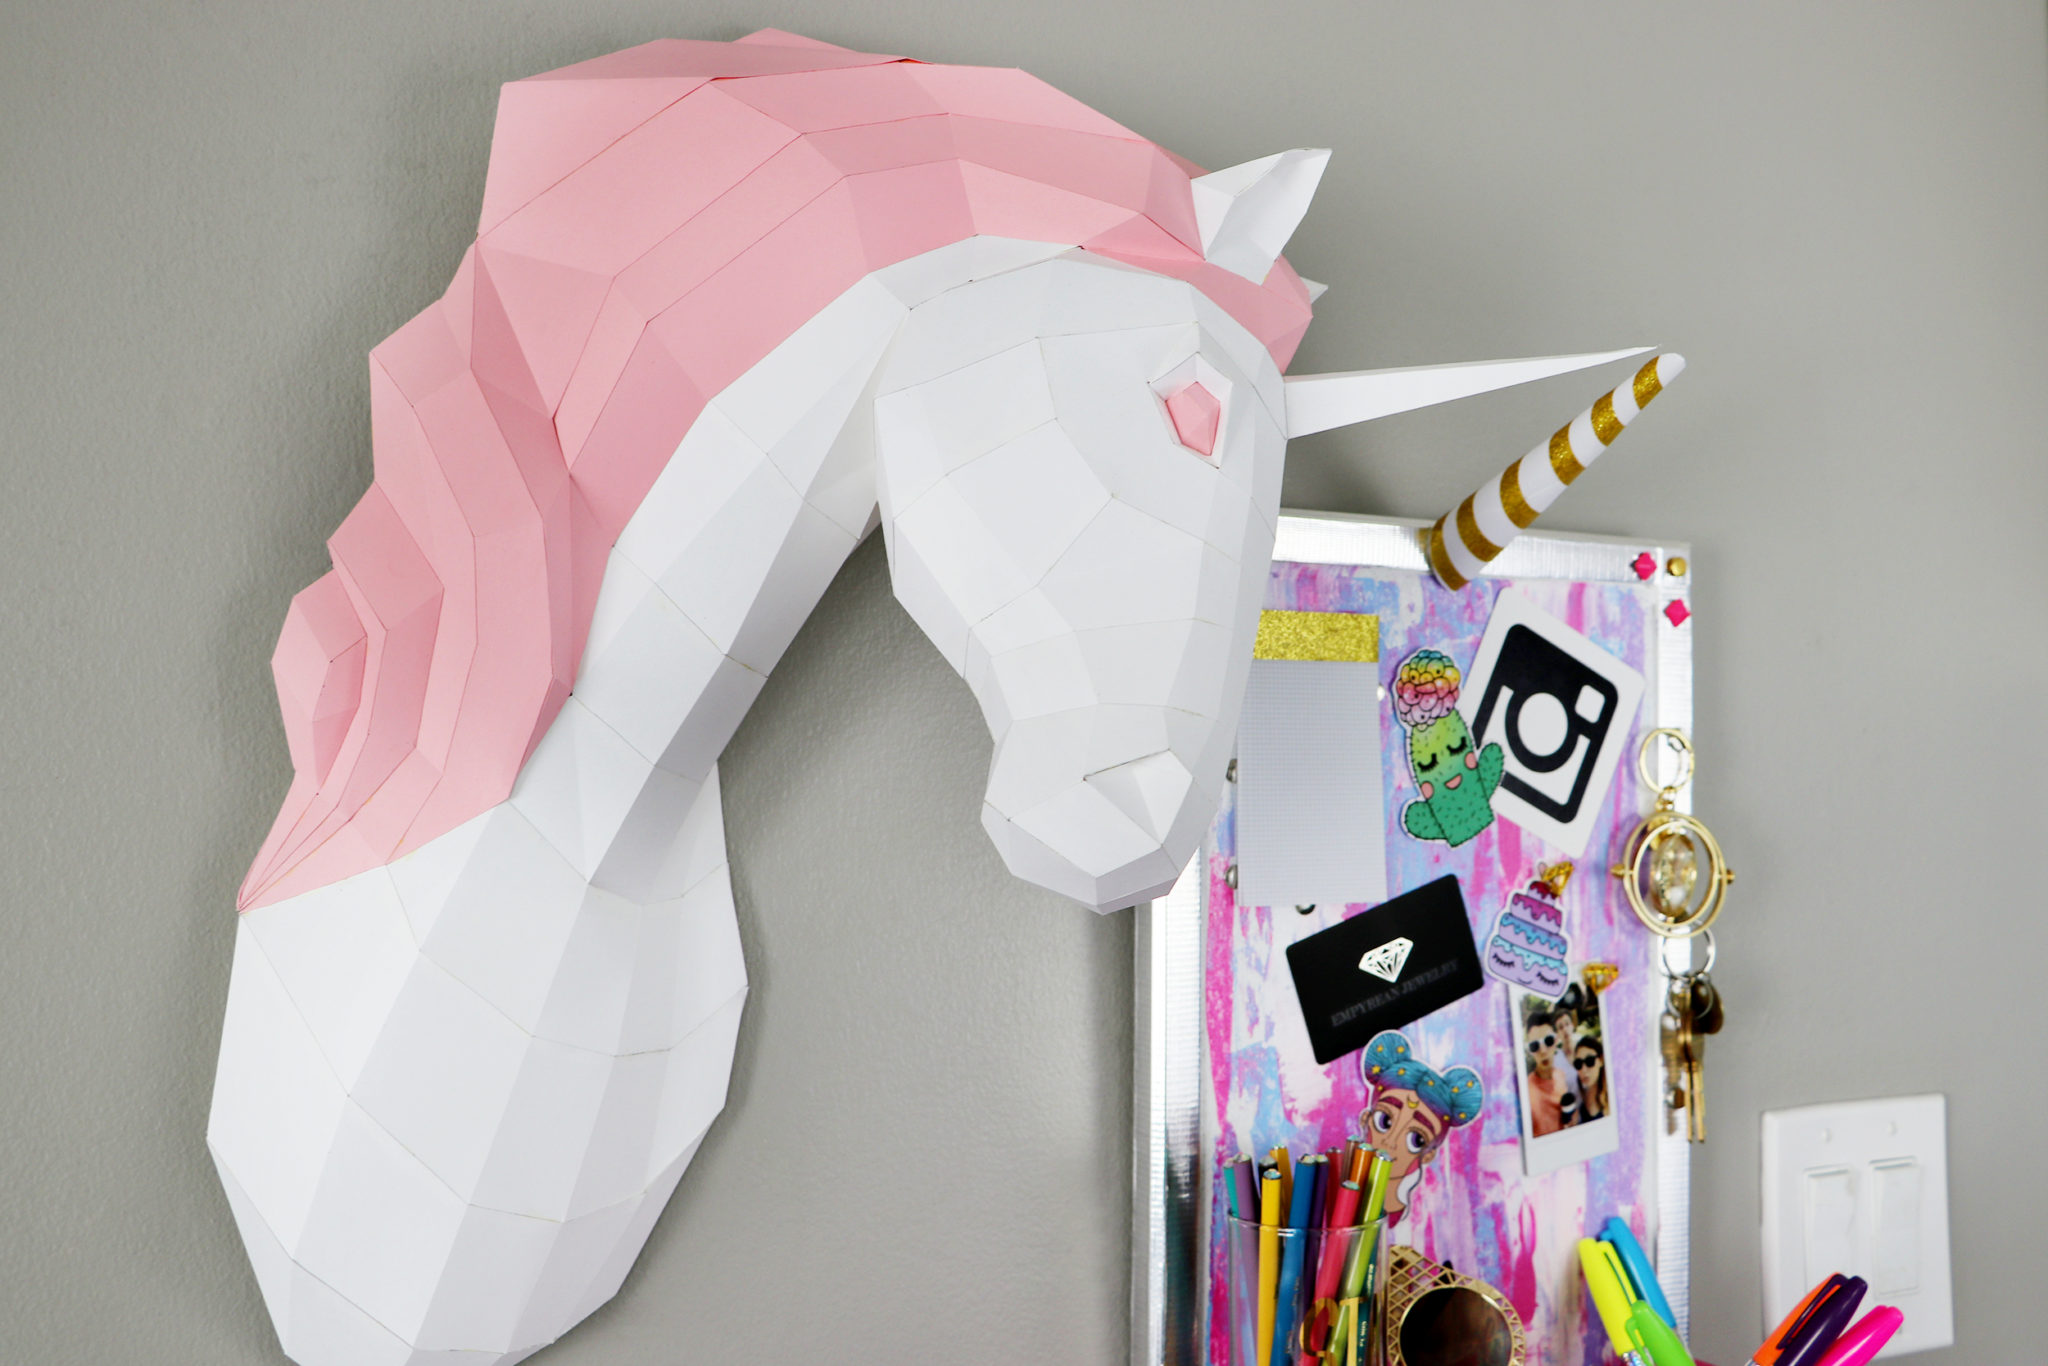
Stay tuned to my channel in the next few weeks for a tutorial on how to make this papercraft unicorn head! The pattern is from Oxygami!
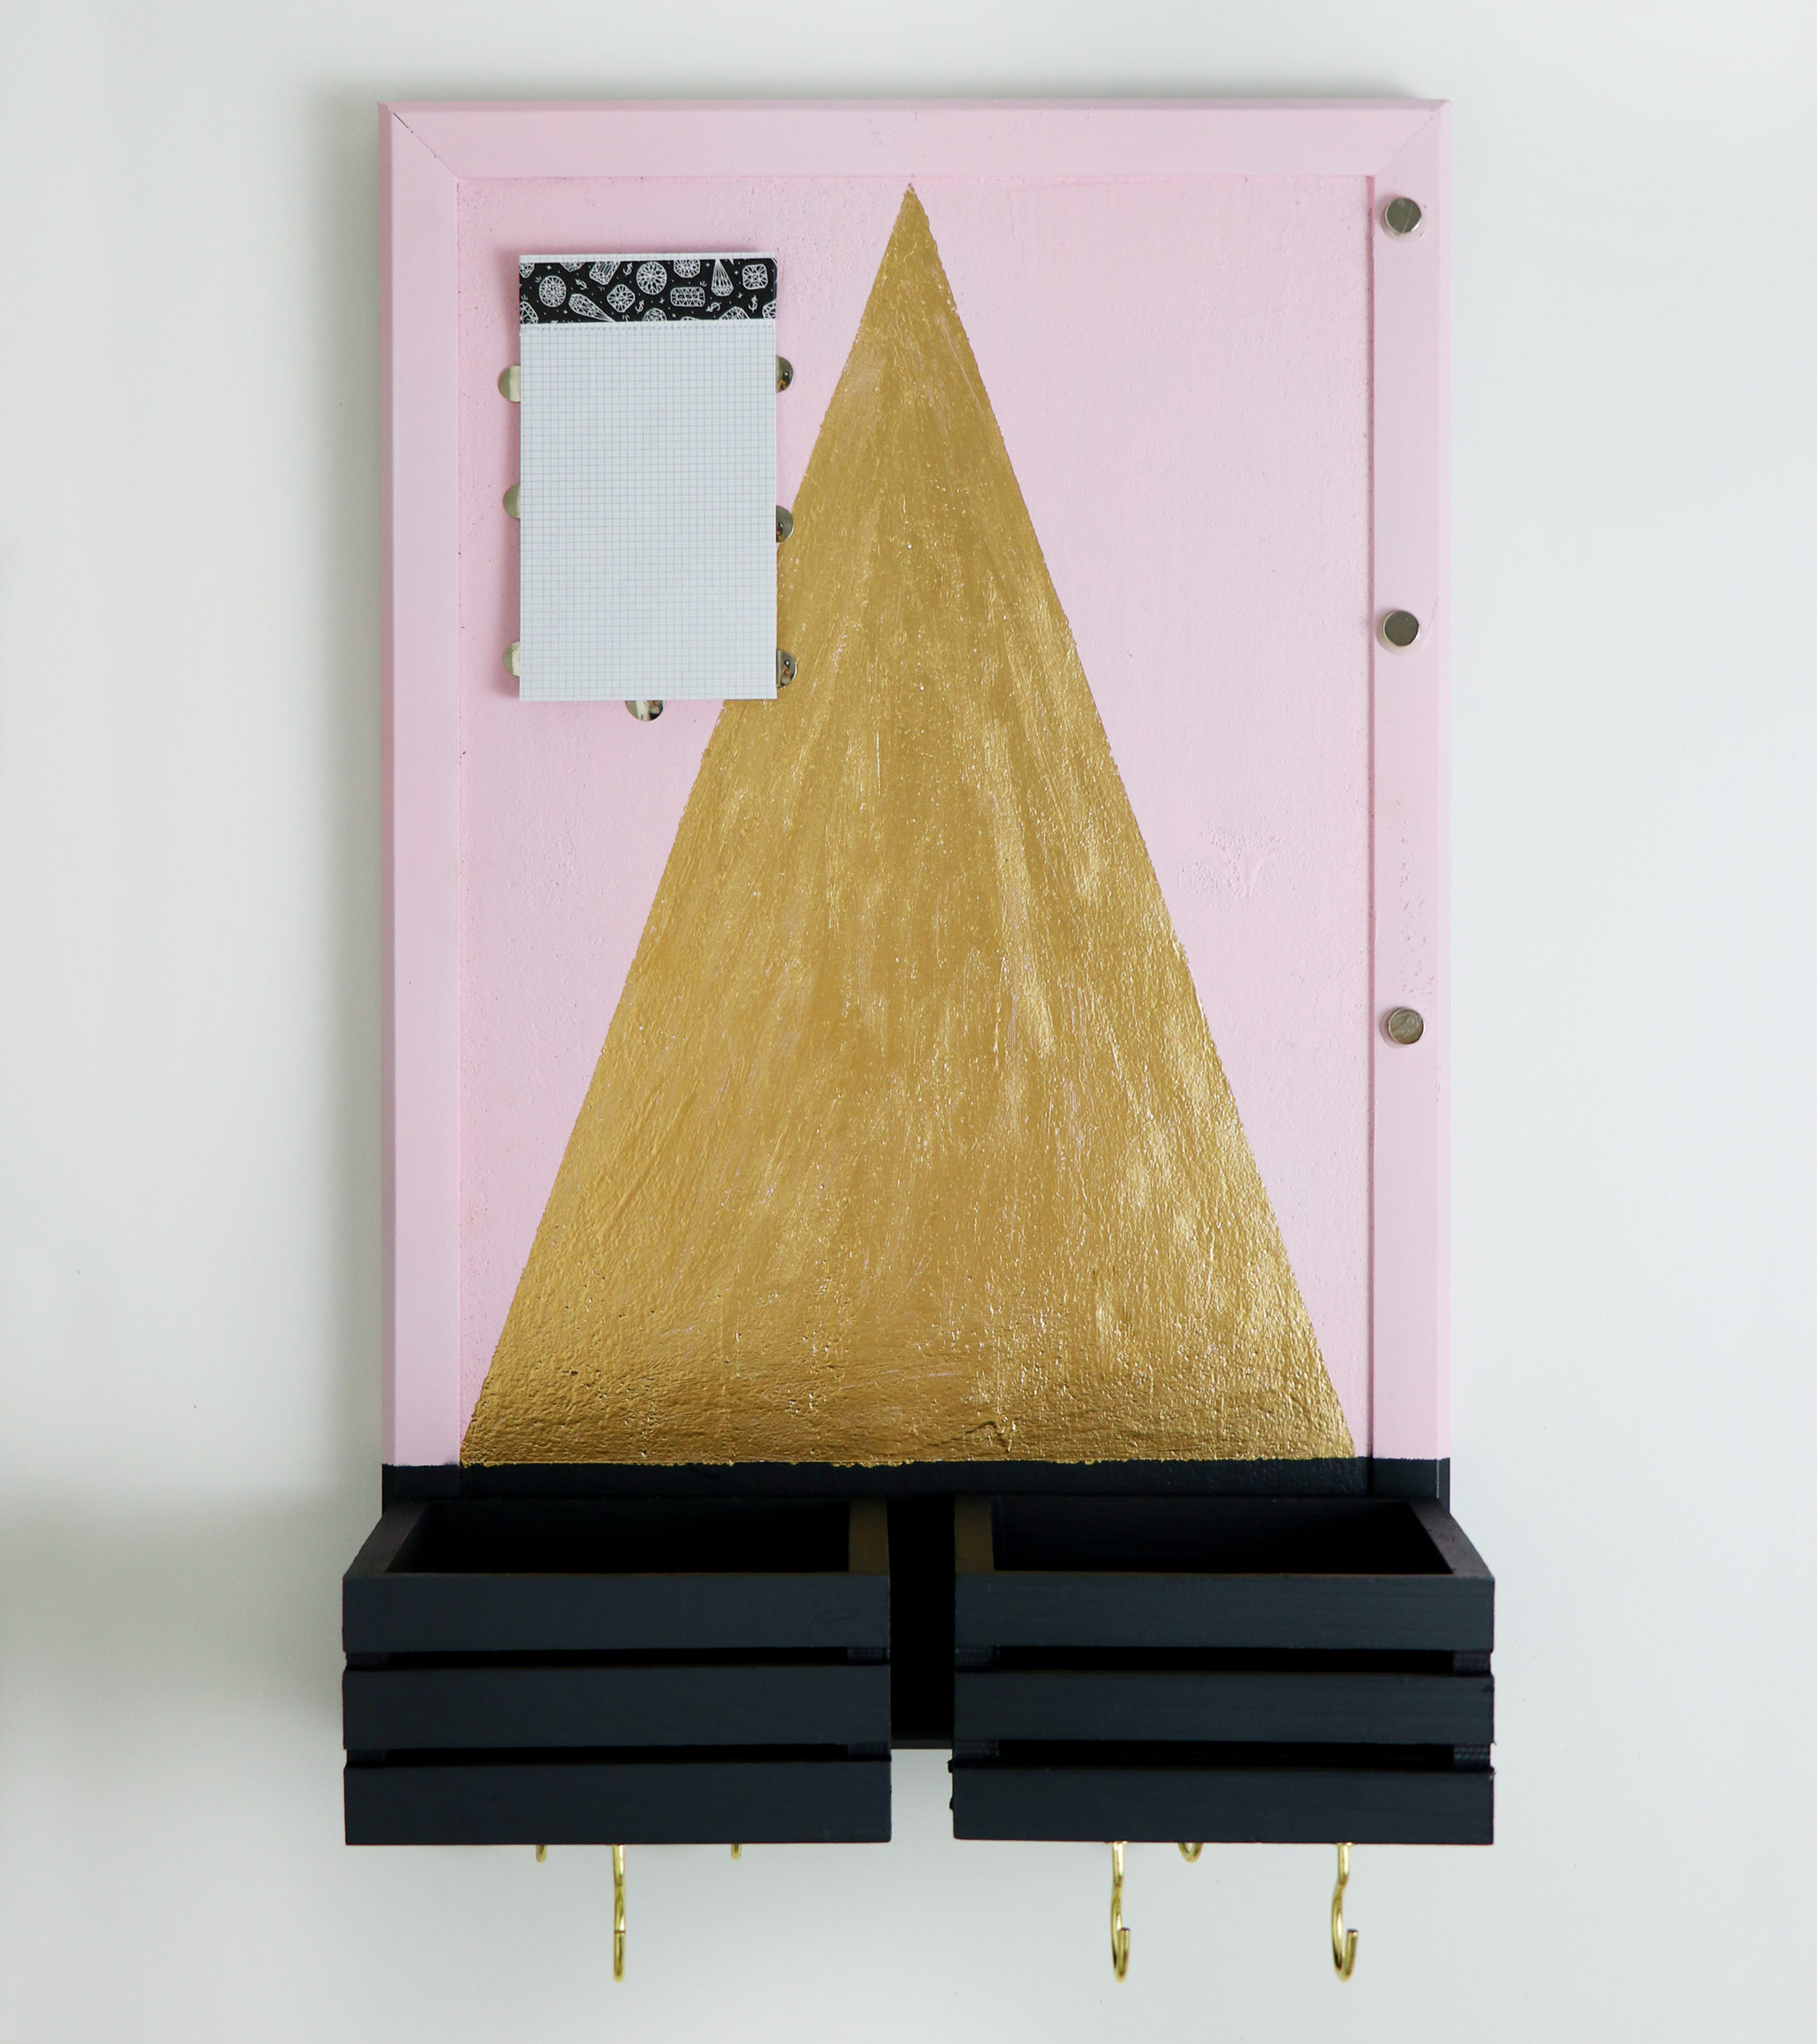
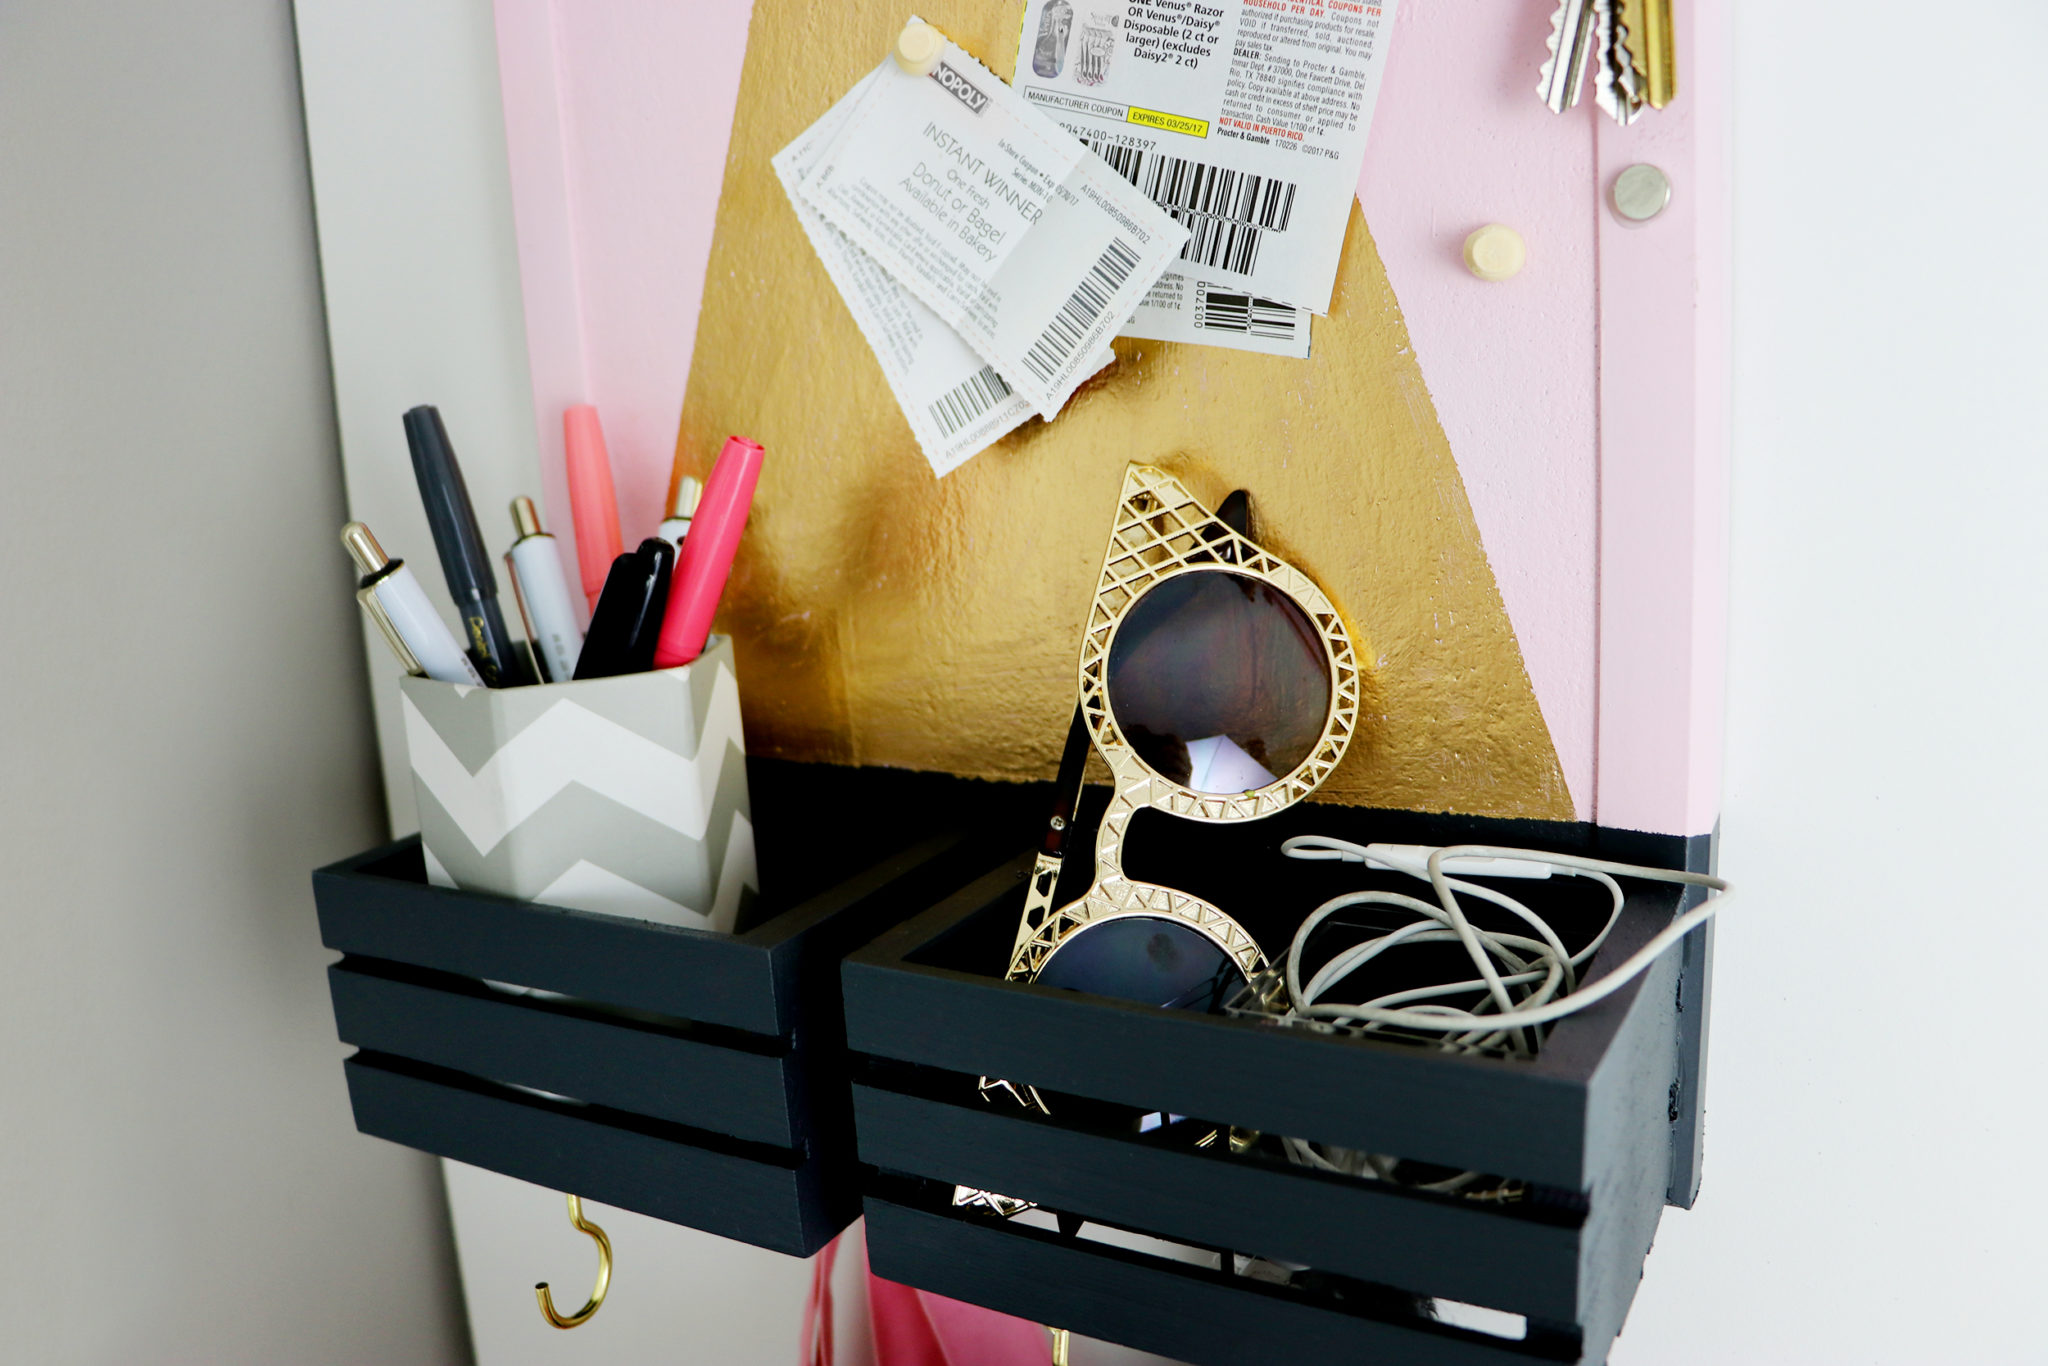
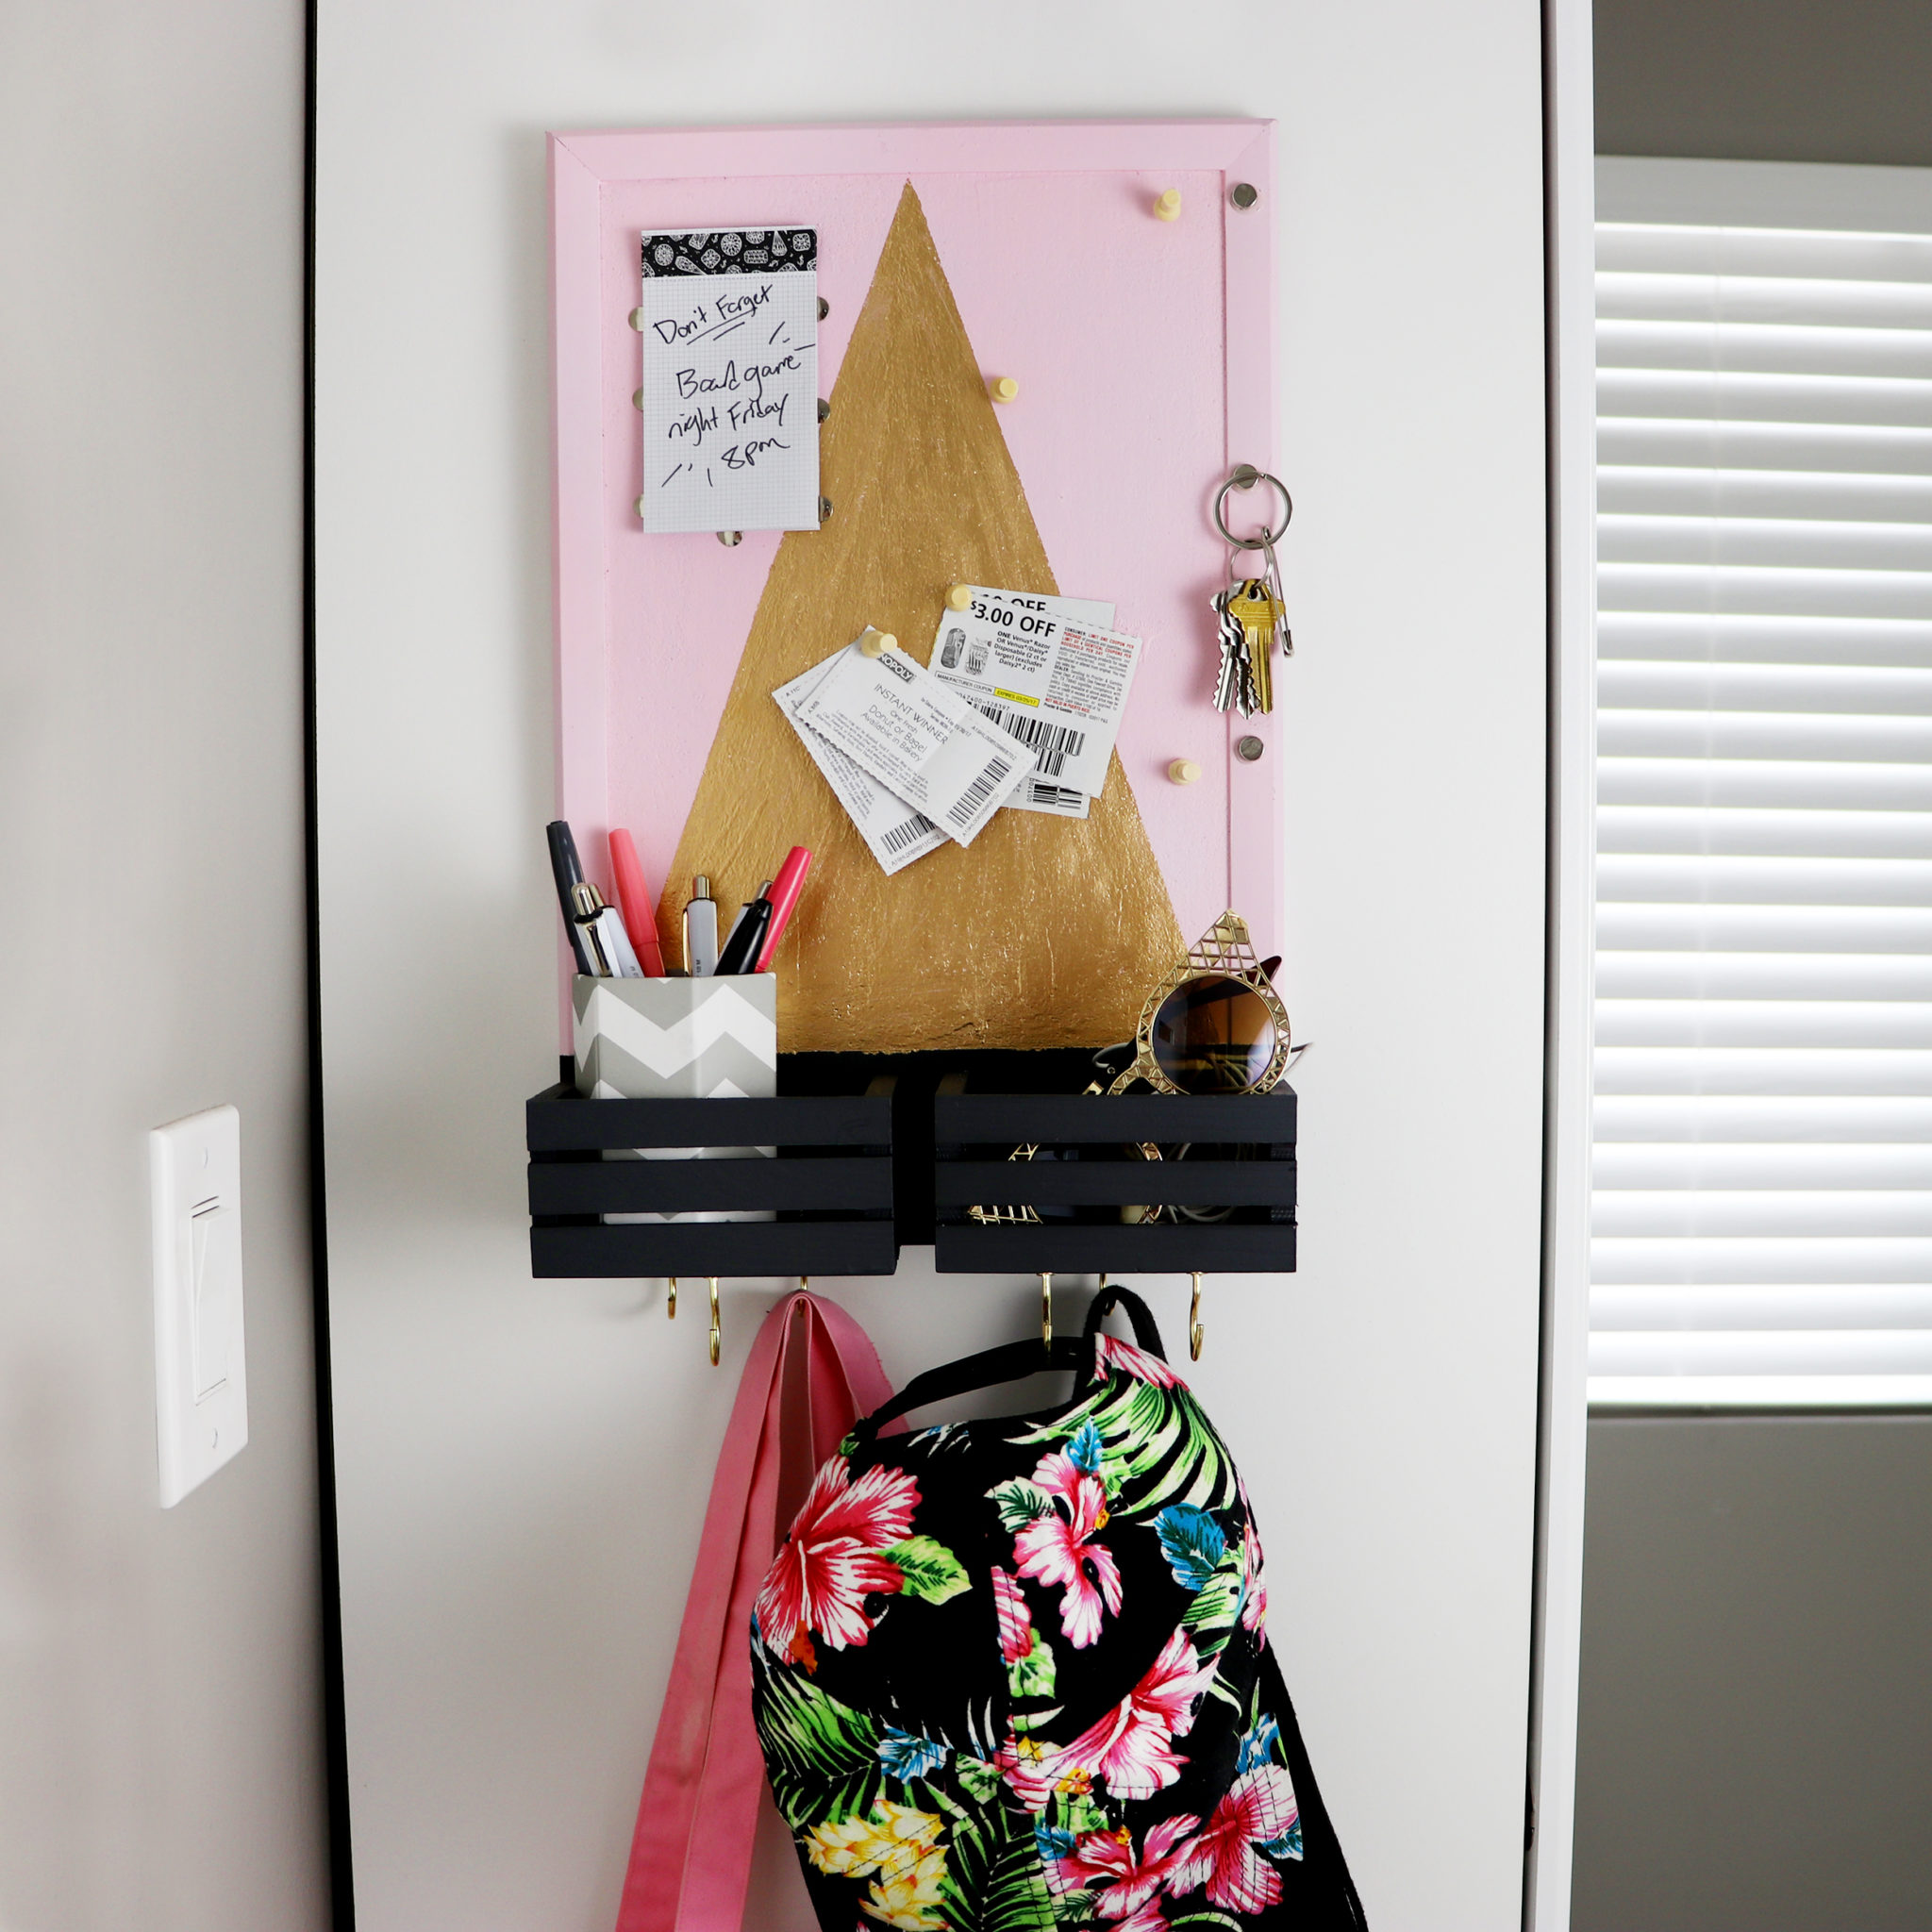
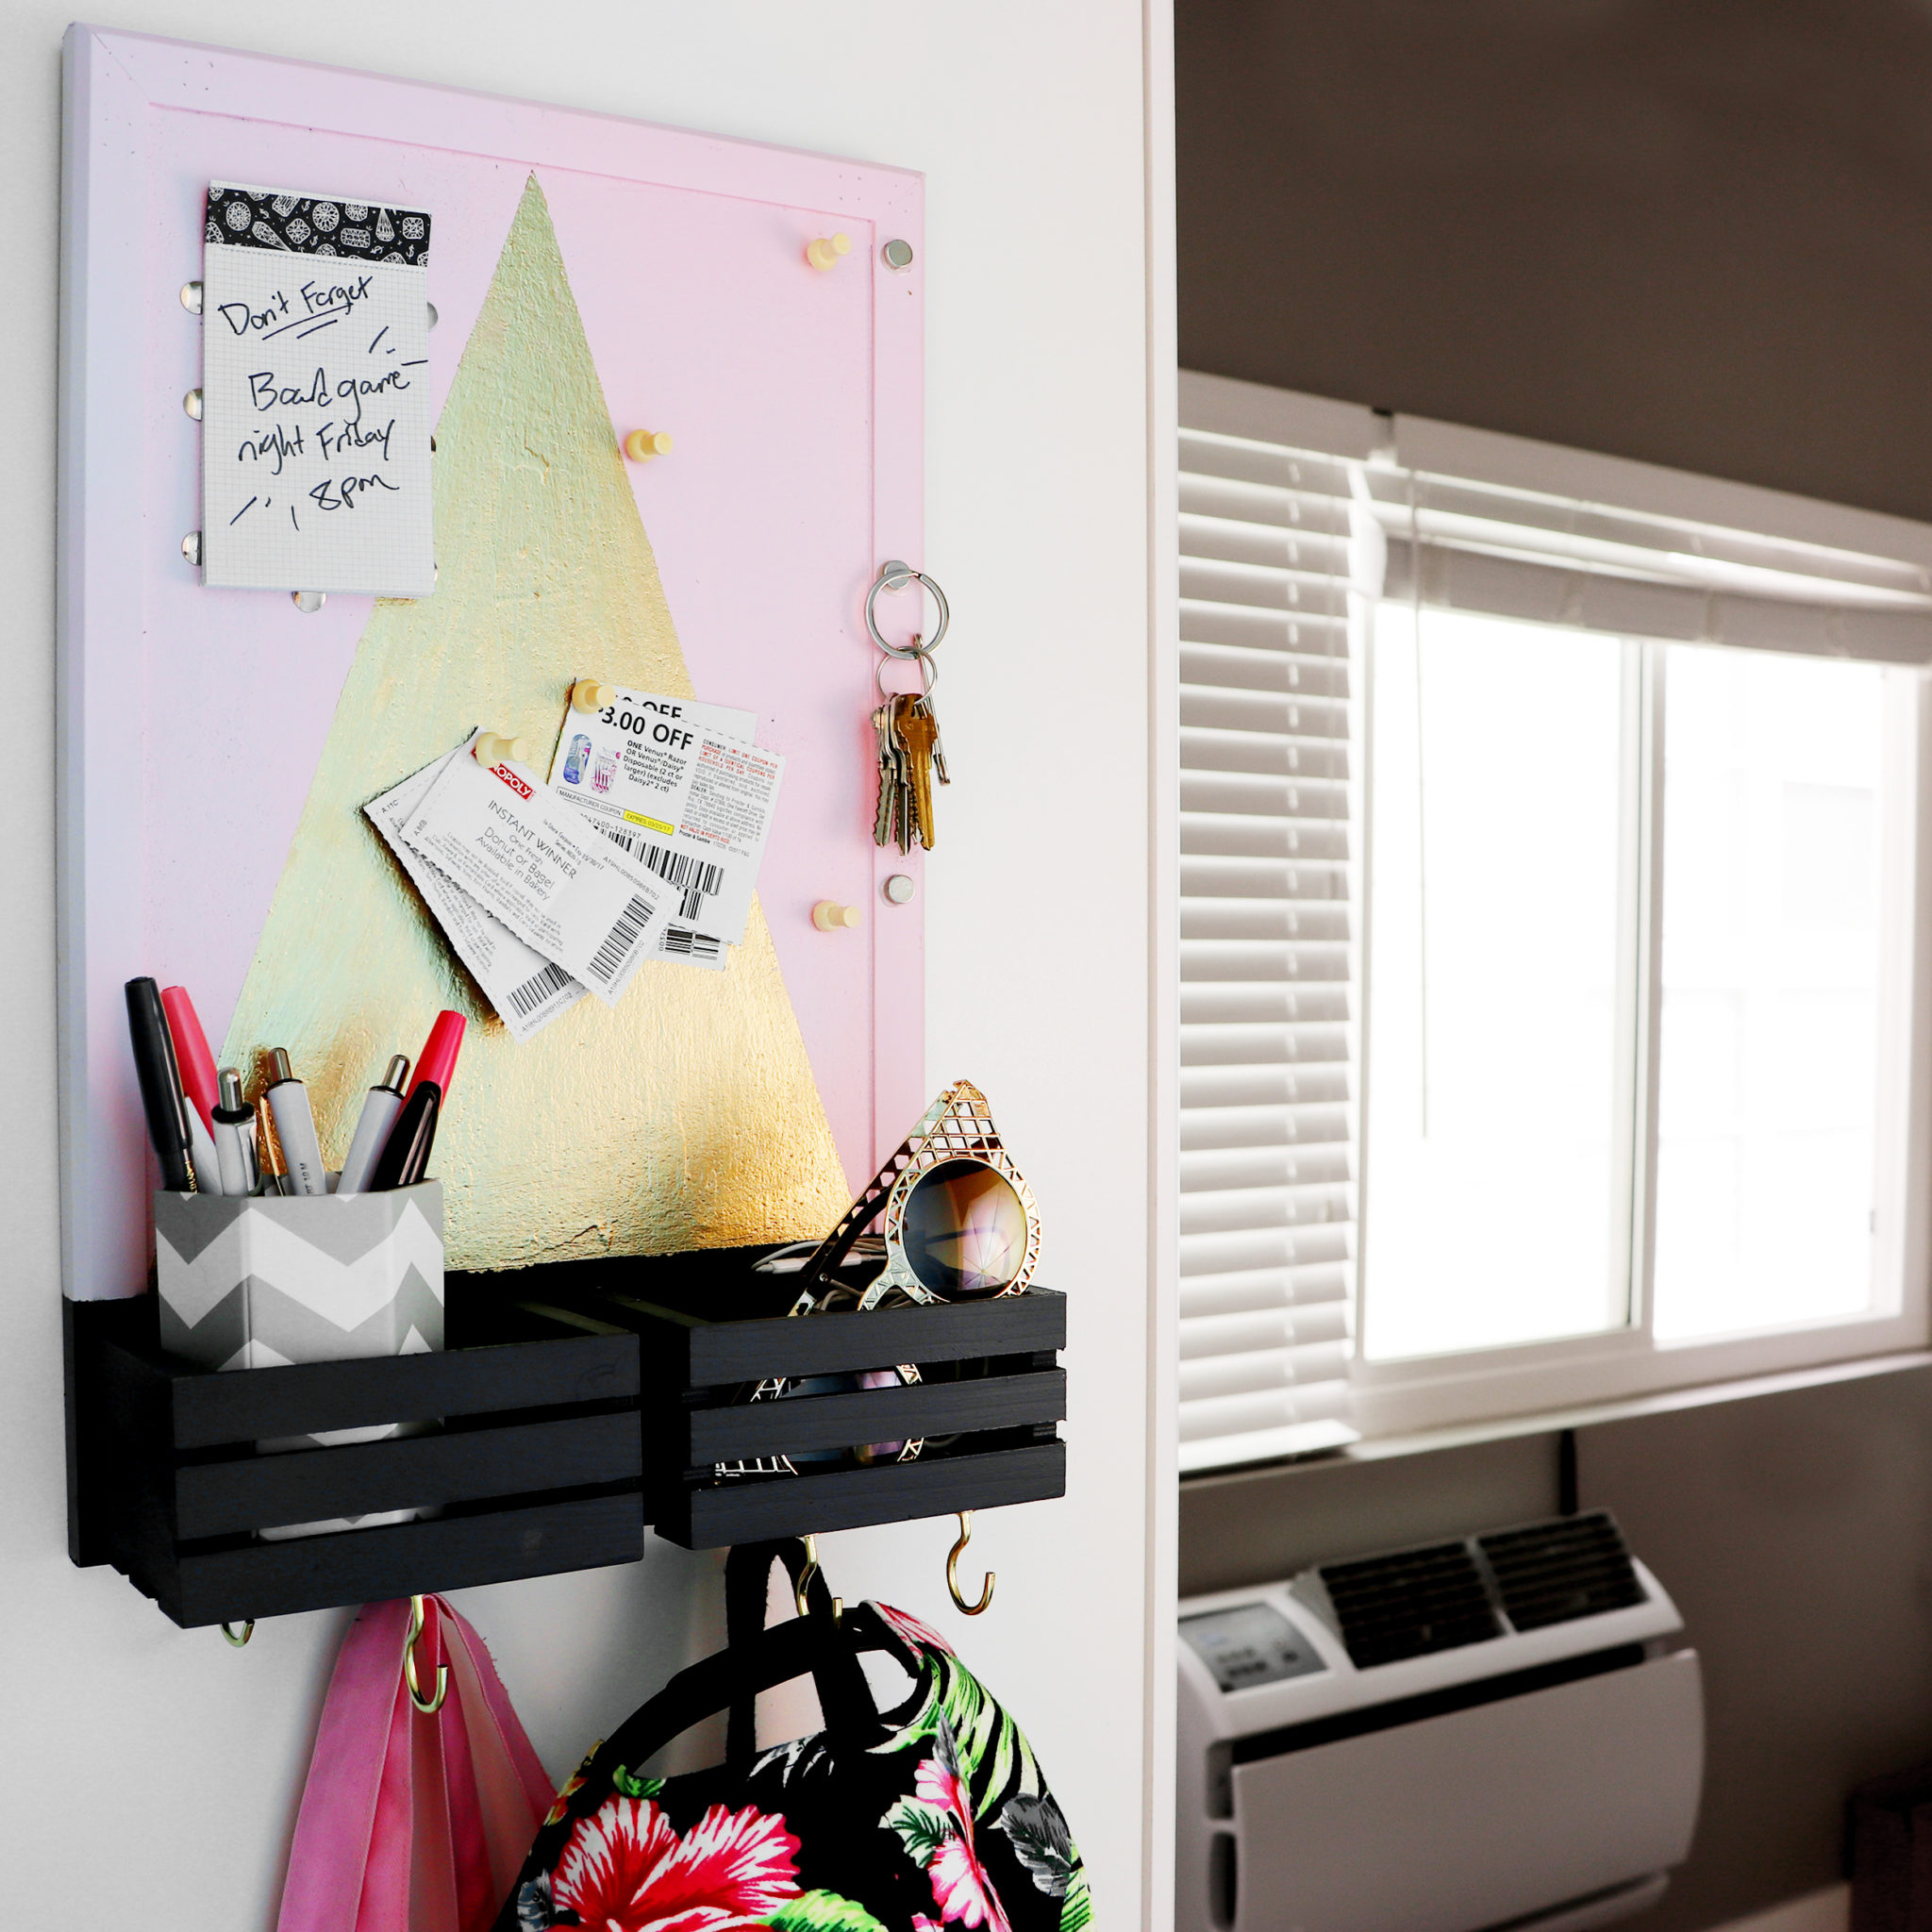
But wait, there’s more! After making the unicorn version, I didn’t think my roommate would really want to look at it every day, since it’s a little over the top. So, I took it apart and made this more subtle geometric version, which I hung up by my door. It’s working great, and I love having one central place to put my keys, shopping bags, and other odds and ends!
Thank you guys so much for reading, and be sure to watch the full video on YouTube and watch the sharable version on Facebook! I’m on vacation next week, but I’ll be back in mid-April with more DIY videos!


