For the final installment in my Halloween crafting video series I’ve been doing for the entire month of October, I decided to make some trick-or-treat bags. But not normal ones – no, these are based on different types of infographics, with the idea that you can then sort your candy as you’re getting it. Check out the video above for the making-of and more photos down below!
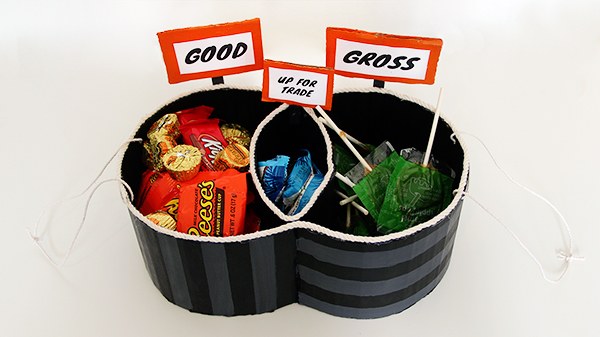
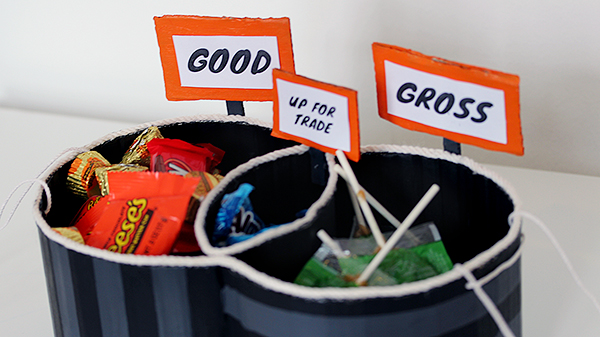
This one is my favorite – the venn diagram. All the good candy goes in one side, all the gross candy no one wants goes in the other side, and all of the good and/or gross candy that you’re willing to trade goes in the middle.
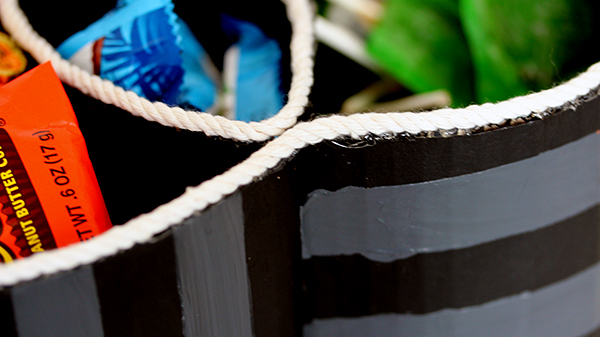
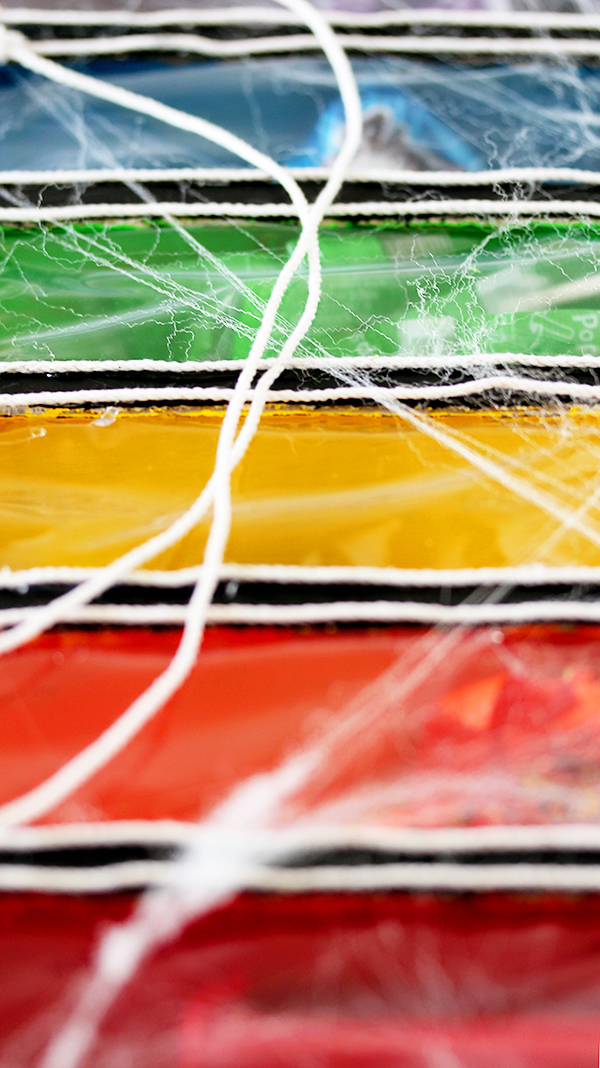
A closeup of the paint stripes and the rope detailing on the top.
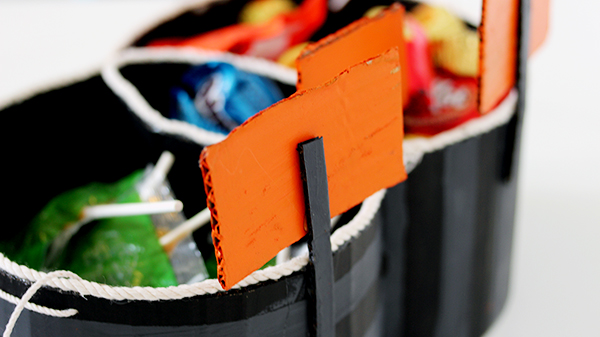
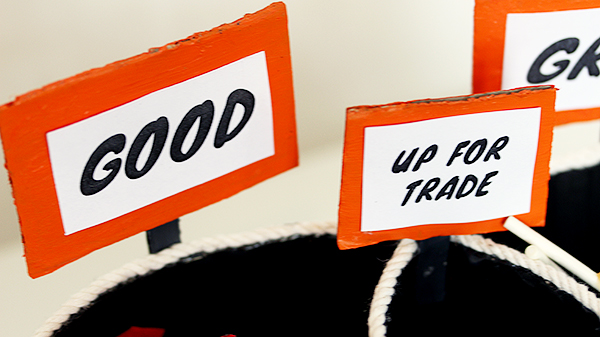
These mini signs are just painted cardboard hot glued on. All of the cardboard I used for all of these projects came from a furniture box from IKEA.
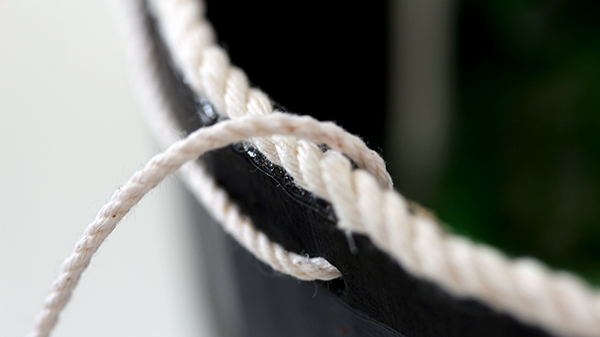
A closeup of the string handle.
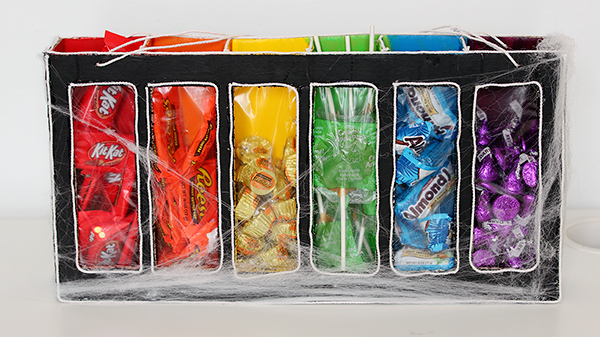
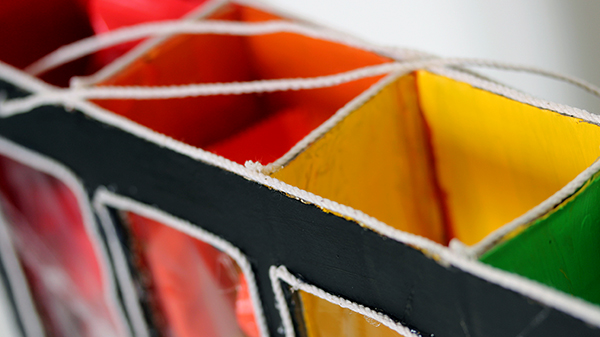
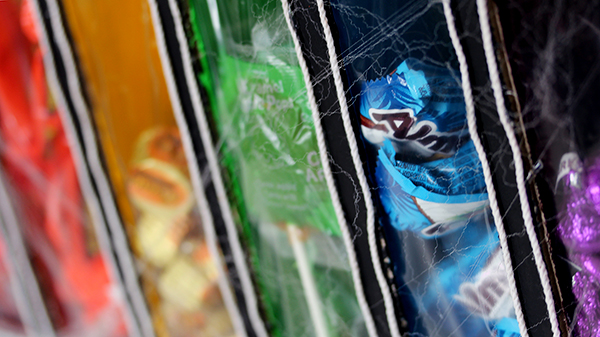
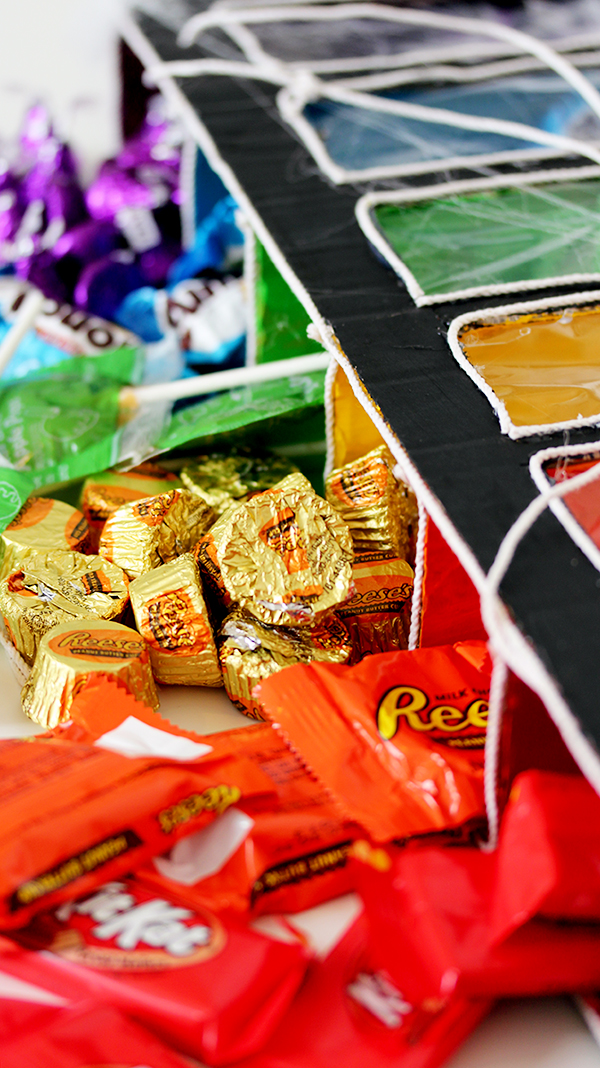
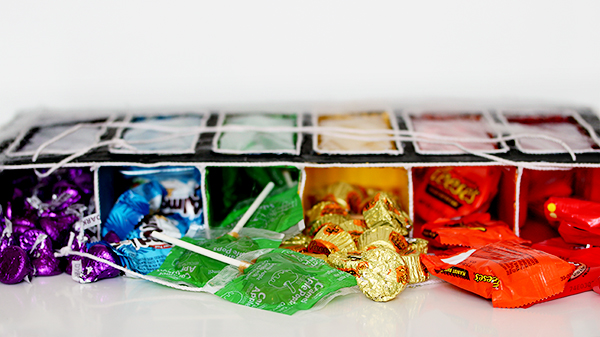
The second trick-or-treat bag lets you sort all of your candy by color into a beautiful rainbow of deliciousness and sugar.
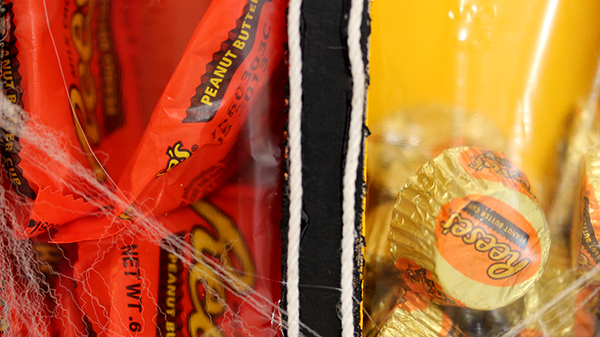
The yellow column is shorter than the rest because I just couldn’t stop eating Reese’s Peanut Butter Cups while I was making all of this!
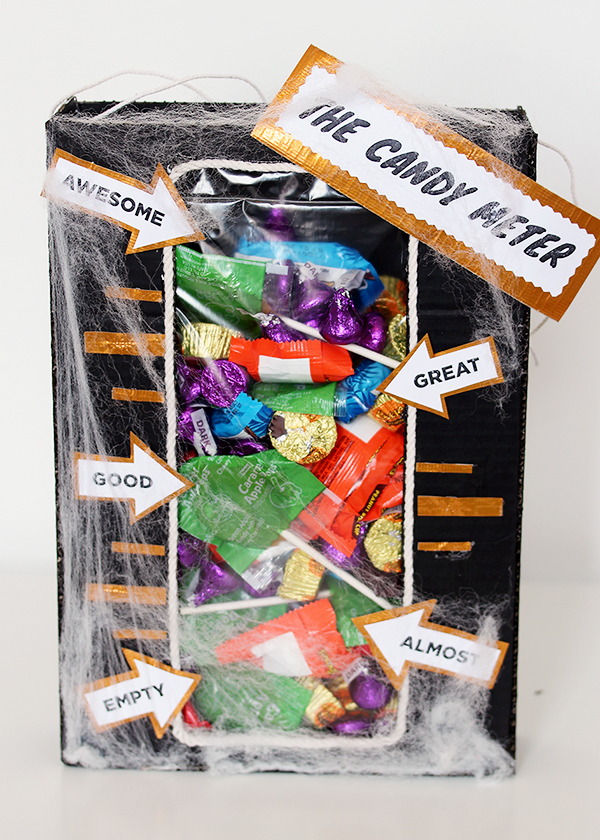
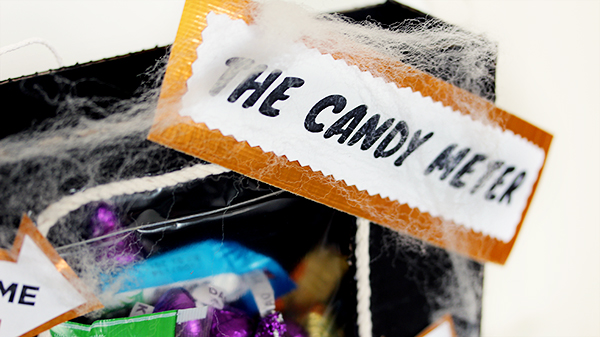
And finally, the Candy Meter bag has a clear portion in the front to keep track of how much candy you’re getting.
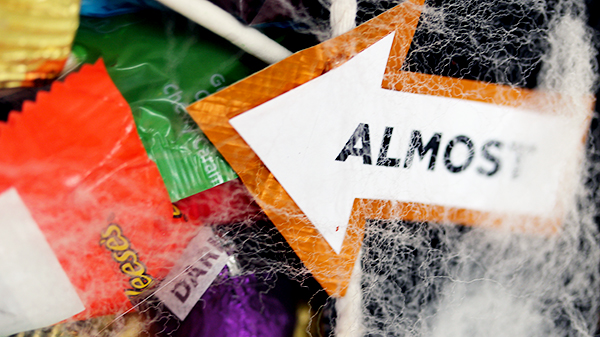
This was the first time I got to use the gold duct tape I bought for my Talking About Tape video. Isn’t it pretty?
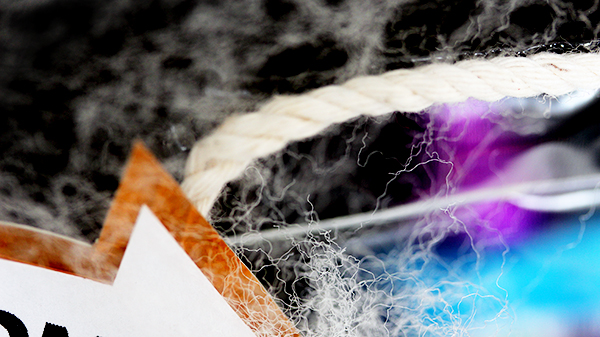
I also had fun using some of the fake spiderwebs to add a bit of texture. I still have a ton left, so maybe in December I can figure out some way to turn them into a Christmas decoration.
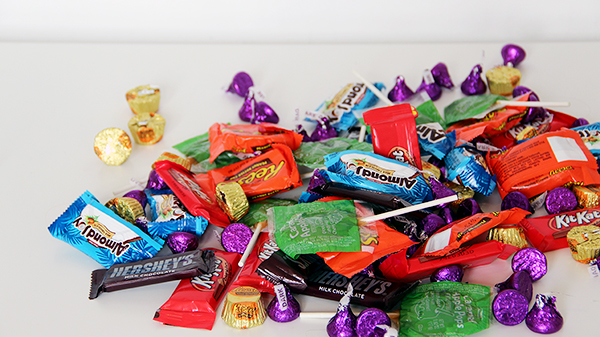
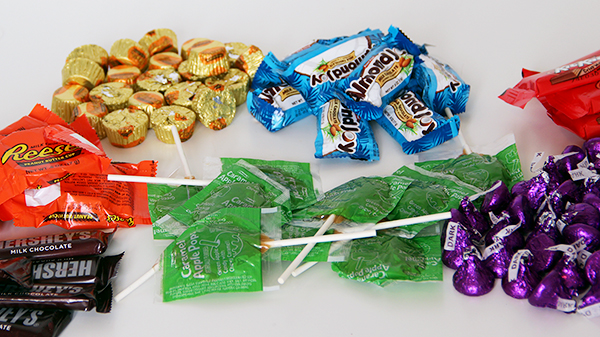
It’s not quite as exciting sorting through your candy loot when you’re the one who bought it all at the grocery store, but it was still fun sorting it into piles to eat later (except for the caramel apple lollipops, where are just gross).
Thanks so much for reading! If you missed my other Halloween crafting videos, you can see them all in this playlist. And stay tuned, because I will have several Christmas crafting videos coming up in the next two months!


