Wow, it’s been so long since I put up a crafting blog post on here. I really wanted to do at least one Halloween craft this year, so when I saw an article in HGTV Magazine about no-carve pumpkins designed by HGTV stars, I knew I wanted to recreate some and share them with all of you. Keep reading for more photos of the pumpkins and a bit more about how I made them!

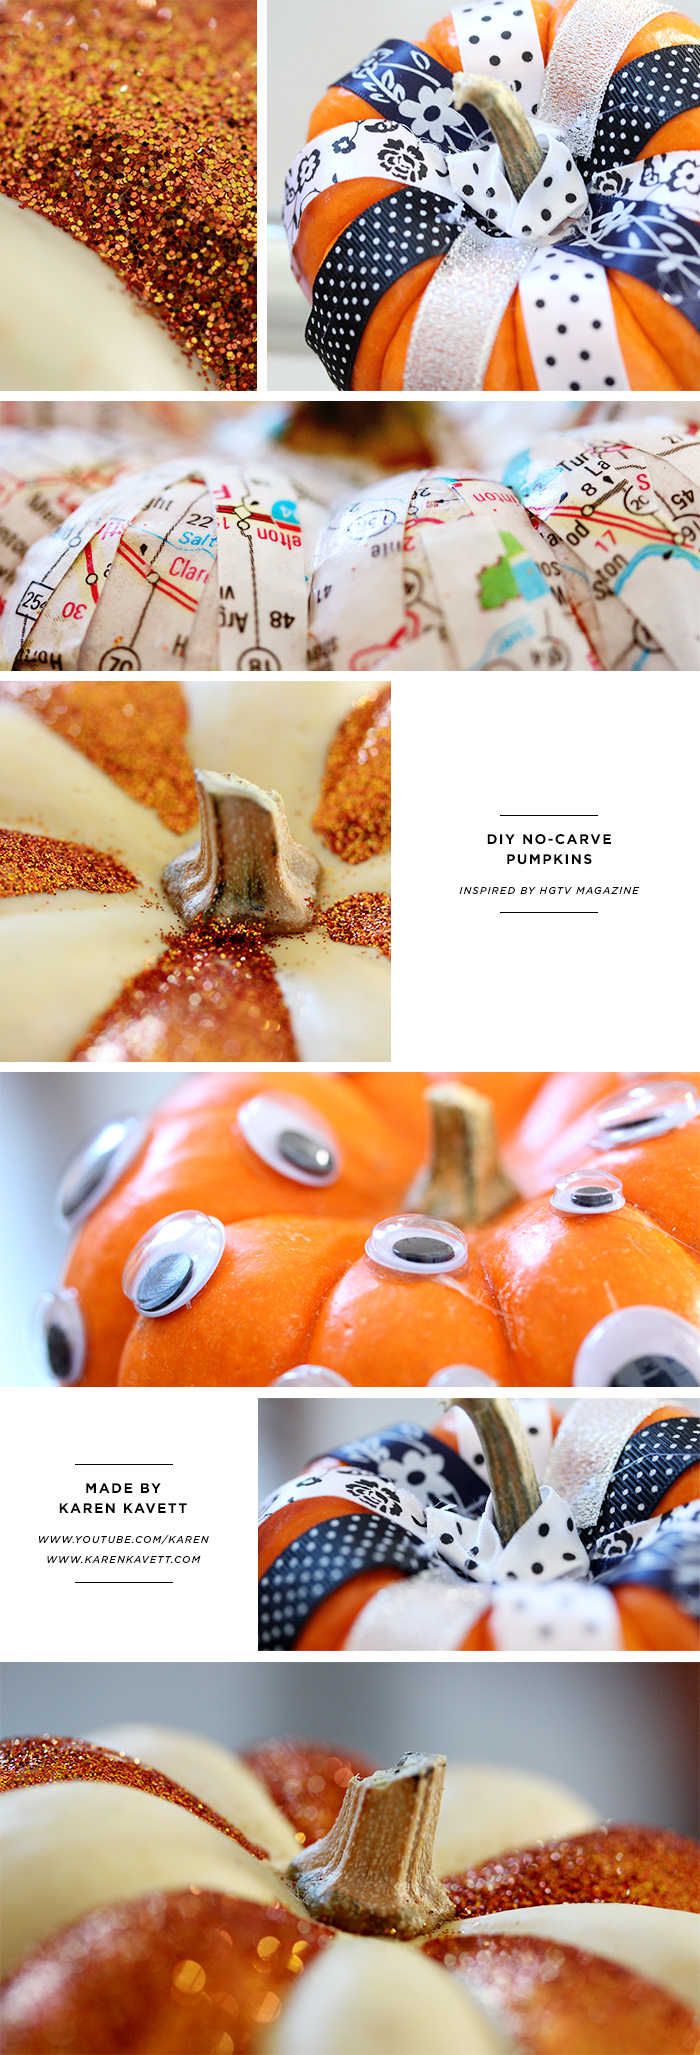
The Googly Eyed pumpkin was the first one I made since it seemed the simplest. I think the examples in the magazine where they used a larger, less bumpy pumpkin look better than my version, but it’s still really cute, and only took a couple minutes.

The ribbon pumpkin is so Pinterest-y. I used a black and white ribbon set and just wrapped the ribbons around the pumpkin, gluing them along the way, and then added a small piece of ribbon at the top to hide the messiness of the ribbon ends. This one also only took a few minutes to do.

The map pumpkin definitely took the longest, probably about two hours, but it’s probably my favorite of the bunch. It’s reminiscent of my past video, Collaged Map Wine Bottle, and just like that one, it would be really cool to do this with a lot of different textures, like newspapers or magazine pages. This would be a fun project for kids too, since you get really messy smoothing everything down with glue, and it’s a pretty straightforward process.

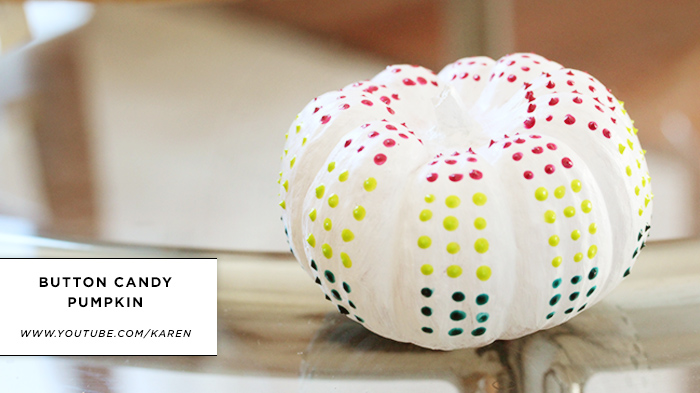
I loved how this one looked in the magazine, and I thought mine came out pretty cute. The dots are a little uneven, and I probably could have done with another coat of white paint so the pumpkin color was a bit more uniform, but it’s still a really fun decoration.

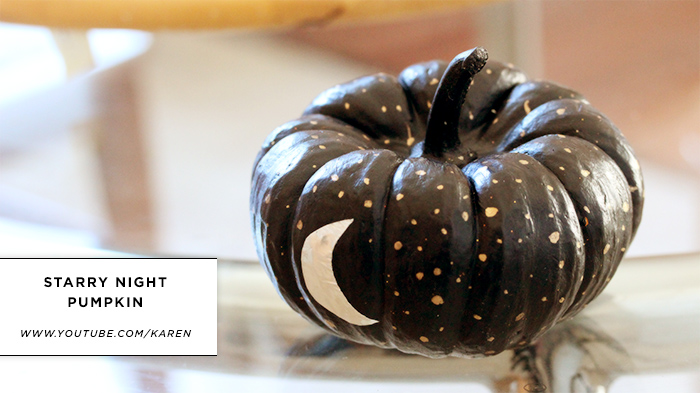
This pumpkin was inspired by David Bromstad, my interior design idol. He used gold star stickers, so his was definitely more textural, but I really like how the gold sharpie looks too. I tried a few different things with the moon, first painting it on with silver paint, and then drawing it on with silver Sharpie, but they both looked terrible so I painted over them and just cut out a moon from aluminum foil tape. I ended up putting one moon on each side, which is why the shape of the moon changes slightly between shots in the video. Movie magic!

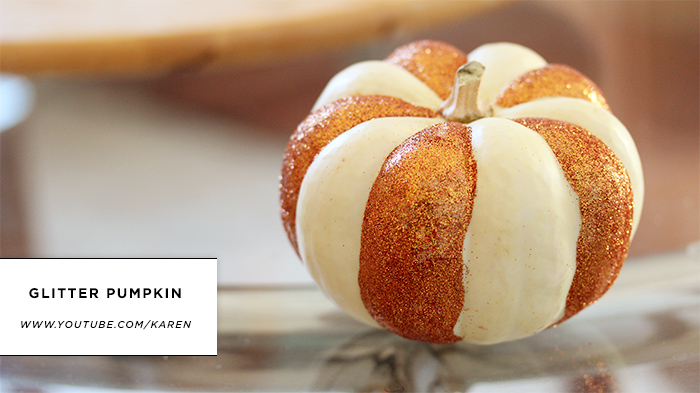
And finally, the one that wasn’t inspired by the magazine but that I just wanted to try. For this one I used a white pumpkin and orangey-gold glitter from the Martha Stewart collection. I definitely got glitter everywhere, and everything I own is a little bit sparkly now, but I think the pumpkins themselves turned out really nice!

So I hope you enjoyed this fun Halloween DIY craft. Feel free to pin the photos from my Pinterest page, and reblog the post from my Tumblr. And if you decide to make any of them, I’d love to see photos on Twitter or Tumblr. Thanks so much for reading, and if you’re still in the mood for more Halloween crafts, be sure to check out last year’s Halloween playlist with five more projects!

