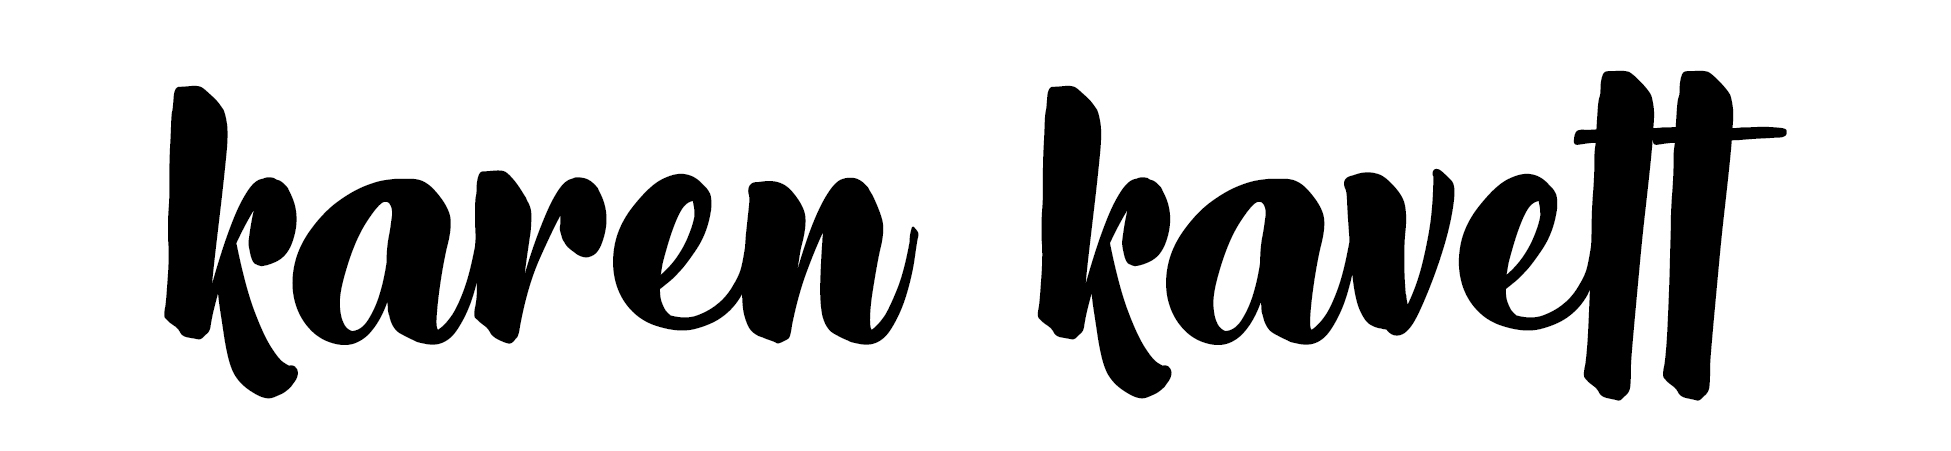
It’s time again for my week on HGTV Handmade, and today I’m showing you how to make these chalkboard pumpkins! These are really easy, so keep reading to learn how to make all three of them!
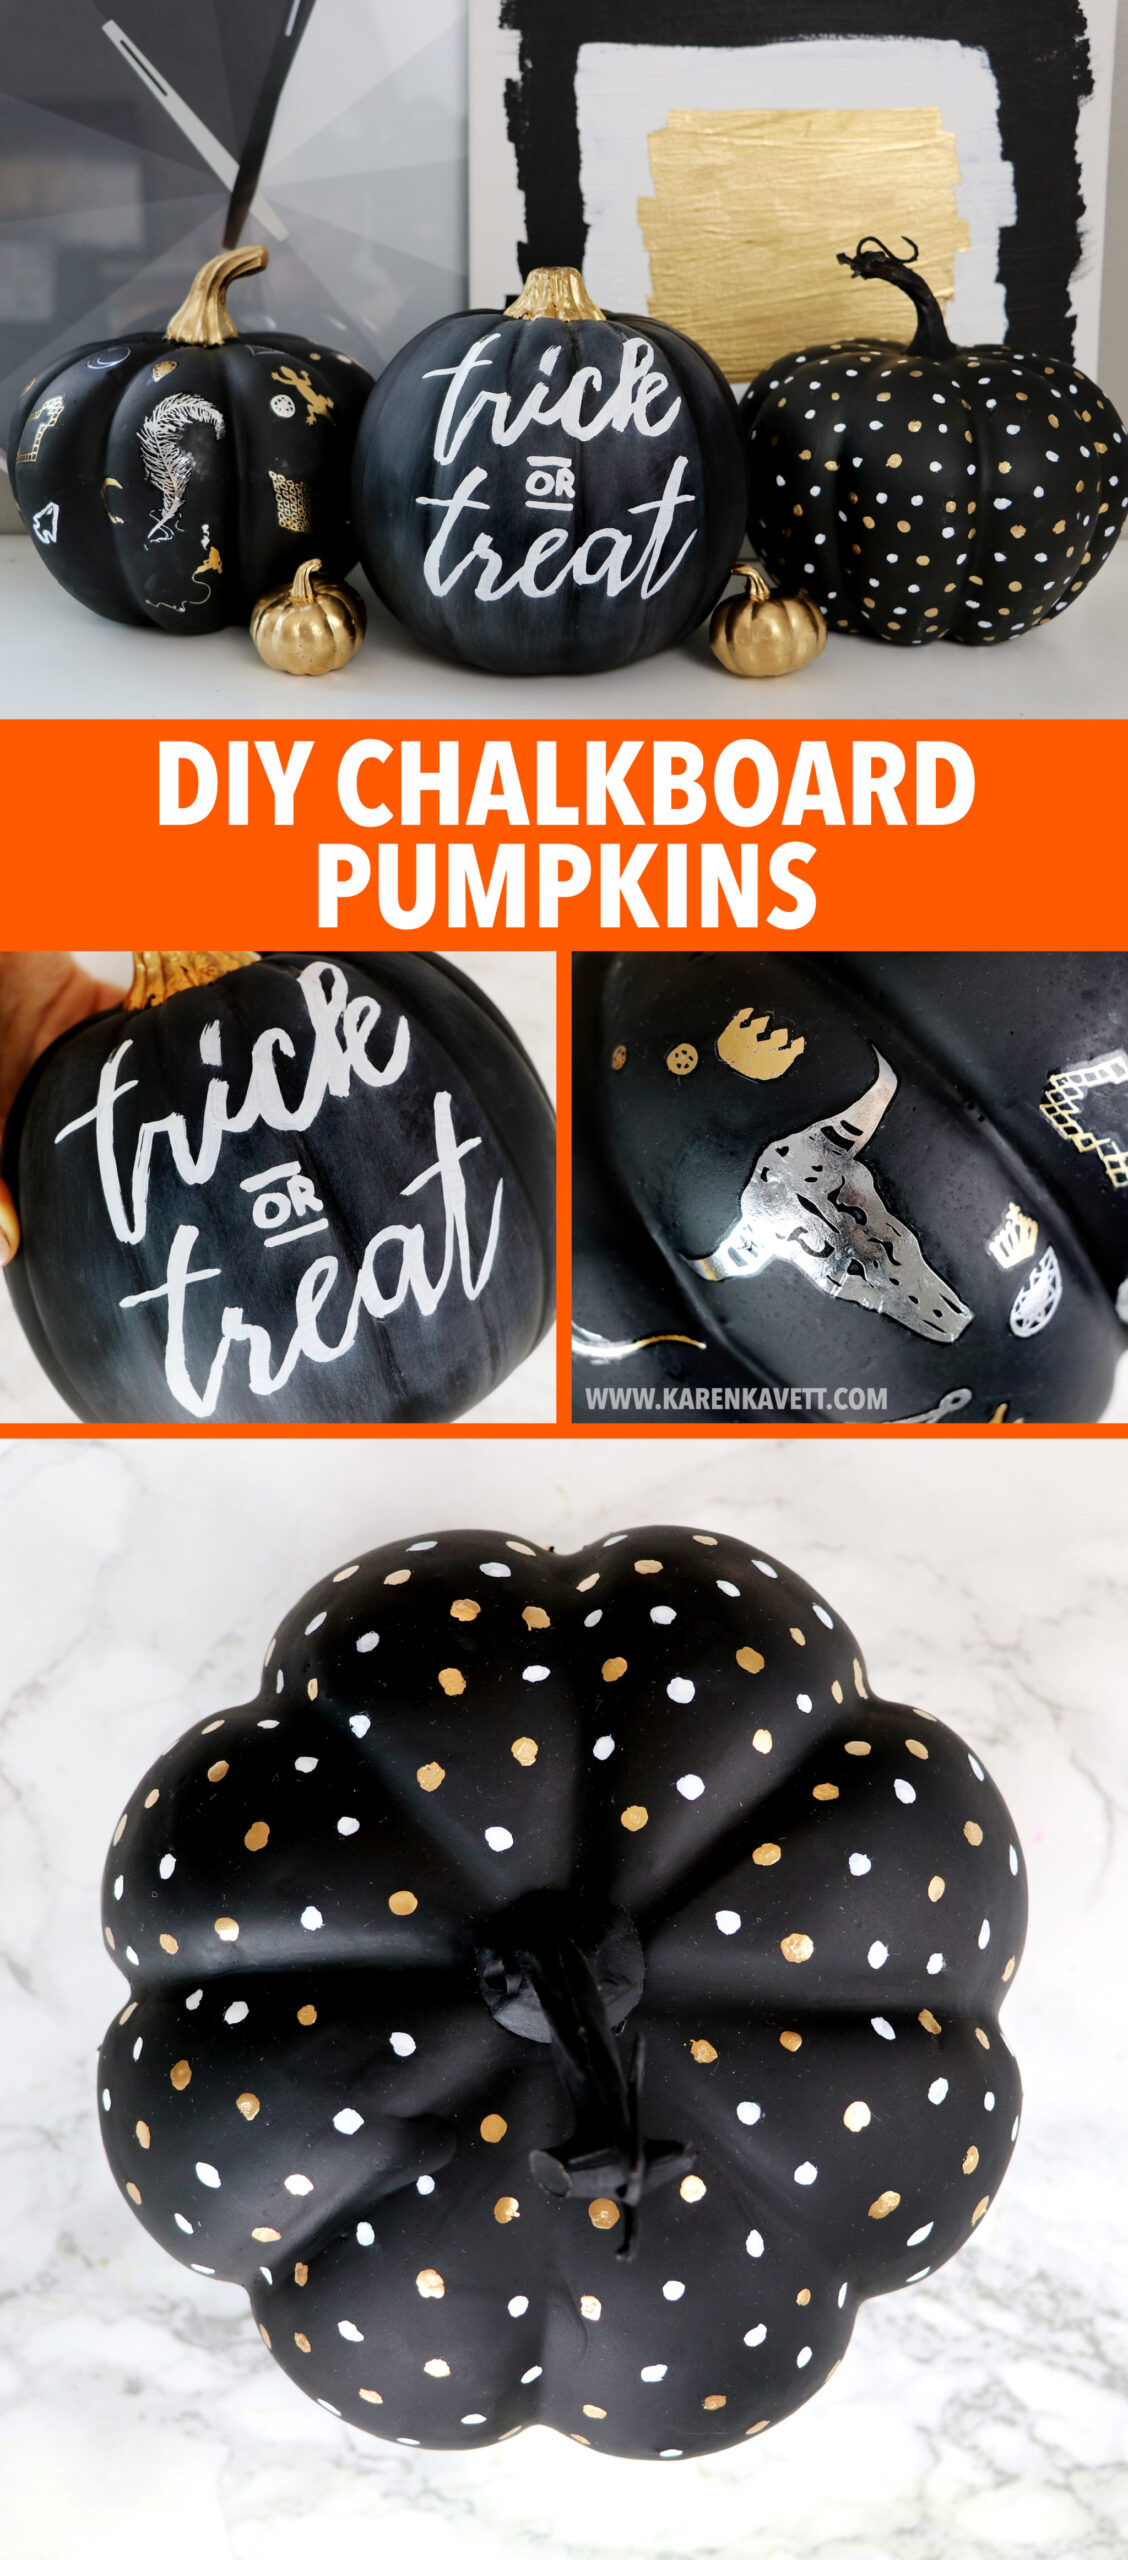
You’ll want to start with plain pumpkins – I decided to go with plastic pumpkins from the craft store.
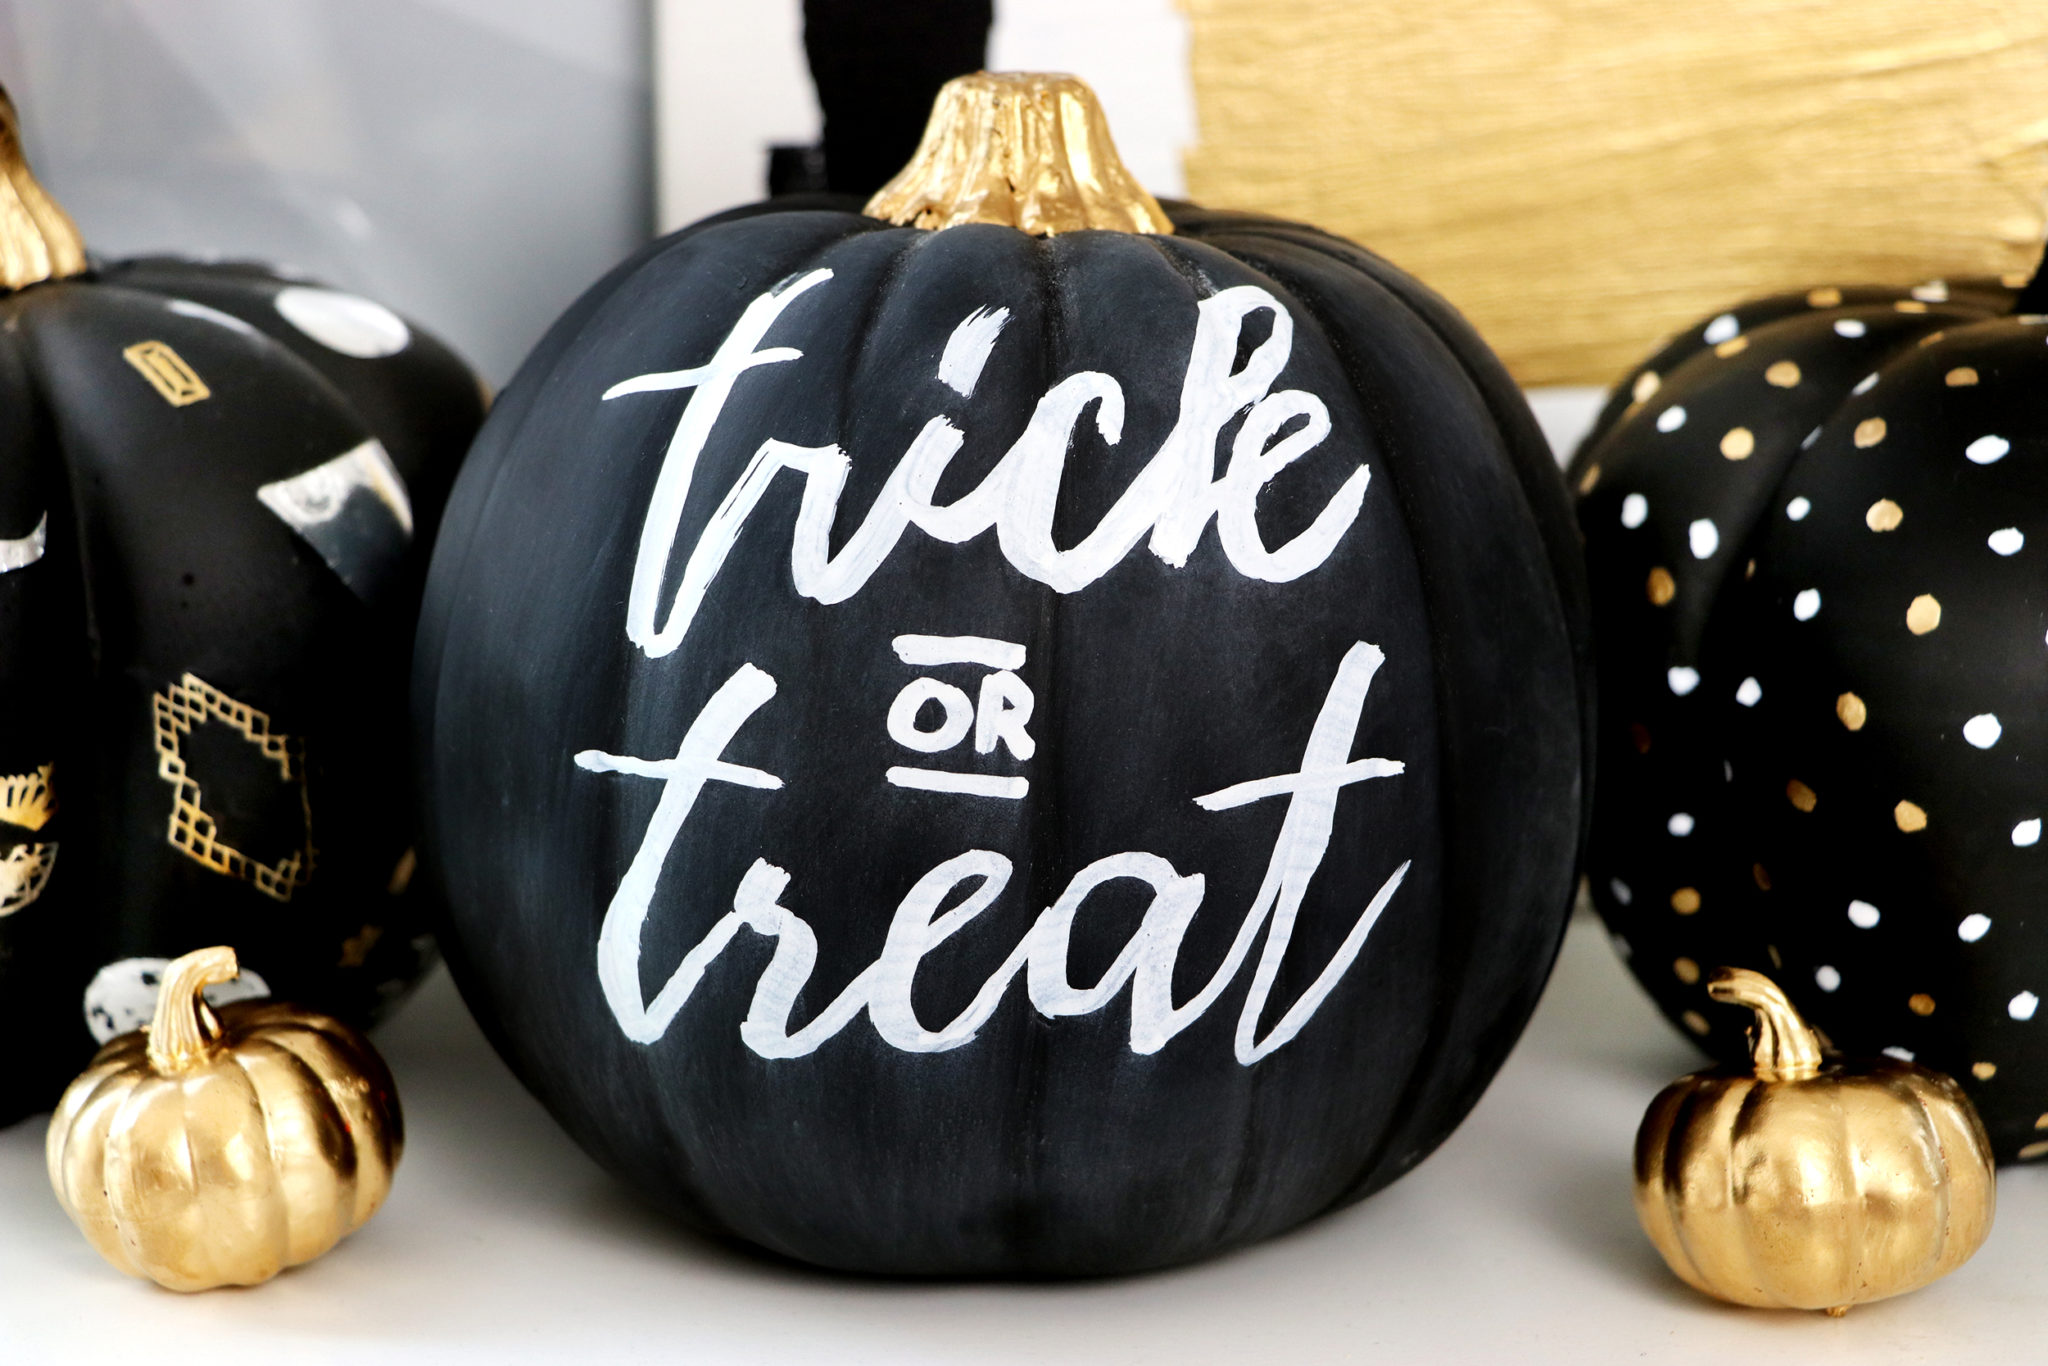
I don’t know about you guys, but I cannot write like this to save my life. So, just print out a template and use chalk to trace the letters onto the pumpkin. Then you can go over it with a chalk pen and it looks like you’re a master calligrapher!

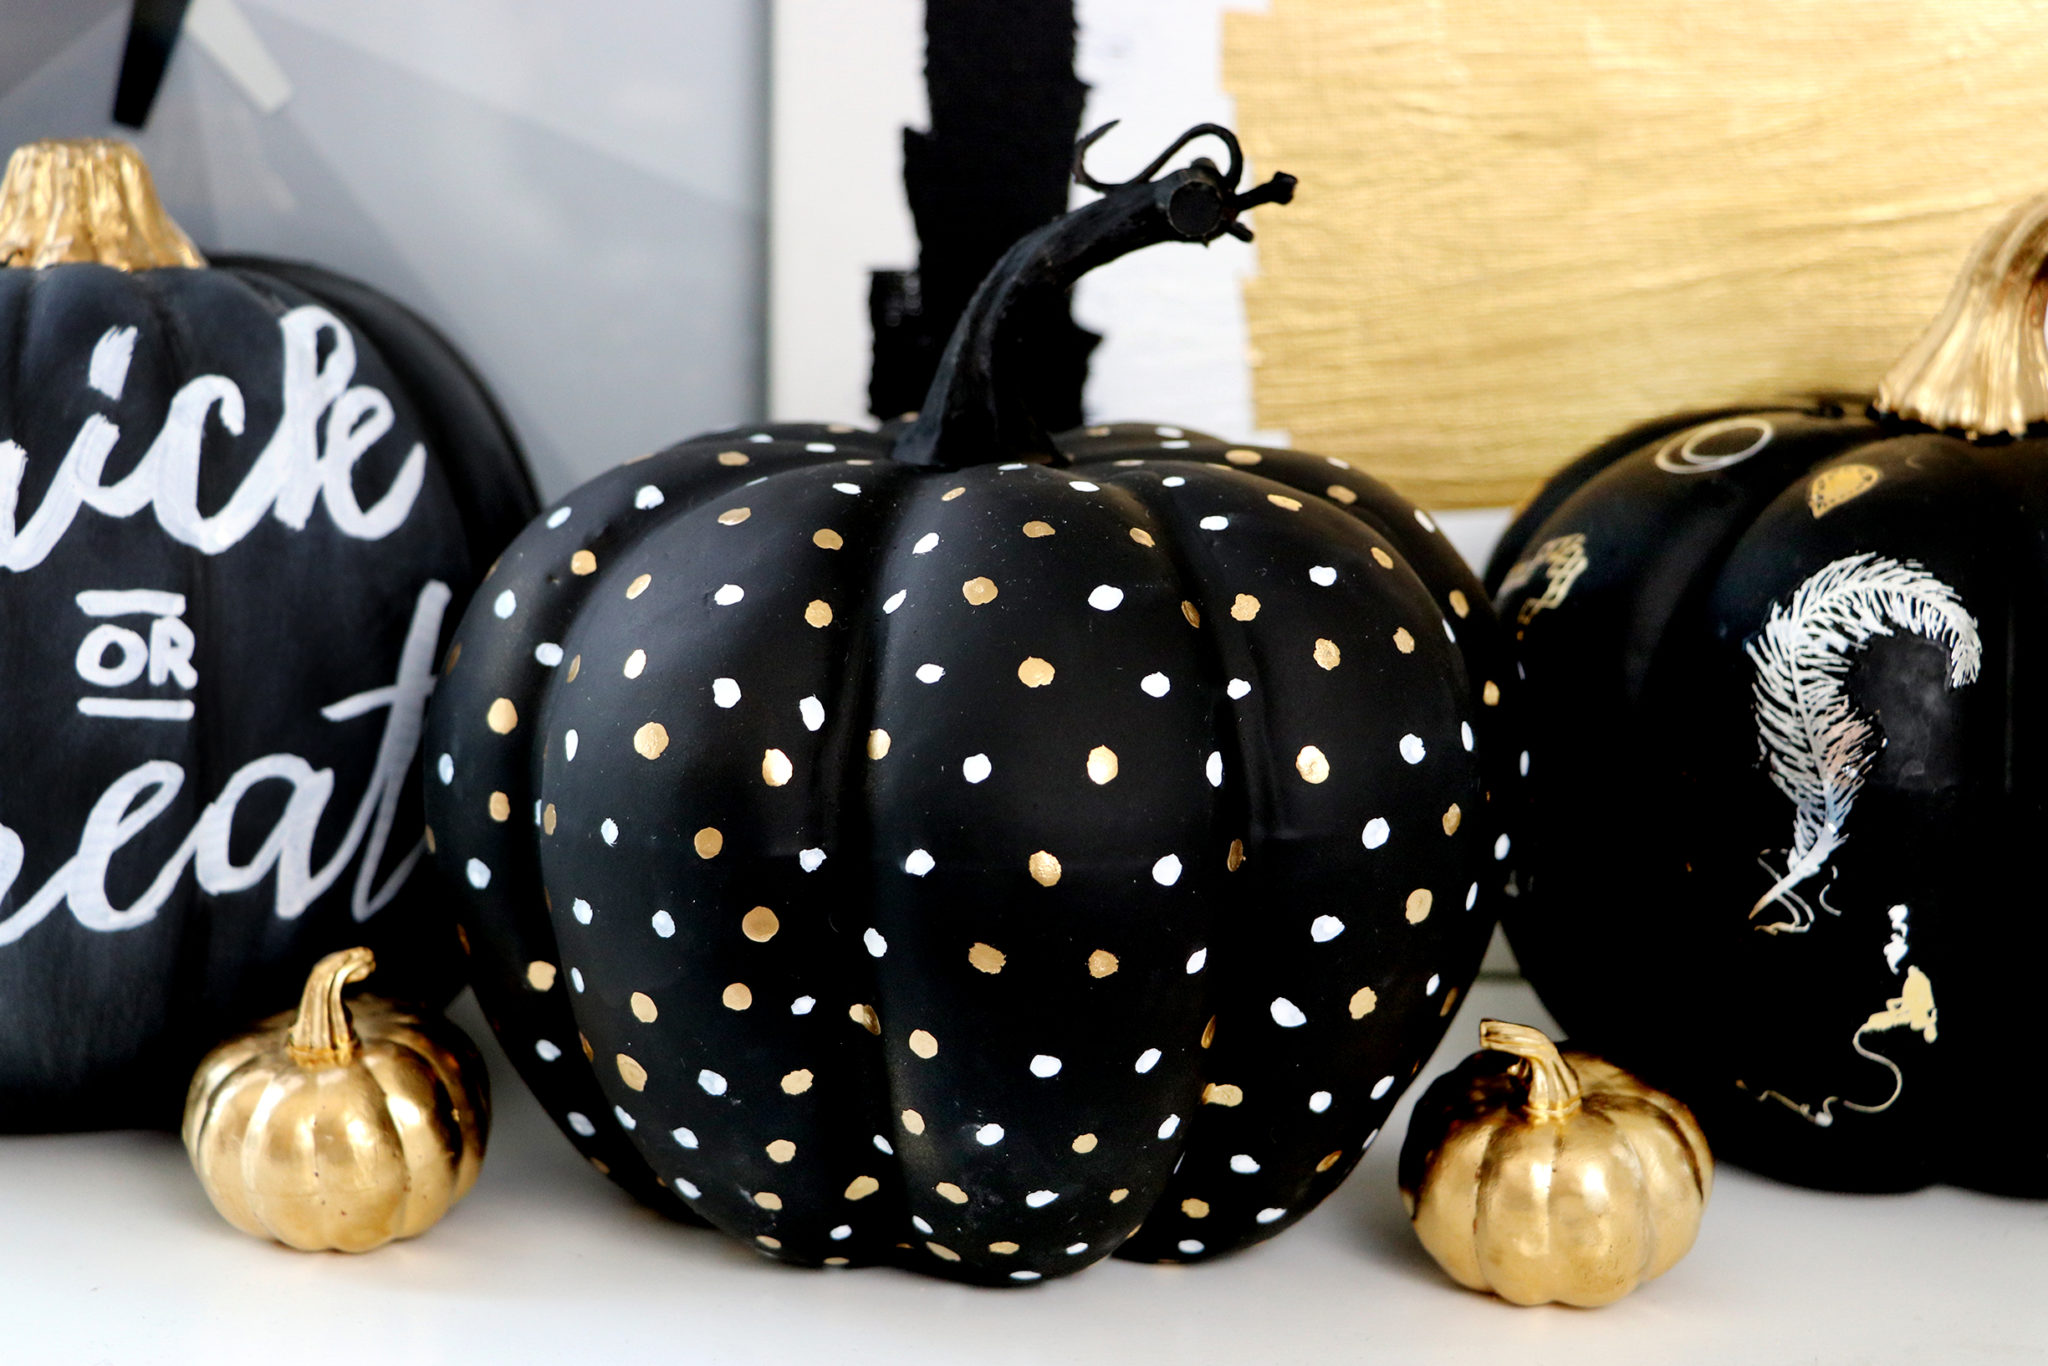
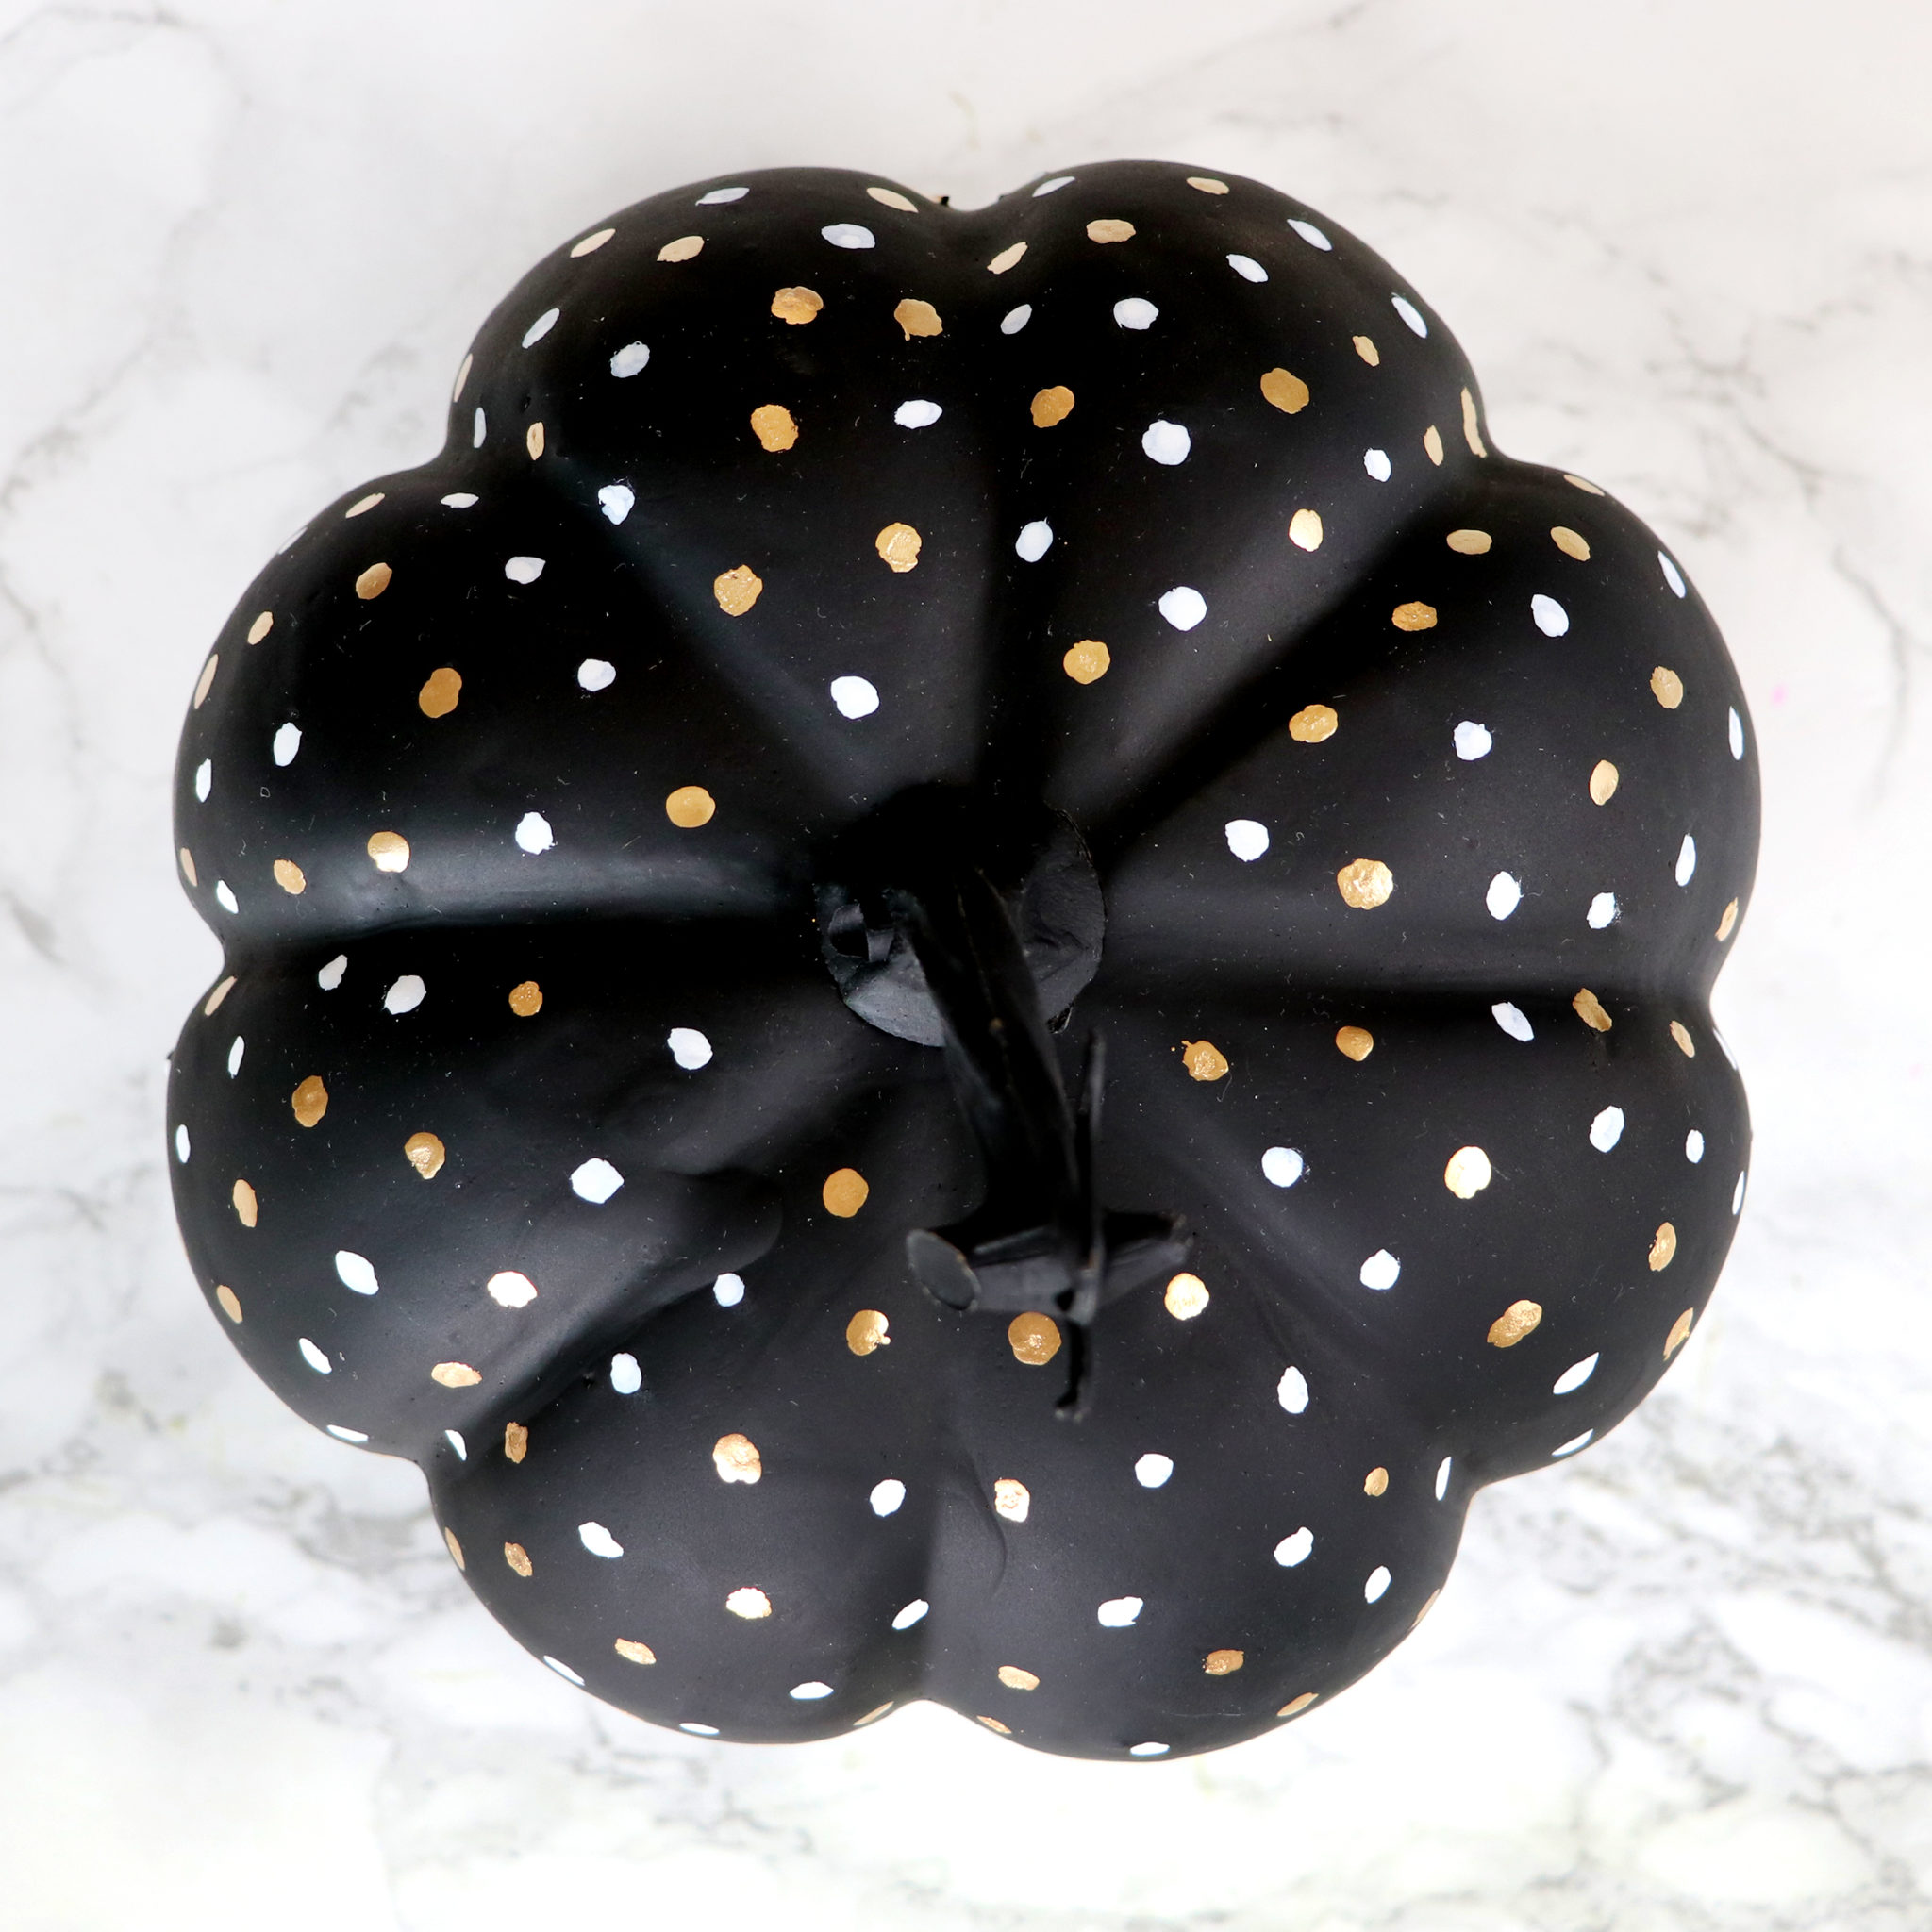
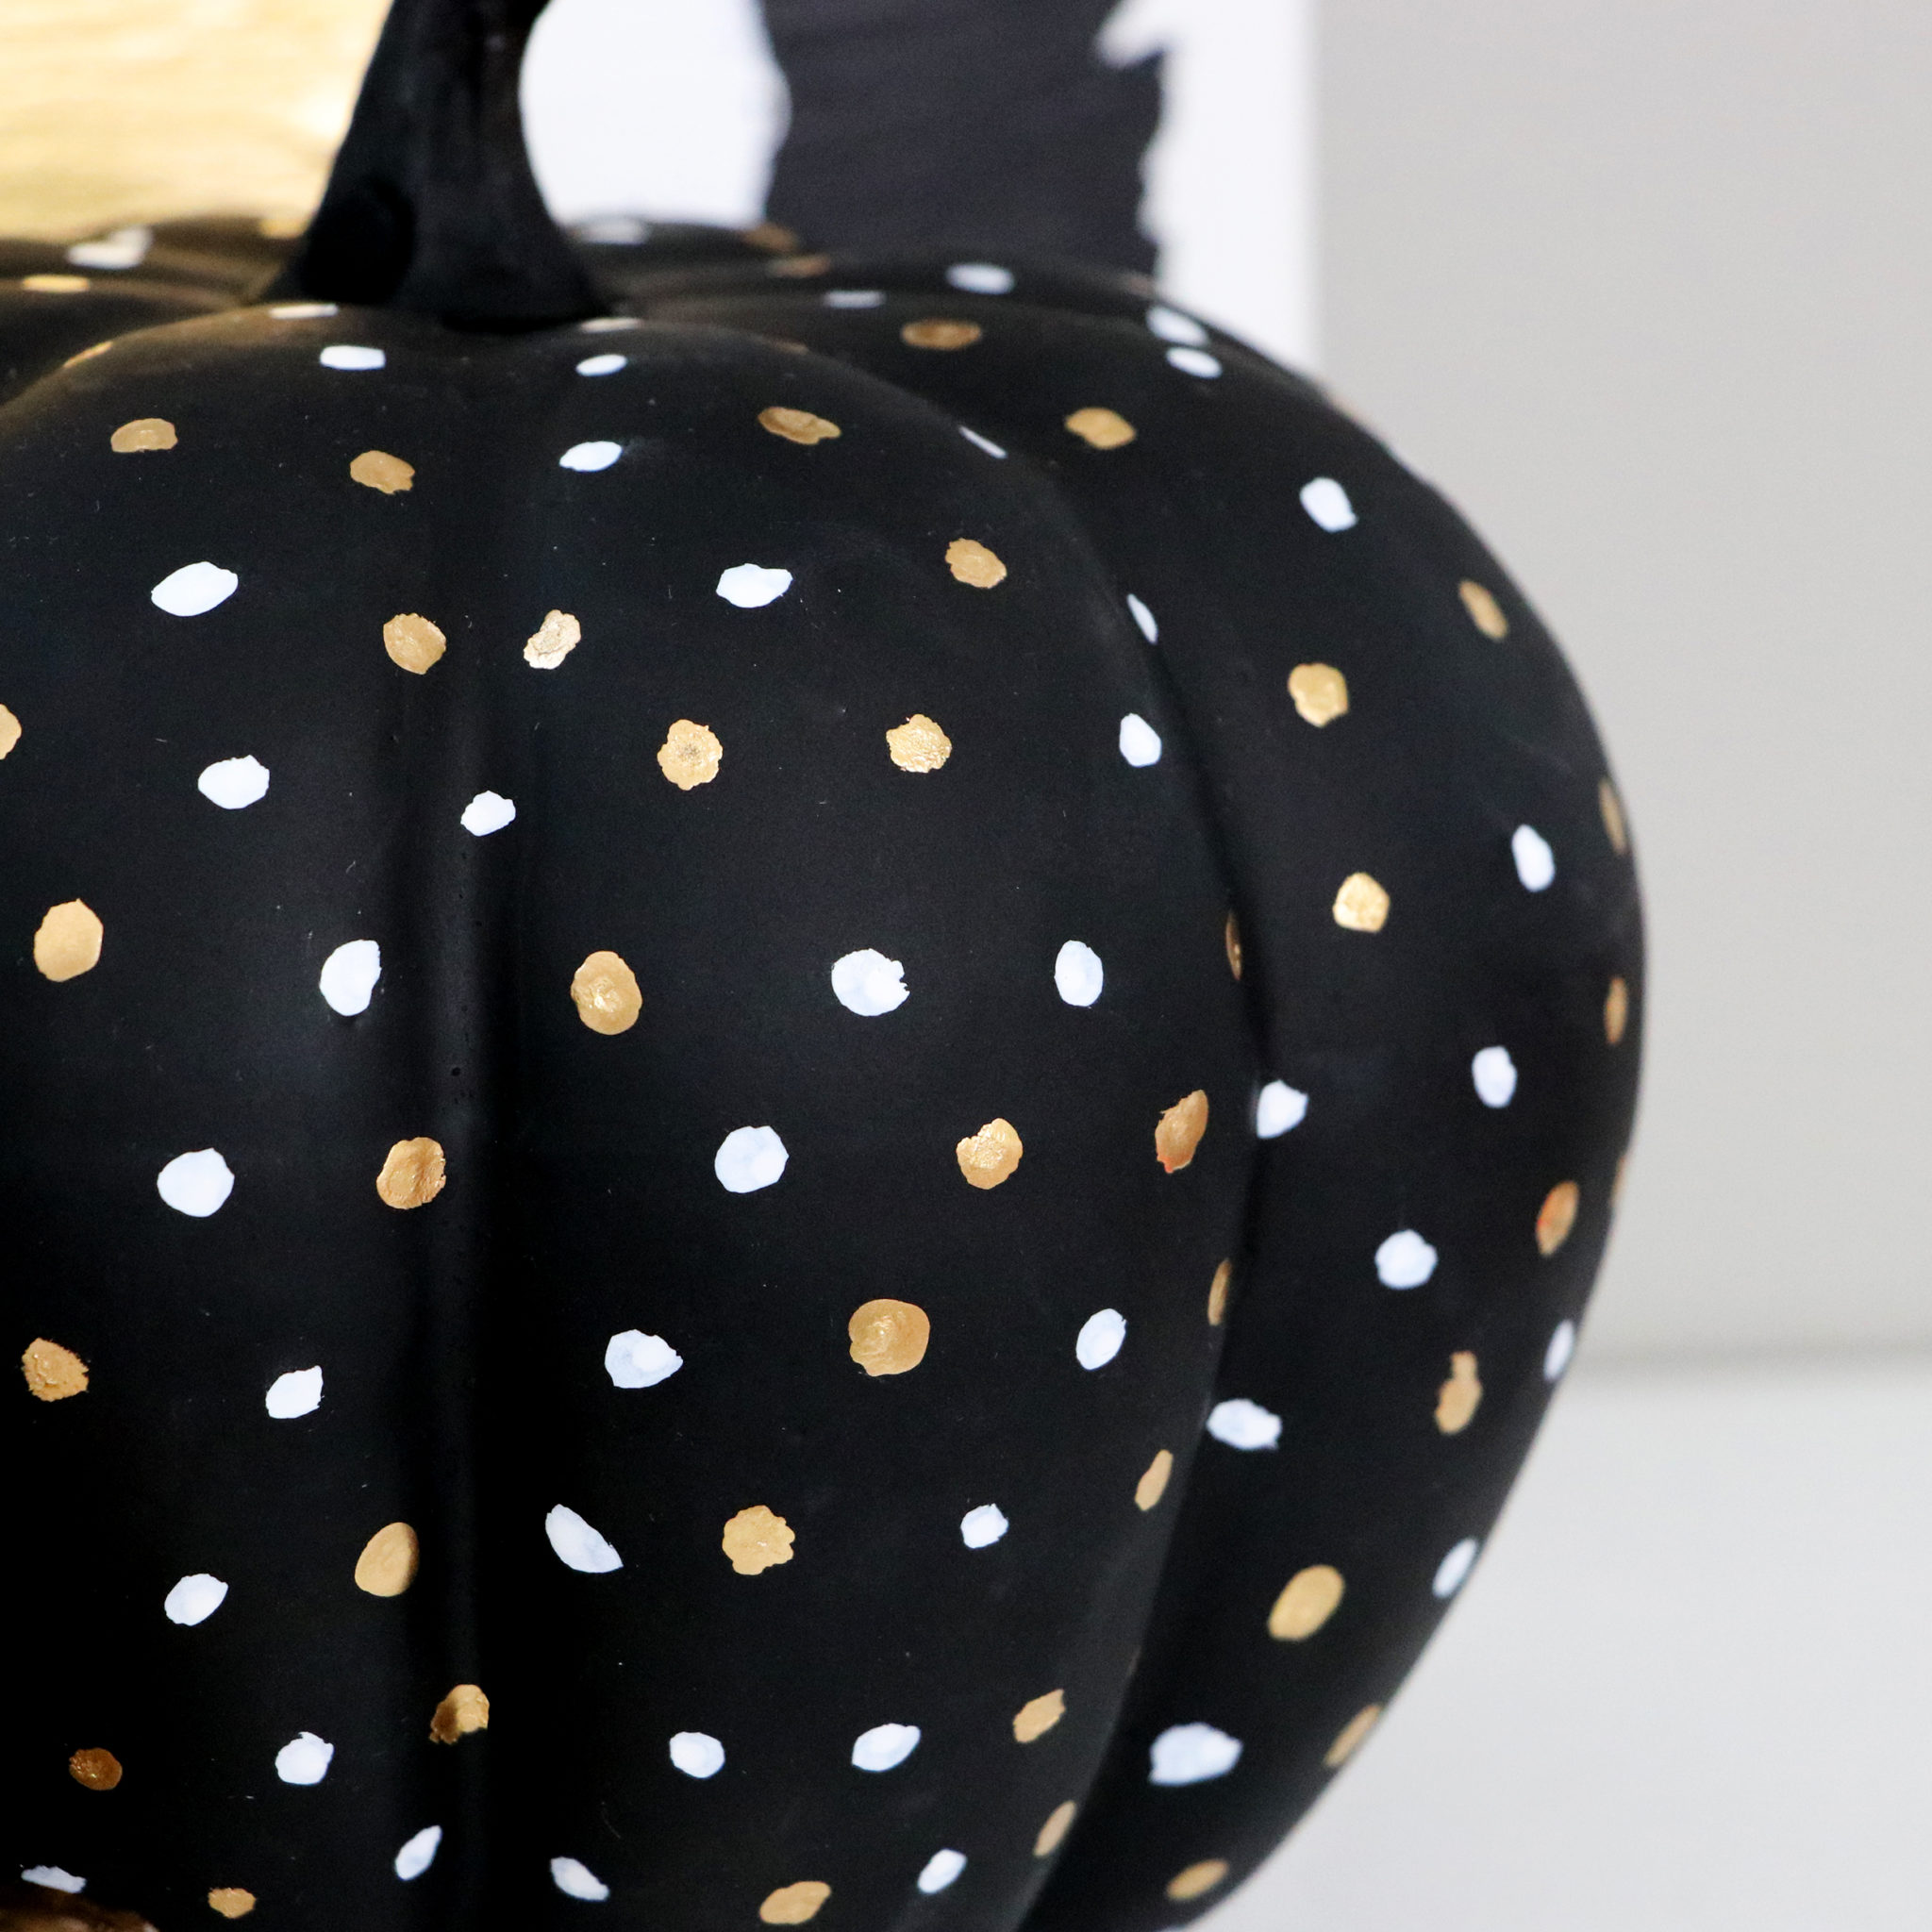
The polka dot pumpkin is even easier – just use a chalk marker for the white dots and a Q-tip dipped into gold gilding paint for the gold dots.
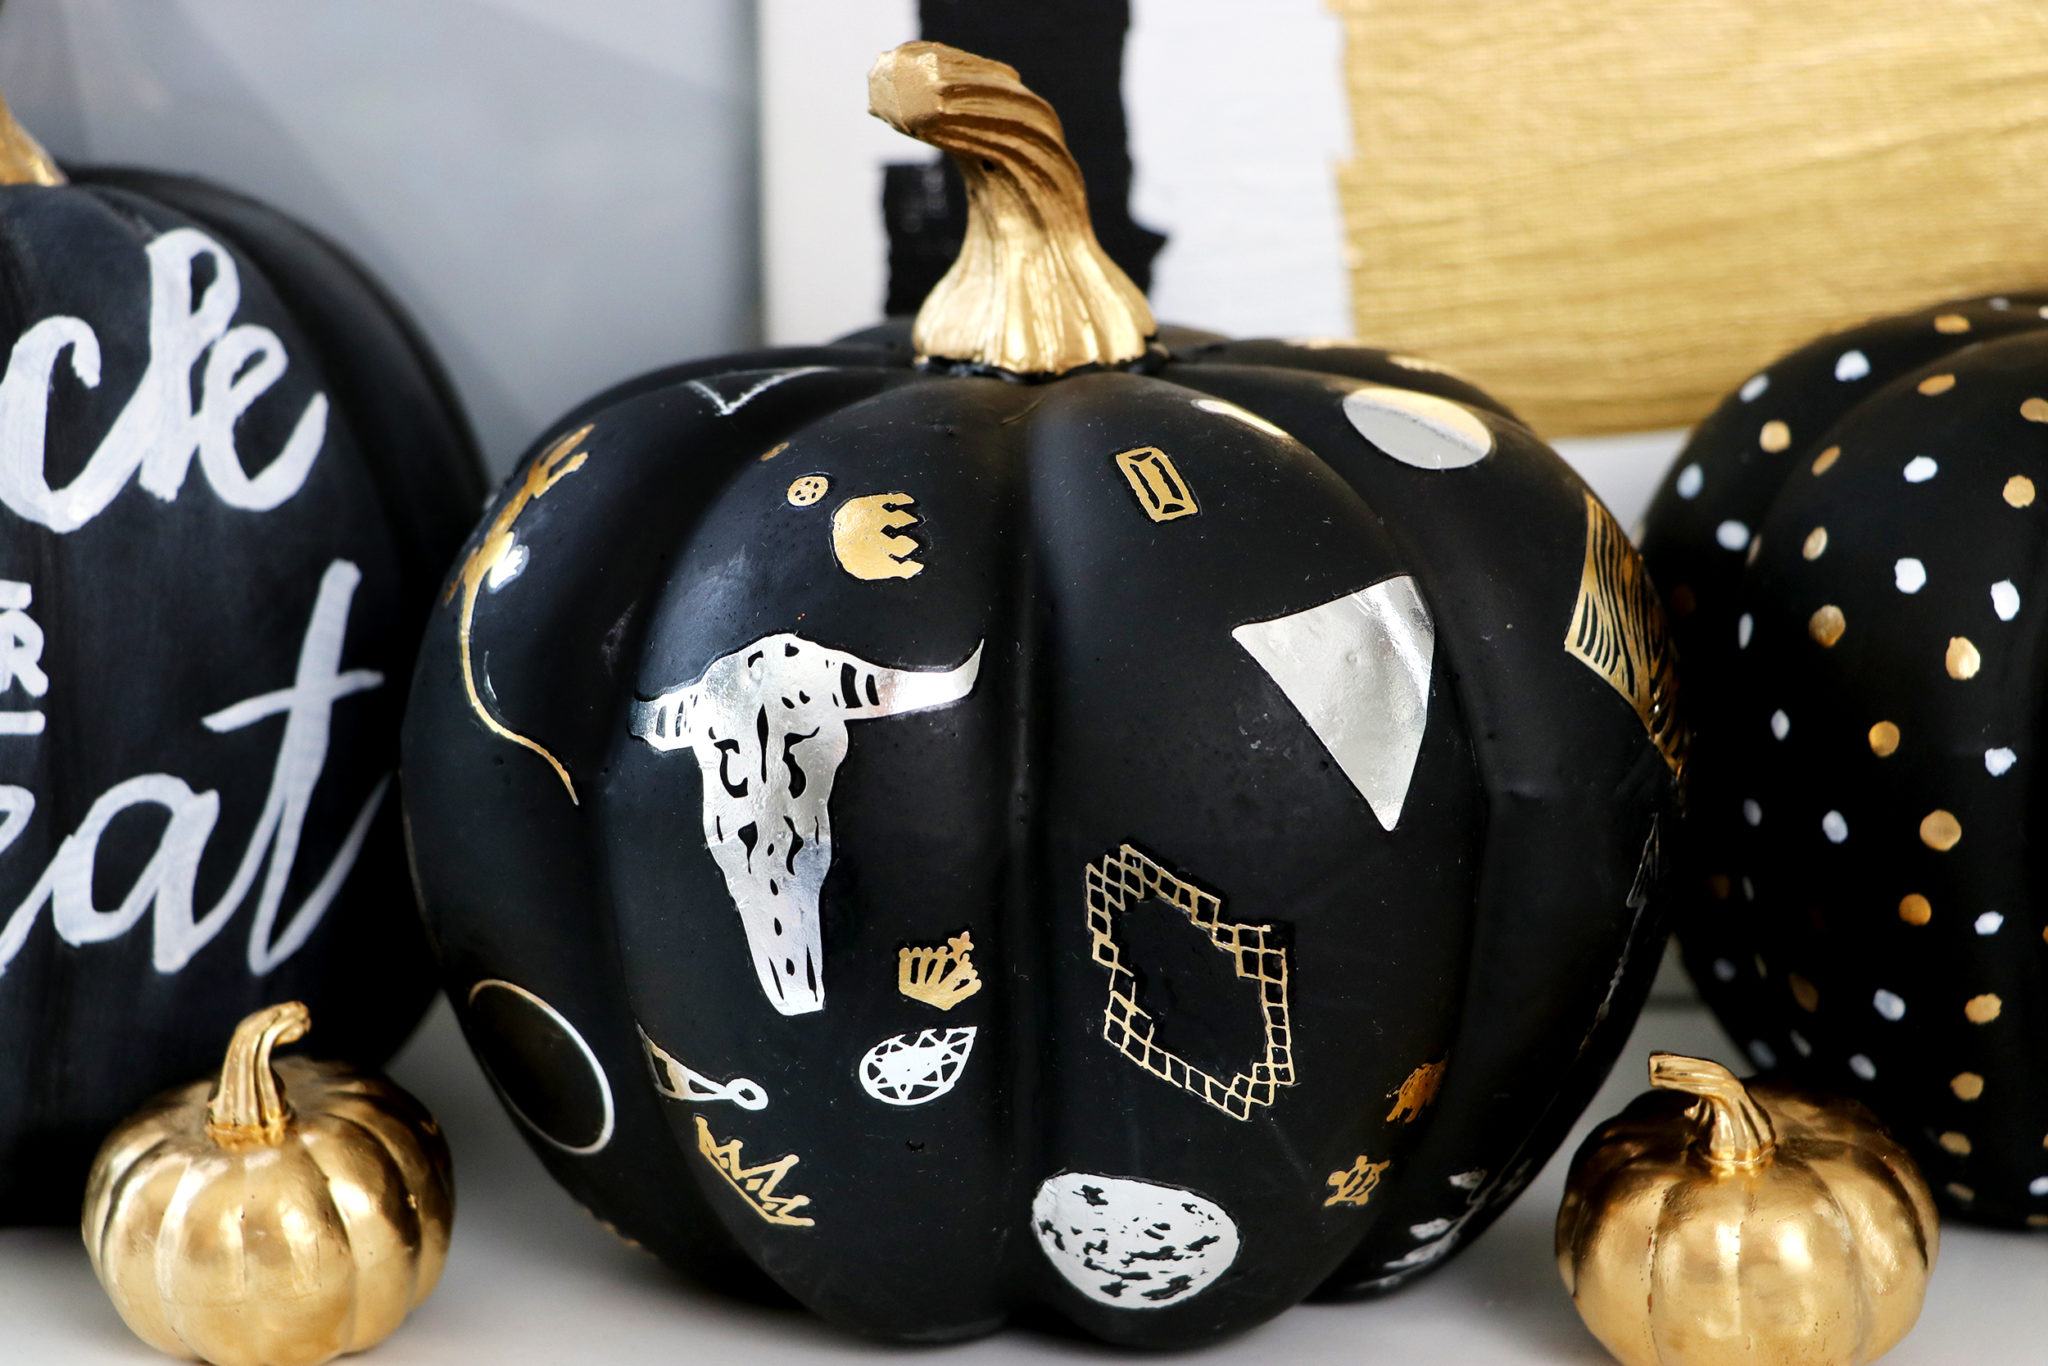
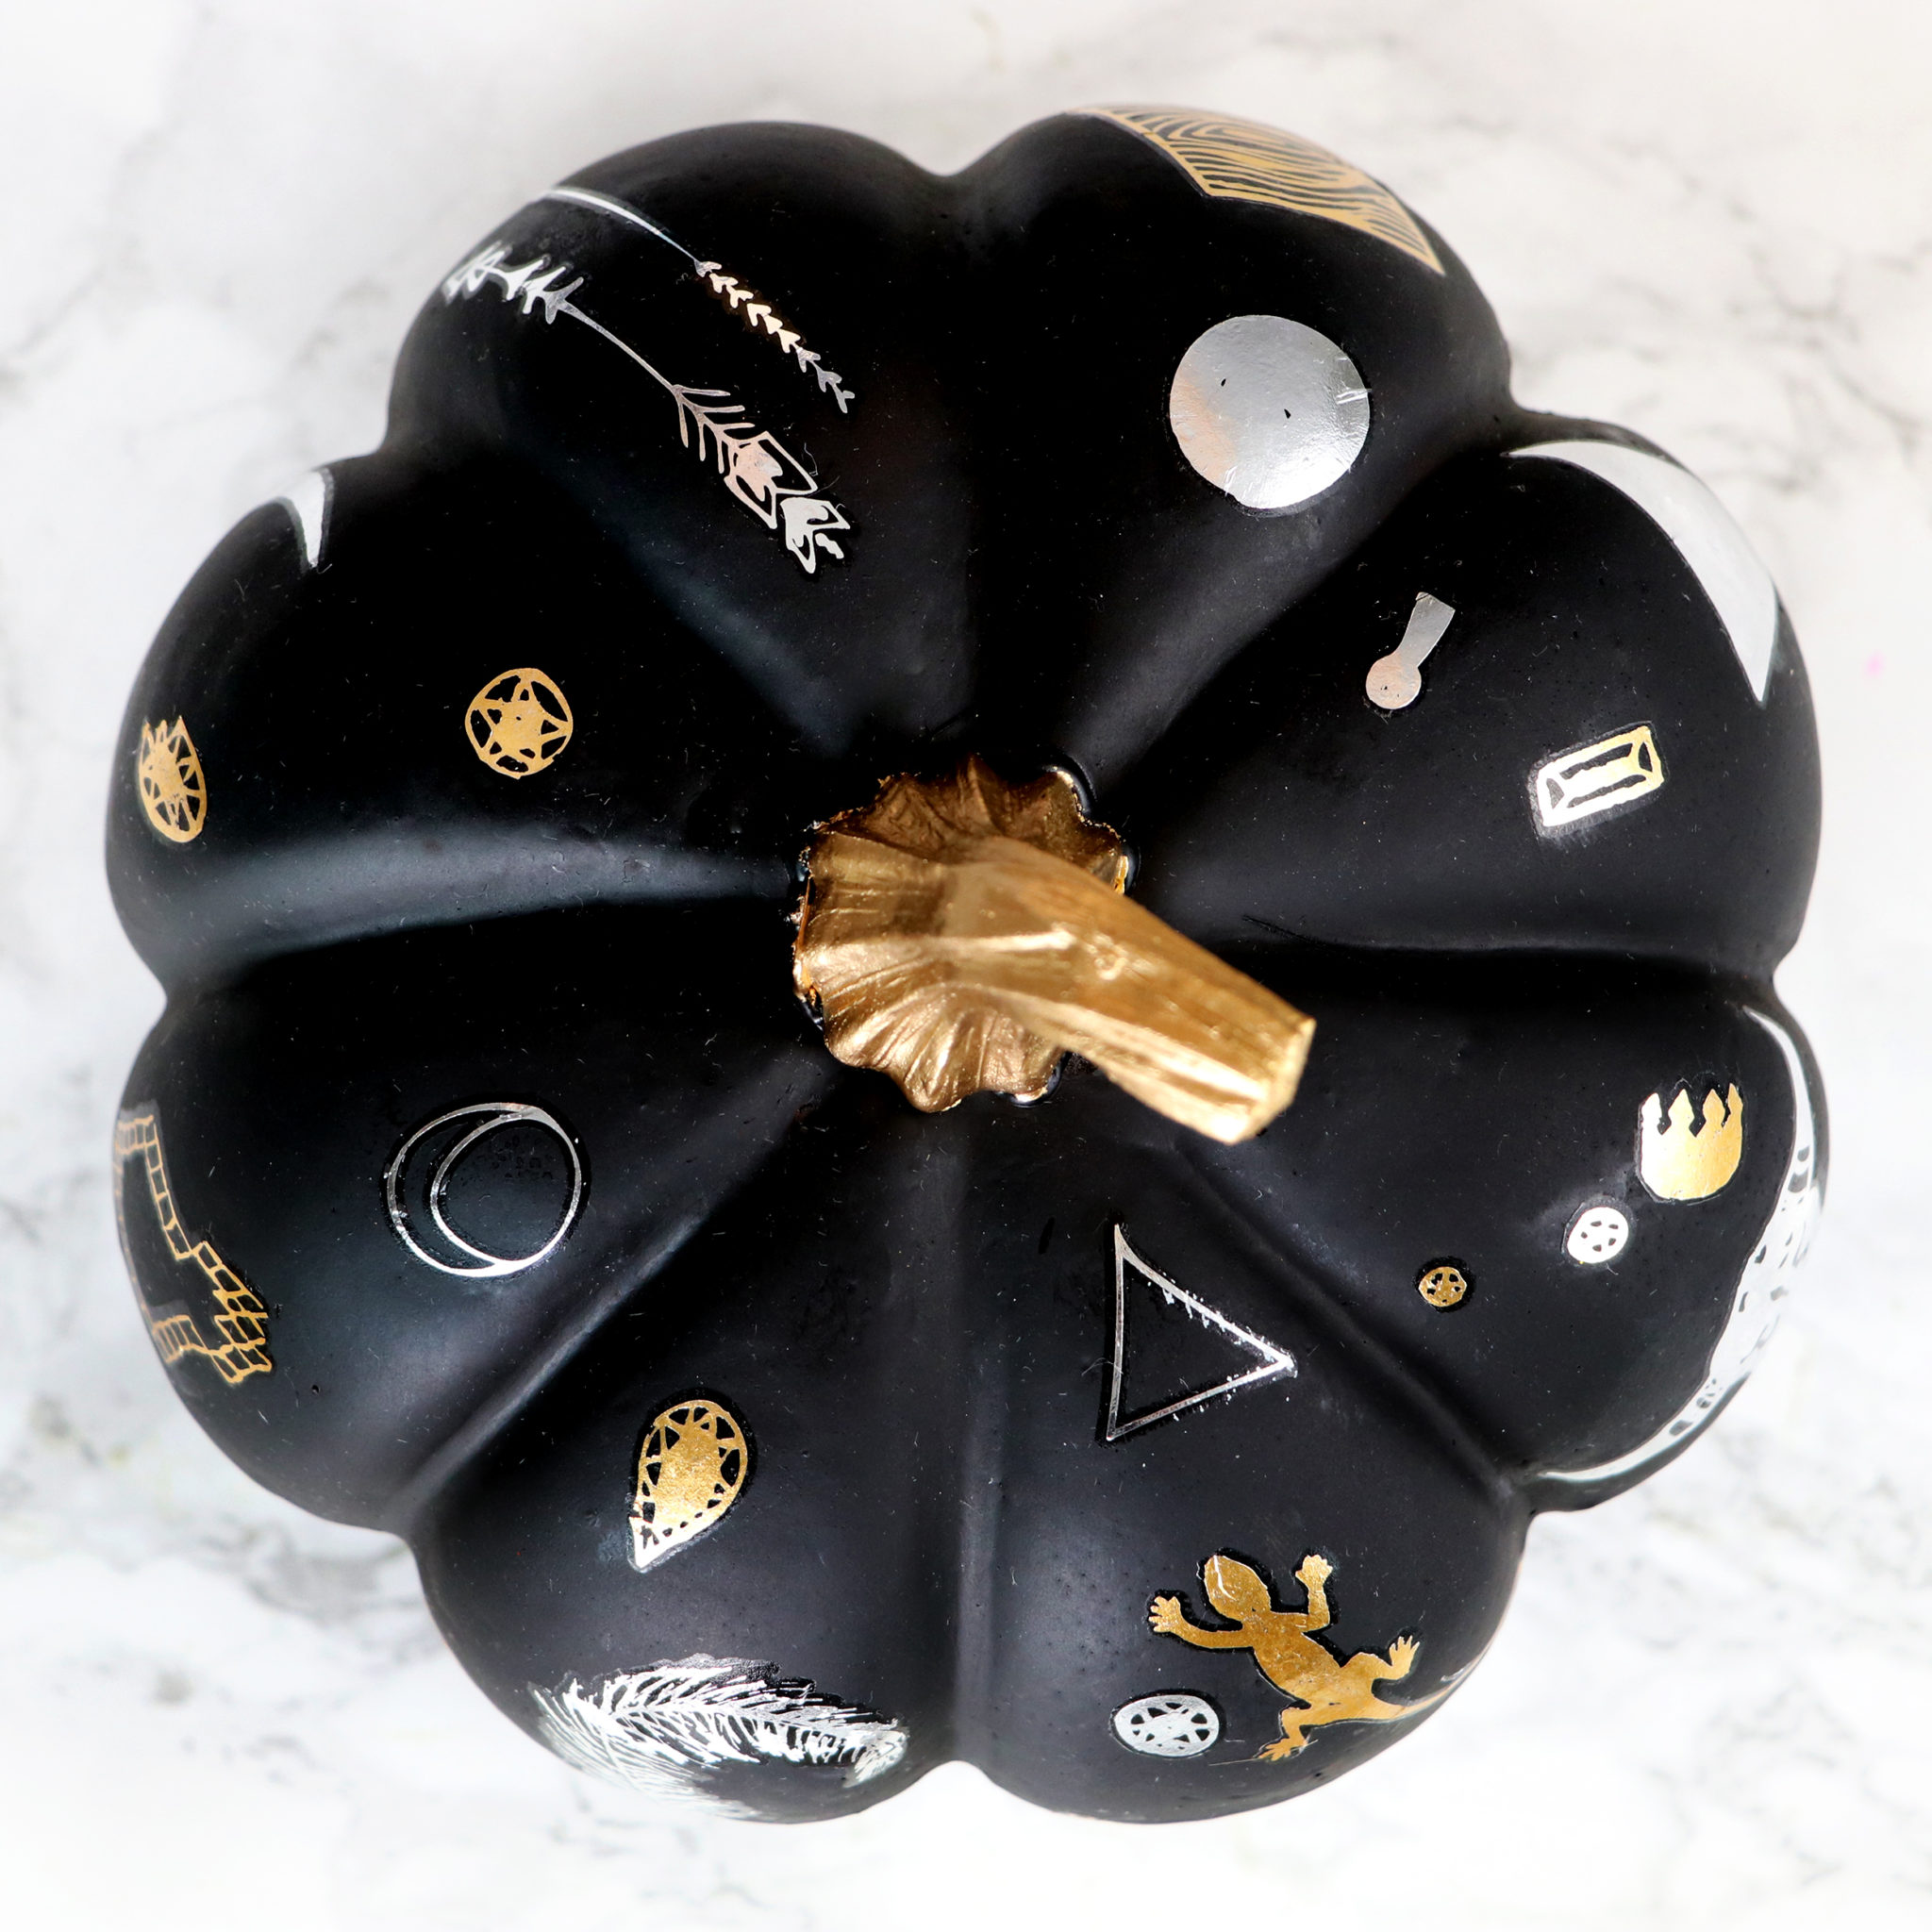
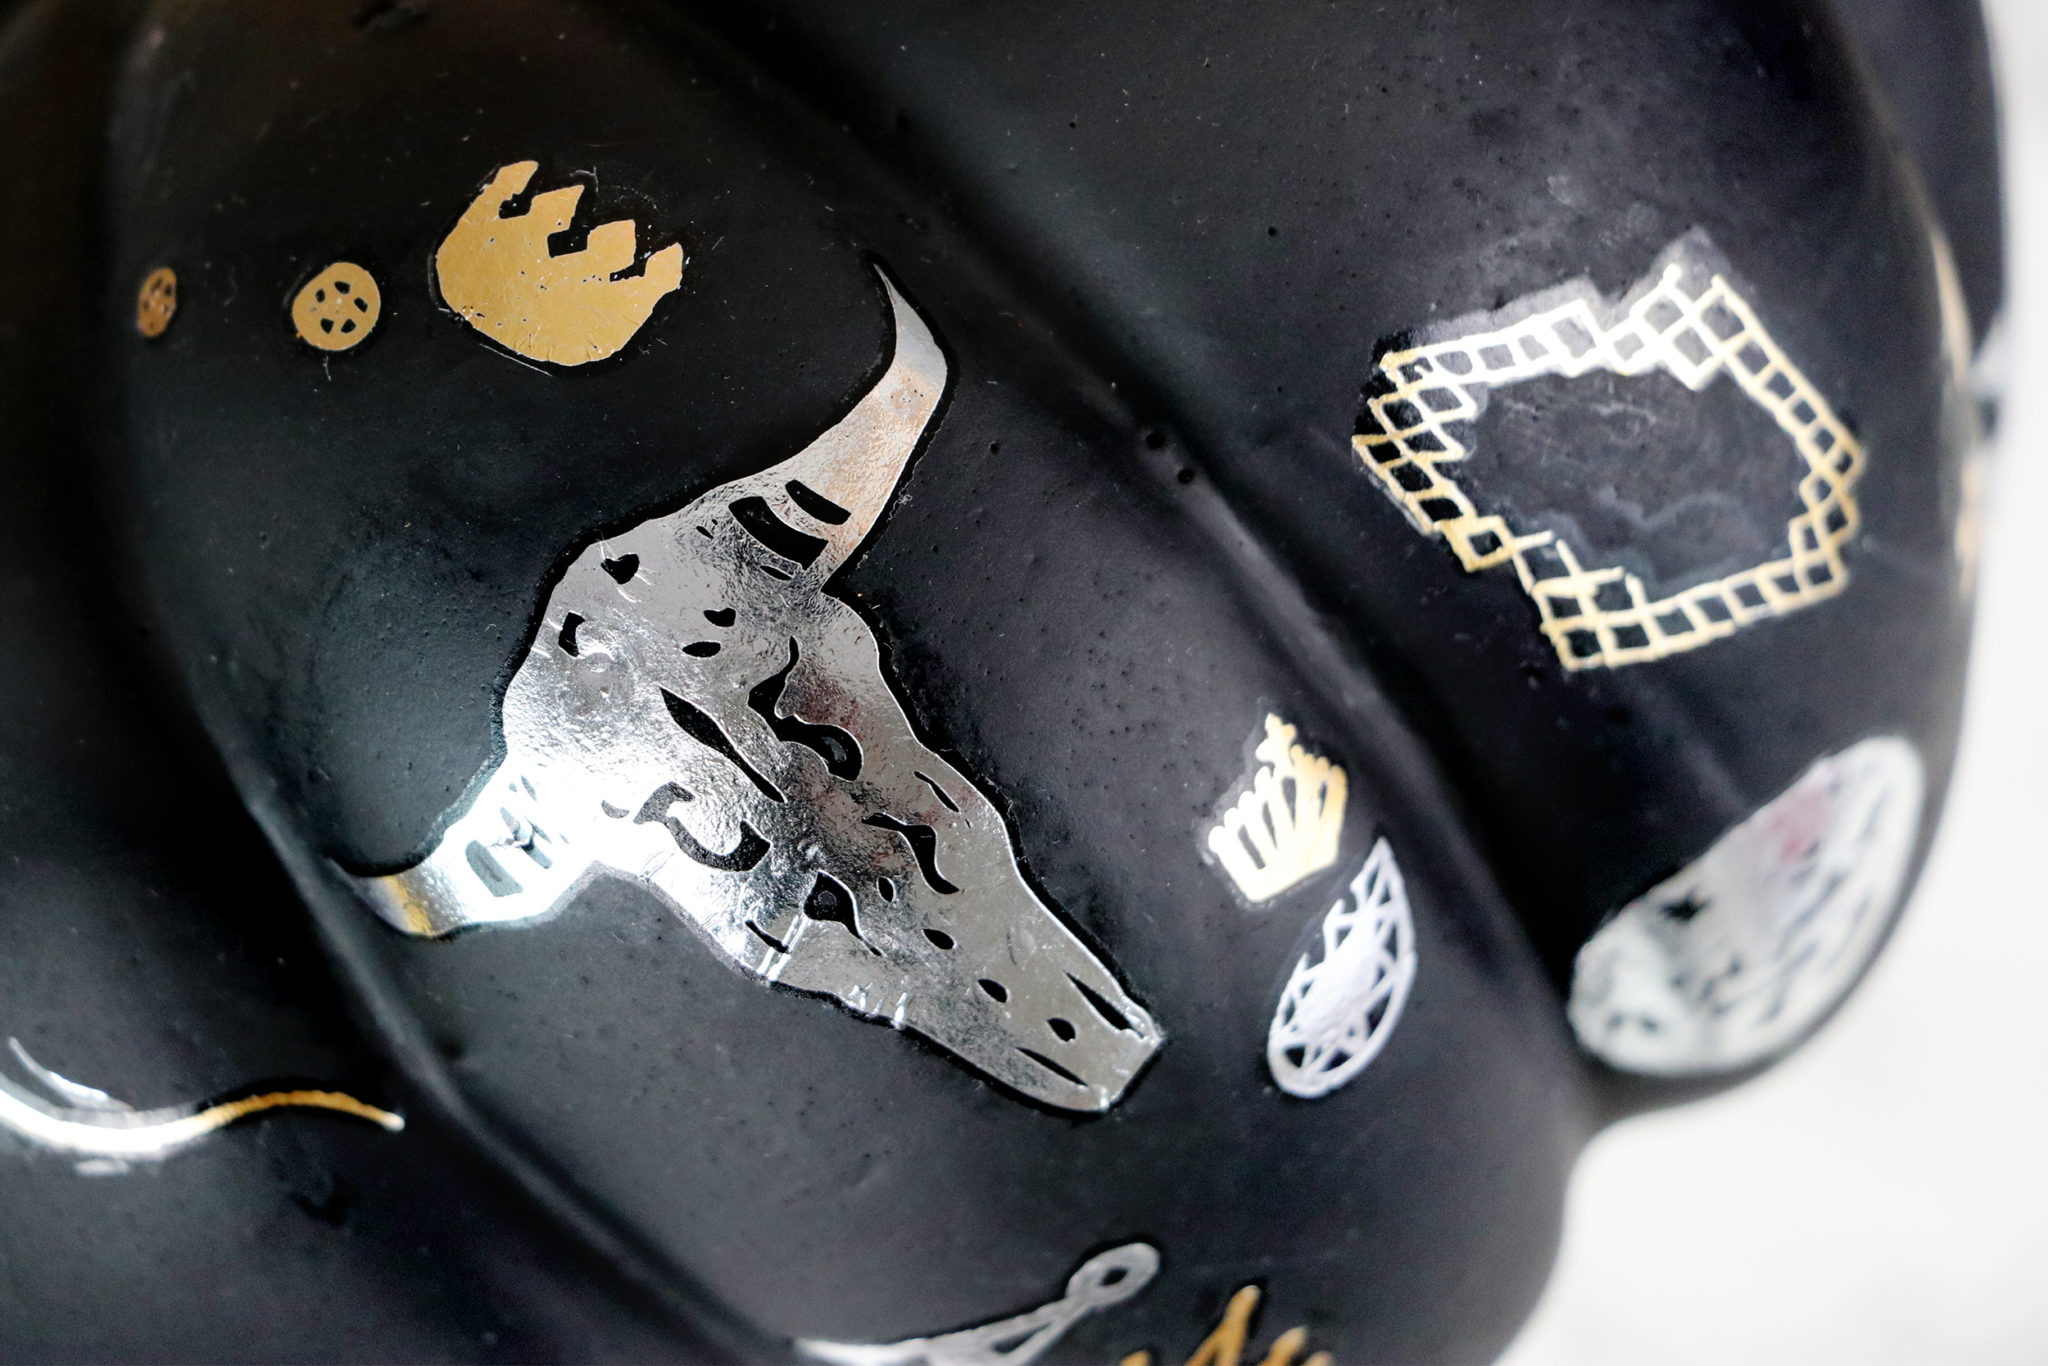
And then I think this one is my favorite. To get these detailed metallic images onto the pumpkin, all you have to do is use temporary tattoos! I decided to use Mr. Kate’s Beauty Marks, and you just have to use a damp paper towel to transfer them onto the pumpkin the exact same way you would put them on your skin.


I love how these came out, and I think they look so good with other pumpkins I’ve made in the past – the DIY studded pumpkin, and the DIY gold-dipped pumpkin! Be sure to stay tuned to HGTV Handmade all month long for even more DIYs, and I’ll be back on Wednesday with another craft for you!