
Hi everybody. Today to finish off my week on HGTV Handmade, I’m sharing some organizational tips and tricks that I’ve picked up over the years. To be honest, this video may have been an excuse to finally get done a few of the organizing projects I’ve been meaning to do for months, but I hope you guys get something out of it too. Keep reading to watch the video and see photos of all the projects!
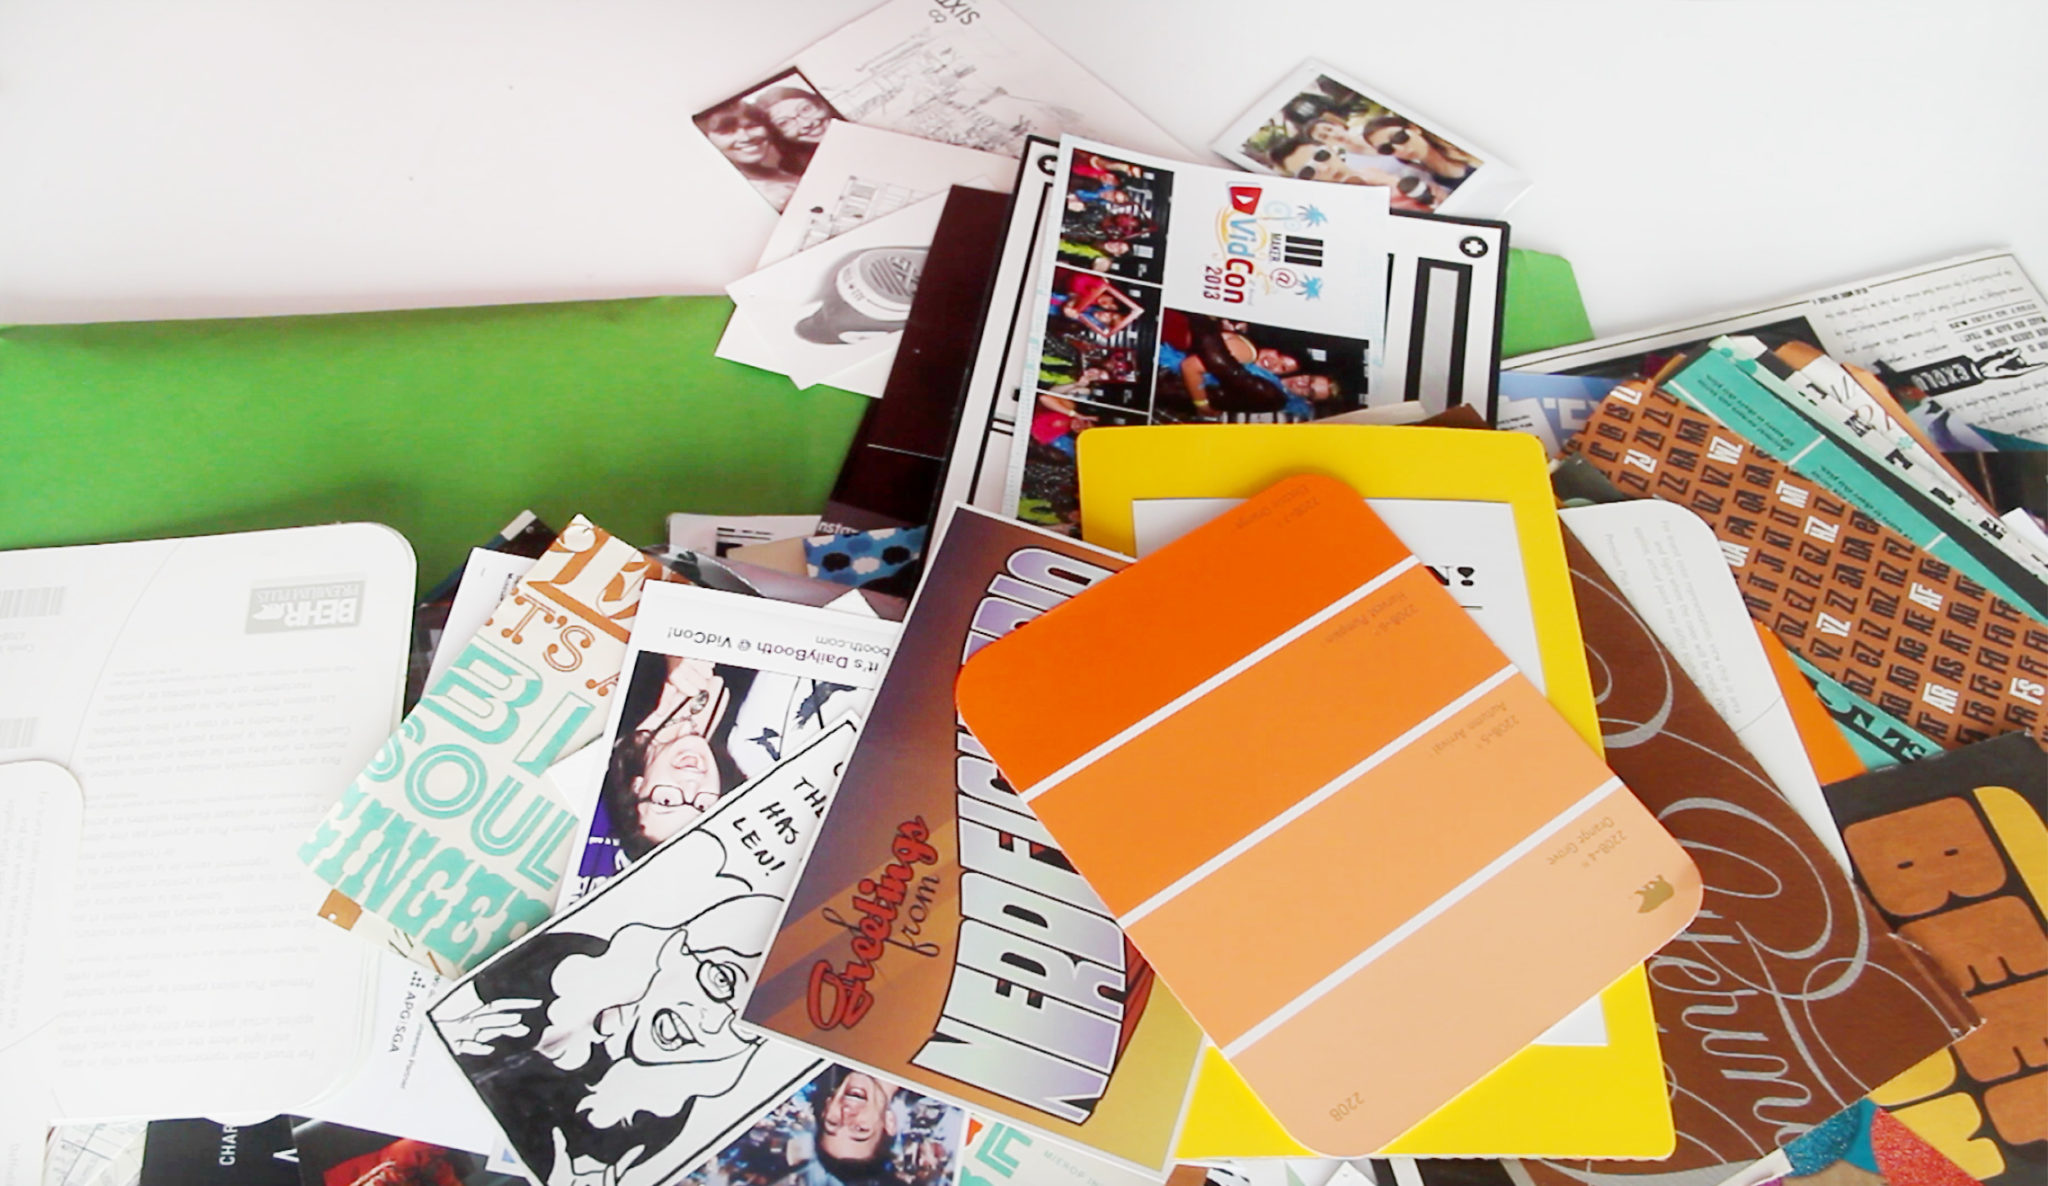
The first problem that I wanted to solve was how to organize all these little odds and ends I’ve collected over the years. This pile of paper includes graphic design inspiration, photos from photobooths, stickers, postcards, and lots of other random stuff.
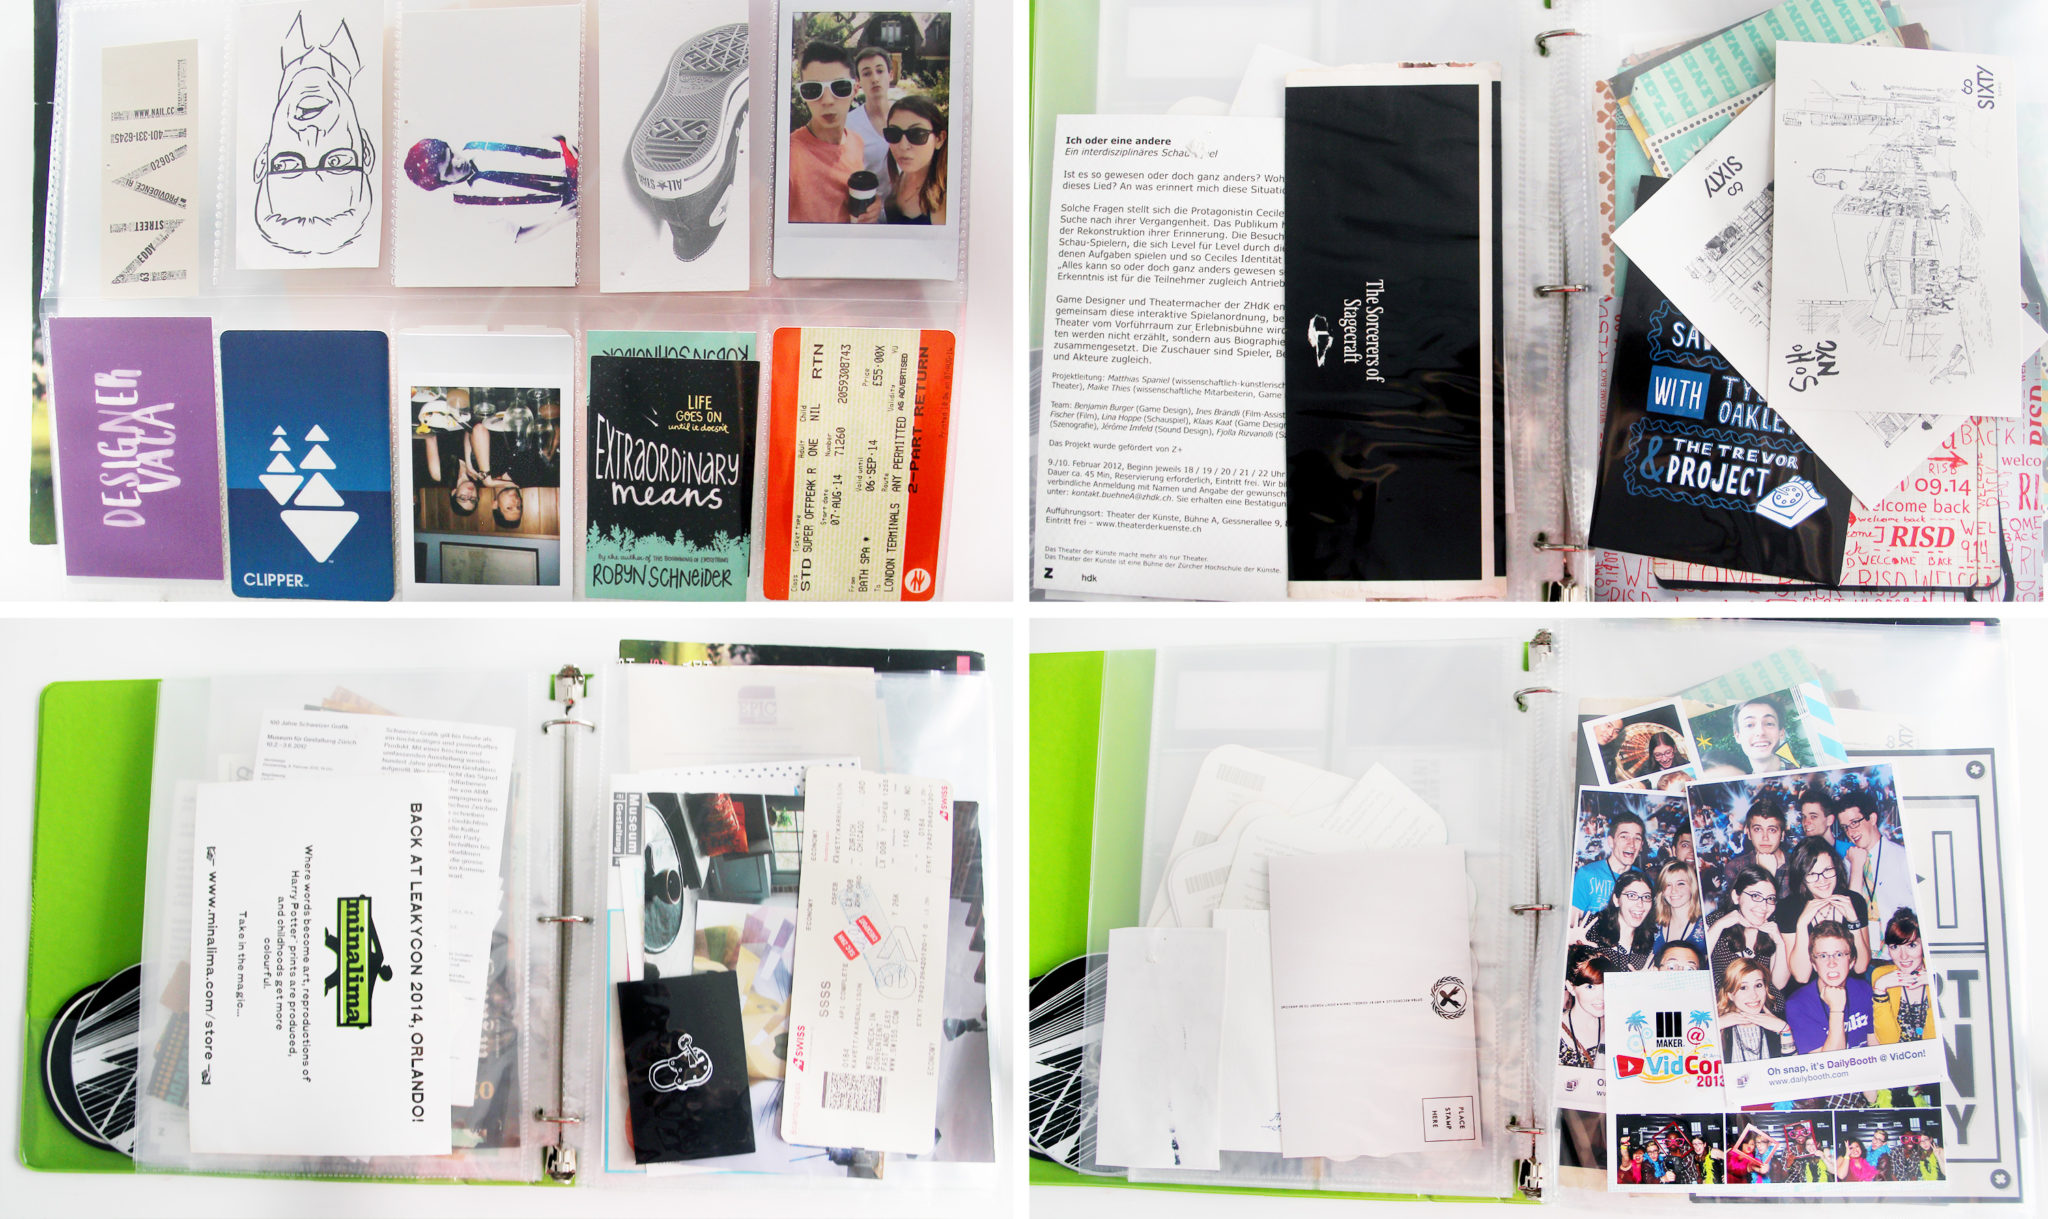
To solve that, I decided to get rid of the folder that had gotten way too small for my collection, and instead use a binder with page protectors. This lets me slide things in and out as I need them, and has more space at the end for even more stuff that I’m sure I’ll collect along the way. Plus, I found out that the business card holders are the perfect size to store Instax photos!
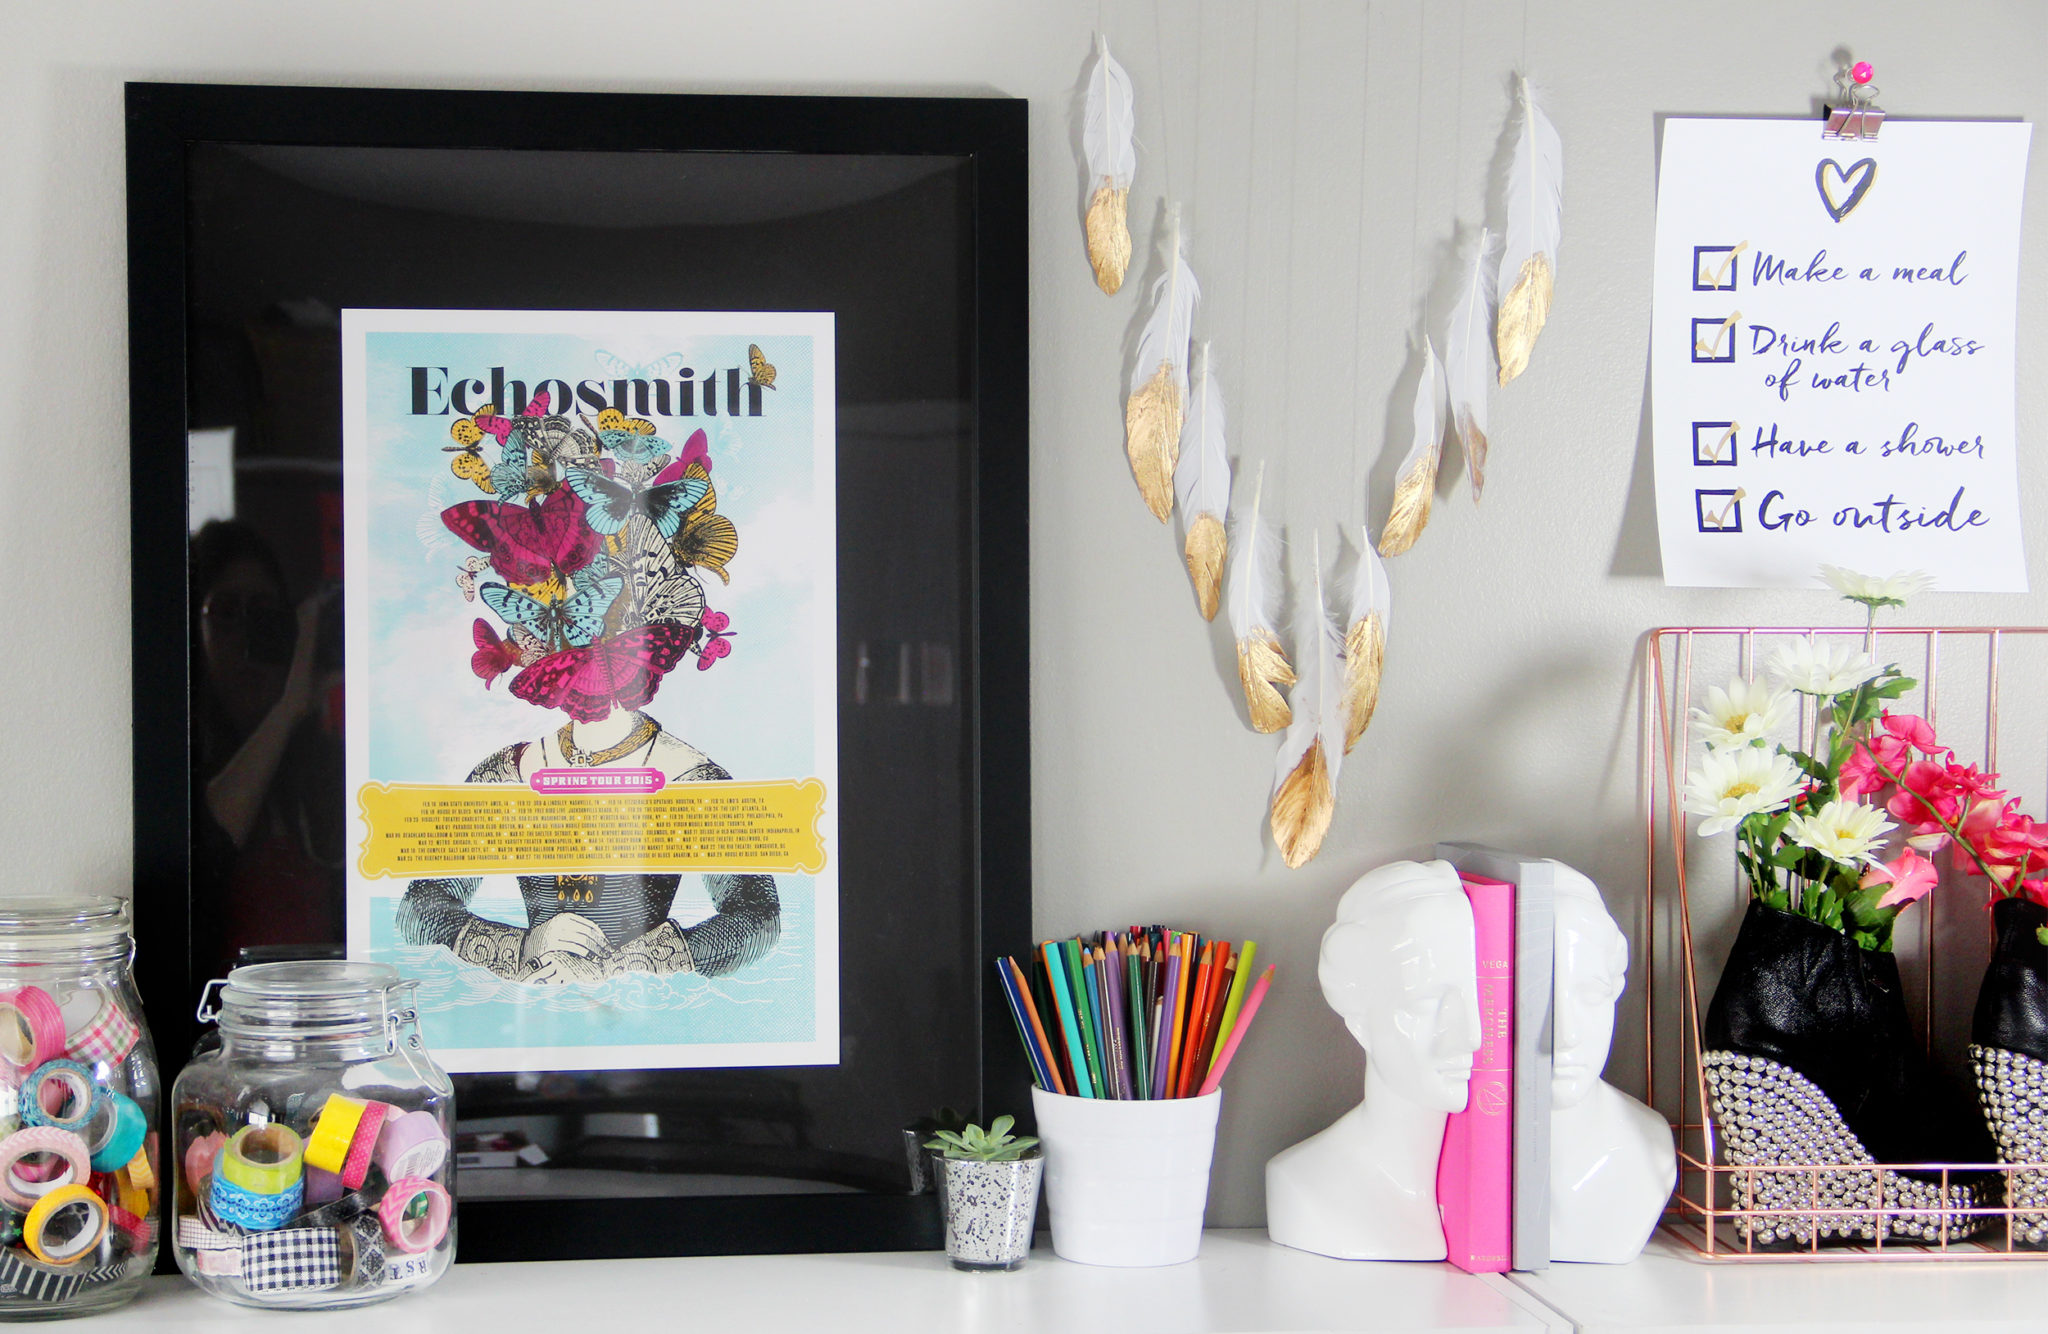
Next is a tip for how to store posters. I’ve definitely shared this one before, but in case you didn’t see that video, you can store multiple posters in the same frame by just stacking them on top of each other, if you want to keep them flat instead of rolling them up. And, if you have a poster that’s too small for your frame, just center it up, put some rolled up pieces of artists tape or washi tape on the back, and use the back of a spare poster as a mat behind it, so it doesn’t look like it’s just floating around in a giant frame!
The posters that I used here are the Echosmith tour poster from when I saw them live last spring, and the So You Need a Typeface poster, which I’ve had for ages.
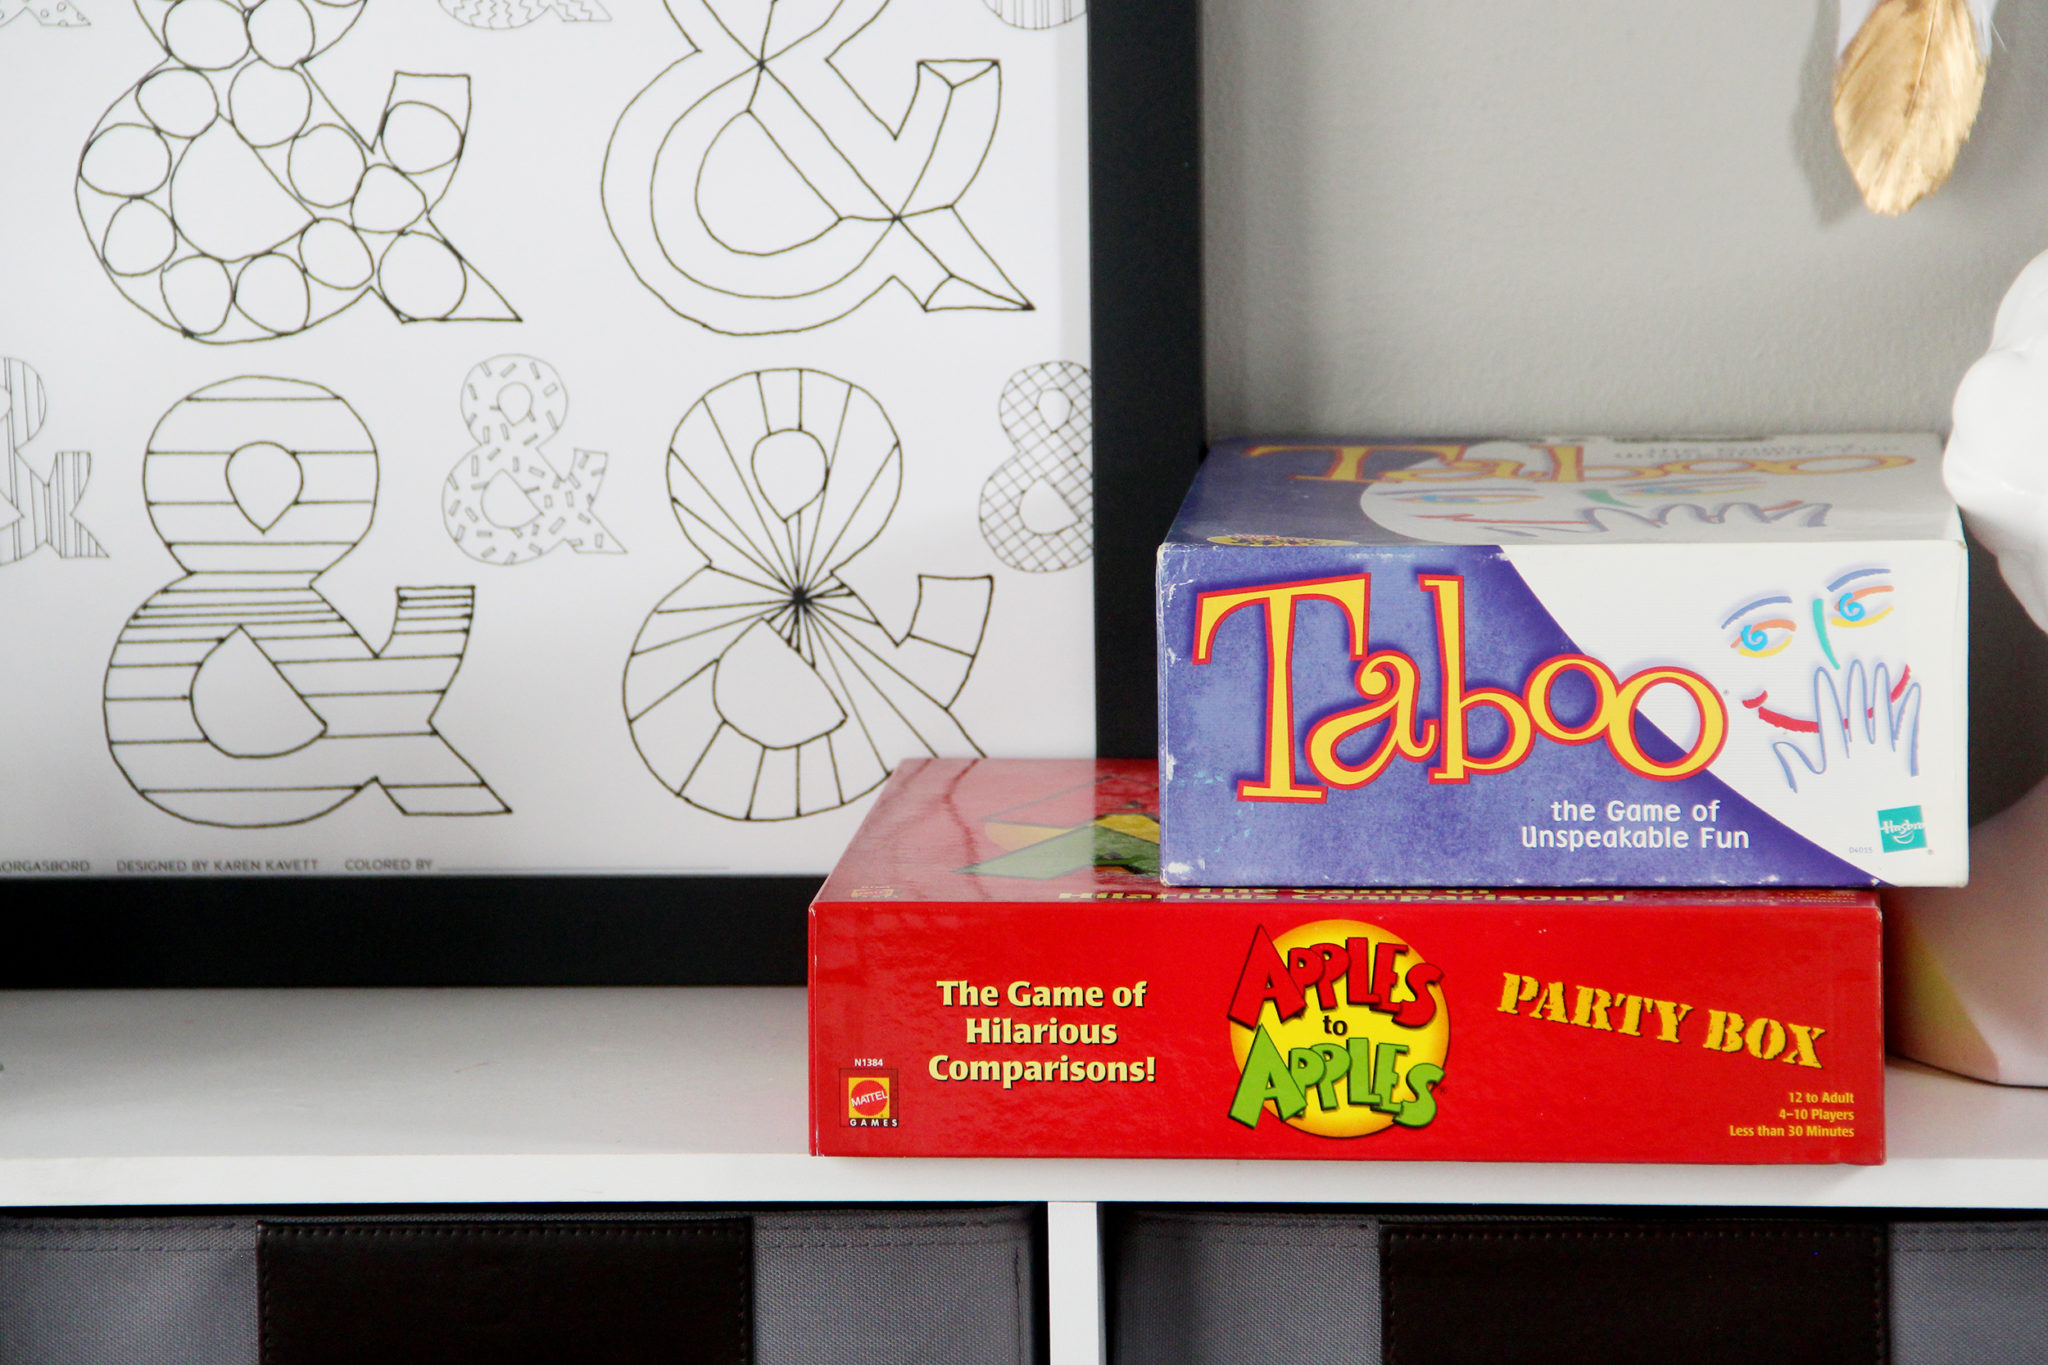
Now let’s talk about board games. I love playing them, but I have a couple issues with storing them.
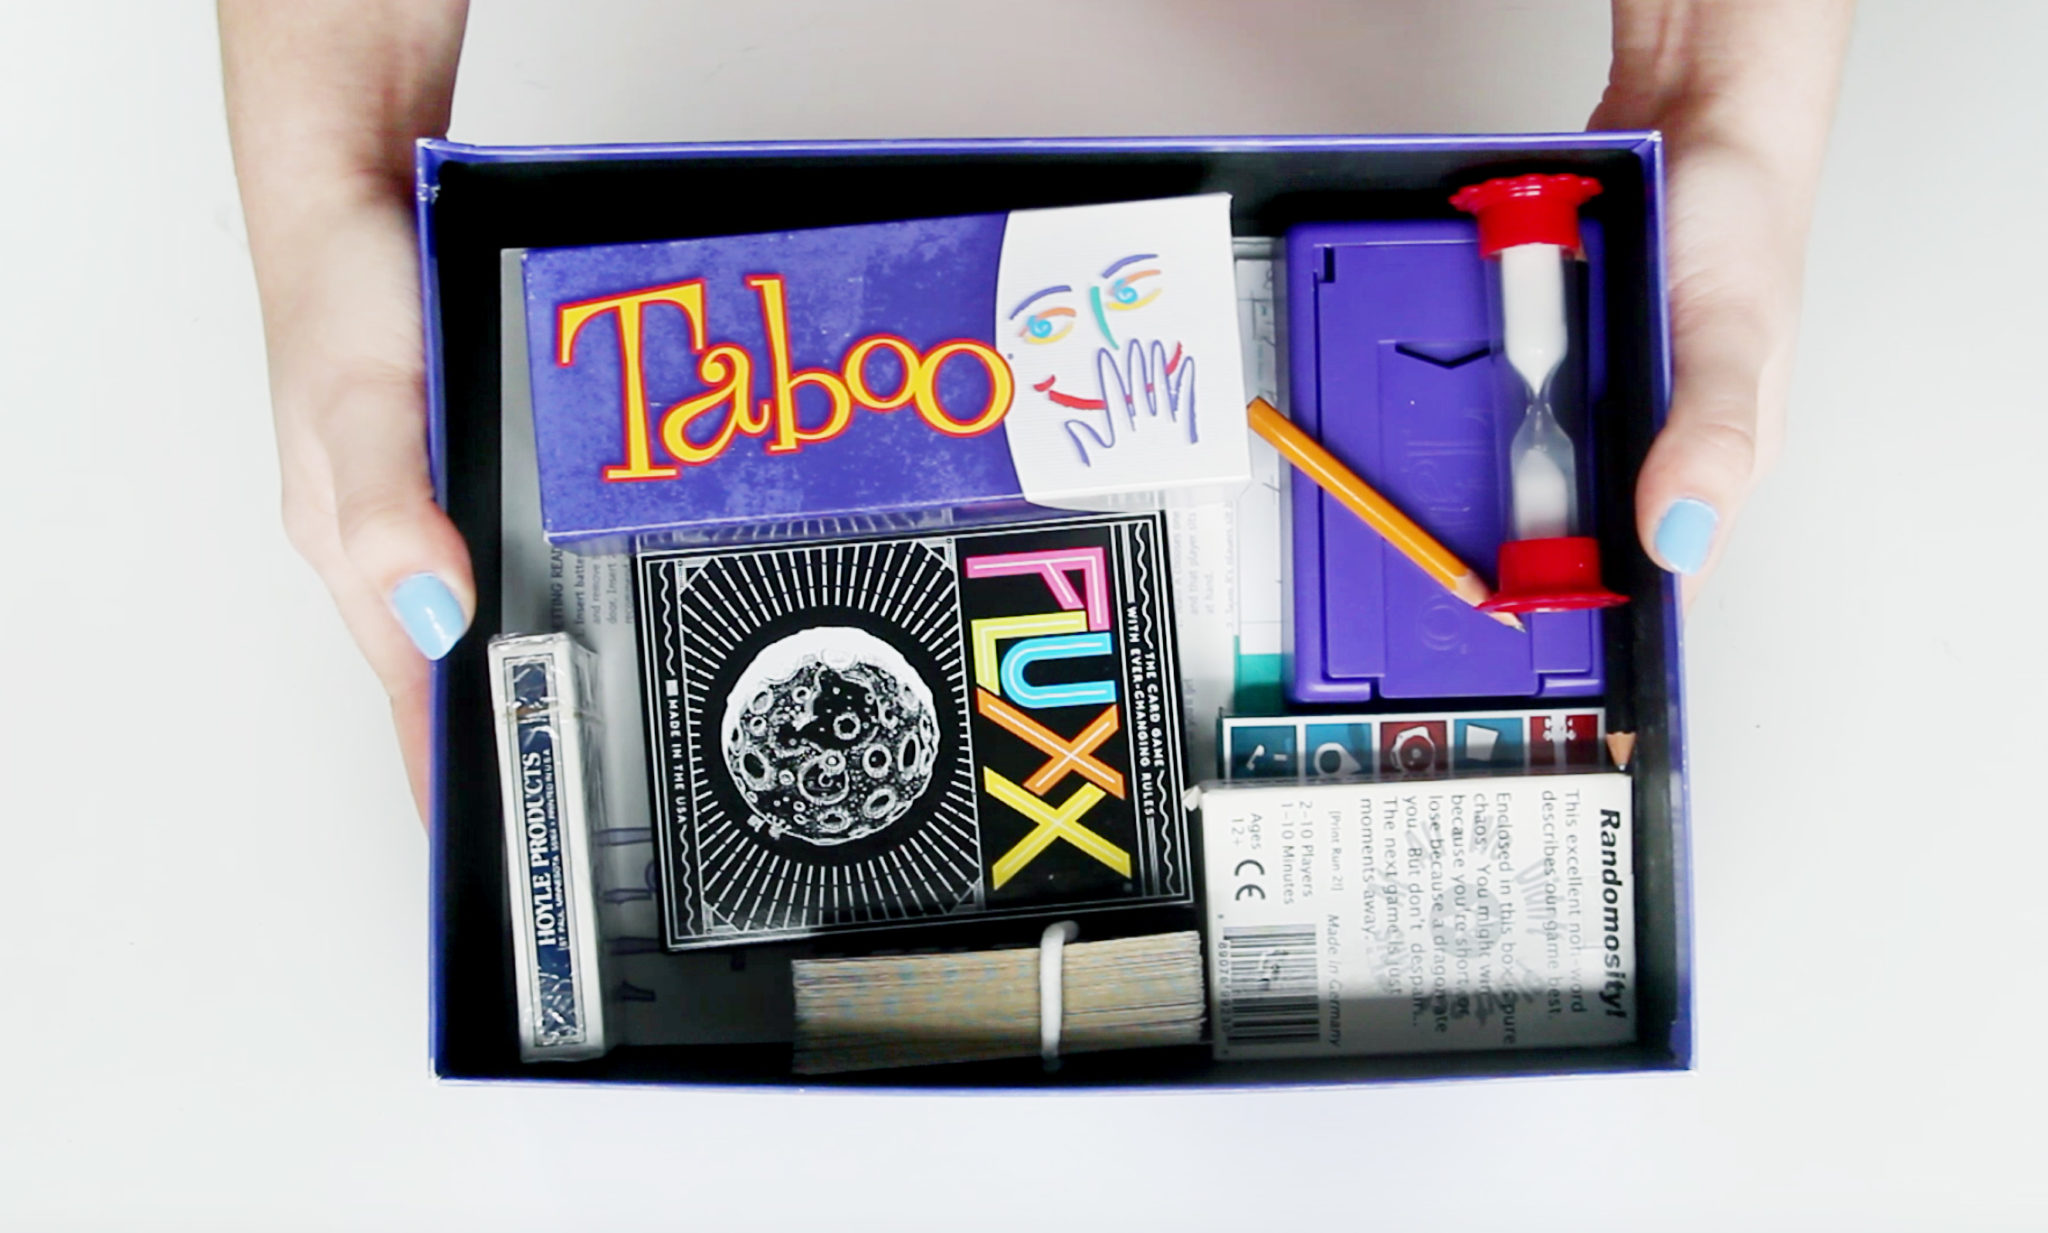
First, a lot of board game boxes are way too big for the games they hold. All that empty space really bothers me, so I’ve started storing smaller games inside the larger boxes.

Then, to cover up the original packaging, which is usually pretty tacky and loud, I wrapped the tops of the boxes with cute wrapping paper and used a labelmaker to add the names of the games. I think they look so cute, and it’s like having wrapped Christmas presents in your home all year long! Just make sure to wrap the top of the box on its own so you can still open up the box to get at the game inside.
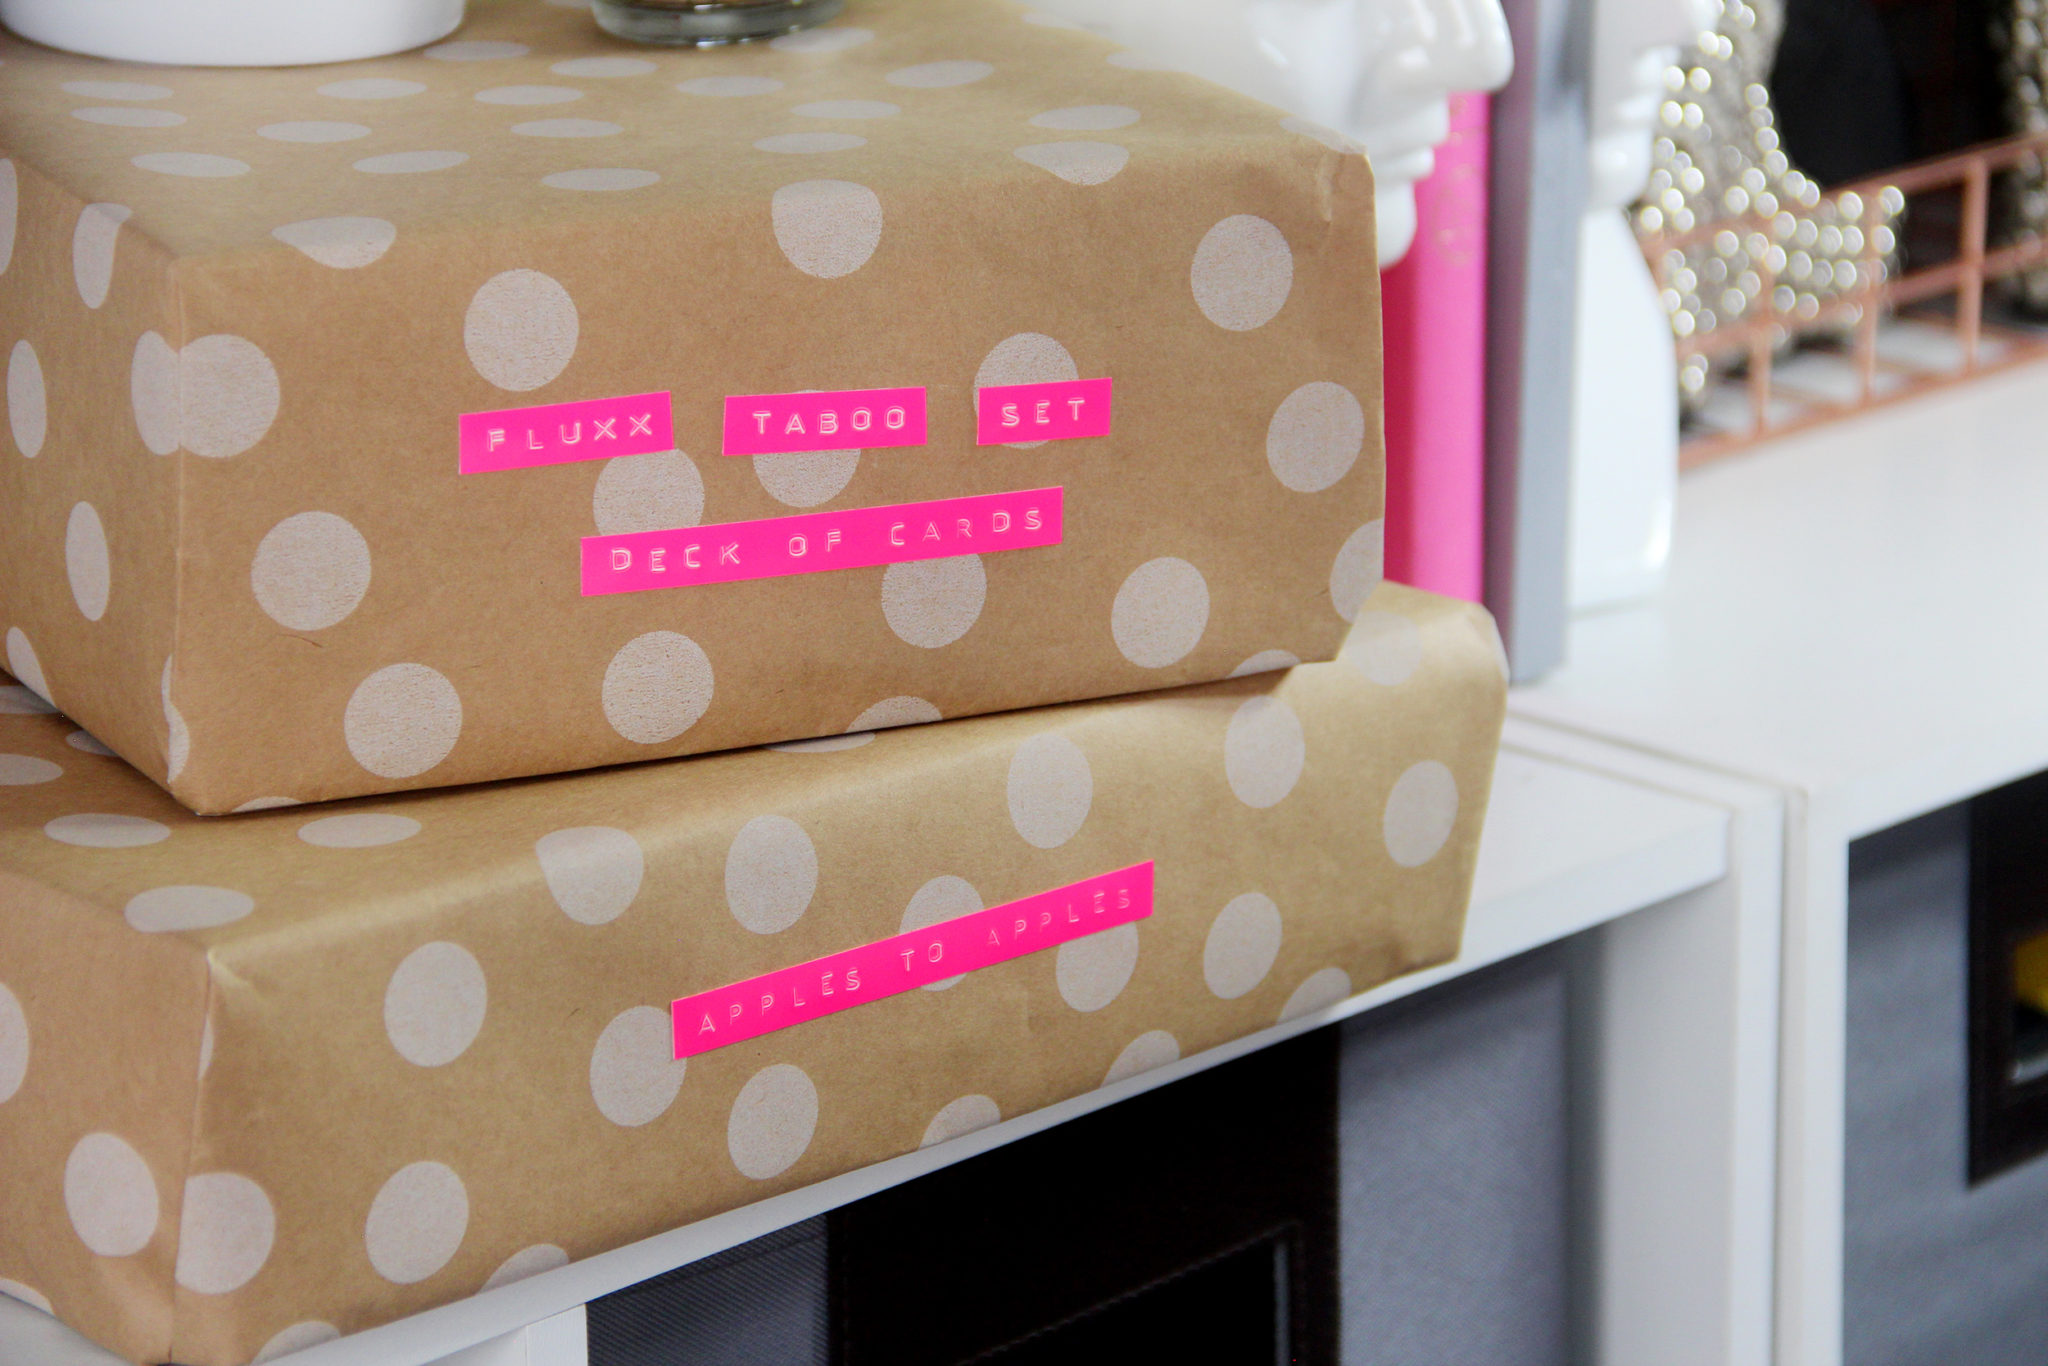
If you store multiple games in the same box though, just make sure to label all of them, because you don’t want to think that you’ve lost them!
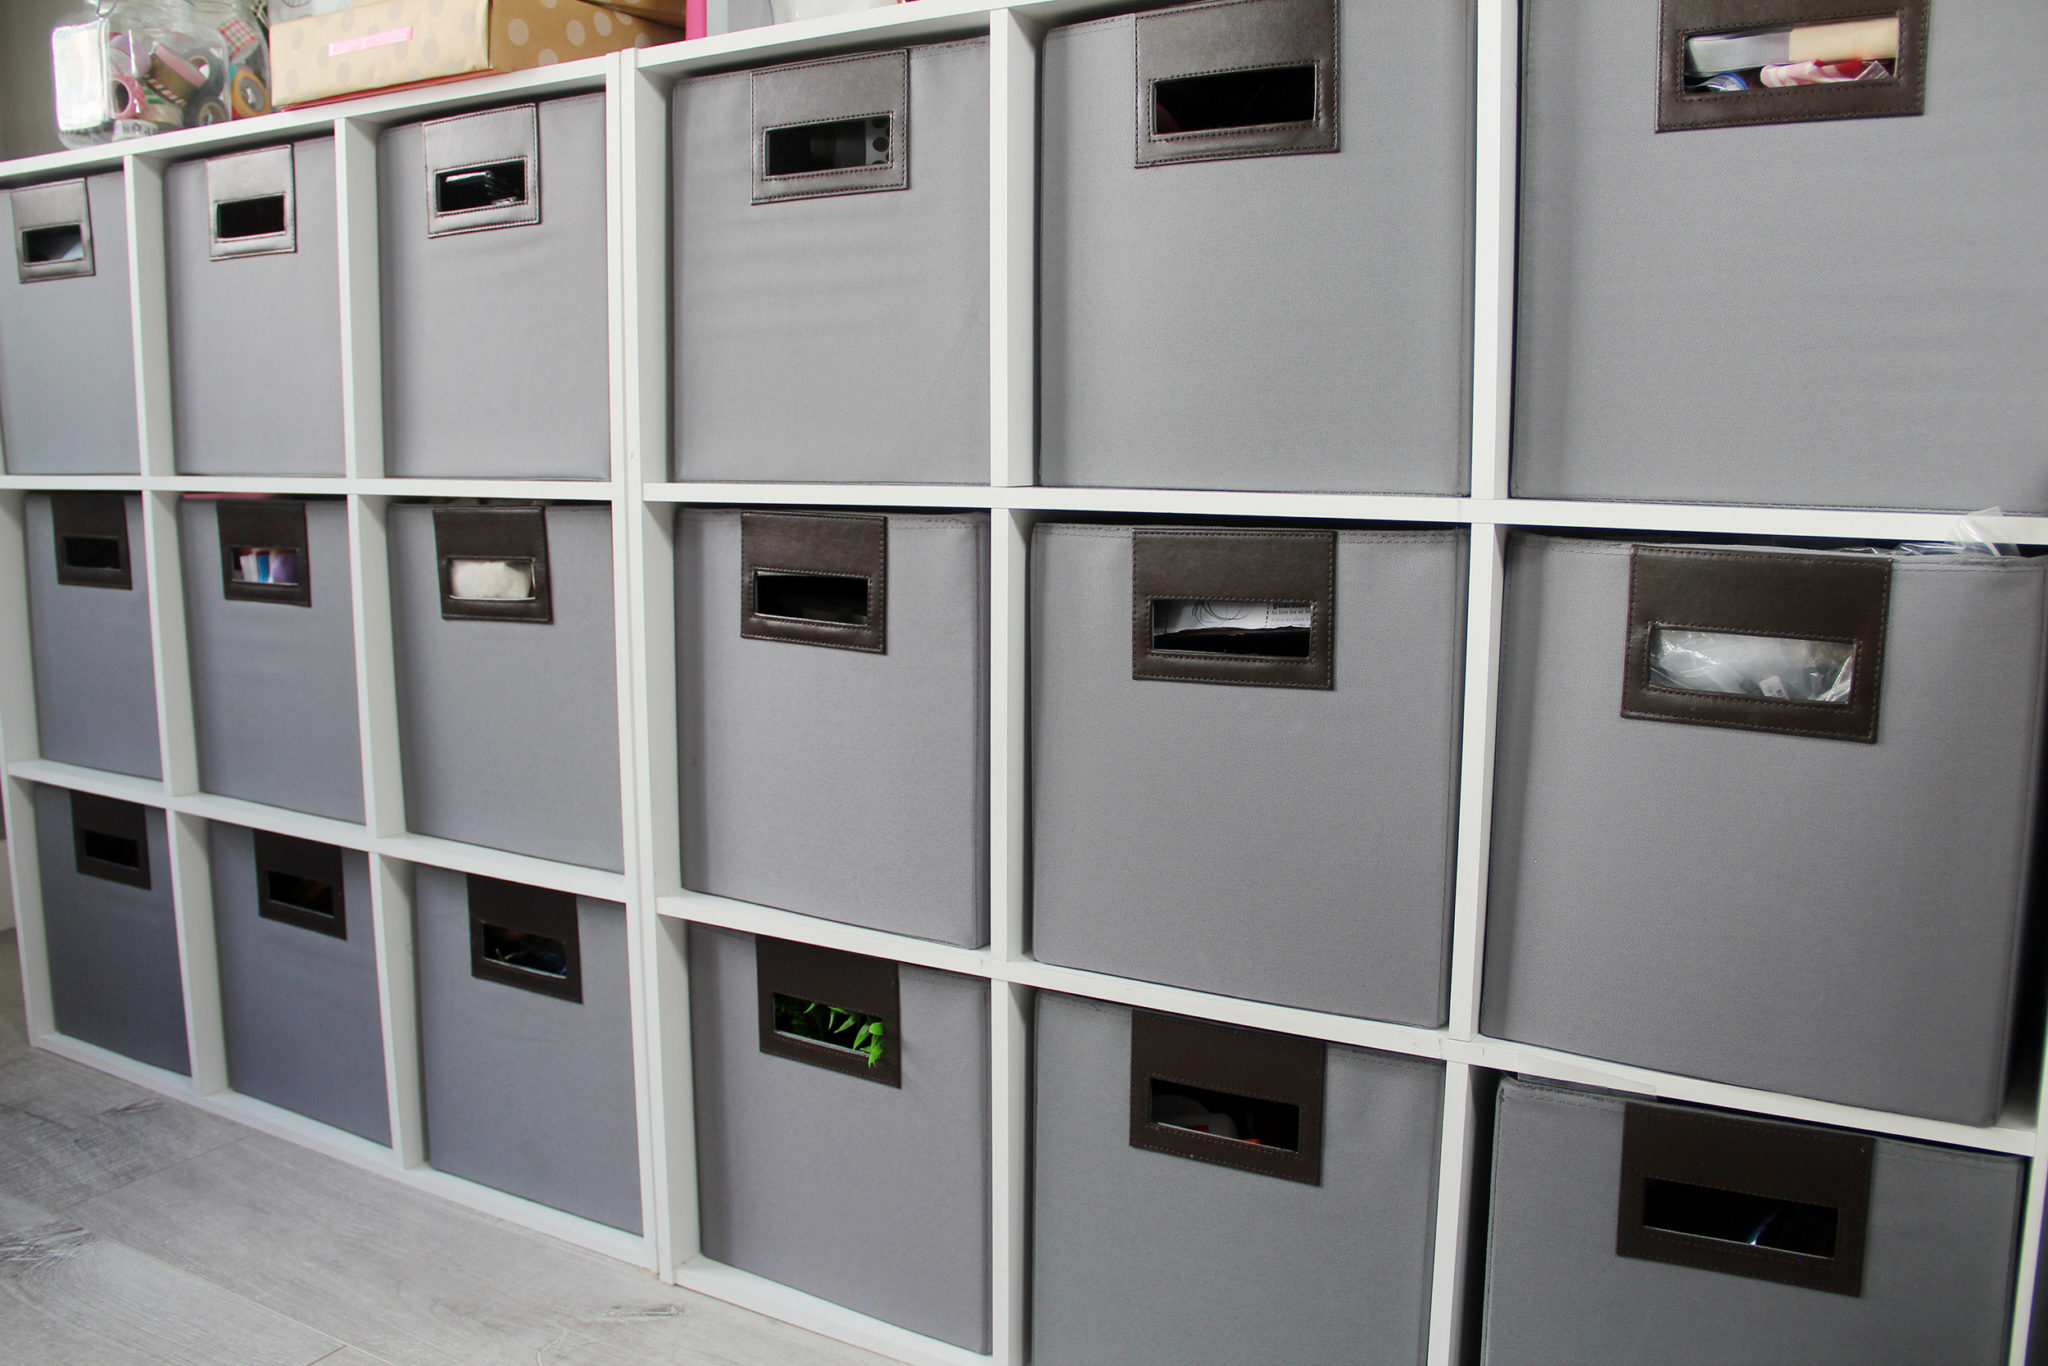
The next problem that I faced is that these new storage boxes that I bought for my craft supplies don’t have any place to attach a label, so they all look exactly the same, and sometimes it takes me a while to find the craft supply I’m after.
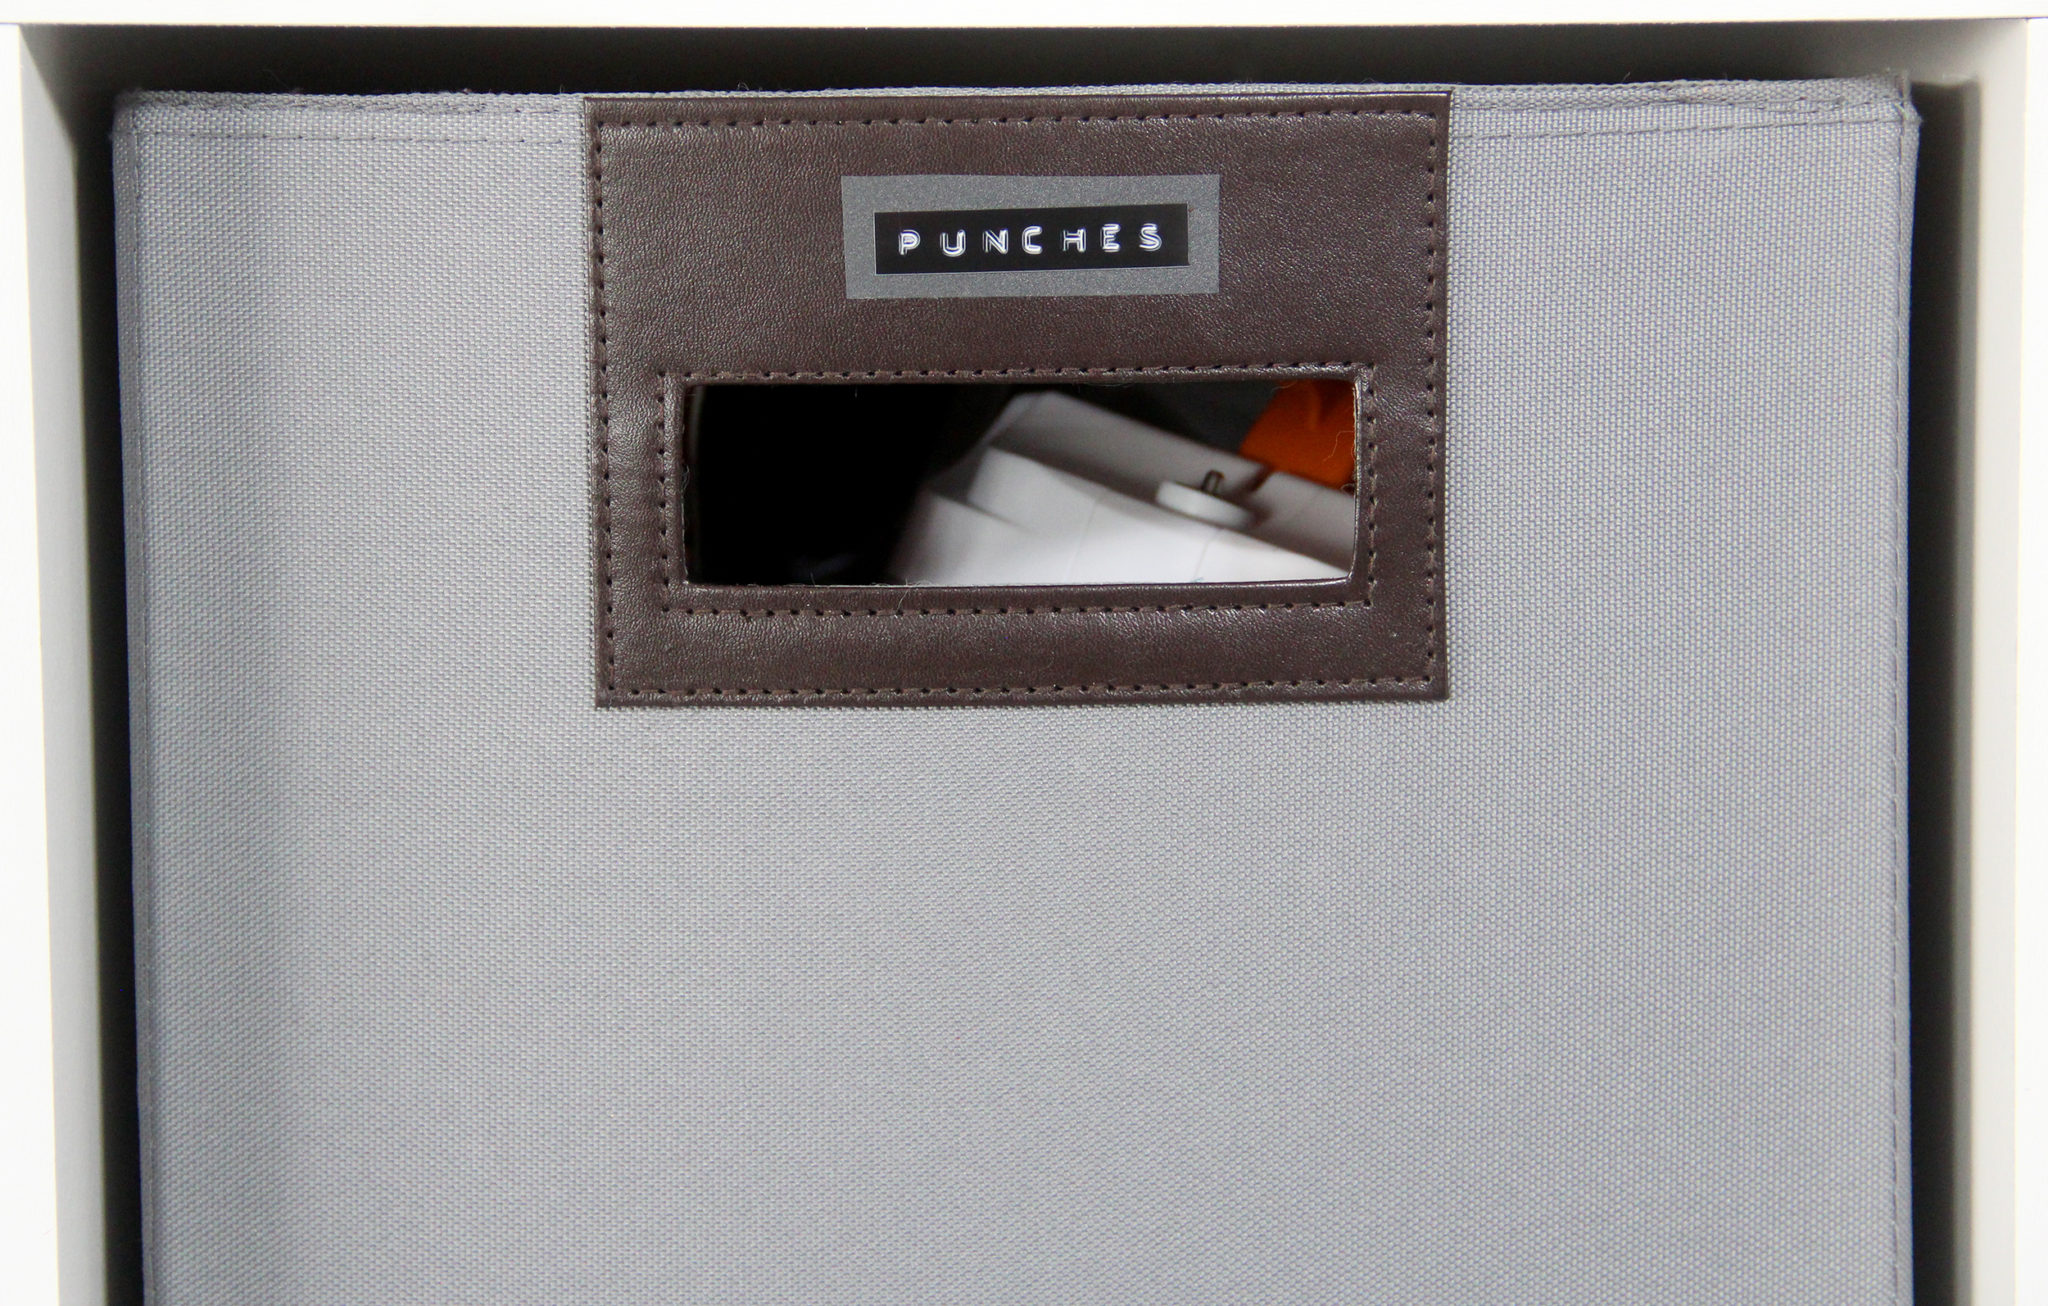
So, I grabbed my trusty labelmaker again and typed out labels for all the boxes. Then I stuck them onto chalkboard tape because I really like how the matte tape matches the canvas boxes.
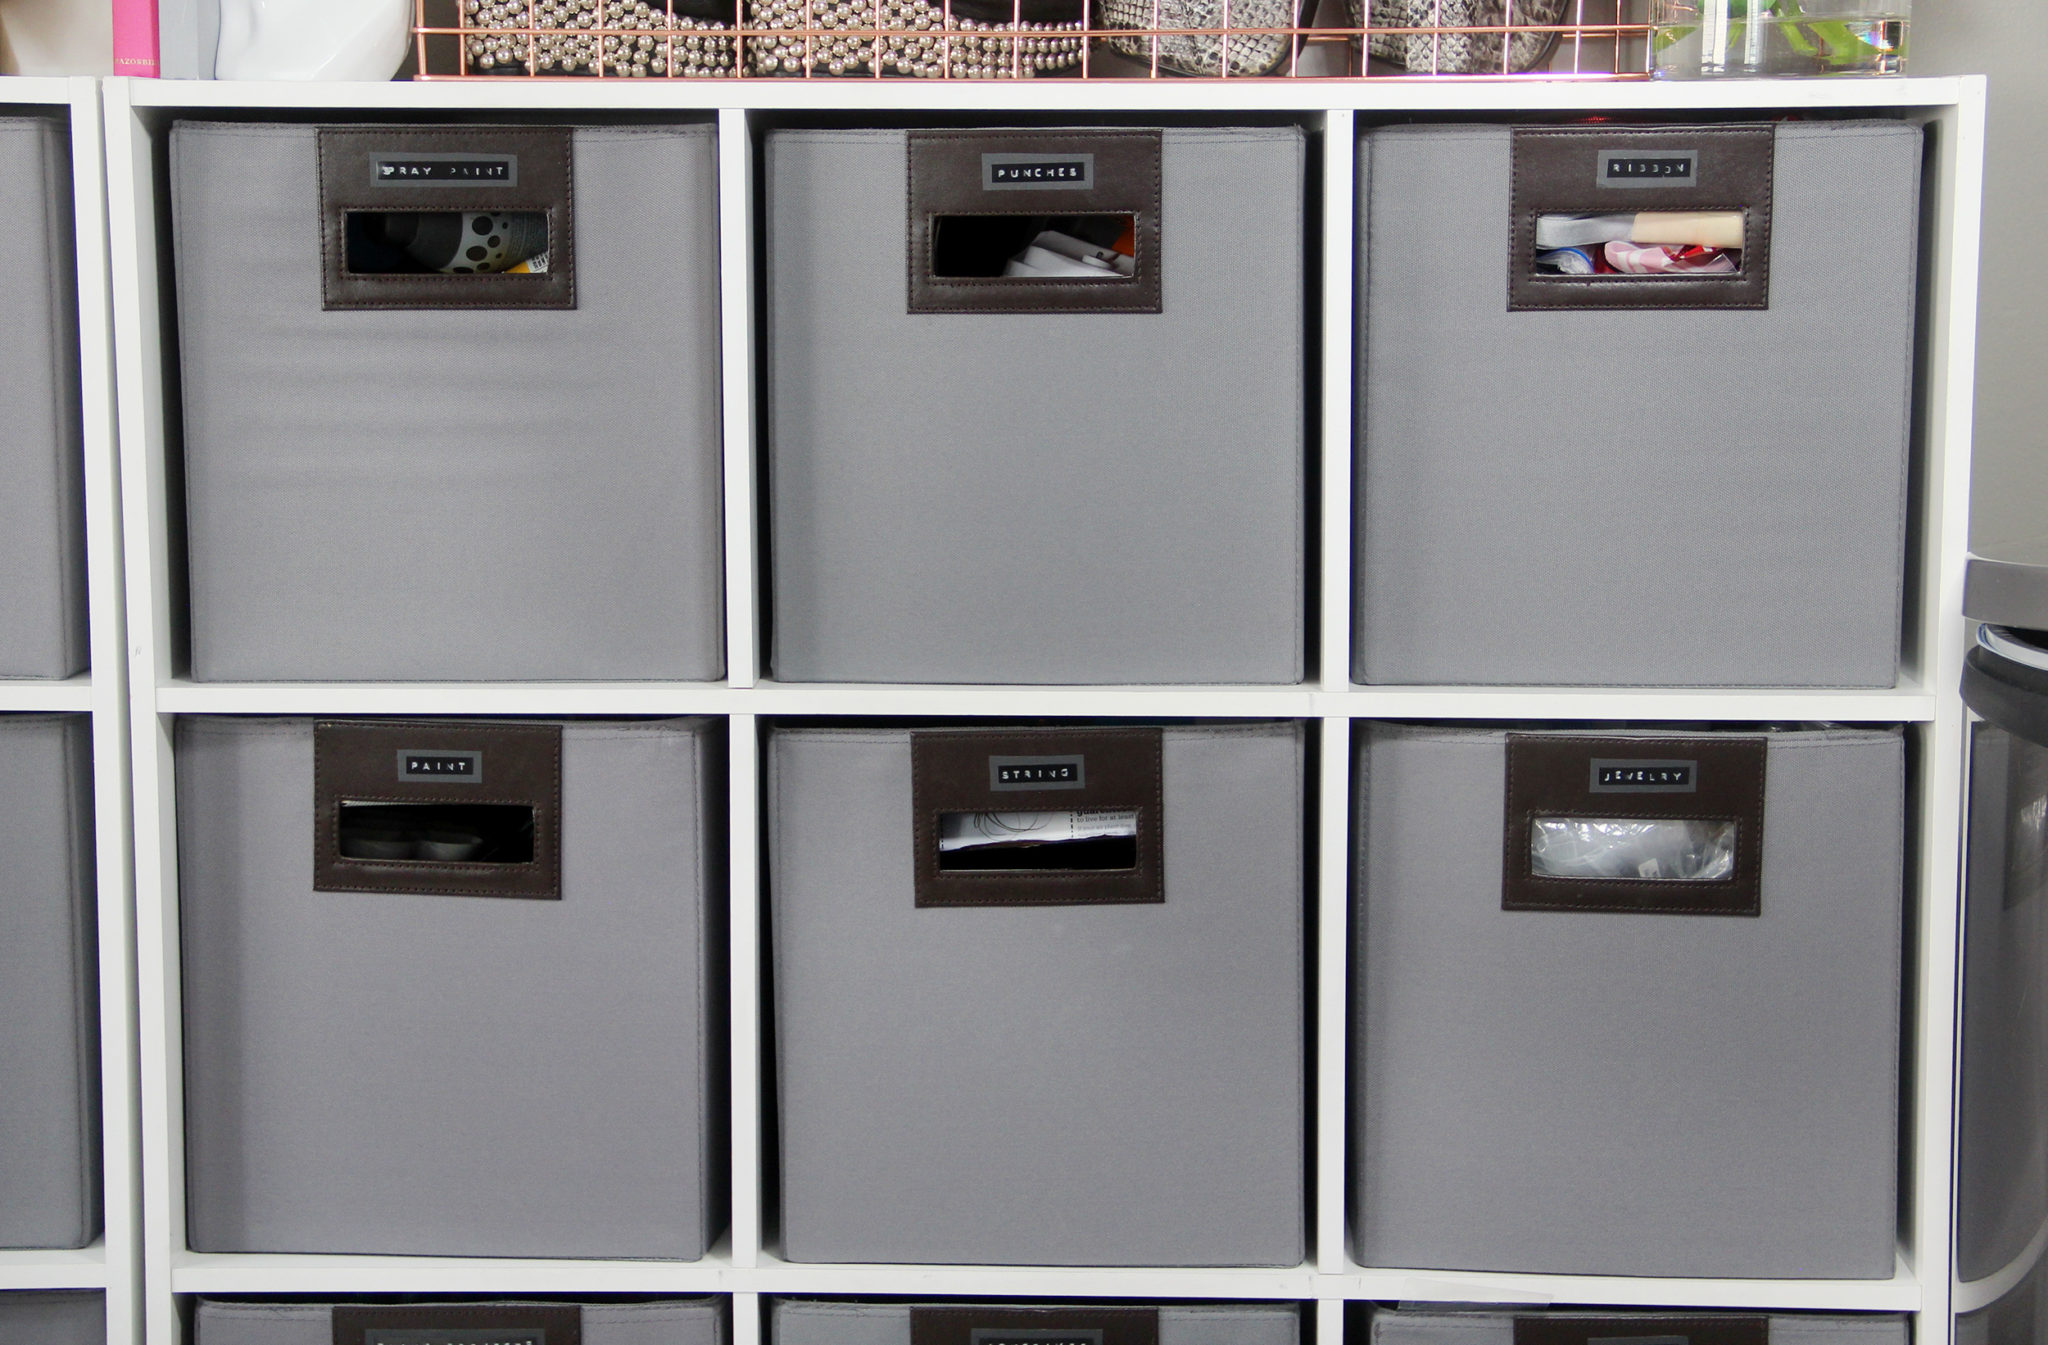
As I said in the video, this isn’t the flashiest DIY in the world, but I think they look really classy and subtle, which is exactly what I was going for.
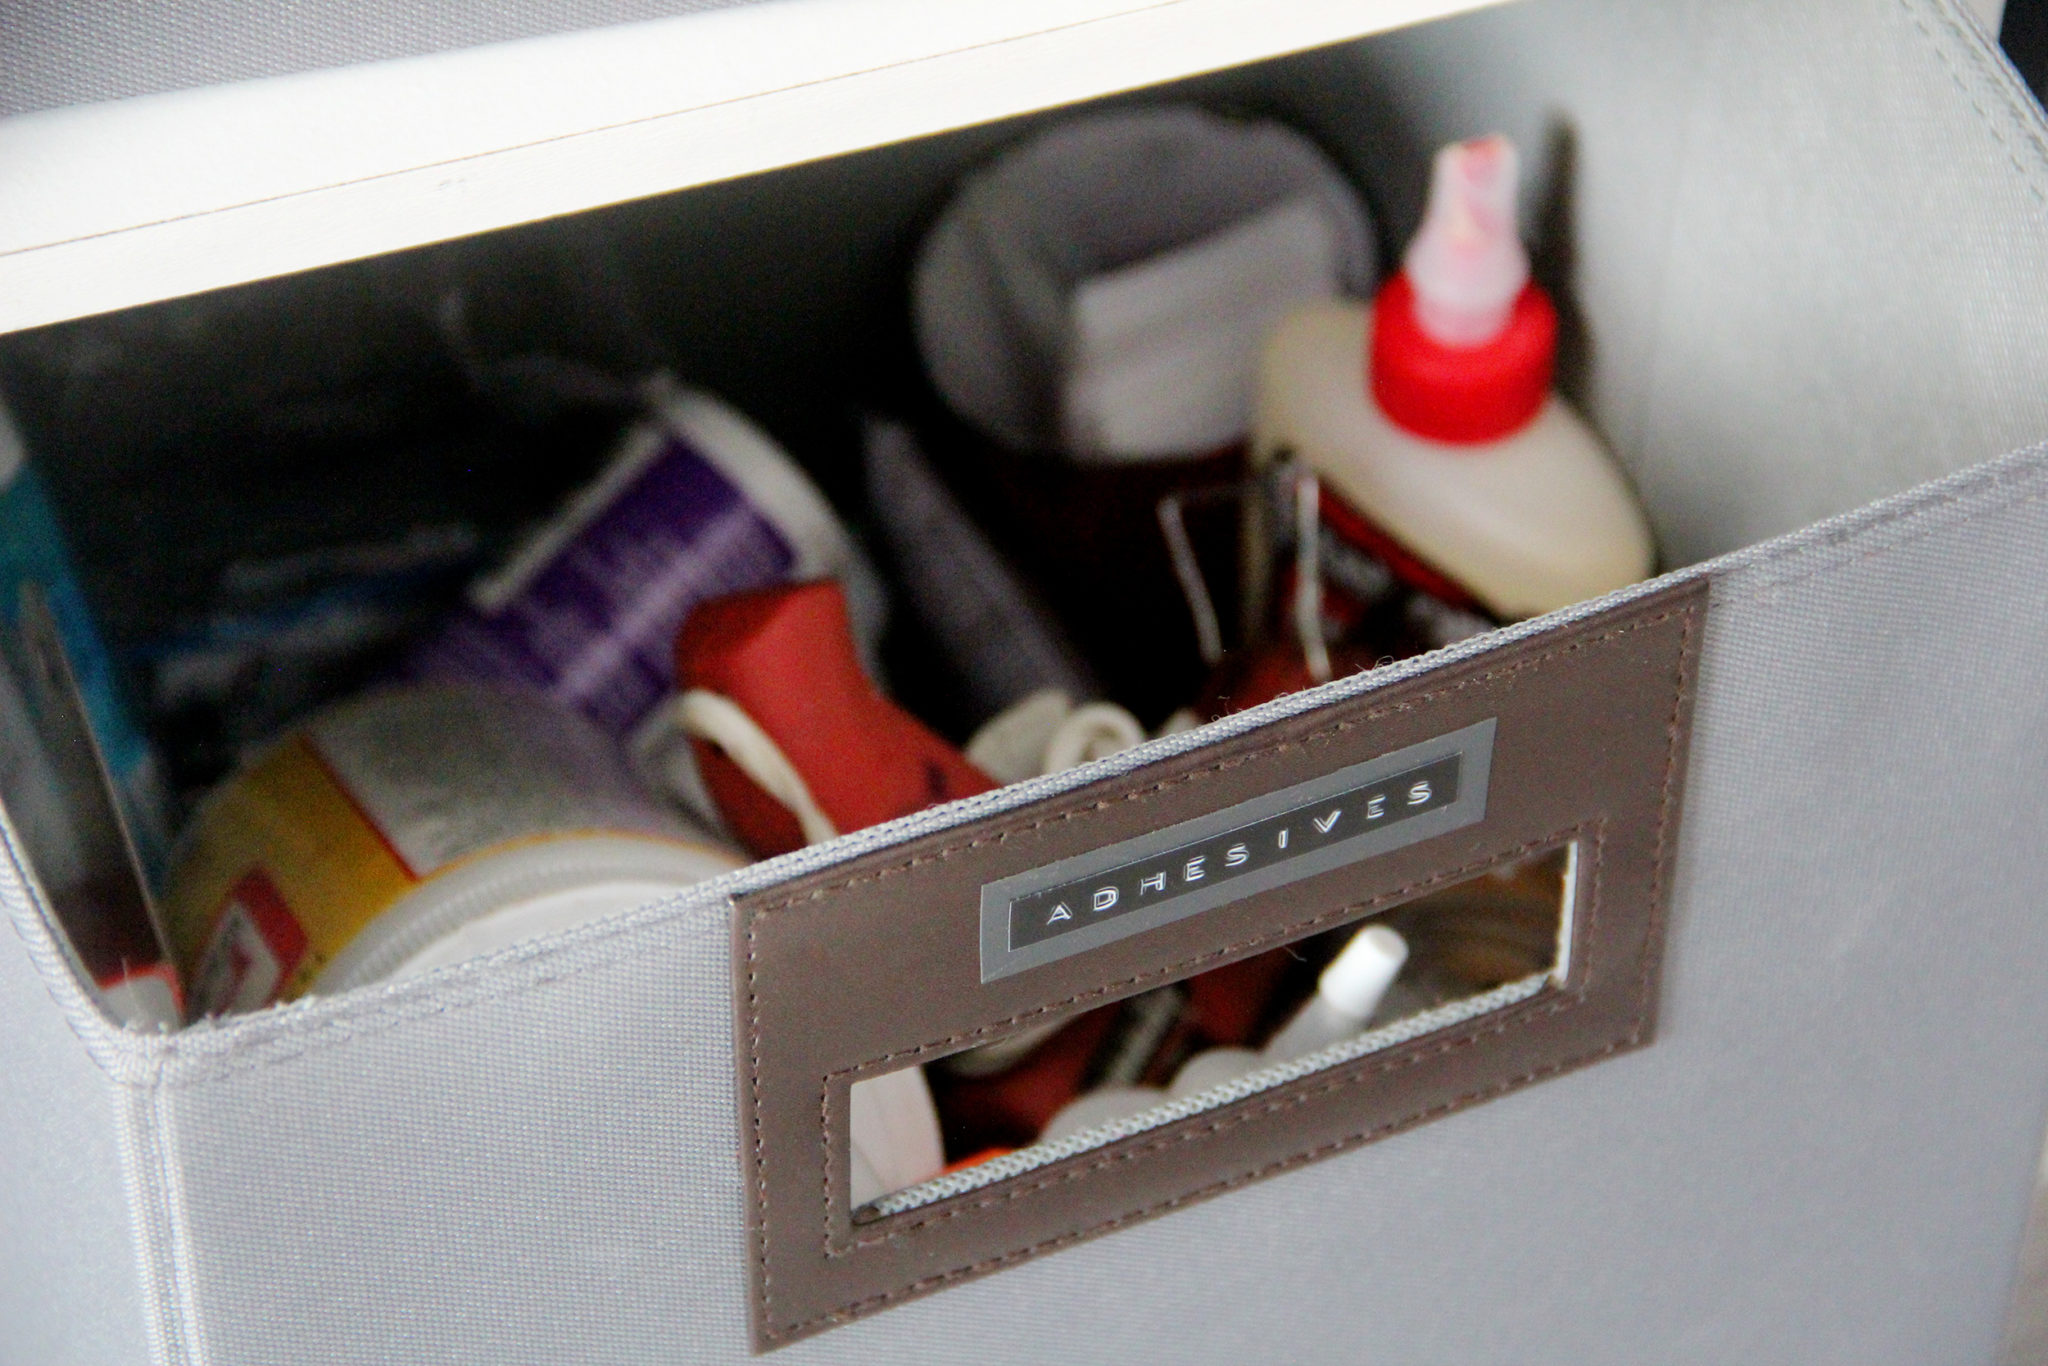
I think this is my favorite craft supply box. I just love adhesives so much!
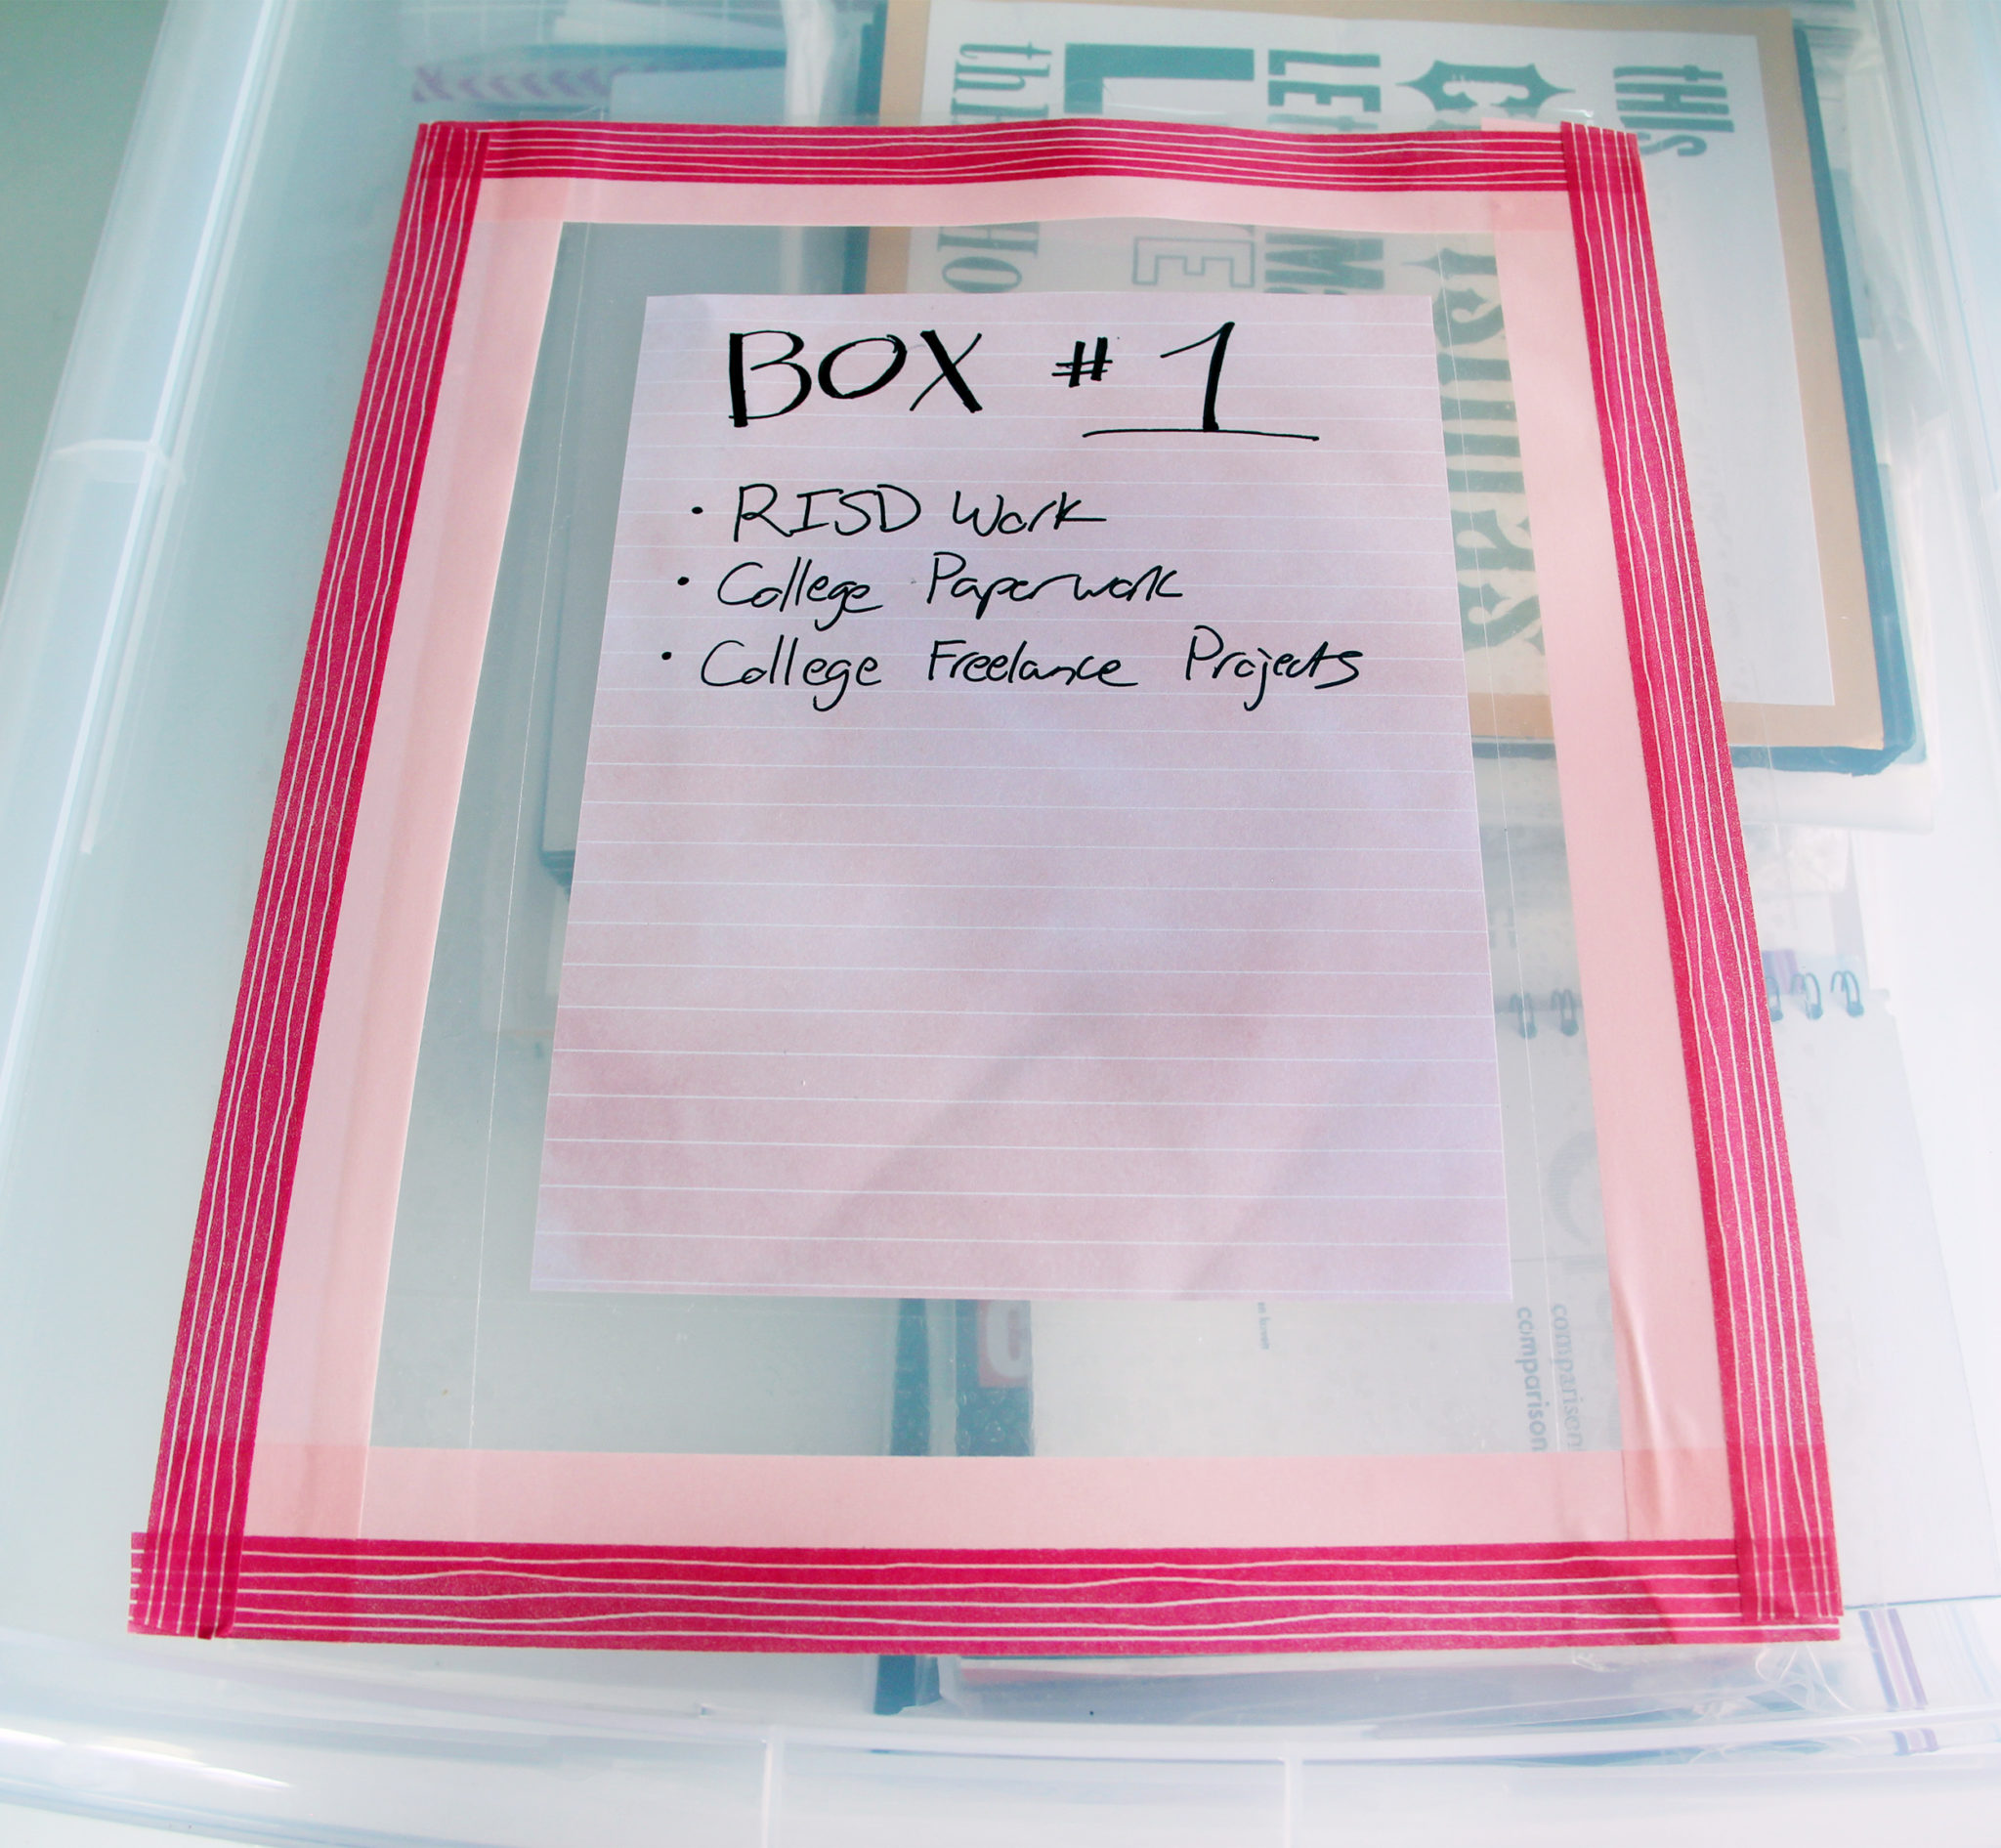
And finally, my last organizational project is putting labels on the boxes that go under my bed. Since it’s a hassle to pull them out all the time, I wanted to make sure I knew exactly what was in each one. So, I used packing tape and washi tape to attach a page protector to the top of the box, where I can slide in a piece of paper with a list of the box’s contents.
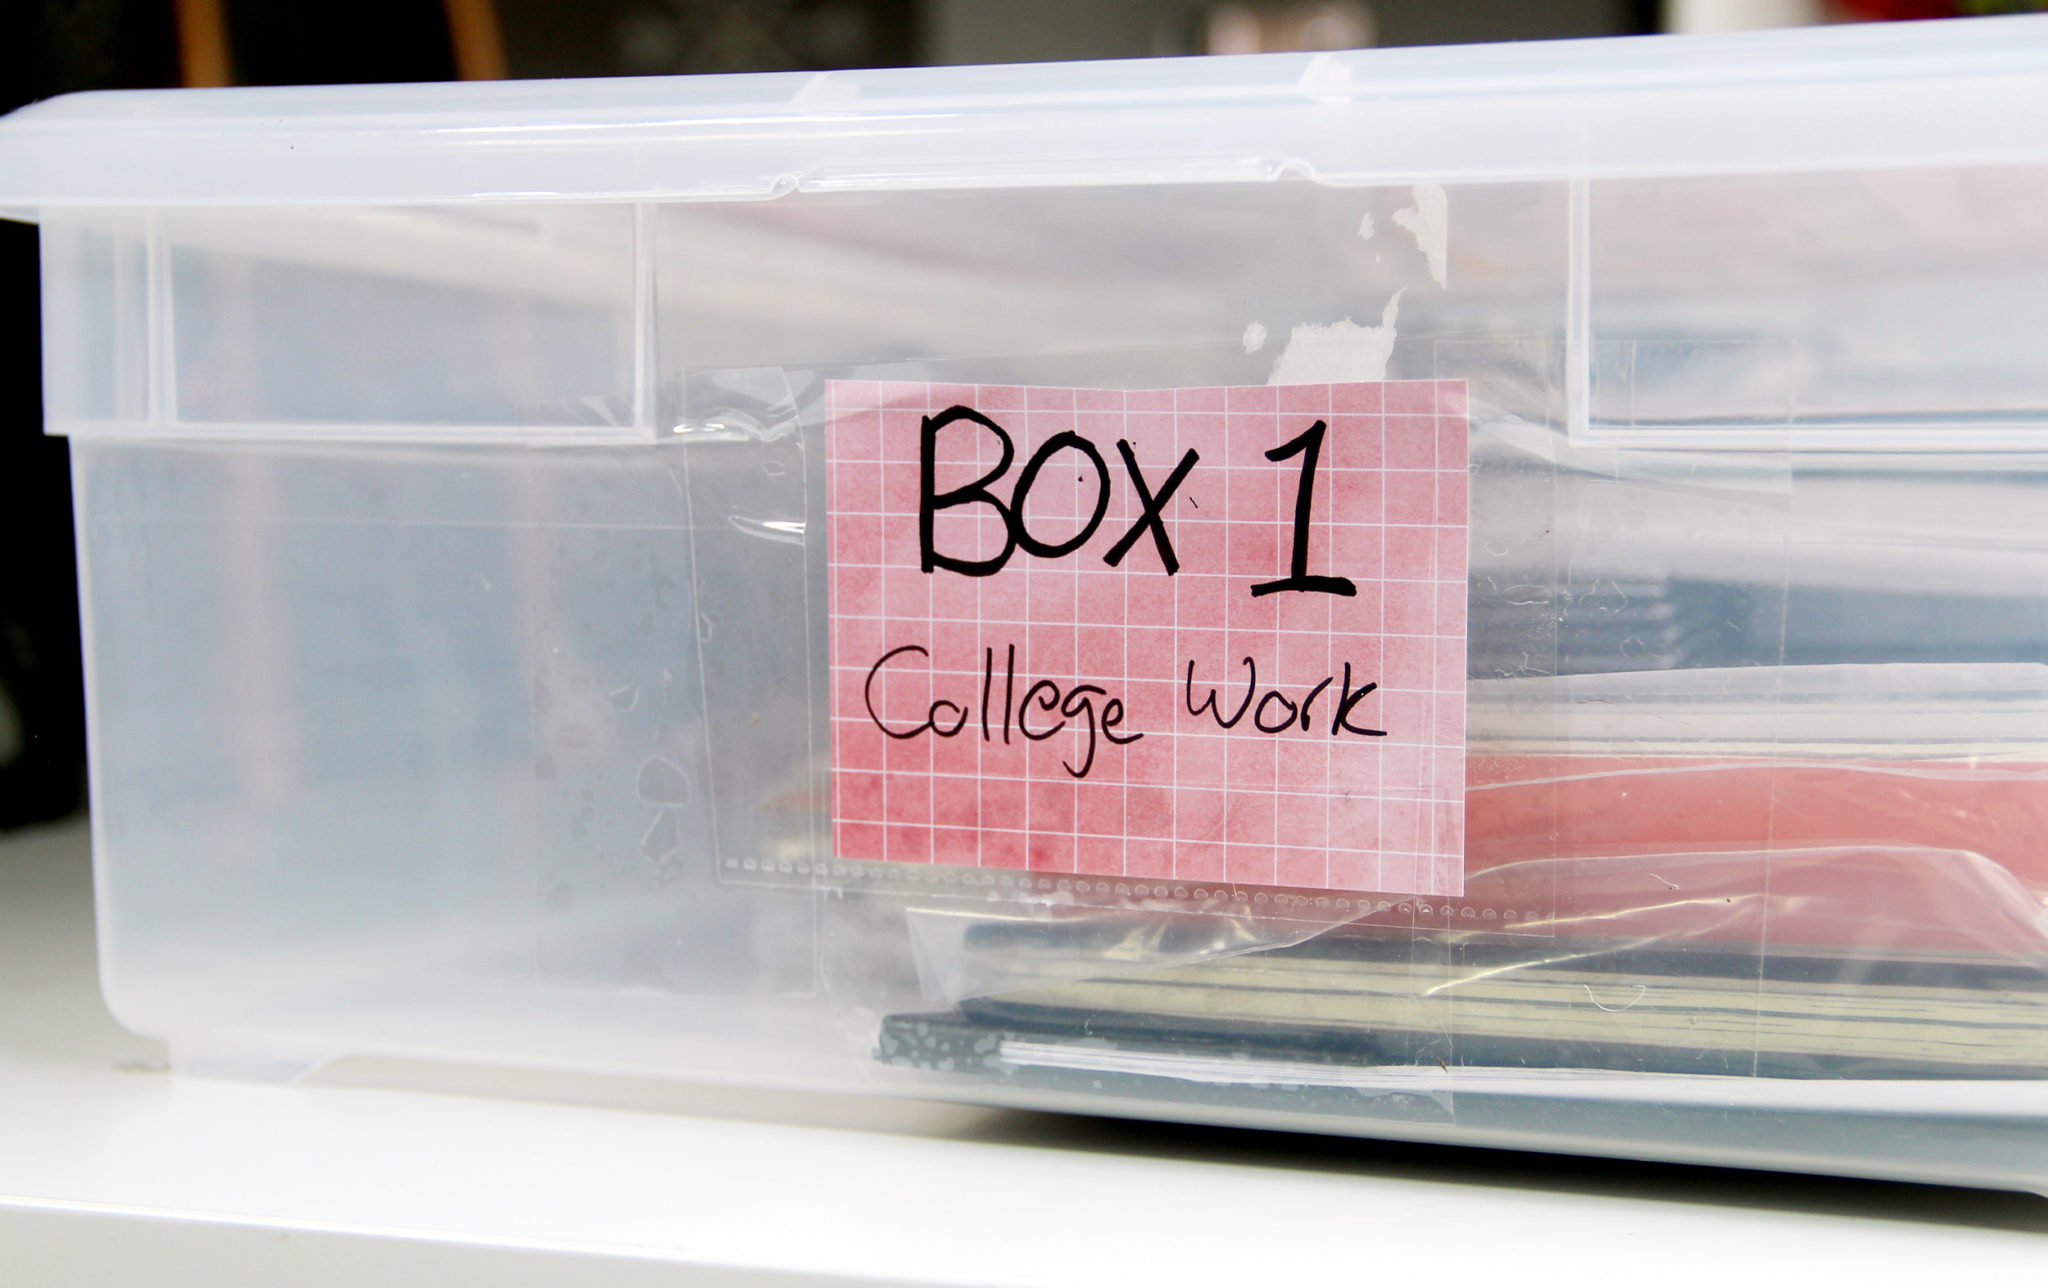
I also included a smaller label on the side so I can see which box is which when I’m lying on the floor looking under my bed.
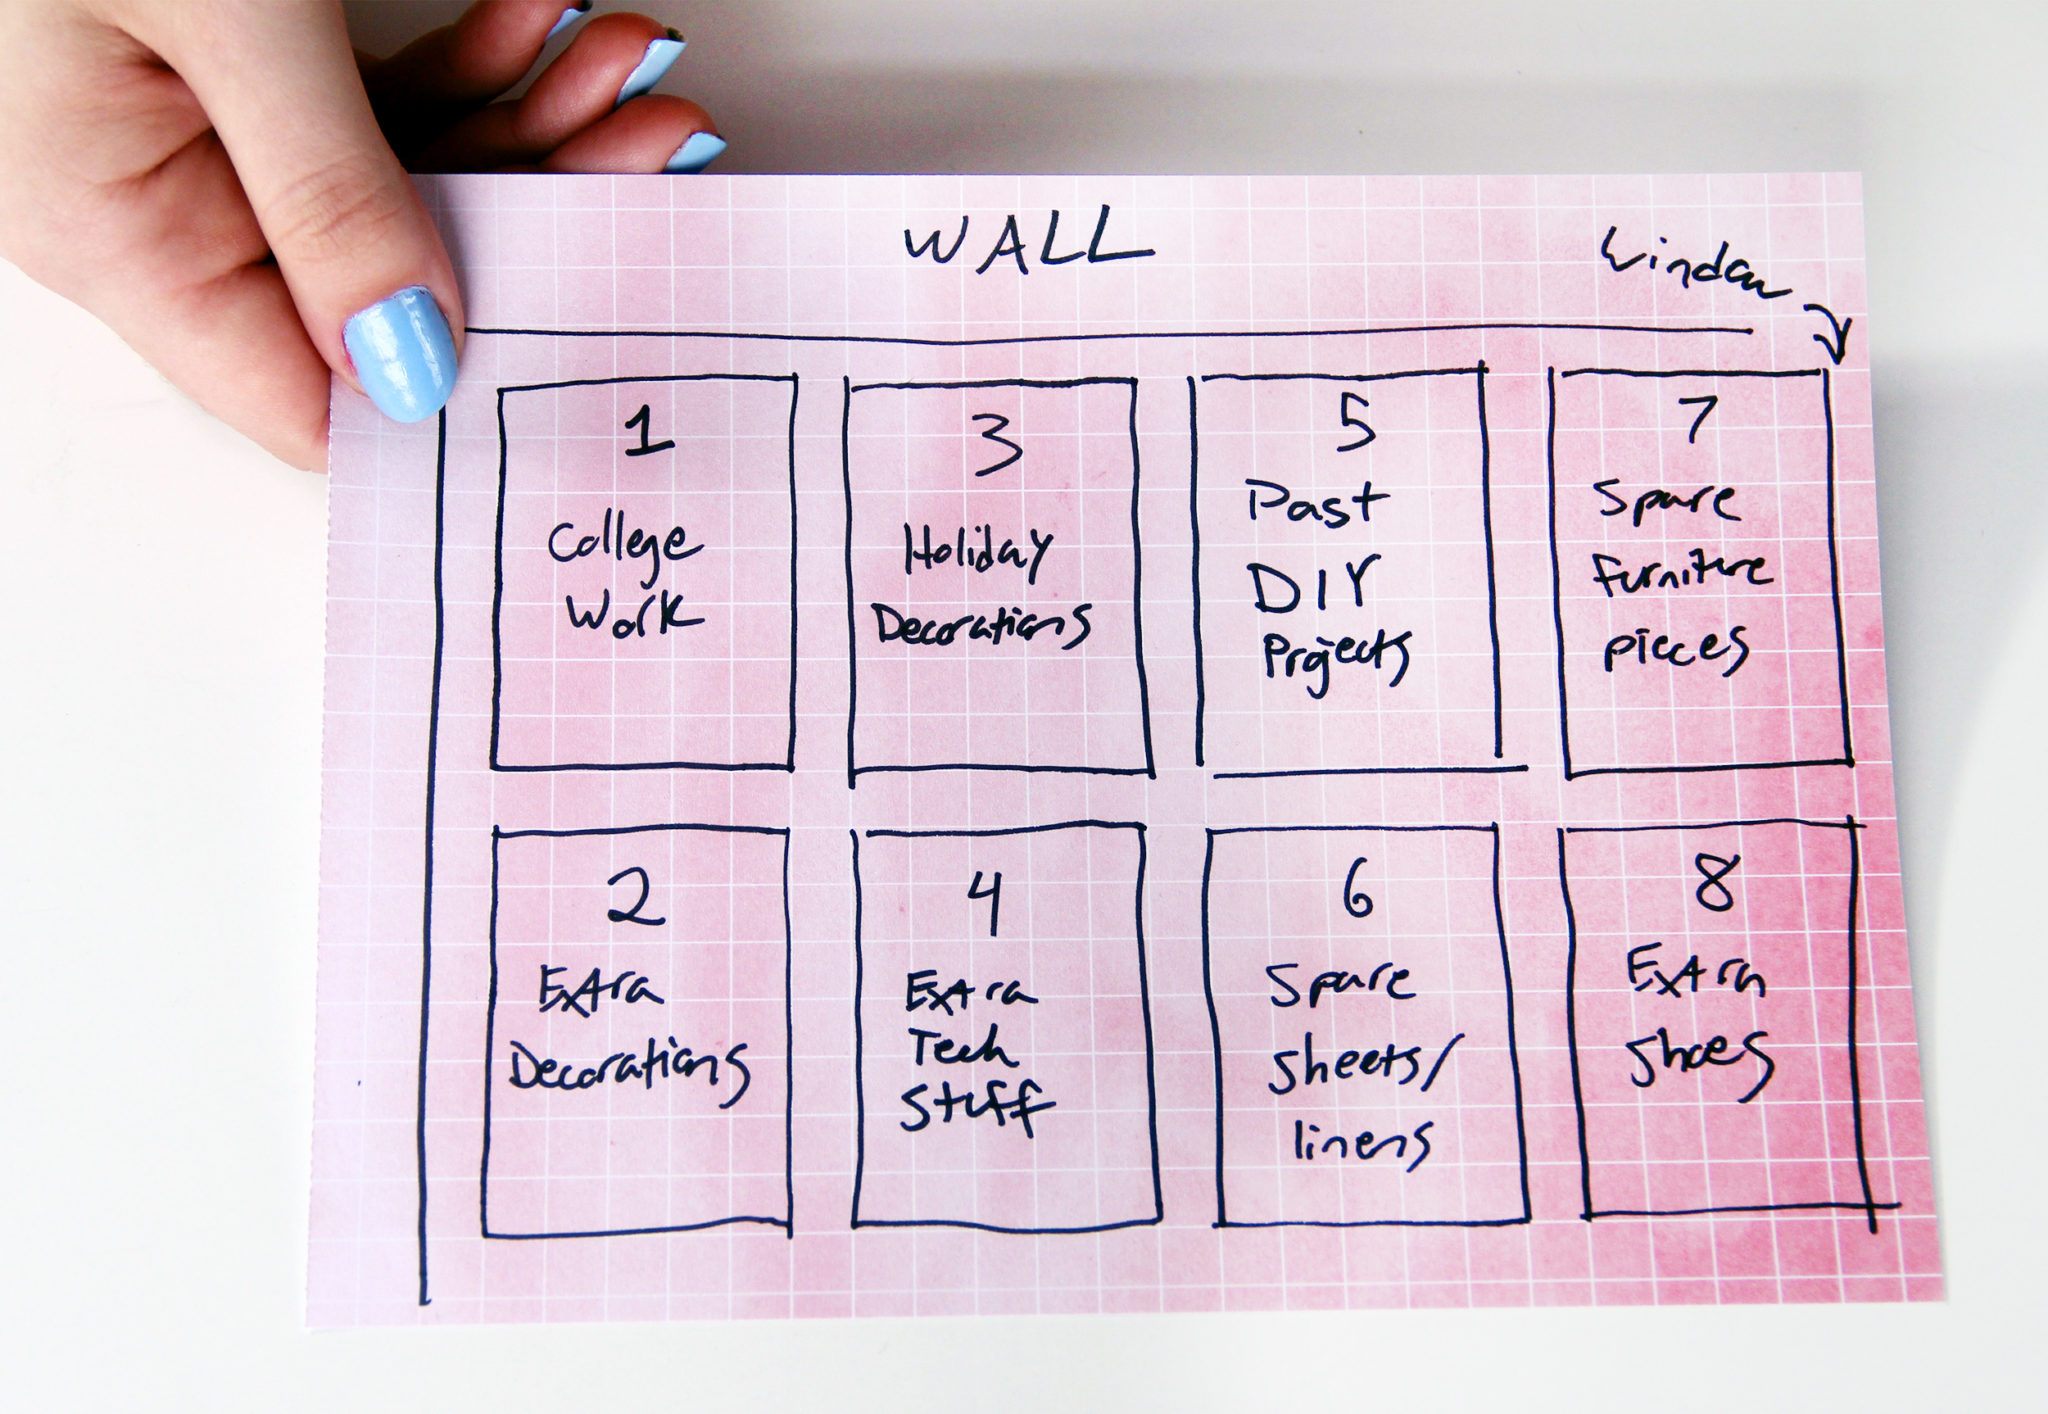
And finally, to stay super organized, I drew out this little diagram showing exactly where each box would live under my bed and what was in each one. That way, I don’t have to pull out all the boxes every time I need to grab something!
So, I hope you guys liked those solutions to some of my organizational problems. Be sure to watch the video if you scrolled past it earlier, and check out my other videos on HGTV Handmade this week – My DIY/Crafting New Years Resolutions and 3 Easy Room Decor Projects. Thanks so much for reading, and I’ll be back on HGTV Handmade in a month and back on my own channel next week. See you guys then!